![]()
Page History
This article provides information on the Corona Decal object, its settings, and usage examples.
| Floatingpagetoc |
|---|
Overview
...
| Section | ||||||||||||||||||
|---|---|---|---|---|---|---|---|---|---|---|---|---|---|---|---|---|---|---|
|
...
| Section | |||||||||||||||||||||
|---|---|---|---|---|---|---|---|---|---|---|---|---|---|---|---|---|---|---|---|---|---|
|

Affect Base
...
| Section | |||||||||||||||||||||||||||||||||||||||||
|---|---|---|---|---|---|---|---|---|---|---|---|---|---|---|---|---|---|---|---|---|---|---|---|---|---|---|---|---|---|---|---|---|---|---|---|---|---|---|---|---|---|
|

Creating a Corona Decal
...
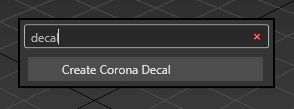
To create a Corona Decal use the dedicated Corona Toolbar icon. It can also be accessed by typing Decal into the 3ds Max X menu or from the Command Panel > Create > Geometry > Corona > CDecal
...
| Section | |||||||||||||||||
|---|---|---|---|---|---|---|---|---|---|---|---|---|---|---|---|---|---|
|


...
Workflow
...
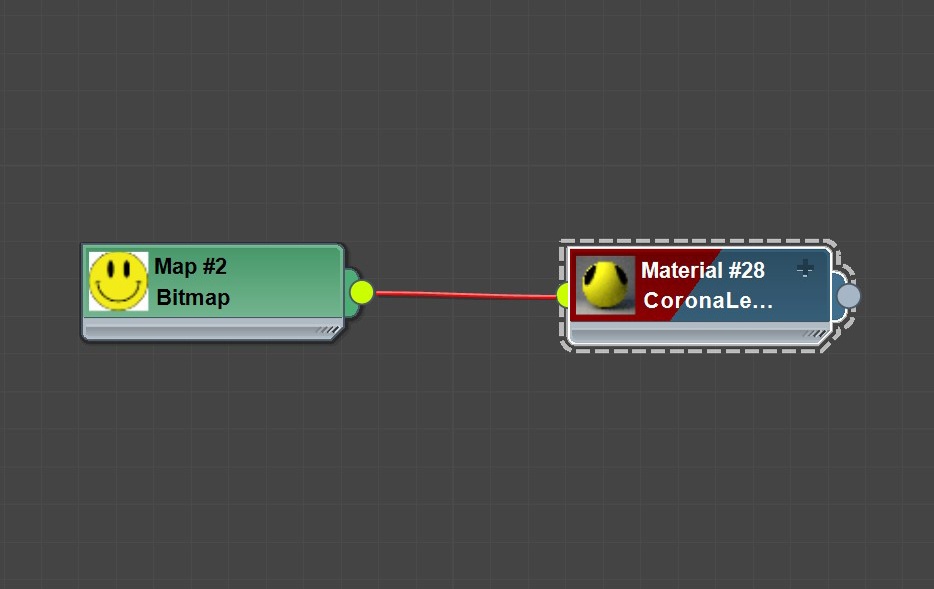
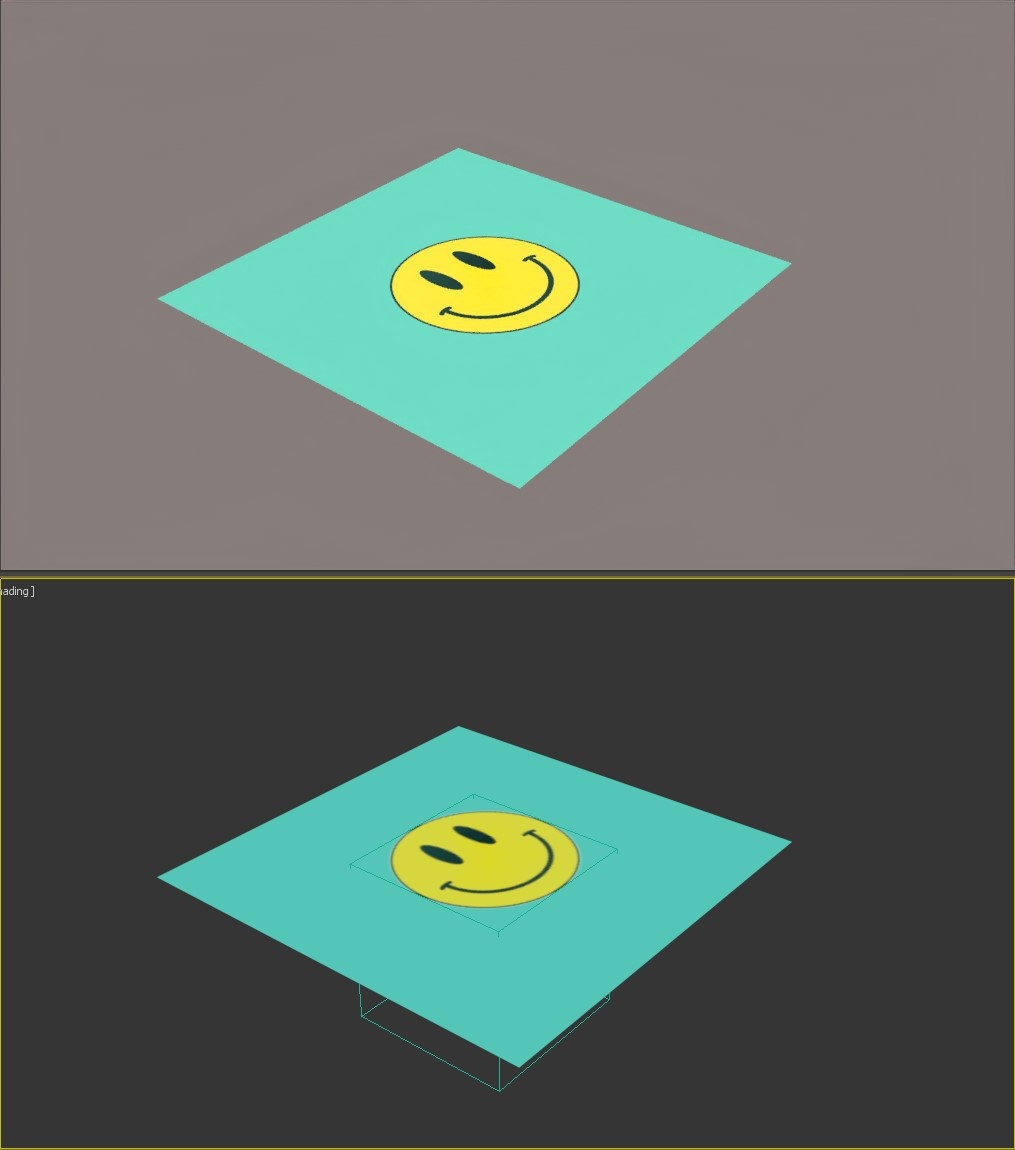
Let's create a simple material and apply it to the Corona Decal object.
...
| UI Text Box | ||
|---|---|---|
| ||
Use the "Fit to.." option to automatically adjust the Decal's width and height. |
...
| Section | |||||||||||||||||
|---|---|---|---|---|---|---|---|---|---|---|---|---|---|---|---|---|---|
|


...
Let's start Interactive Rendering in the viewport.
...
| Section | ||||||||||||||||
|---|---|---|---|---|---|---|---|---|---|---|---|---|---|---|---|---|
|

...
| Section | |||||||||||||||||
|---|---|---|---|---|---|---|---|---|---|---|---|---|---|---|---|---|---|
Max Angle Limit
|
...
| Section | |||||||||||||||
|---|---|---|---|---|---|---|---|---|---|---|---|---|---|---|---|
|


...
...
| Section | |||||||||||||||||||||||||||||
|---|---|---|---|---|---|---|---|---|---|---|---|---|---|---|---|---|---|---|---|---|---|---|---|---|---|---|---|---|---|
|
| Section | ||||||||||||||||||||||||||
|---|---|---|---|---|---|---|---|---|---|---|---|---|---|---|---|---|---|---|---|---|---|---|---|---|---|---|
|


...
Corona Decals can form a stack. The projection order is based on the decals' vertical position - over or under another decal.
| Section | |||||||||||||||||||||||||||||
|---|---|---|---|---|---|---|---|---|---|---|---|---|---|---|---|---|---|---|---|---|---|---|---|---|---|---|---|---|---|
|


Affect Base
...
| Section |
|---|
Starting with Corona 10, you can specify which base object(s) material channels a Corona Decal should affect. Both the decal and the base material need to be CoronaPhysicalMtl in order for decal channels to work properly! If a channel is enabled, it replaces the corresponding base object material channel where the decal is projected. If a channel is disabled, e.g. Color - base object material color will be used instead. |
| Section | |||||||||||||||||||||
|---|---|---|---|---|---|---|---|---|---|---|---|---|---|---|---|---|---|---|---|---|---|
|


...
...
| Section |
|---|
Bump and Displacement channels have an additional option - they can be added to the base layer. If "Add to base" is disabled for Bump or Displacement, they will replace the corresponding base layer: |
| Section | ||||||||||||||||||||||
|---|---|---|---|---|---|---|---|---|---|---|---|---|---|---|---|---|---|---|---|---|---|---|
|


...
| Section | |||||||||||||||||||||
|---|---|---|---|---|---|---|---|---|---|---|---|---|---|---|---|---|---|---|---|---|---|
|


...
Example
...
| Section | ||||||||||||||||||
|---|---|---|---|---|---|---|---|---|---|---|---|---|---|---|---|---|---|---|
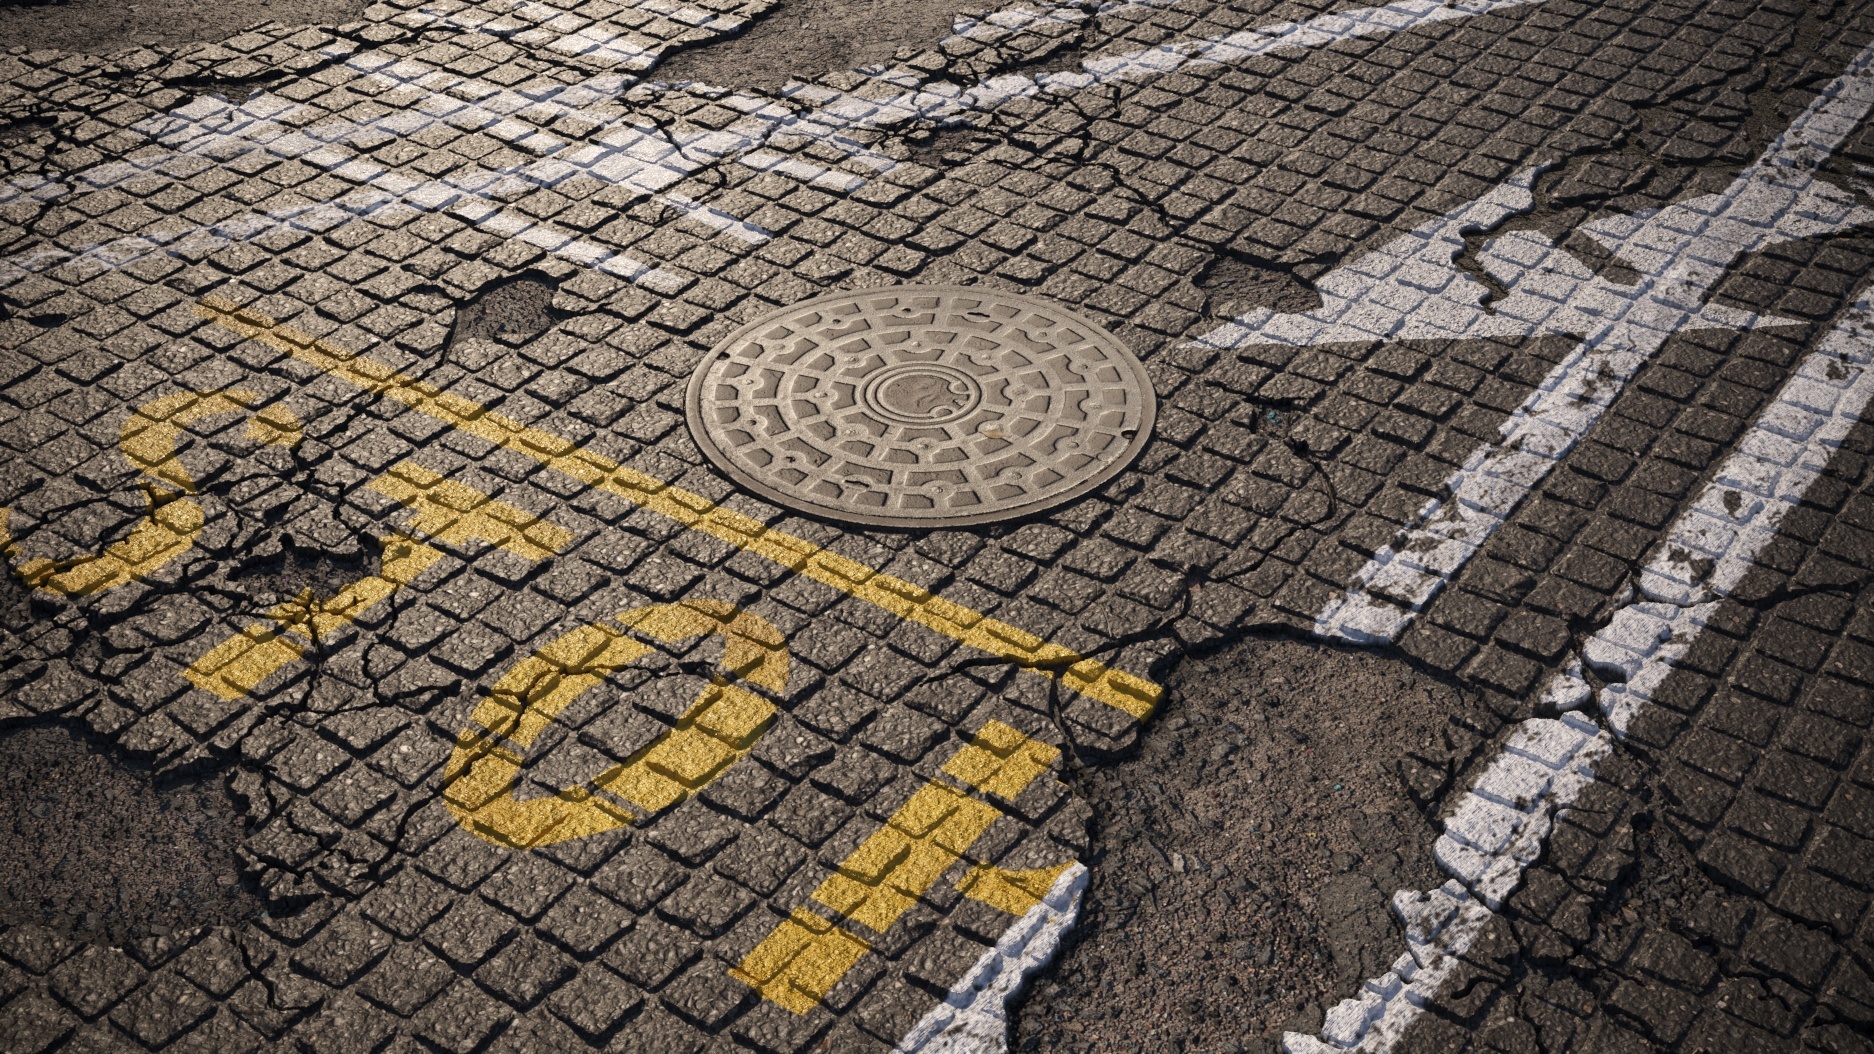
Overlaying many decals with varying vertical positions and options can quickly produce good-looking results:
|