Page History
...
| Section | ||||||||||||||||||||
|---|---|---|---|---|---|---|---|---|---|---|---|---|---|---|---|---|---|---|---|---|
|
...
Menu | Menu Options | |
|---|---|---|
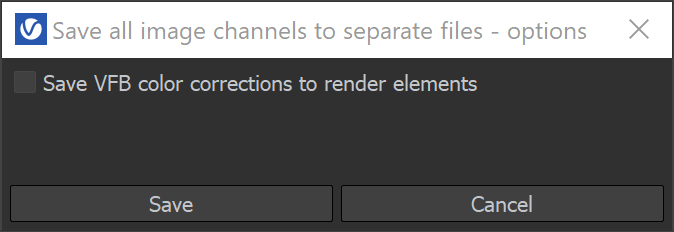
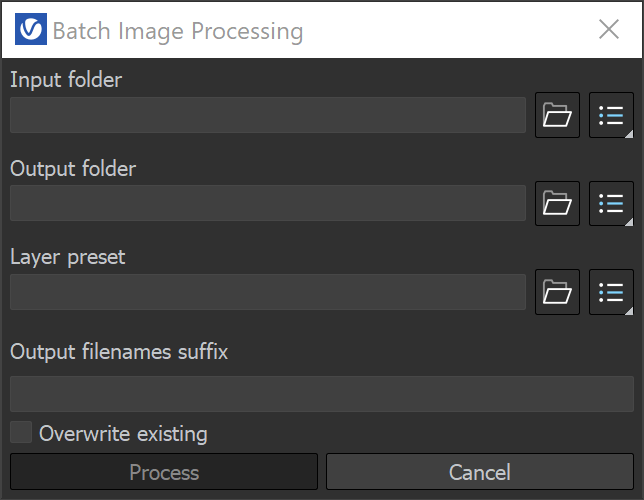
File | Save current channel – Saves the currently loaded channel to an image file format. Save all image channels to separate files – Saves all the render elements to separate files. Press the options() button to open a menu with more settings. Save all image channels to single file – Saves the image to a single multi-channel EXR or .vrimg file. Load image – Opens an image file to be previewed in the V-Ray Frame Buffer. Batch image processing - Allows processing of multiple .vrimg files with the same layer tree changes at the same time. Upload image to Chaos Collaboration – use in order to upload your images to Chaos Cloud Collaboration. | Save all image channels to separate files options Save VFB color corrections to render elements – When enabled, all color corrections are saved to the render channels (as opposed to only the RGB and effectsResult channels). Batch Image Processing Input folder – Specifies a path to start images. Output folder – Specifies a path for the output images. Layer preset – Specifies a layer tree corrections preset. Output filenames suffix – Specifies a suffix added to the output image filenames. Overwrite existing – Enables overwrite of existing files with the same name in the output folder. |
Render | Abort rendering – Stops the current rendering. Render – Starts Production Rendering. | |
Image | Follow mouse – Renders the closest bucket found to the mouse pointer, when using the bucket image sampler. If the progressive sampler is used, V-Ray samples the closest pixels to the mouse pointer. Follow mouse – Drag the mouse over the VFB while rendering to change what part of the image is sampled first; Copy current channel to clipboard – Copies the current channel to the clipboard. Clear image – Clears the contents of the frame buffer. This is useful when starting a new render to prevent confusion with the previous image. | |
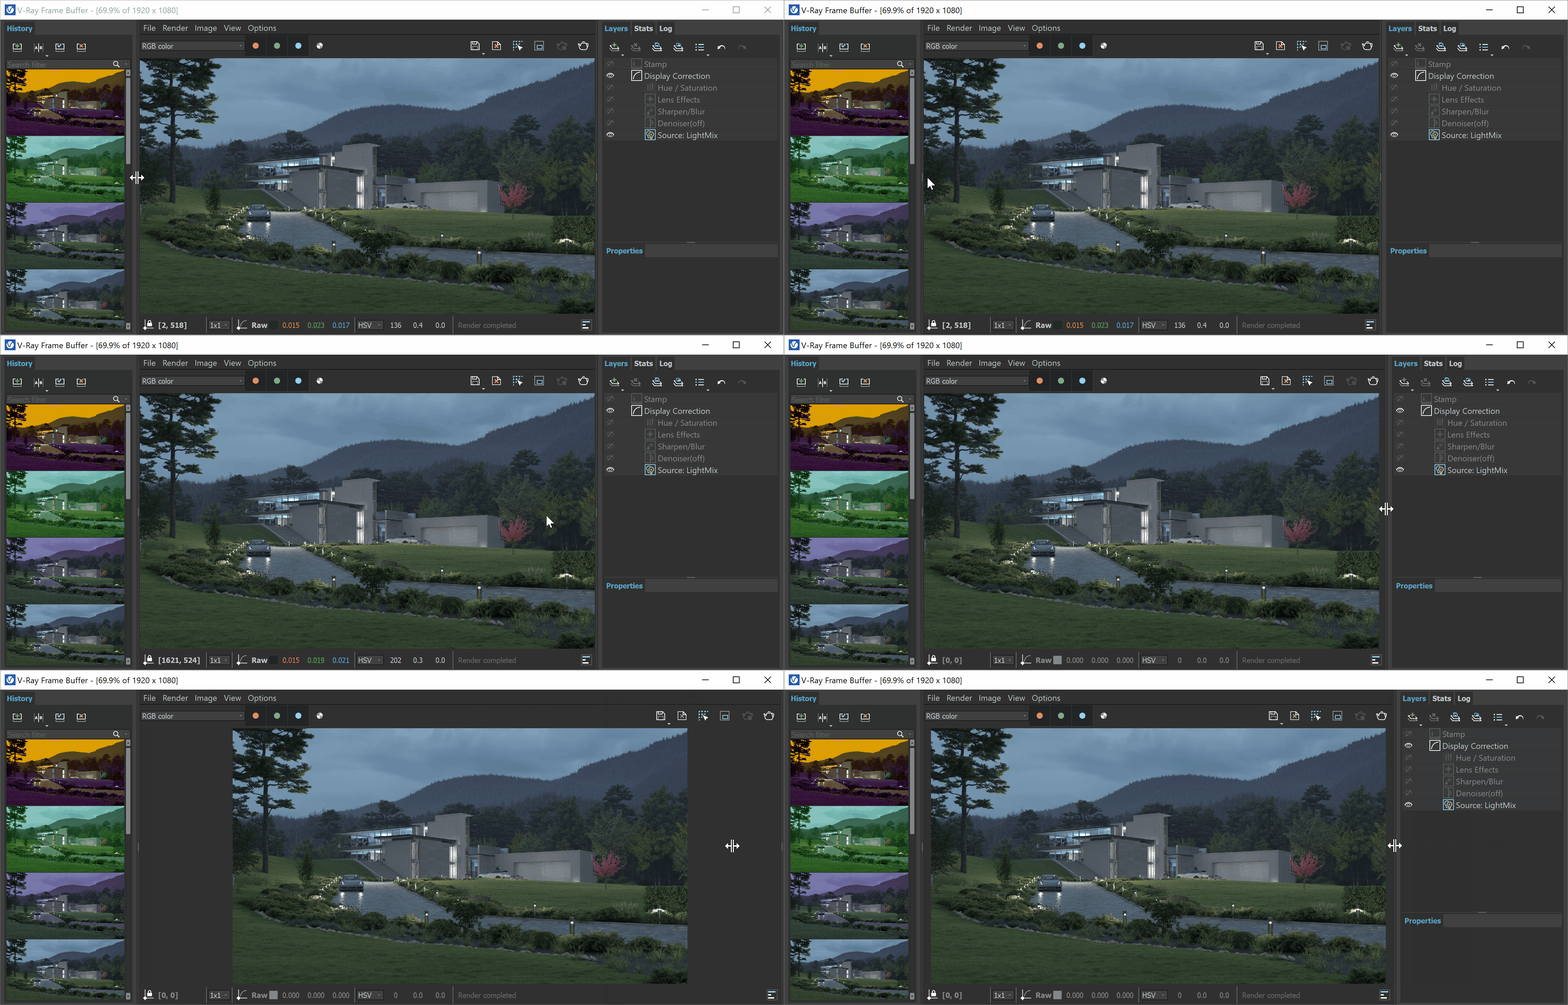
View | Display color space –Specifies the color space, in which the image is displayed. None – Does not specify a color space; Zoom VFB – Zooms in/out the rendered image in the VFB. Zoom 50% – Zooms out to 50%; Channels – Chooses which channels to see. View red channel – Displays the red channel; Color clamping – Opens the color clamping submenu options: Force color clamping – Forces color clamping; Use pixel aspect – Enables visualization of the pixel aspect ratio. Test resolution – Enables test resolution in VFB. The submenu allows choosing a percentage of the render resolution to set as the test resolution. You can choose between 10%, 25%, 50%, 75%, 110%, 125% and 150%. Note: This only affects V-Ray and does not affect the native 3ds Max test resolution setting found under 3ds Max's Render Setup dialog. Color clamping – Opens the color clamping submenu options: Force color clamping – Forces color clamping; Use pixel aspect – Enables visualization of the pixel aspect ratio. Flip – Mirrors the image in the VFB. This is a view only option, the flipped image cannot be exported. This function is only active while holding the menu button or the hotkey for the corresponding type of flip. The effect does not interrupt interactive rendering. Flip horizontally– Mirrors the image horizontally. Flip vertically – Mirrors the image vertically. Panorama View – Shows the image in 360° view. Hold the middle mouse button and move the mouse to look around. The field of view can be altered by scrolling. Show History – Shows the History panel. Show Layers – Shows the Layers panel. | |
Options | VFB settings – Opens the VFB Settings window with setting adjustment options for Render View, Render Region, History, and Layers. | |
...
| Locks the mouse pointer coordinates and displays information for the selected pixel. | ||
| Shows corrected colors. | ||
| Shows the V-Ray log. | ||
| Displays the red channel. | ||
| Displays the green channel. | ||
| Displays the blue channel. | ||
| Displays the Alpha channel. | ||
Saves the image to disk. Press and hold the icon to bring up the submenu: Save current channel – Saves the current channel to an image file format; Save all image channels to separate files – Saves all the render elements into separate files; Use to save the VFB color corrections to render elements. Save all image channels to single file – Saves the image into a single multi-channel EXR or .vrimg file. Upload image to Chaos Collaboration – Opens Chaos Cloud Collaboration. | ||
| Clears the contents of the frame buffer. This is useful when starting a new render to prevent confusion with the previous image. | ||
| Renders the closest bucket found to the mouse pointer, when using the bucket image sampler. If the progressive sampler is used, V-Ray samples the closest pixels to the mouse pointer. With this option enabled, right-click on the image and select Lock bucket starting point to lock the bucket (or sampling) starting point. | ||
| Allows you to render regions in the VFB. See the Render Region section for more information. | ||
| Stops the current rendering. | ||
| Starts Production Rendering. | ||
...
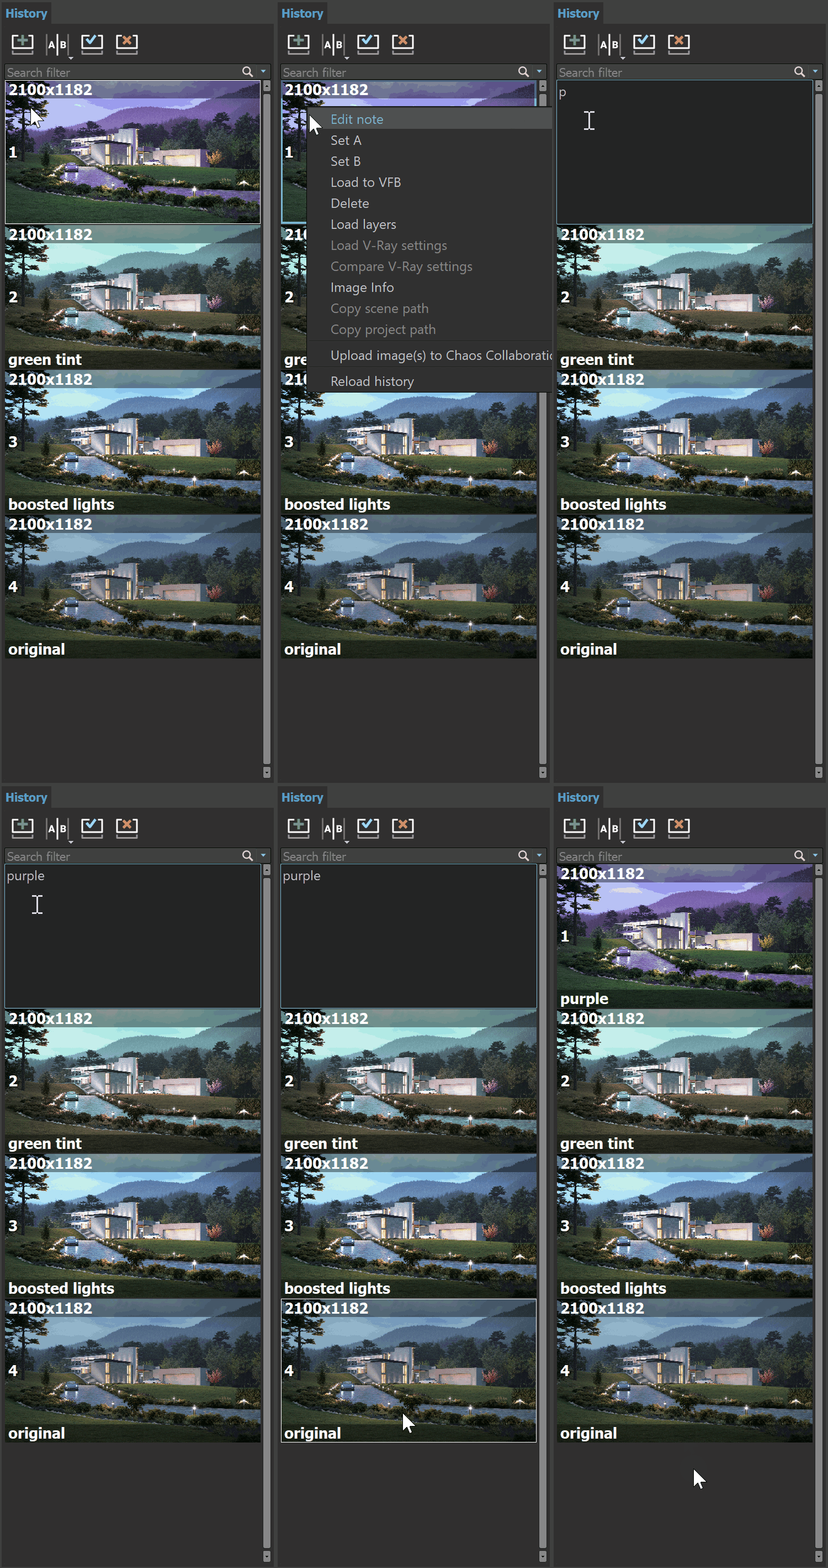
The V-Ray VFB keeps a history of previously rendered images, and lists each with a number, thumbnail, and textual details in the Render history panel. Call up to four images from the history to be compared in the VFB (as shown below). History files are stored as as .vrimg files in a user-specified folder. Configure the render history settings in the VFB Settings window.
...
| Search field for filtering images based on the project's paths and notes. |
| Section | |||||||||||||||||||||||||
|---|---|---|---|---|---|---|---|---|---|---|---|---|---|---|---|---|---|---|---|---|---|---|---|---|---|
|
...
Layers
...
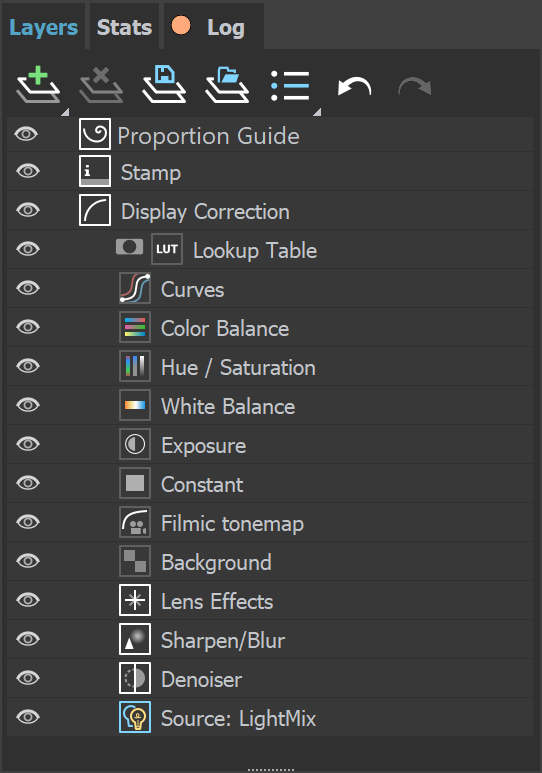
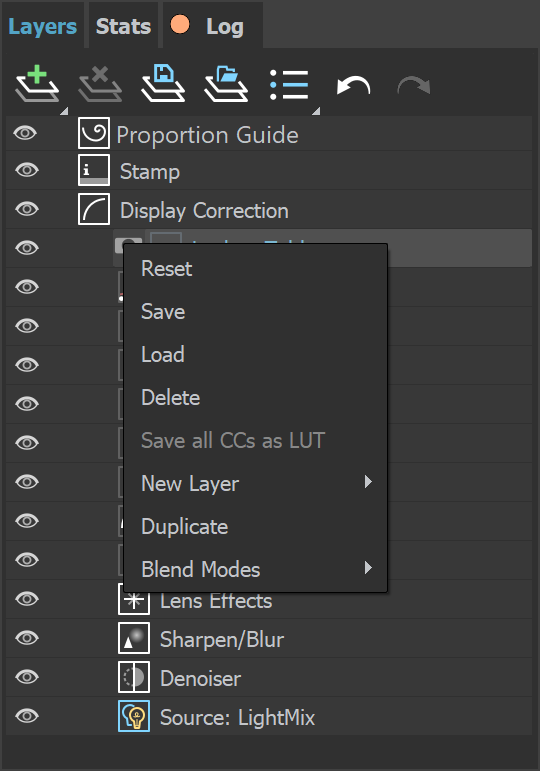
The New V-Ray Frame Buffer includes a suite of color corrections and tools for adjusting the image. The tools are added as layers and displayed in a layer tree. Enable or disable a particular tool using the visibility icon () to the left of its name. The The icon icon indicates that a layer is disabled.
...
| Section | |||||||||||||||
|---|---|---|---|---|---|---|---|---|---|---|---|---|---|---|---|
|
...
Creates a layer. Multiple layers of the same type can be added. Folder – Allows grouping multiple layers; For more information, see the Layers page. | |
| Deletes the selected layer(s). | |
| Saves a layer tree preset. | |
| Loads a layer tree preset. | |
| Quick access to custom layer presets. You must set the path to it in the VFB Settings. | |
| Undo create layer. | |
| Redo create layer. |
...
| Section | |||||||||||||||
|---|---|---|---|---|---|---|---|---|---|---|---|---|---|---|---|
|
...
