Versions Compared

Key

  • This line was added.
  • This line was removed.
  • Formatting was changed.

This page covers how to render a ZBrush displacement map with V-Ray.

Floatingpagetoc

Overview

...

Section
Column
width45%

This tutorial covers how to export a displacement map from ZBrush and then use it with V-Ray for Maya.

Note that the settings of V-Ray Displacement node are universal for rendering with both V-Ray and V-Ray GPU engines.

For detailed description on how VRayDisplacement node works, see the dedicated page.

Column
width5%


Column
width50%

...

Preparing the Object in ZBrush

...

...

Section
Column
width45%

There are a few things to keep in mind when sculpting your object in ZBrush:

– Make sure that the object has UV coordinates and they are not overlapping;

– Make sure that there are no UVs outside the [0,1] range;

– A good workflow is to have the UV seams hidden in the least visible places.

To the right is an example of a base object in ZBrush. Only the chest armour is selected and for the purpose of this tutorial, we show only this object's displacement map export.

Column
width5%
 
Column
width50%

...

Exporting the Displacement Map

...

...

Section
Column
width45%

It is important to first go to the lowest subdivision level of your mode (SDiv 1). This is the base model that we import later in 3ds Max.

Go to the UV Map rollout of the Tool palette. The only thing you need to choose here is the UV Map Size. We wouldn't recommend a value higher than 4069 and in most cases, a 2k map will work just fine.

Column
width5%


Column
width50%

...

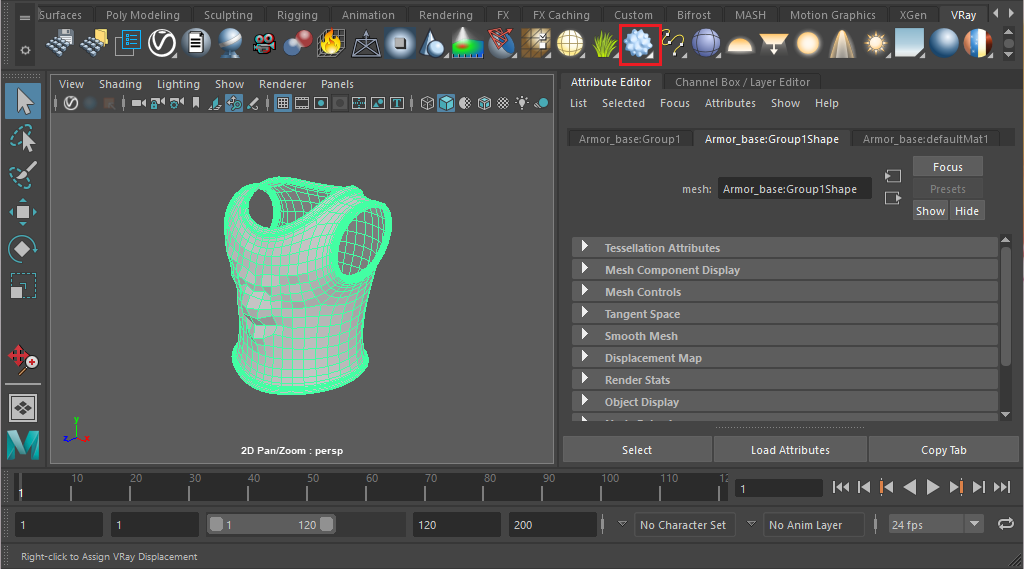
Preparing the Object for Render

...

...

Section
Column
width45%

Import the .obj file in Maya by going to File > Import...

While the object is still selected, navigate to the V-Ray shelf and assign a VRay Displacement node.

Column
width5%


Column
width50%

...