![]()
Page History
This article explains how to work with provides information on the Corona Decal object, its settings, and usage examples.
| Floatingpagetoc |
|---|
Overview
...
...
| Section | |||||||||||||||||||||||||||||||||||||||
|---|---|---|---|---|---|---|---|---|---|---|---|---|---|---|---|---|---|---|---|---|---|---|---|---|---|---|---|---|---|---|---|---|---|---|---|---|---|---|---|
|
...
Creating a Corona Decal
...
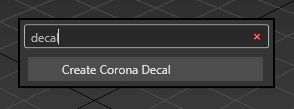
To create a Corona Decal use the dedicated Corona Toolbar icon. It can also be accessed by typing Decal into the 3ds Max X menu or from the the Command Panel > Create > Geometry > Corona > CDecal.
| UI Text Box | ||
|---|---|---|
| ||
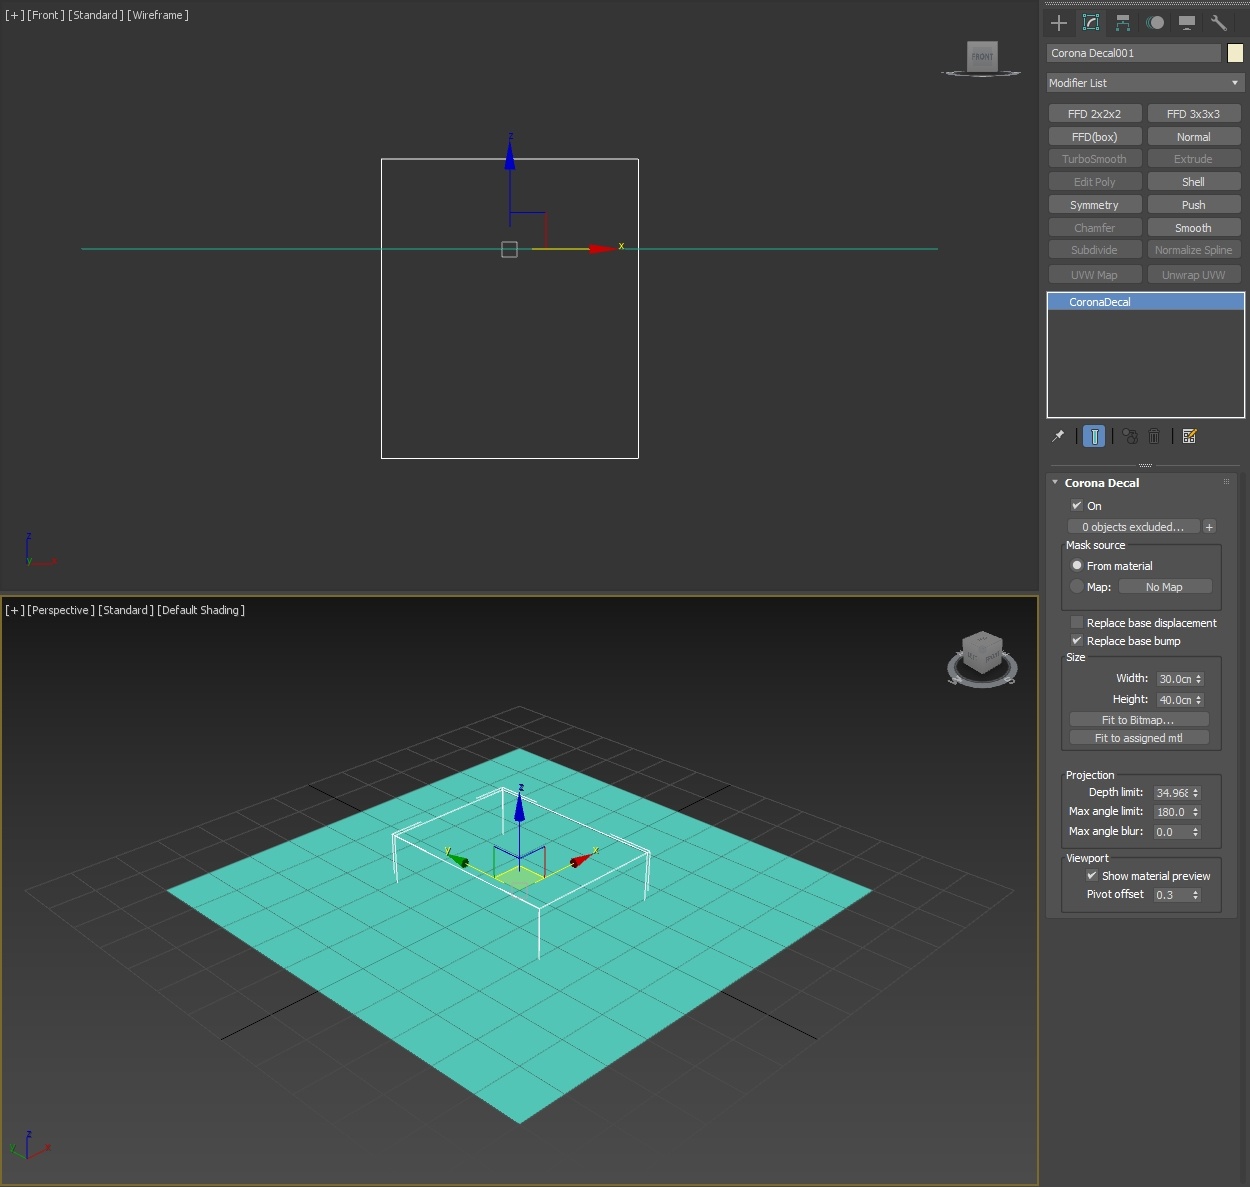
Corona Decal's pivot is always placed at the creation point and there is a default pivot offset of 0.3. This is to avoid decal texture and base surface overlapping, both for viewing and projection purposes. |
| Section | ||||||||||||||||
|---|---|---|---|---|---|---|---|---|---|---|---|---|---|---|---|---|
|


|
Corona Decal Settings
Corona Decal
...
| Section | ||||||||||||||||||||
|---|---|---|---|---|---|---|---|---|---|---|---|---|---|---|---|---|---|---|---|---|
|

Affect Base
...
| Section | ||||||||||||||||||||||||||||||||||||||||
|---|---|---|---|---|---|---|---|---|---|---|---|---|---|---|---|---|---|---|---|---|---|---|---|---|---|---|---|---|---|---|---|---|---|---|---|---|---|---|---|---|
|

Examples
...
...
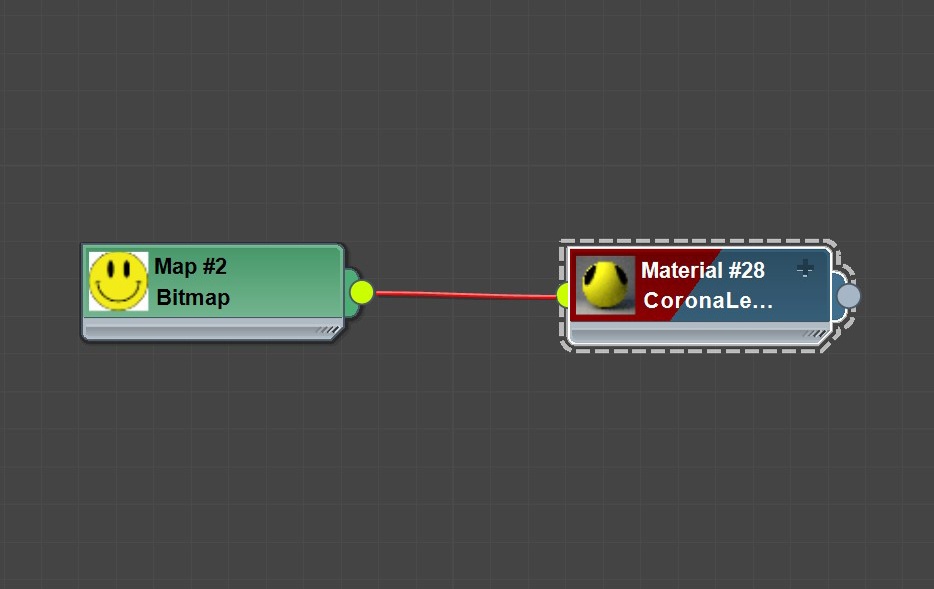
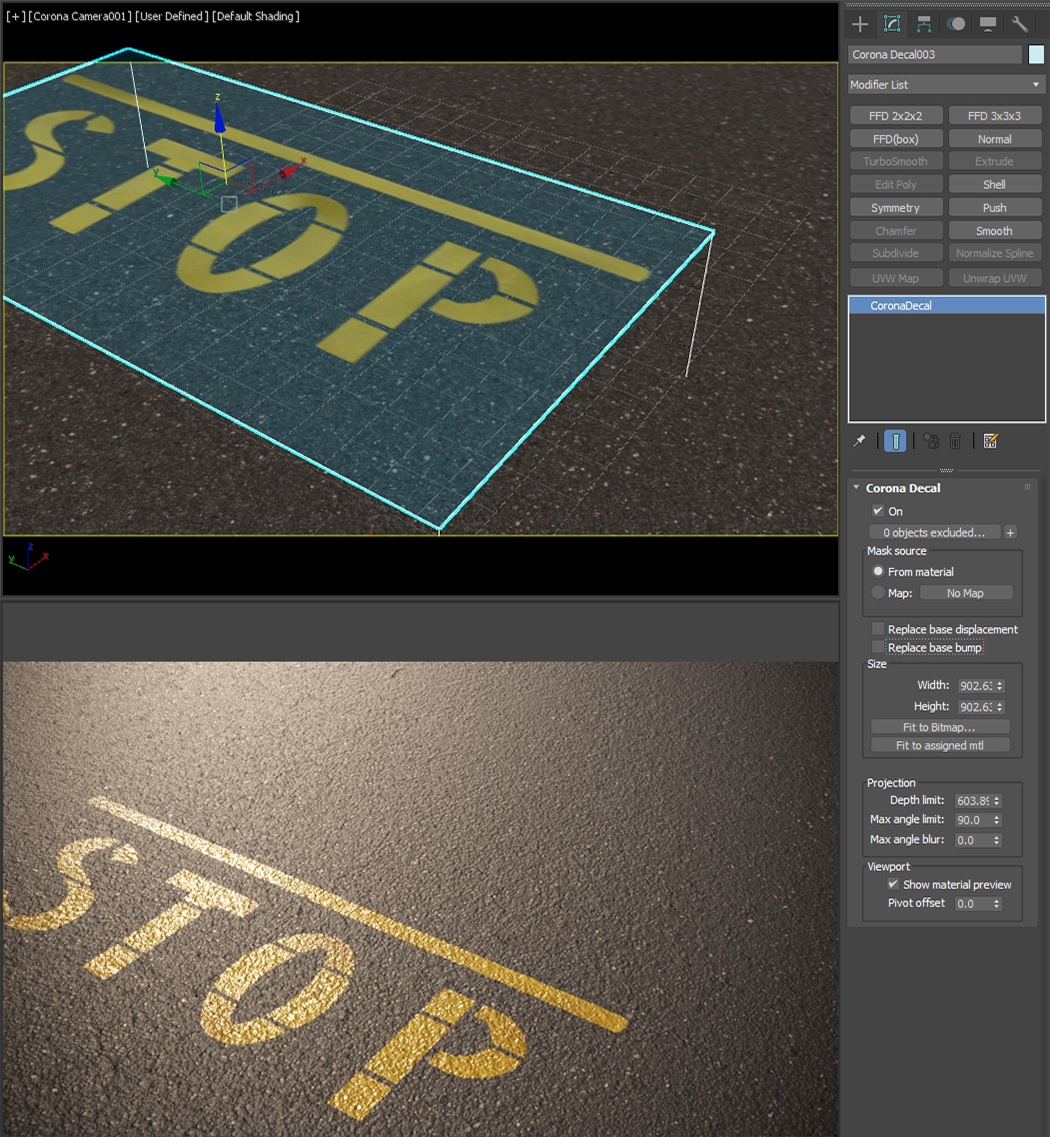
Let's create a simple material and apply it to the a Corona Decal object.
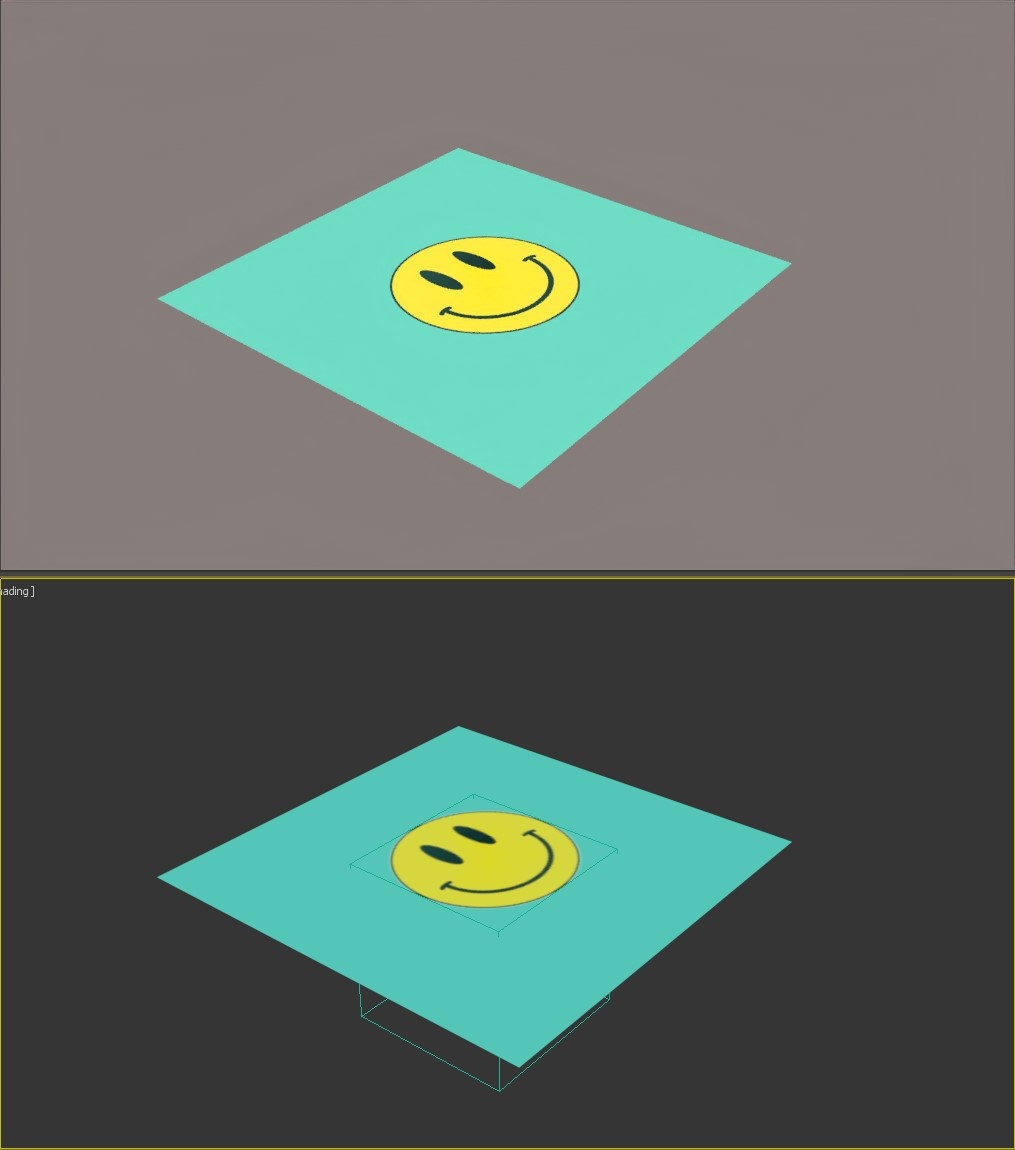
You can see that the texture on the Decal is stretched. Fit to Bitmap..., just like in UVW Mapping, or Fit to assigned mtl options options can be used to quickly get the correct proportions of the texture. In case there is already a material assigned, Fit to assigned mtl is the faster option.
...
...
Use the "Fit to.." option to automatically adjust the Decal's width and height.
| Section | |||||||||||||||||
|---|---|---|---|---|---|---|---|---|---|---|---|---|---|---|---|---|---|
|


...
Let's start Interactive Rendering in the viewport.
...
| type | note |
|---|
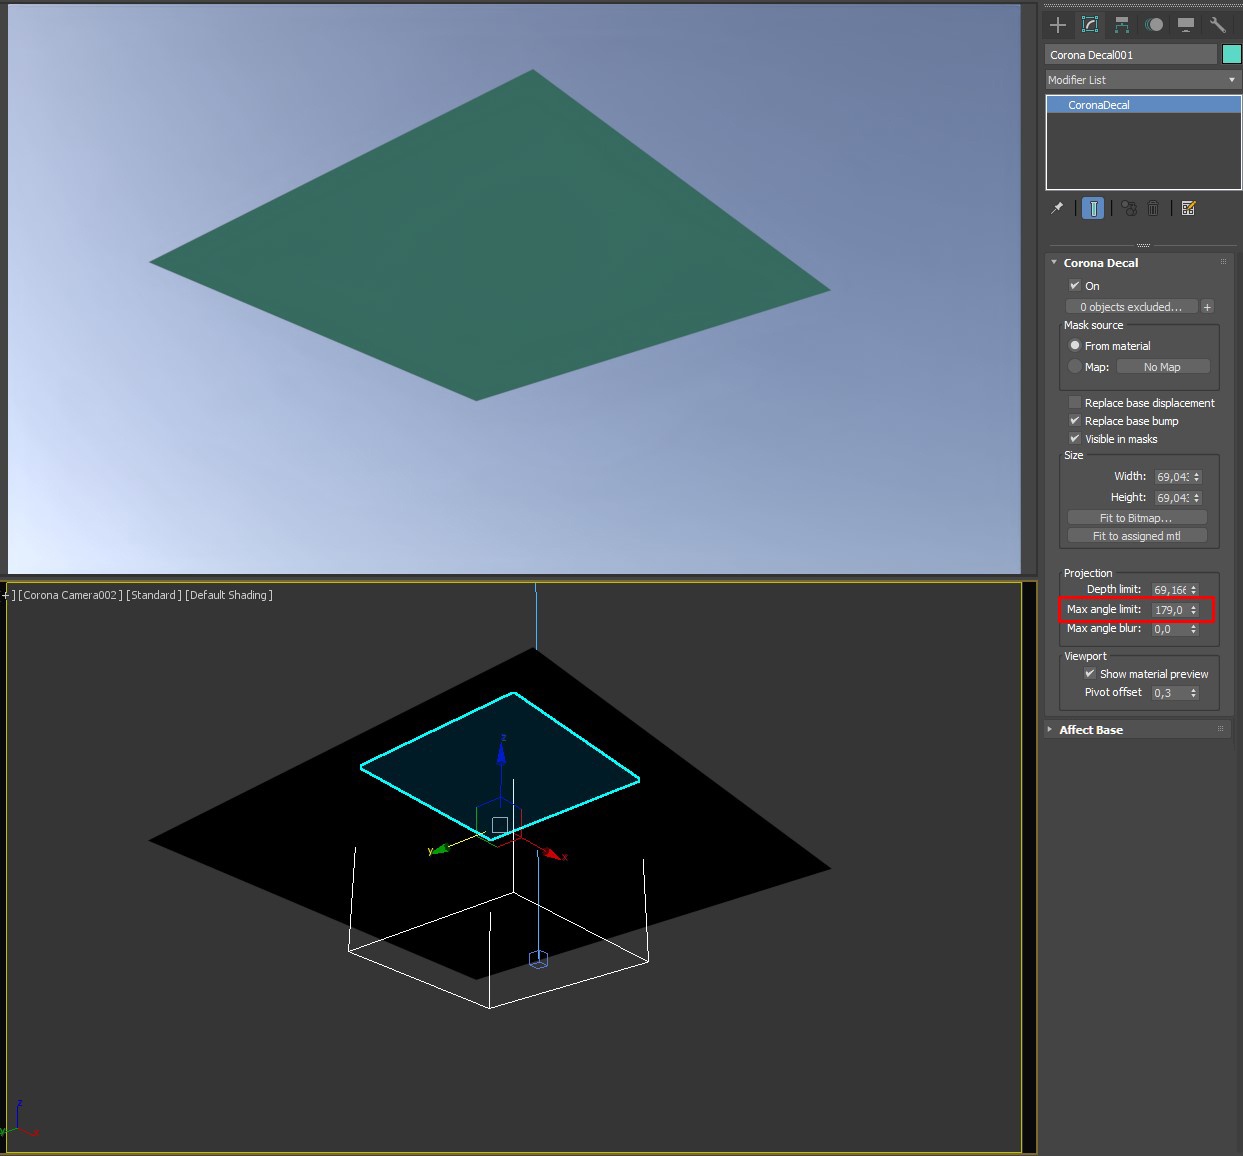
The Corona Decal
...
is projected onto surfaces which intersect with its bounding box. If we move the Decal object higher, the plane
...
isn't
...
intersecting with it any more, resulting in no projection at all.
| Section | |||||||||||||||||
|---|---|---|---|---|---|---|---|---|---|---|---|---|---|---|---|---|---|
|

...
| Section | |||||||||||||||||
|---|---|---|---|---|---|---|---|---|---|---|---|---|---|---|---|---|---|
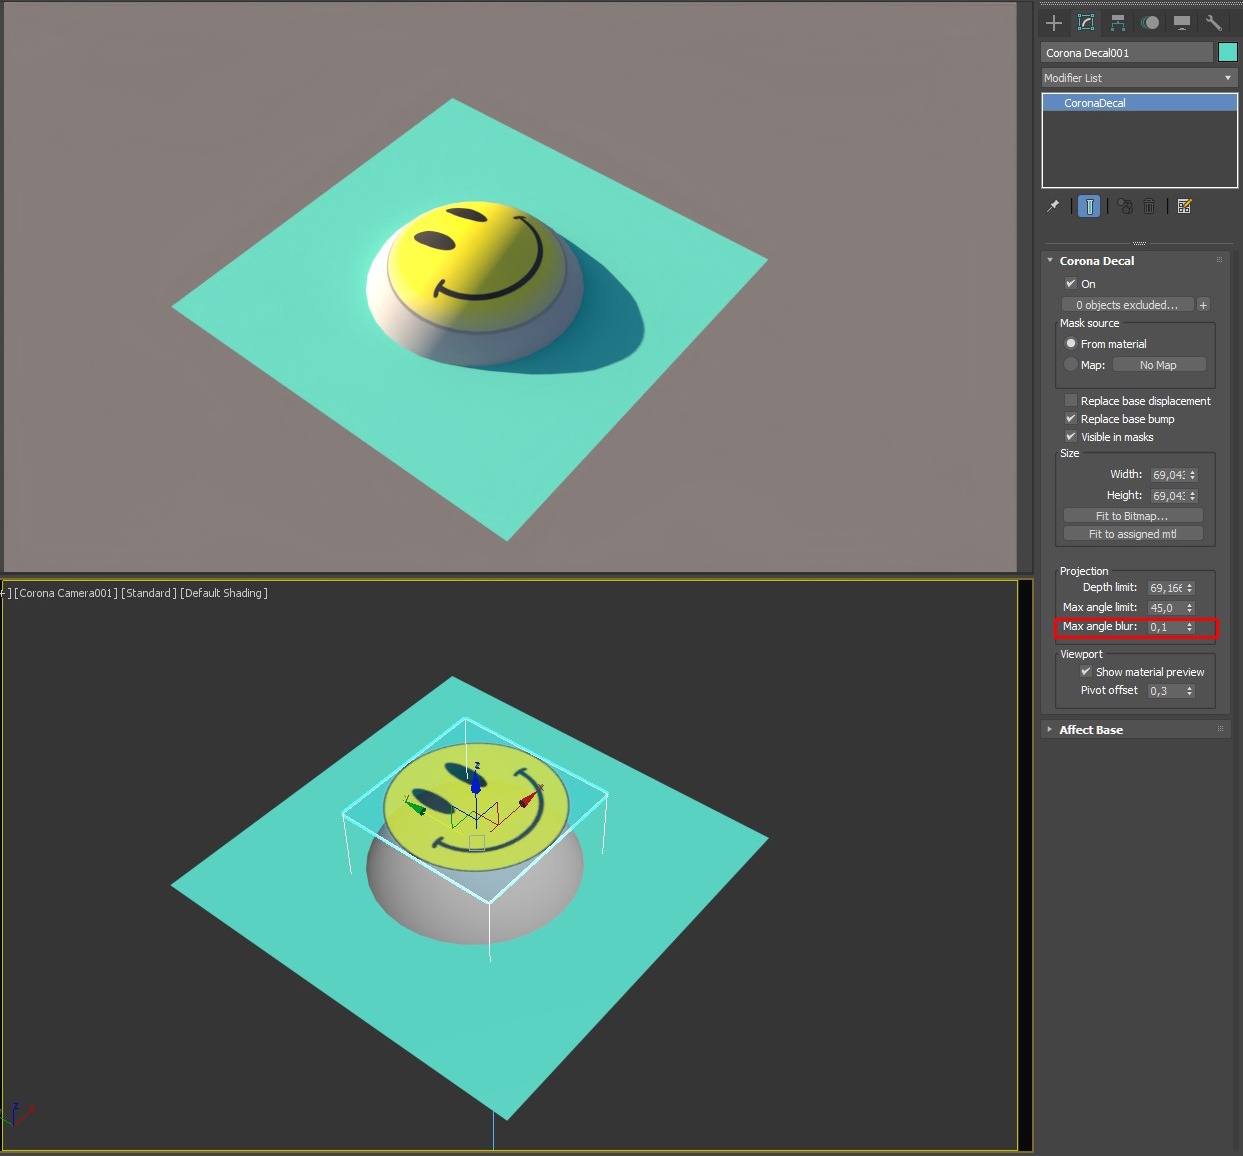
Max Angle Limit
|
| Section | |||||||||||||||
|---|---|---|---|---|---|---|---|---|---|---|---|---|---|---|---|
|


...
|

...
| Section | ||||||||||||||||||||||||||||
|---|---|---|---|---|---|---|---|---|---|---|---|---|---|---|---|---|---|---|---|---|---|---|---|---|---|---|---|---|
|
| Section | |||||||||||||||||||||||||||
|---|---|---|---|---|---|---|---|---|---|---|---|---|---|---|---|---|---|---|---|---|---|---|---|---|---|---|---|
|


Stacking
...
Corona Decals can form a stack. The projection order is based on the decals' vertical position positions - over or under another decal.
| Section | |||||||||||||||||||||||||||
|---|---|---|---|---|---|---|---|---|---|---|---|---|---|---|---|---|---|---|---|---|---|---|---|---|---|---|---|
|


Additional Examples
| Section | |||||||||||||||||||||||||
|---|---|---|---|---|---|---|---|---|---|---|---|---|---|---|---|---|---|---|---|---|---|---|---|---|---|
|
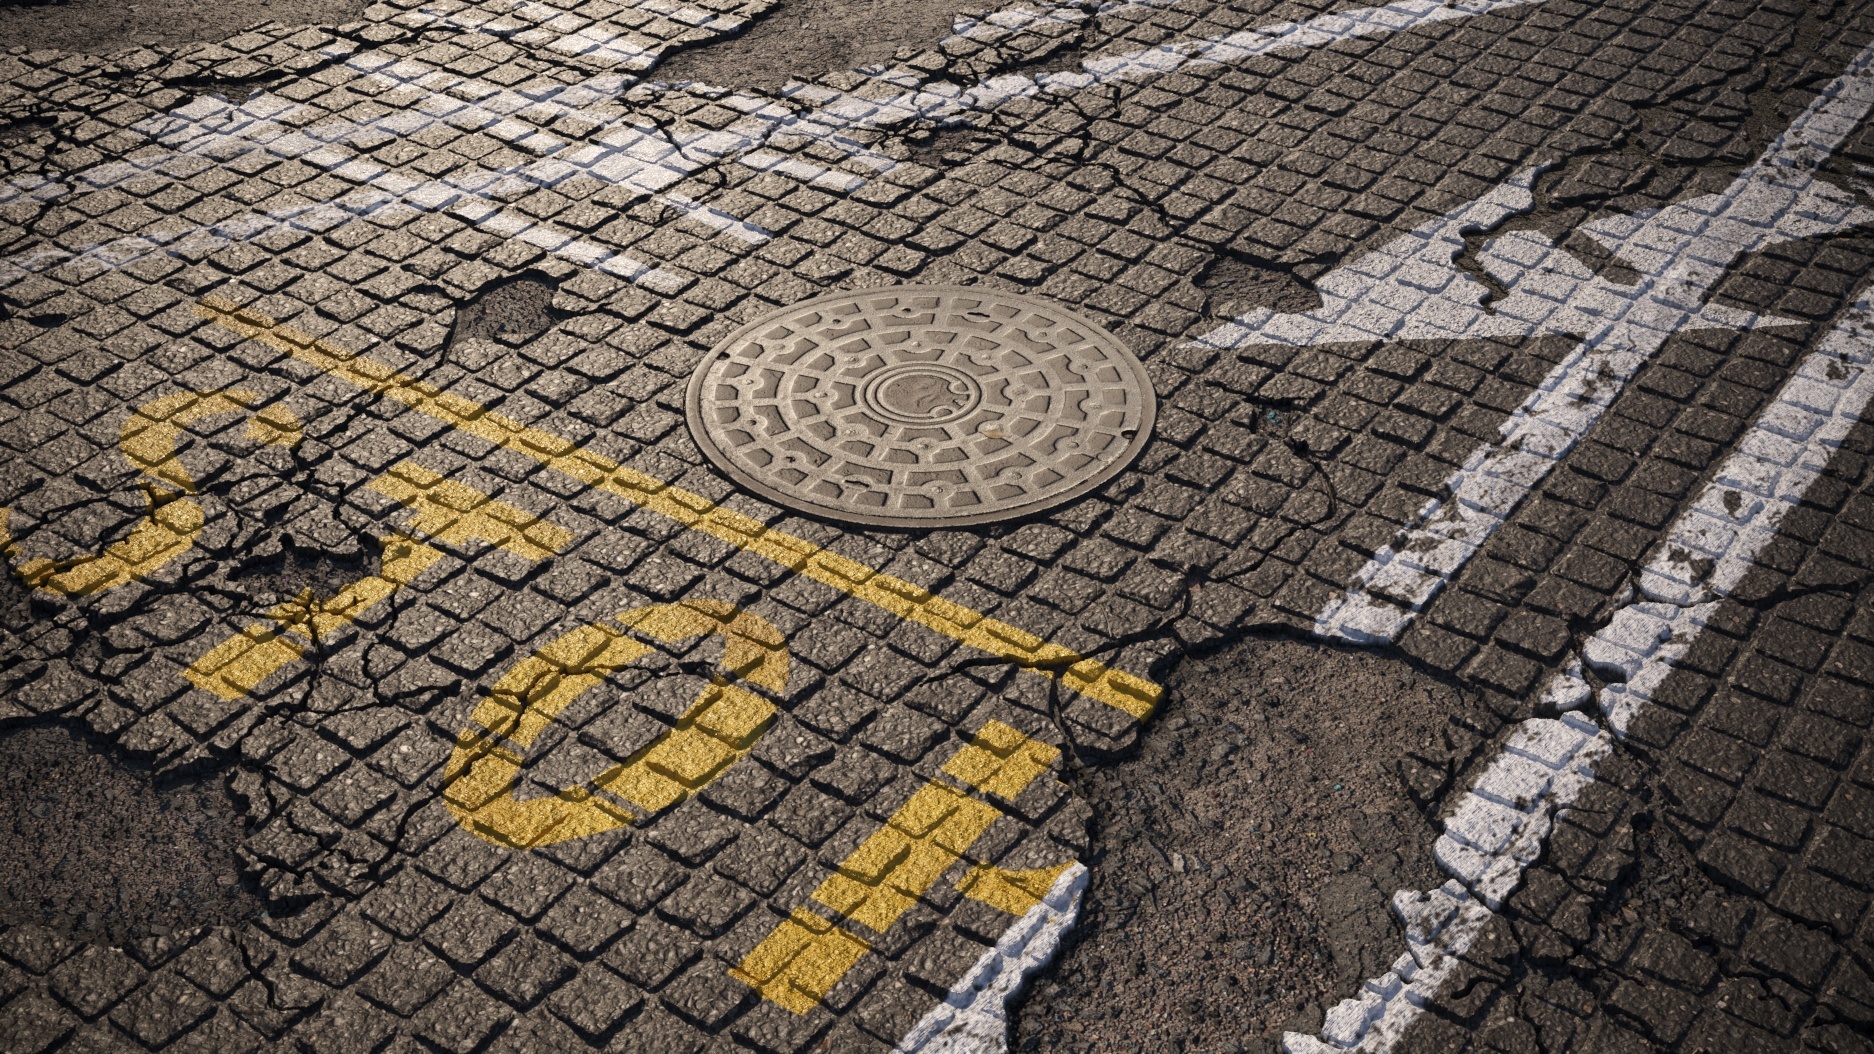
Overlaying many decals with varying vertical positions and options can quickly produce good-looking results:
Affect Base
...
| Section |
|---|
Starting with Corona 10, you can specify which base object(s) material channels a Corona Decal should affect. Both the decal and the base material need to be CoronaPhysicalMtl in order for decal channels to work properly!
If a channel is enabled, it replaces the corresponding base object material channel where the decal is projected. If a channel is disabled, e.g. Color - base object material color is used instead. |
| Section | ||||||||||||||||||||||||||||
|---|---|---|---|---|---|---|---|---|---|---|---|---|---|---|---|---|---|---|---|---|---|---|---|---|---|---|---|---|
|


...
| Section |
|---|
Bump and Displacement channels have an additional option - they can be added to the base layer. If "Add to base" is disabled for Bump or Displacement, they replace the corresponding base layer effects: |
The same principle applies to Displacement:
| Section | |||||||||||||||||||||||
|---|---|---|---|---|---|---|---|---|---|---|---|---|---|---|---|---|---|---|---|---|---|---|---|
|


...
| Section | |||||||||||||||||||||
|---|---|---|---|---|---|---|---|---|---|---|---|---|---|---|---|---|---|---|---|---|---|
|


Overlaying many decals with varying vertical positions and options can quickly produce good-looking results.
Only “Displacement” is enabled under the “Affect Base” section. This way, only the displacement map of the decal affects the base object's material. Otherwise, we would be also affecting other channels such as diffuse color or reflectivity.
By the way, the ripples on the water surface are also achieved with a decal using a procedural gradient map.

| Section | ||||||||||||||||||
|---|---|---|---|---|---|---|---|---|---|---|---|---|---|---|---|---|---|---|
| ||||||||||||||||||
|


