![]()
Page History
...
- In the Common tab of the Render Setup dialog, set the 3ds Max output resolution to something small, like 100x100 pixels:

- Switch to the V-Ray tab and make sure that the V-Ray frame buffer is enabled.
- Turn off the Memory frame buffer option - this causes V-Ray to not allocate memory to hold the final image. Instead, it will be writing directly to disk.
- Turn off the option Get resolution from 3ds Max, and then set the desired resolution in the VFB, such as 30000 x 20000 shown below.

- Turn on the V-Ray raw image file option, and select a .vrimg or OpenEXR file output file name, as shown above. You are also able to select a Multi-Channel OpenEXR as the output format. Note that if you choose an OpenEXR file, it will be a tiled file and not scanline-based, because Memory frame buffer is off. However, OpenEXR files do support multi-channel output when the Memory frame buffer is turned off.
Optionally, turn on the Generate preview option so that V-Ray can generate a small resolution preview of the final result.
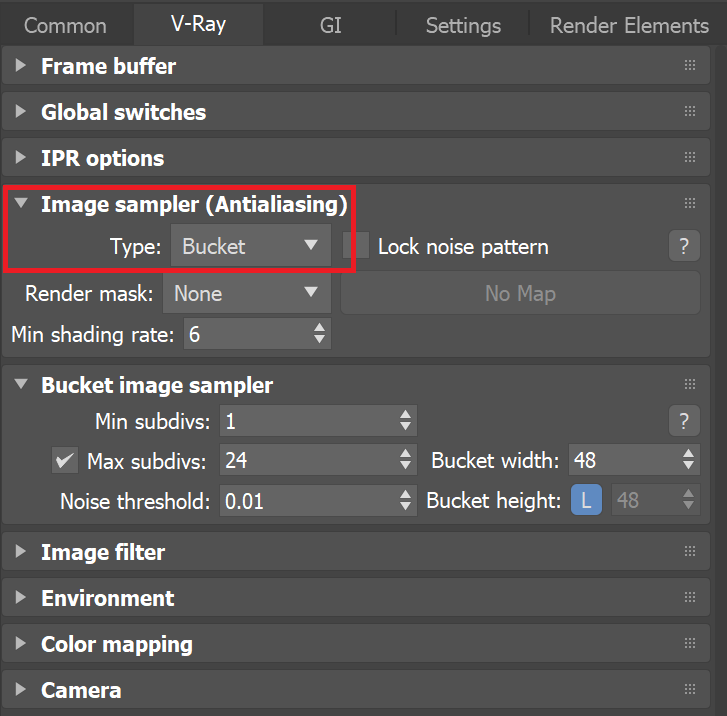
- In the Image sampler rollout, switch the Image sampler Type to Bucket as shown below.

- Render the image.
If you rendered to a .vrimg file, you can use the VRImg to OpenEXR tool to convert the file to a scanline-based OpenEXR file.
UI Text Box type note Due to increasing the resolution of the rendered image, you may find that the render settings may need to be revised to keep the render noise free due to the large size.