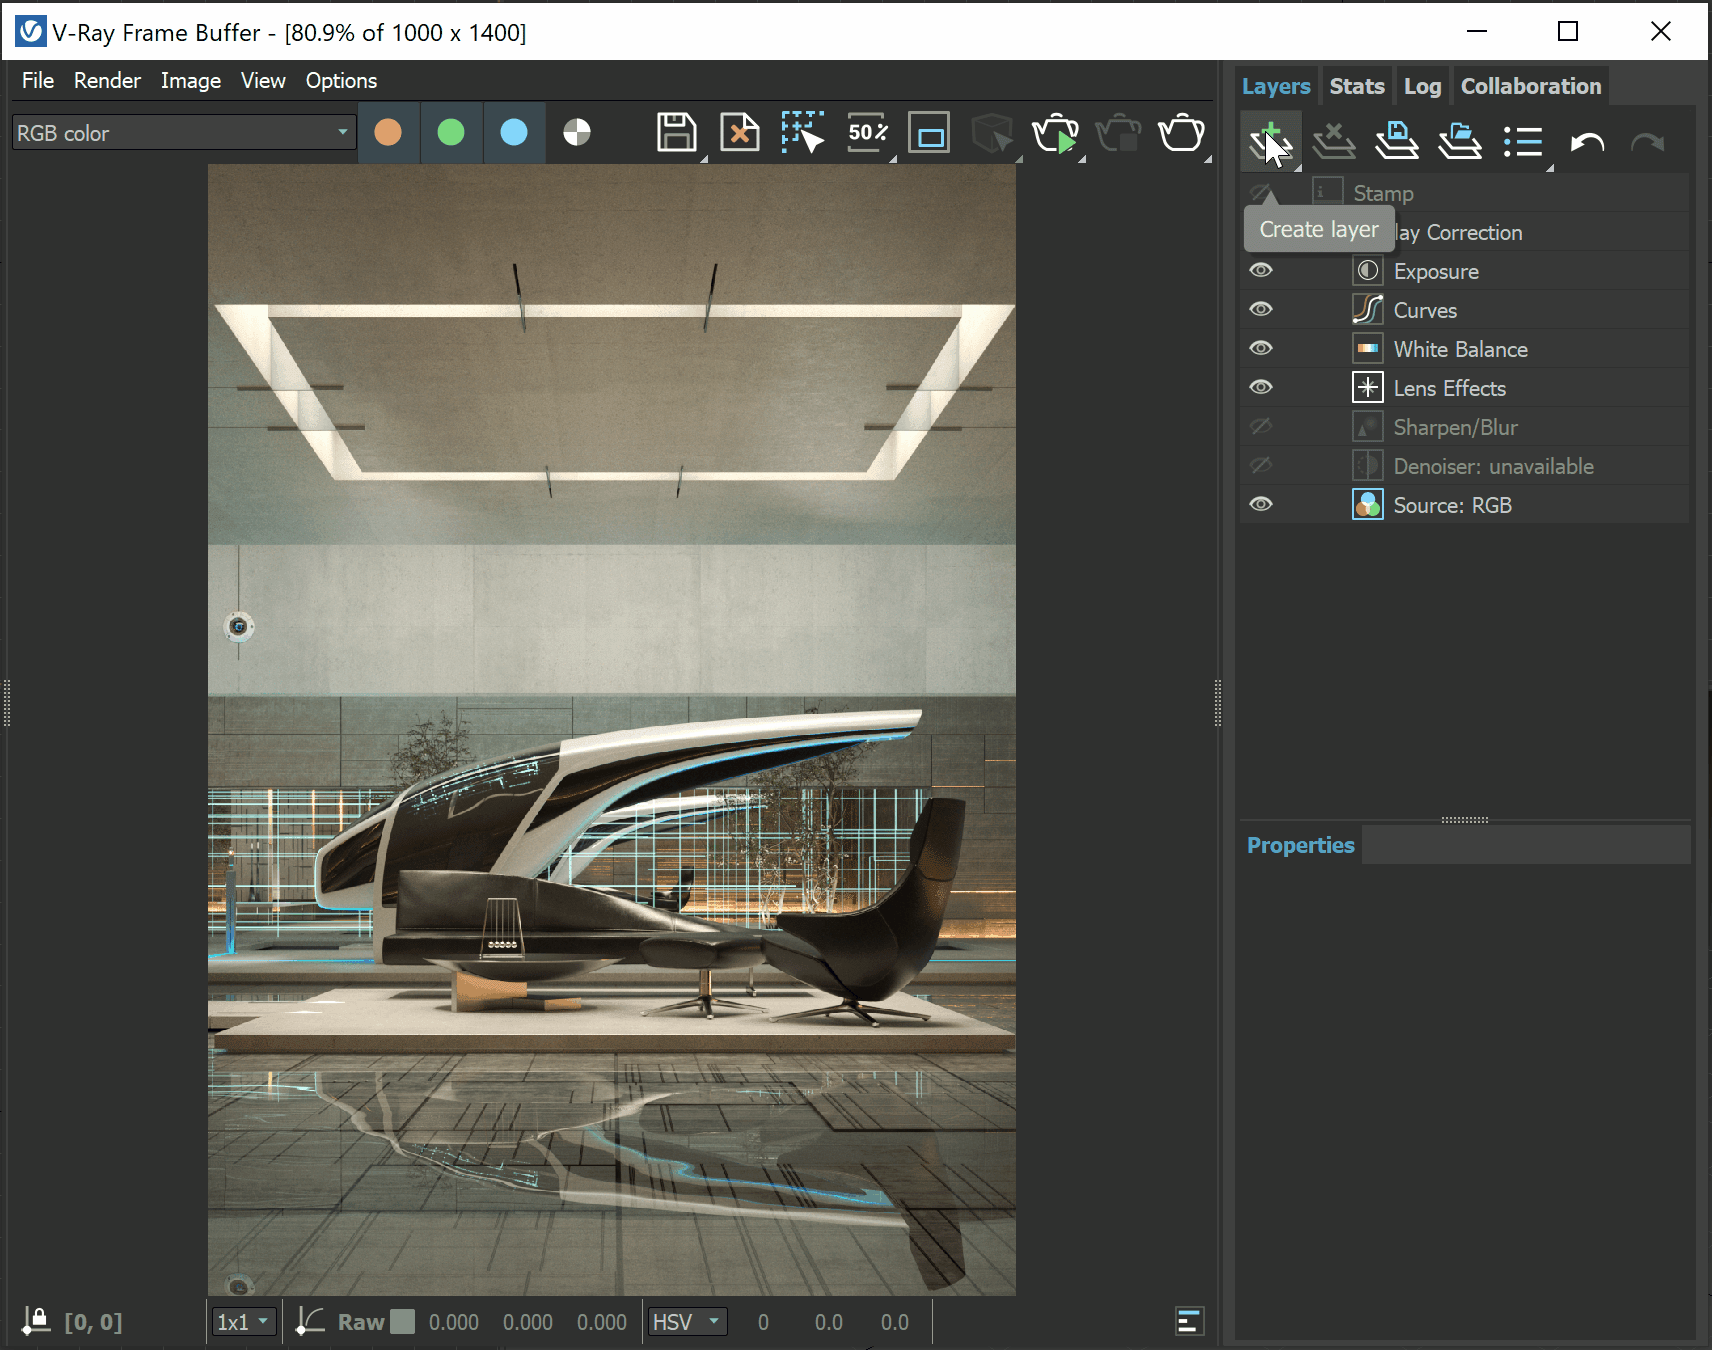
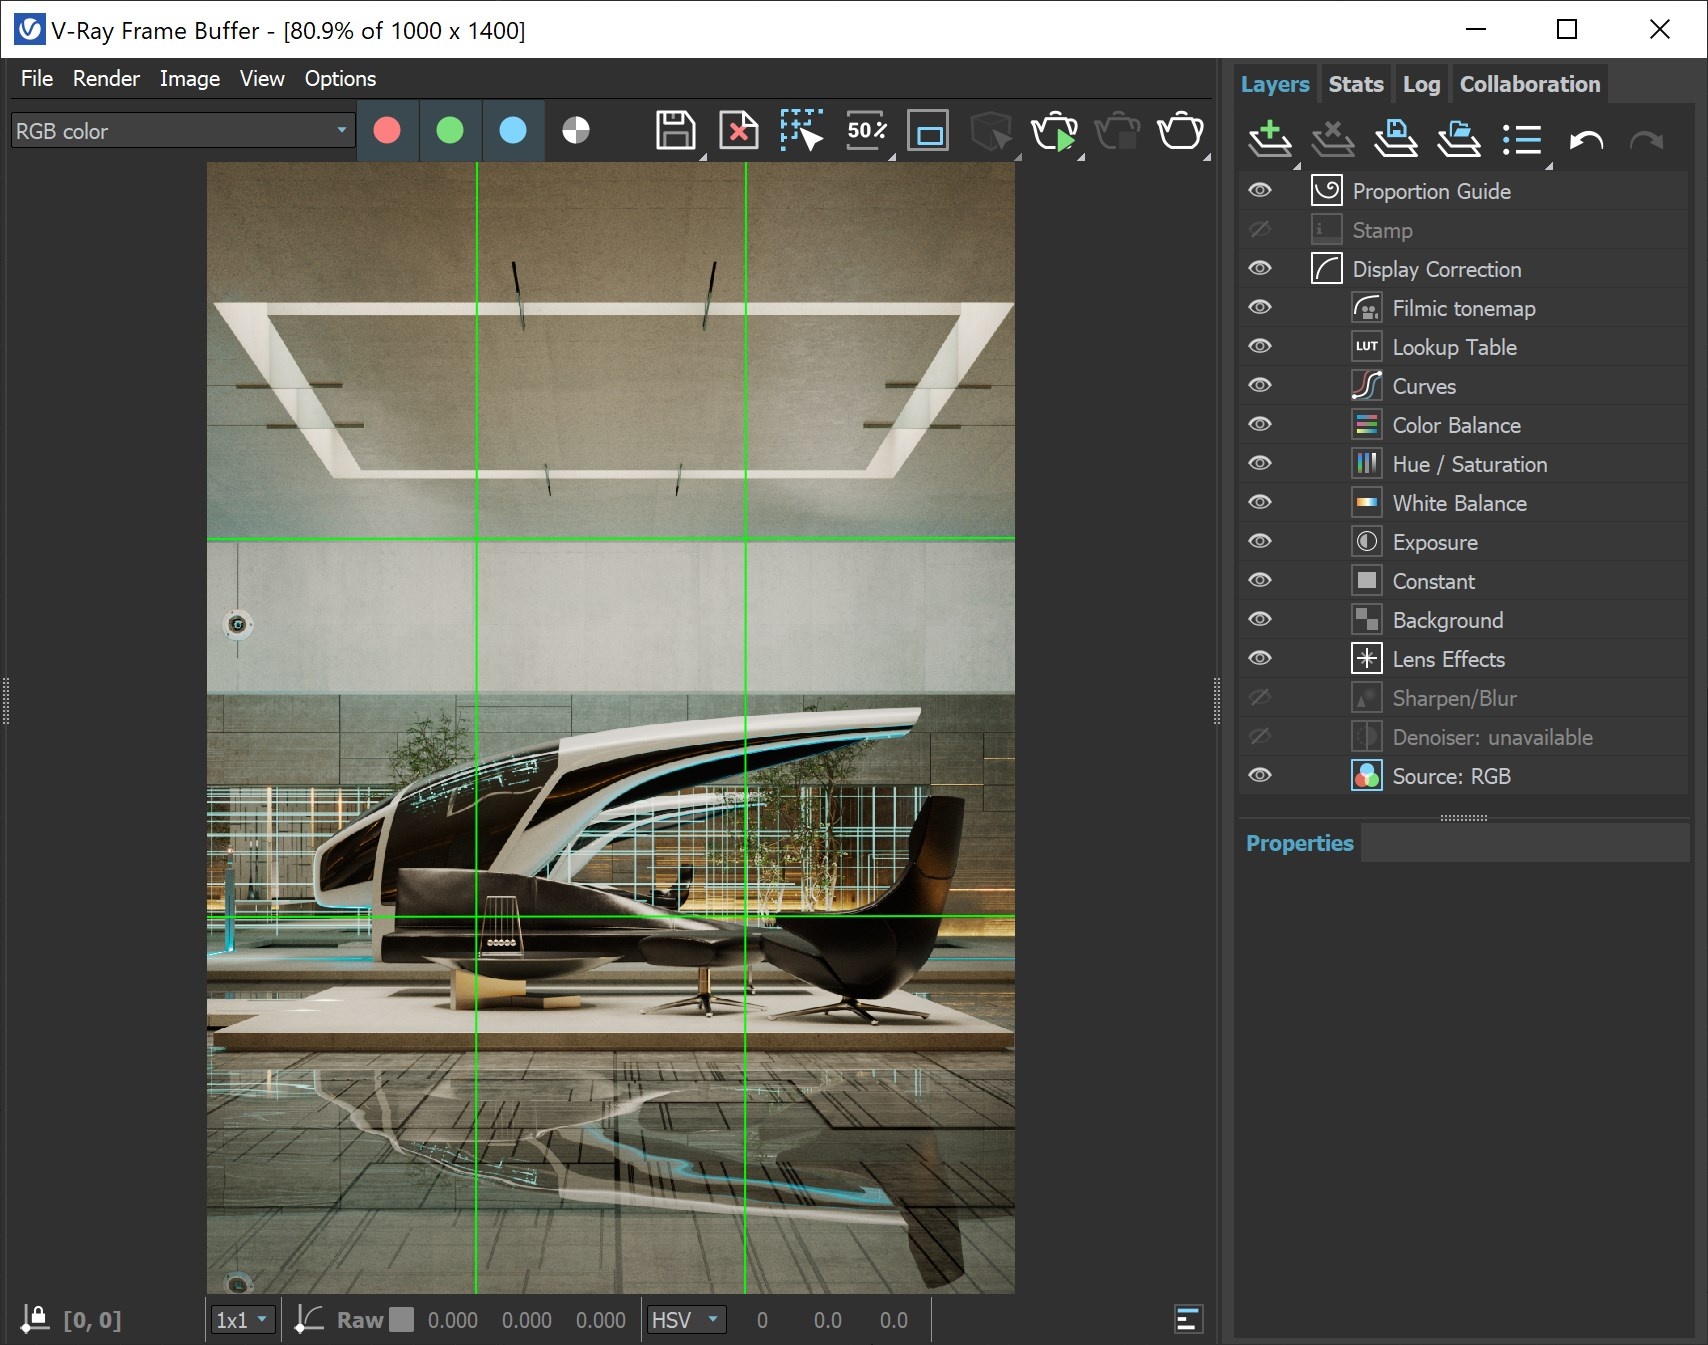
This page contains information on the Layers panel in the new V-Ray Frame Buffer.
Overview
...
Section
Column
width
55%
The Layers panel in V-Ray Frame Buffer provides a new powerful workflow for making adjustments to your rendered image. You can bring out render elements and compose them together with individual color corrections in the panel's Composite mode, or deconstruct light contribution in the scene and fine-tune each light individually in the completed render using the VRayLightMix mode. You can also color correct the final render just like you were able to do in the previous version of VFB.
UI Text Box
type
info
New VFB is available in 3ds Max 2018 or later. Older 3ds Max versions only support the previous V-Ray VFB.
UI Expand
title
UI Path: ||V-Ray Frame Buffer|| > Layers
Column
width
5%
Column
width
40%
...
Section
Column
width
65%
The V-Ray Masks are used to refine only selected parts of the rendered image in the New VFB. They can be applied to Color correction layers and also to Folders in the VFB layers tree.
When one or more masks are applied to a Folder or Color correction layer, a mask icon is placed in front of it in the layer tree to signify its presence. The parameters of each mask are available in their own separate tabs to the Properties of the masked layer or folder.
When a folder or a color correction layer has mask(s), the Show masks' preview option is available in the Parameters Tab of the respective folder/color correction layer. This option shows a preview of the masks elements when selected.
For more information on masks, see the Masks page.