![]()
Page History
...
| Section |
|---|
||Revit Ribbon|| > V-Ray tab > Render panel > Show / Hide Frame Buffer
|

VFB Menu
...
The V-Ray Frame Buffer menu holds the main frame buffer commands. Some of the options are also available in the VFB toolbar for quick access.
...
| Section | |||||||||||||||
|---|---|---|---|---|---|---|---|---|---|---|---|---|---|---|---|
|
...
| Section | |||||||||||||||||||||||||
|---|---|---|---|---|---|---|---|---|---|---|---|---|---|---|---|---|---|---|---|---|---|---|---|---|---|
|

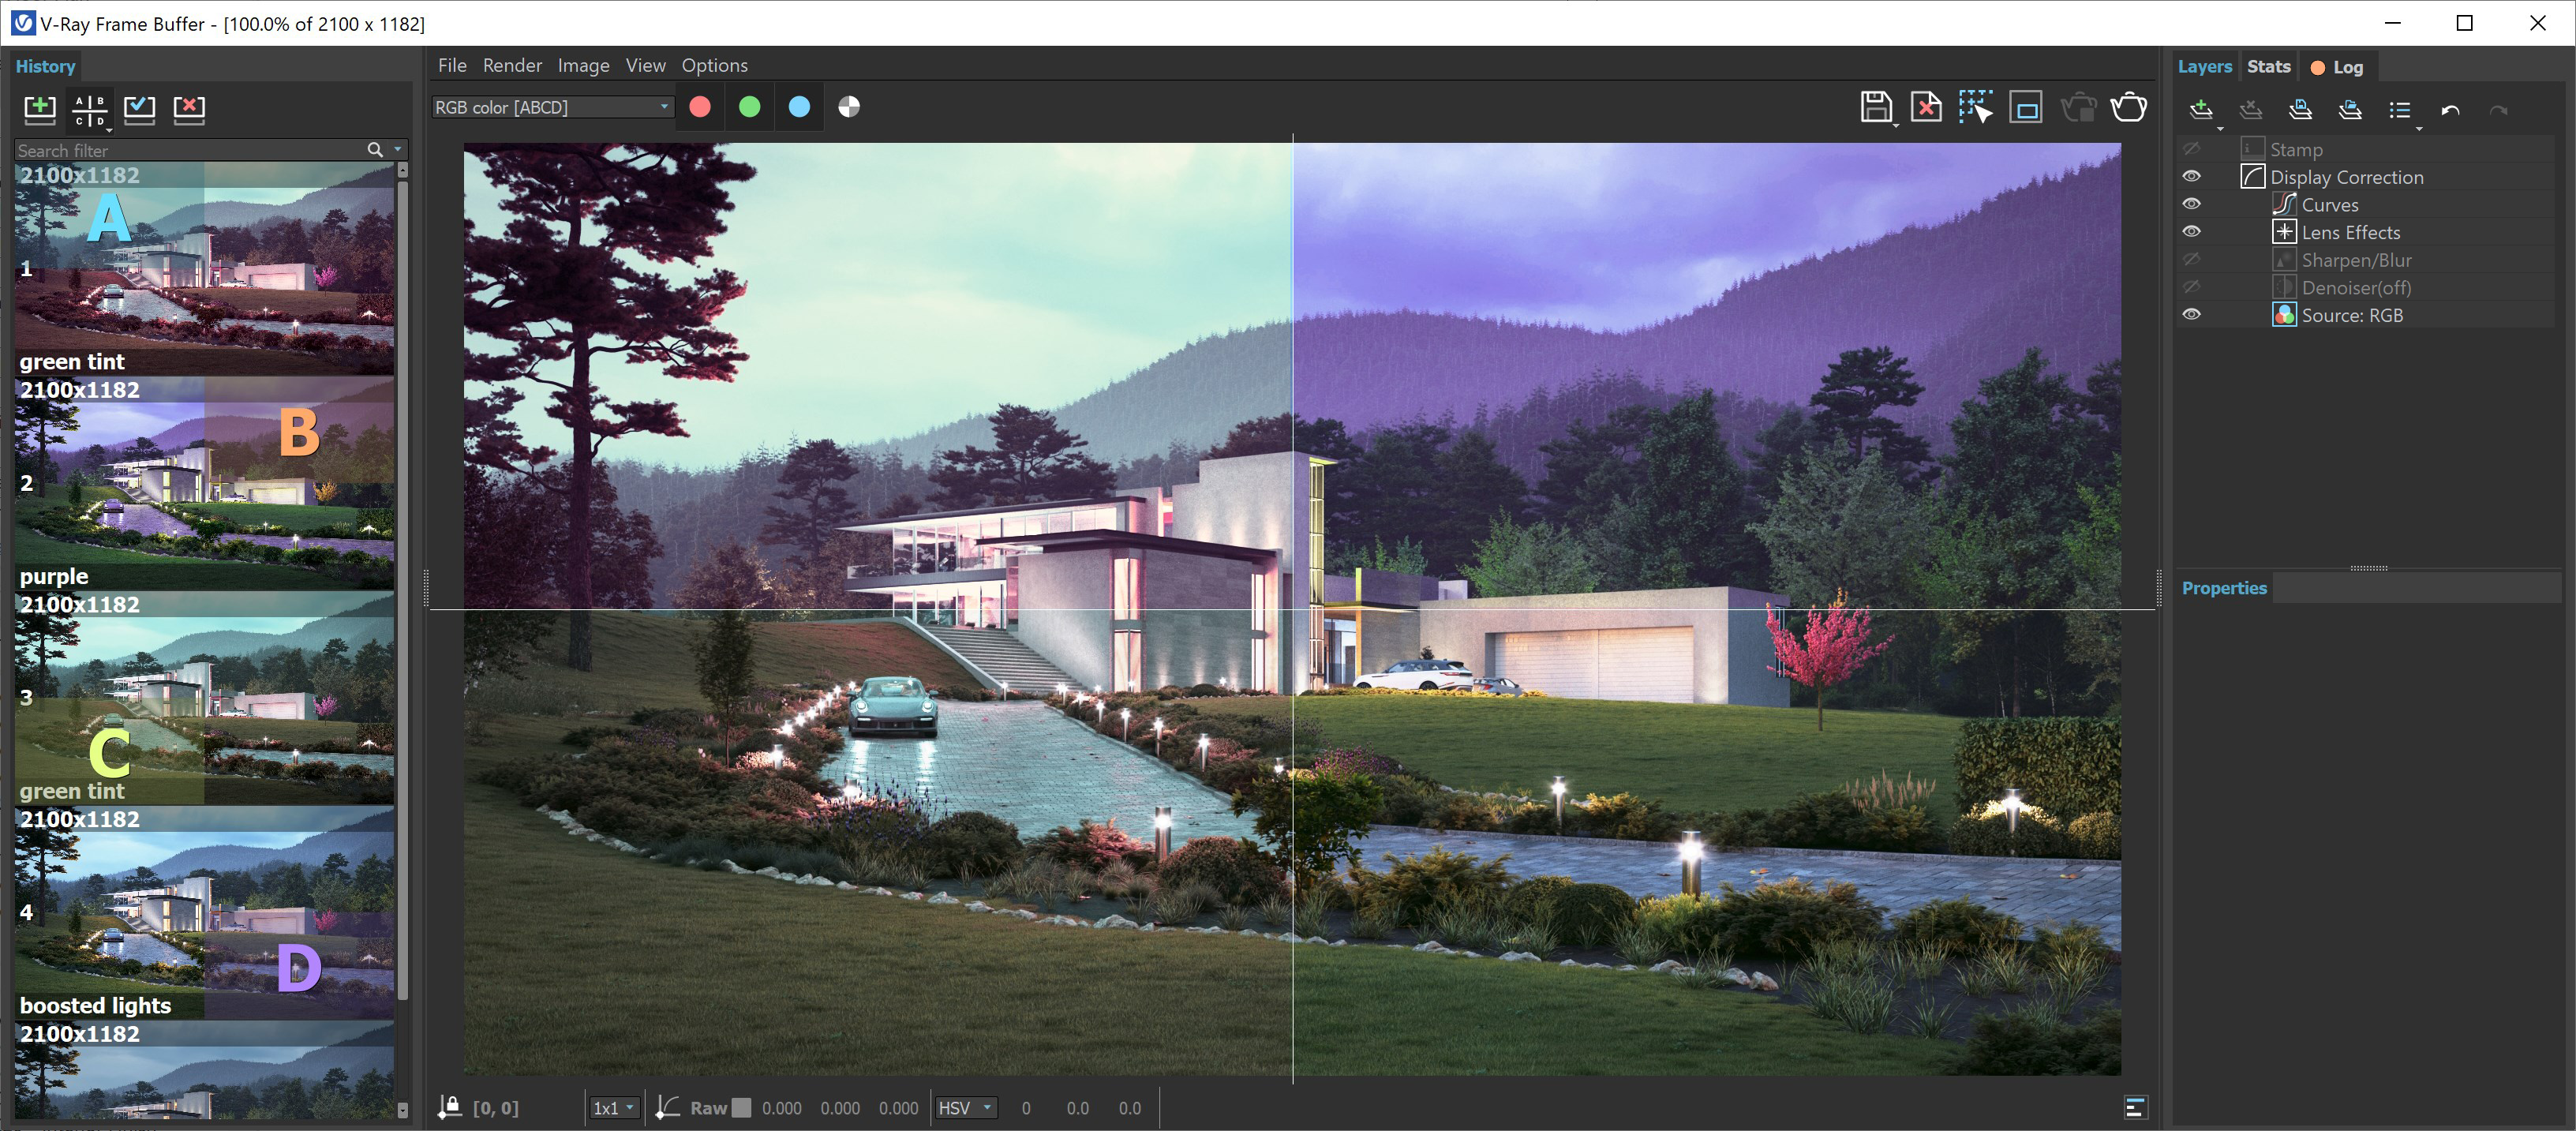
Layers
...
The New V-Ray Frame Buffer includes a suite of color corrections and tools for adjusting the image. The tools are added as layers and displayed in a layer tree. Enable or disable a particular tool using the visibility icon (![]() ) to the left of its name. The
) to the left of its name. The ![]() icon indicates that a layer is disabled.
icon indicates that a layer is disabled.
...
| Section | |||||||||||||||
|---|---|---|---|---|---|---|---|---|---|---|---|---|---|---|---|
|

VFB Shortcuts
These shortcuts navigate through the VFB image. Please note that the VFB window must have the current focus for the shortcuts to have effect:
Log
...
The Log panel provides messages about the render process. Verbosity control is available and you can filter the type of messages shown in the Log: All, Error Only, Error & Warnings, or Error, Warnings & info. Additional options are available when you click on the Open options ![]() button:
button:
Show progress – Shows a completion percent of each task (e.g. building Light Cache).
Wrap – Wraps longer lines in order to avoid horizontal scroll.
Undock – Docks/undocks the Log tab.
Note that the V-Ray Log is also accessible via the Show log button.
The Log tab can be detached and used as a separate window or docked elsewhere.
| UI Text Box | ||
|---|---|---|
| ||
Ctr+F opens a search field at the bottom of the Log tab. |
| Section | |||||||||||||||
|---|---|---|---|---|---|---|---|---|---|---|---|---|---|---|---|
|

VFB Shortcuts
...
These shortcuts navigate through the VFB image. Please note that the VFB window must have the current focus for the shortcuts to have effect:
| Mouse | Description |
| Mouse wheel | Zoom in/Zoom out |
| Double-click left button | Zoom to 100% |
| Middle button dragging | Pan (hand tool) |
| Ctrl+Shift+Left click | Zoom in the rendered image |
| Ctrl+Shift+Right click | Zoom out the rendered image |
| Keyboard | Description |
| Global | |
| H | Show/hide history |
| P | Show/hide only layers tree |
| Ctrl+L | Show/hide whole right panel |
| F11 | Toggle full screen |
| S | Show/hide VFB settings |
| History/Render View | |
| E | Enable history A/B/C/D compare mode |
| Q | Enable history A/B horizontal compare mode |
| W | Enable history A/B vertical compare mode |
| N | Edit a note in VFB History panel |
| 1-9 | Load the respective image from the new VFB history |
| Layers/Property Panel | |
| Ctrl+Y | Redo various actions related to layers such as create, delete, reorder or modify a layer. |
| Ctrl+Z | Undo various actions related to layers such as create, delete, reorder or modify a layer. |
| Layers | |
| Del | Delete layer |
| Message Log | |
| Esc | Close search |
| Ctrl+F | Activate the Search field in Log tab |
| Return | Find next |
| Shift+Return | Find previous |
| Render View | |
| Esc | Abort render |
| Ctrl+C | Copy the VFB image to the Windows clipboard; the image is copied exactly as it appears on the screen (meaning sRGB/LUT/OCIO etc. corrections are applied). The full resolution image is copied to the clipboard, even if the VFB view is zoomed in/out. |
| Ctrl+O | Load image |
| L | Lock the mouse pointer coordinates and display information for the selected pixel, i.e. activate the Lock pixel info coordinates button. |
| Arrow keys | Pan image |
| left, up, right, down |
| A |
...
| Switch to Alpha channel | |
| B | View Blue channel |
| G | View Green channel |
| R | View Red channel |
| Page Down | View next channel |
| Page Up | View previous channel |
| * | Zoom to 100% |
| + / = | Zoom in |
| -/_ | Zoom out |
| F | Fit region or whole image in the VFB |
Render Region
...
Use Render Region in both Interactive and Production rendering modes to isolate only part of the frame for rendering.
...