This page provides information on V-Ray Triplanar Texture Mapping.
Overview
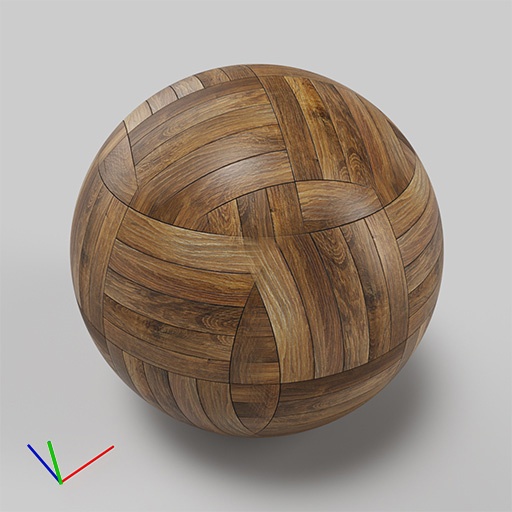
The VRayTriplanarTex texture allows quick assignment of bitmap and other 2D textures on objects that don't have suitable UV coordinates. The texture works by projecting one or more textures along the object-space axes depending on the surface normals of the shaded object.
The texture works both for colors and bump maps.


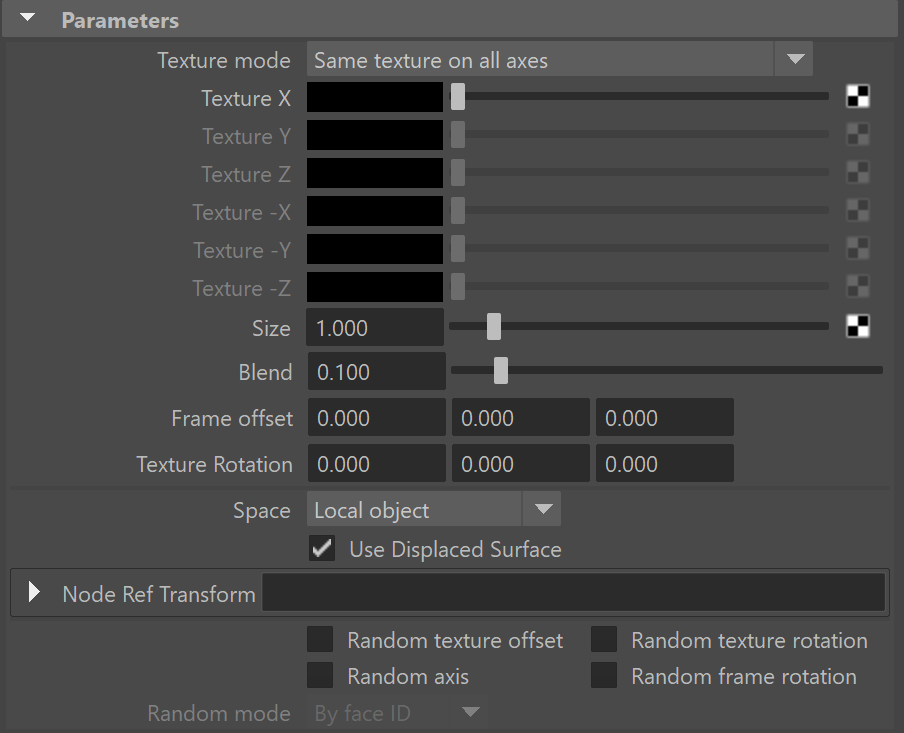
Parameters
Texture mode – Specifies whether to use one, three or six textures for the different projection axes. For more information, please see the Texture mode example below.
Same texture on all axes – Projects the same texture along each local axis.
Different texture on each axis – Uses a different texture along each axis.
Different texture on each axis in each direction – Uses a different texture on all axes, including the negative direction ones.
Texture X – The texture to project along the X axis when the texture mode is set to Different texture on each axis.
Texture Y – The texture to project along the Y axis when the texture mode is set to Different texture on each axis.
Texture Z – The texture to project along the Z axis when the texture mode is set to Different texture on each axis.
Texture −X 1 – The texture to project along the negative X axis when the texture mode is set to Different texture on each axis in each direction.
Texture −Y1 – The texture to project along the negative Y axis when the texture mode is set to Different texture on each axis in each direction.
Texture −Z1– The texture to project along the negative Z axis when the texture mode is set to Different texture on each axis in each direction.
Size – Adjusts the size of the texture. Note that it is dependent on the scene units. If the scene units are changed, the value of the Size parameter changes automatically, and the render remains the same. For more information, please see the Size example below.
The Scale parameter is deprecated and replaced with the Size parameter.
When opening an old scene, the Scale parameter is automatically converted to the Size parameter. However, if there is a texture attached to it, the parameter is not converted. You can reattach the texture but it might need further tweaking.
Blend – Controls the blend between the different projections. Lower values produce sharper transitions between projections. For more information, please see the Blend example below.
Frame offset – Moves the point relative to which the textures are projected.
Texture Rotation – Specifies rotation (in degrees) for the projected textures around the respective projection axis. If random texture rotation is enabled, non-zero components of this parameter specify increments for the rotation. For more information, please see the Texture Rotation example below.
Space – Specifies the type of projection space:
Local object – The projection is done in local object space. When the object is moved/rotated/scaled, the texture moves with it.
Reference transform – The projection is done in the local space of another node in the scene. If no node is specified, world space is used. This mode is useful when several objects need to be mapped with the same triplanar texture and to show consistent mapping.
Use Displaced Surface – Uses the displaced geometry to calculate triplanar mapping if there is displacement. When disabled, the triplanar uses the geometry before displacement.
Composition – Available when the Space parameter is set to Reference transform.
Matrix – Available when the Space parameter is set to Reference transform.
Random texture offset – Randomizes the texture offset based on the Random mode.
Random texture rotation – Randomizes the texture rotation based on the Random mode. The rotation can be locked to specific increments (i.e. 45 degrees only, or 90 degrees only) by setting the Texture Rotation components to the desired increments for the different axes.
Random axis – Randomly changes the projection axes based on the Random mode.
Random frame rotation – Randomly rotates the entire projection space based on the Random mode.
Random mode – Specifies how to generate the random seed needed for the various randomizations: For more information, see the Randomizations example below.
By face ID – Computes the seed based on the face material ID of the mesh.
By render ID – Computes the seed based on the render ID of the objects.
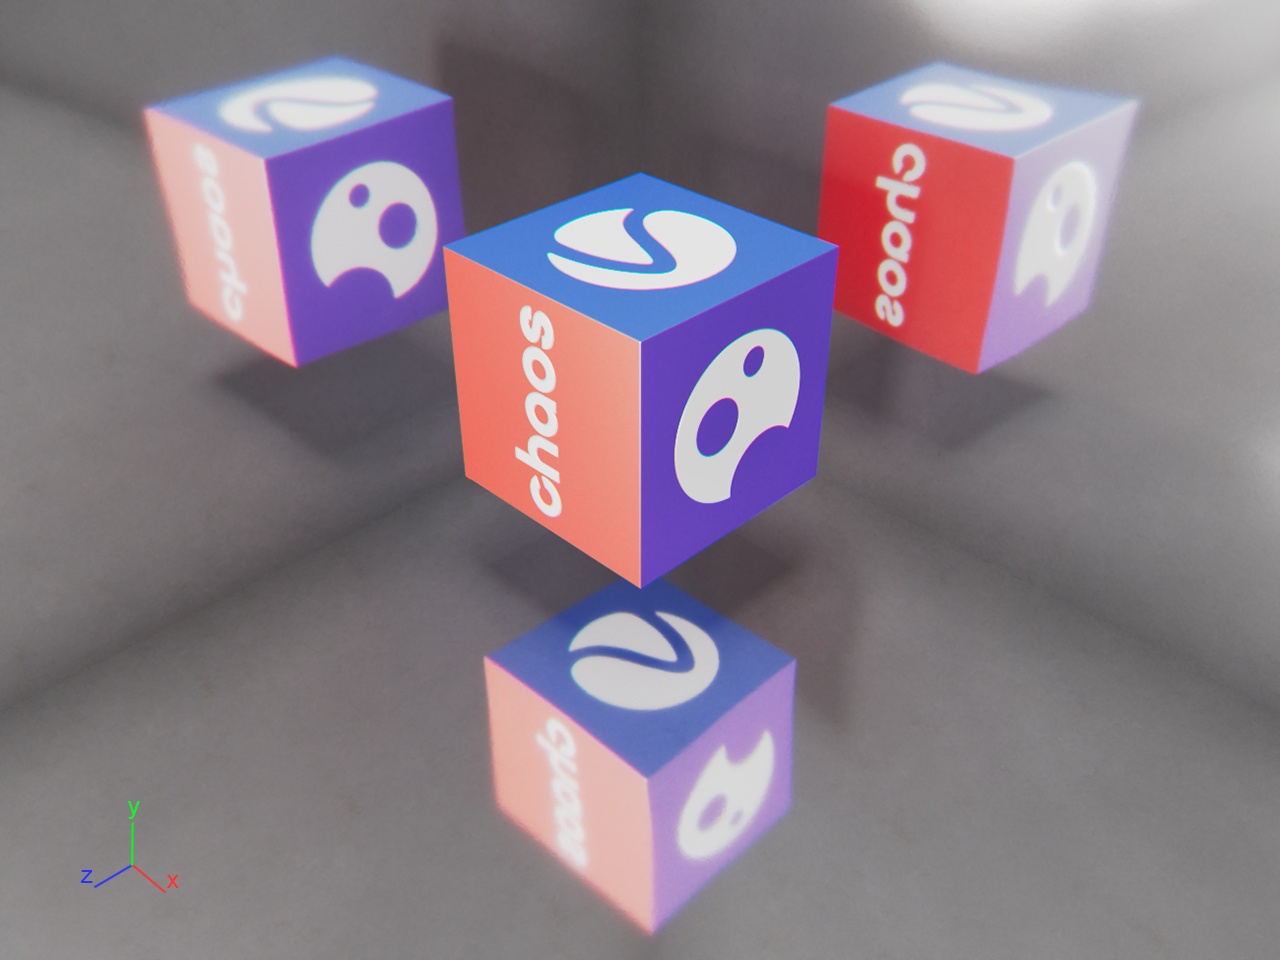
Example: Texture modes
In this example, a cube with different chaos product logos is placed in a mirrored room. A VRayMtl with a TriPlanar texture as a Diffuse Color is applied to the cube. When the Texture mode is set to Same texture on all axes, we can place one texture and apply it to all the sides of the cube.
When the Texture mode is set to Different texture on each axis, we can apply a different texture to each axis of the cube. The Texture Rotation option can rotate the texture on each axis individually, but it cannot flip the texture. In this example, we only rotate along the Z-axis.
When the Texture mode is set to Different texture on each axis in each direction, we can apply different textures to each direction - positive and negative, of the axes of the cube. We can modify the look of each direction individually.
In the last image, we want to change the orientation of the Chaos, Cosmos, and Phoenix logos in the reflections. To do this, we need to flip them. The Chaos logo - vertically and the other two - horizontally. We use the native place2d Maya node. We set its Repeat UV parameter to U = 1.0, V = -1.0 for the Chaos logo, and to U = -1.0 V, = 1.0 for the Cosmos and Phoenix logos.

The Repeat UV parameter is set to U = 1.0, V = -1.0 for the Chaos logo texture.

Texture mode = Same texture on all axes
 Texture mode = Different texture on each axis

Texture mode = Different texture on each axis, Texture Rotation = 0.0 0.0 90.0
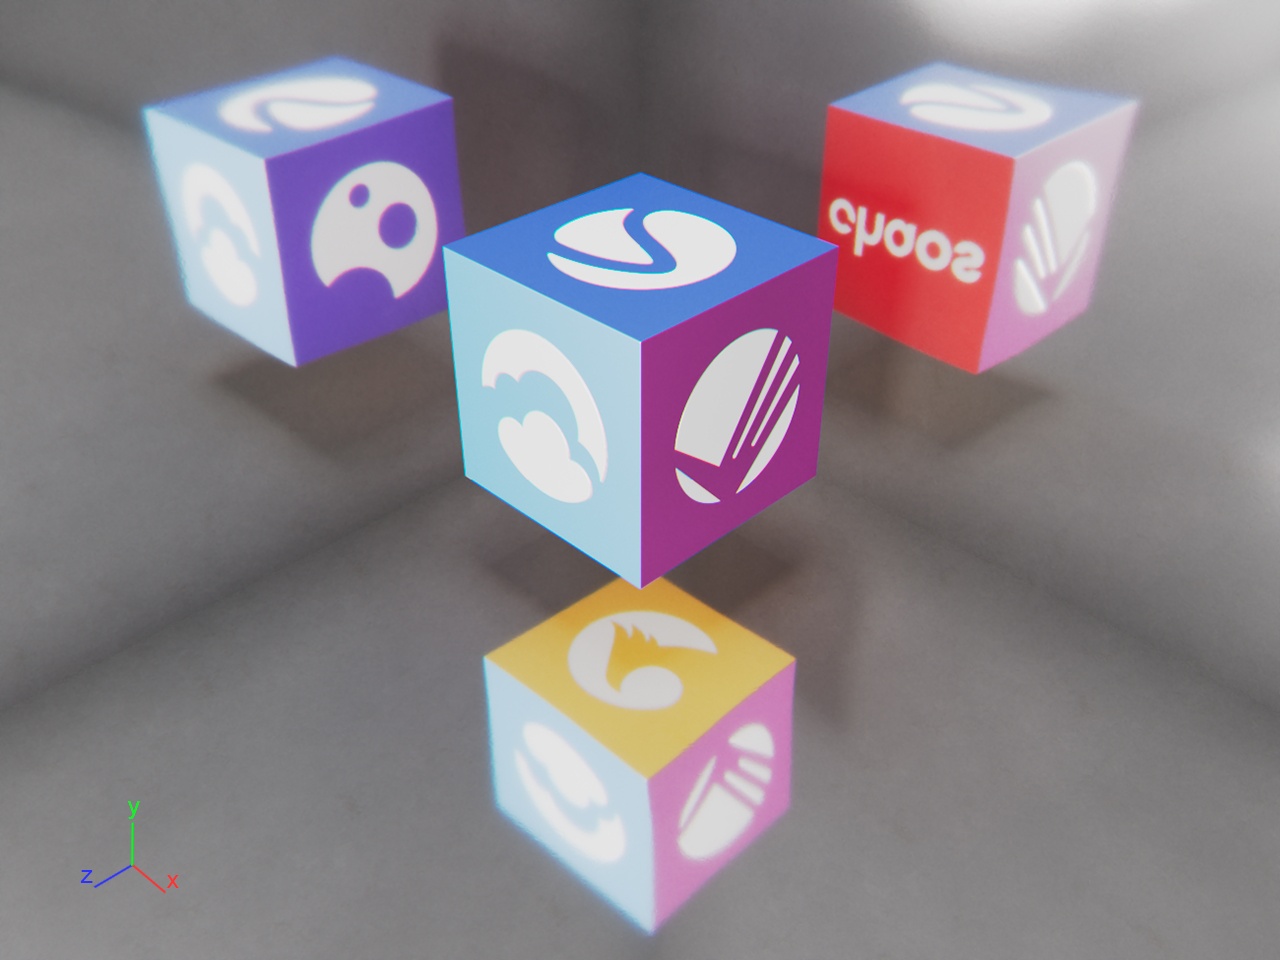
Texture mode = Different texture on each axis in each direction

Texture mode = Different texture on each axis in each direction, Negative axes textures flipped using Repeat UV parameter
Example: Size
Example: Blend

Size = 25cm
Size = 50cm

Size = 100cm

Blend = 0.000

Blend = 0.100

Blend = 0.300
Example: Texture Rotation

Texture Rotation = 0.000, 0.000, 0.000

Texture Rotation = 30.000, 0.000, 0.000

Texture Rotation = 0.000, 30.000, 0.000
Texture Rotation = 0.000, 0.000, 30.000
Example: Randomizations
This example shows the effect of the different randomization options; the Random mode is set to By render ID, and the space is Reference transform.

no randomization

Random texture offset is enabled

Random texture rotation is enabled

Random frame rotation is enabled

Random axis is enabled is enabled
Advanced Workflow Tips
The following examples provide some details on how to maximize the capabilities of the Triplanar Texture with workflow tips and tricks.
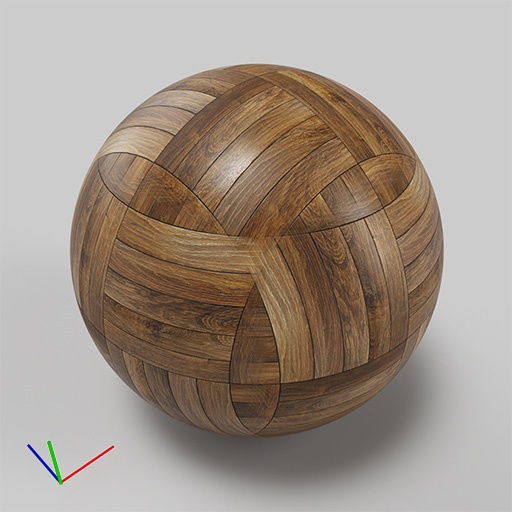
Using Another Object as a Reference Transform
In this example, we'll use a Locator's World Matrix values with the Triplanar's Reference transform space so when the Locator is rotated, it rotates the texture as well. This helps get around the fact that some of the texture's attributes like Size and Blend do not include Create Render Node buttons to the right of their value sliders. Keys can still be set directly on these attributes but using the World Matrix attributes connected to the Triplanar's Node Ref Transform helps adjust the textures for us. Using this method with the Locators is much more artist/animator-friendly than setting keys on multiple parameters buried deep inside a shading network. In the examples below, the Locators adjust the rotation and size of the texture, but this can be applied to other forms of transform adjustments.
![]()
The two images below are rendered from the same camera, with no change to the geometry from one rendering to the next. However, the wood planter textures look different in the two renders. In the initial render below, the rotation of the wood planter textures is set based on what is needed for the shot to look its best. In the render at right, the Locator is rotated around and all the textures on the Triplanar Textures (the wood map on the sides and top) have rotated with it.
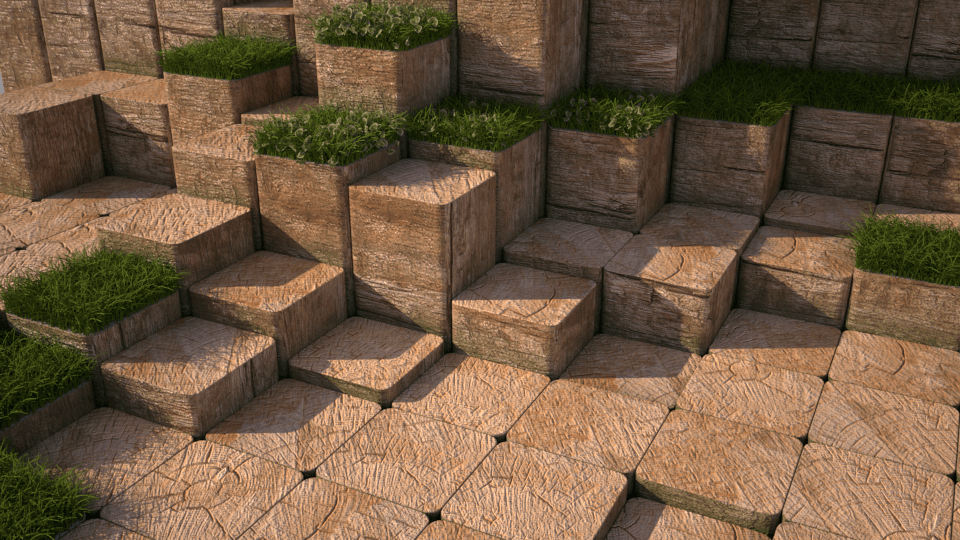
Initial Render

Locator is rotated which rotates all of the textures
In this second series of images, the size of the Locator is adjusted when the camera moves closer or further from the planters. This can help the textures to be more readable from a distance. In the node graph, we divide the size value to keep it in the typical range for this attribute and then drive it from a second Locator.
![]()

Based on the original size from the initial render, the camera is twice as far from the center planters and the Locator's size is increased to 2

In this render, the camera is half the distance of the initial render, therefore, the Locator's size is reduced to 0.5 (which also reduces the bump amount)
Notes
- The negative texture axes are not supported with V-Ray GPU yet.
- Currently VRayTriplanar only supports bitmaps when rendering with IPR GPU.