This page provides information about Light Mix Render Element in V-Ray for Revit.
Overview
The V-Ray Light Mix Render Element provides adjustment control to the lights in the project from inside the New V-Ray Frame Buffer.
When the V-Ray Light Mix Render Element is added prior to rendering, the intensity and color of lights and of light-emitting materials can be changed directly from the VFB during and after rendering. Lights can be enabled and disabled while rendering without the need to re-render the final output or to navigate to individual lights parameters during Interactive Rendering.
How to Set up Light Mix
To set the LightMix for use:
- Add the LightMix Render Element to your project. (Settings > Channel tab > LightMix rollout).
- Then, render the project.
- In the new VFB > Layers, set the Source to LightMix.
- Now you can tweak your lights.
Before rendering, set your lights to white (neutral) color and boost their intensity.
Rendering with lower intensity and then increasing it from the LightMix might produce noise in your render.
Parameters
Group by – Specifies how to group the lights into VFB channels:
Family Type – All instances of the same Revit family type are put in a separate channel in the VFB. This means that unique lights are distinguished in separate VFB channels indicating the respective family name and type.
Individual lights – Each light goes to a separate channel in the VFB indicating the respective family name + element ID. This mode is recommended only for projects with a small amount of lights.
Light Groups – Creates a separate channel for each group of lights using that light group name.
Exclude linked lights – When enabled, all lights from a linked Revit file go to an individual VFB channel. When disabled (default), the grouping rule is applied to lights in linked files too.

LightMix Mode Parameters
When the Source is set to LightMix, you can enable/disable lights and adjust light intensity and color during and after the render. The modifications can be saved as light mix presets and reused. Light Mix automatically creates Environment and Self Illumination render elements.
Reset – Resets all changes made to default values.
Save – Saves the changes as light mix preset.
Load – Loads a light mix preset.
To Composite – Sends the Light Selects from Light Mix to Composite for additional post adjustments.
Recent – Shows a list of recent light mix presets.
Checkbox – Enables/Disables the selected light.
Multiplier – Specifies an intensity multiplier.
Color Slot – Specifies a color for the selected light.

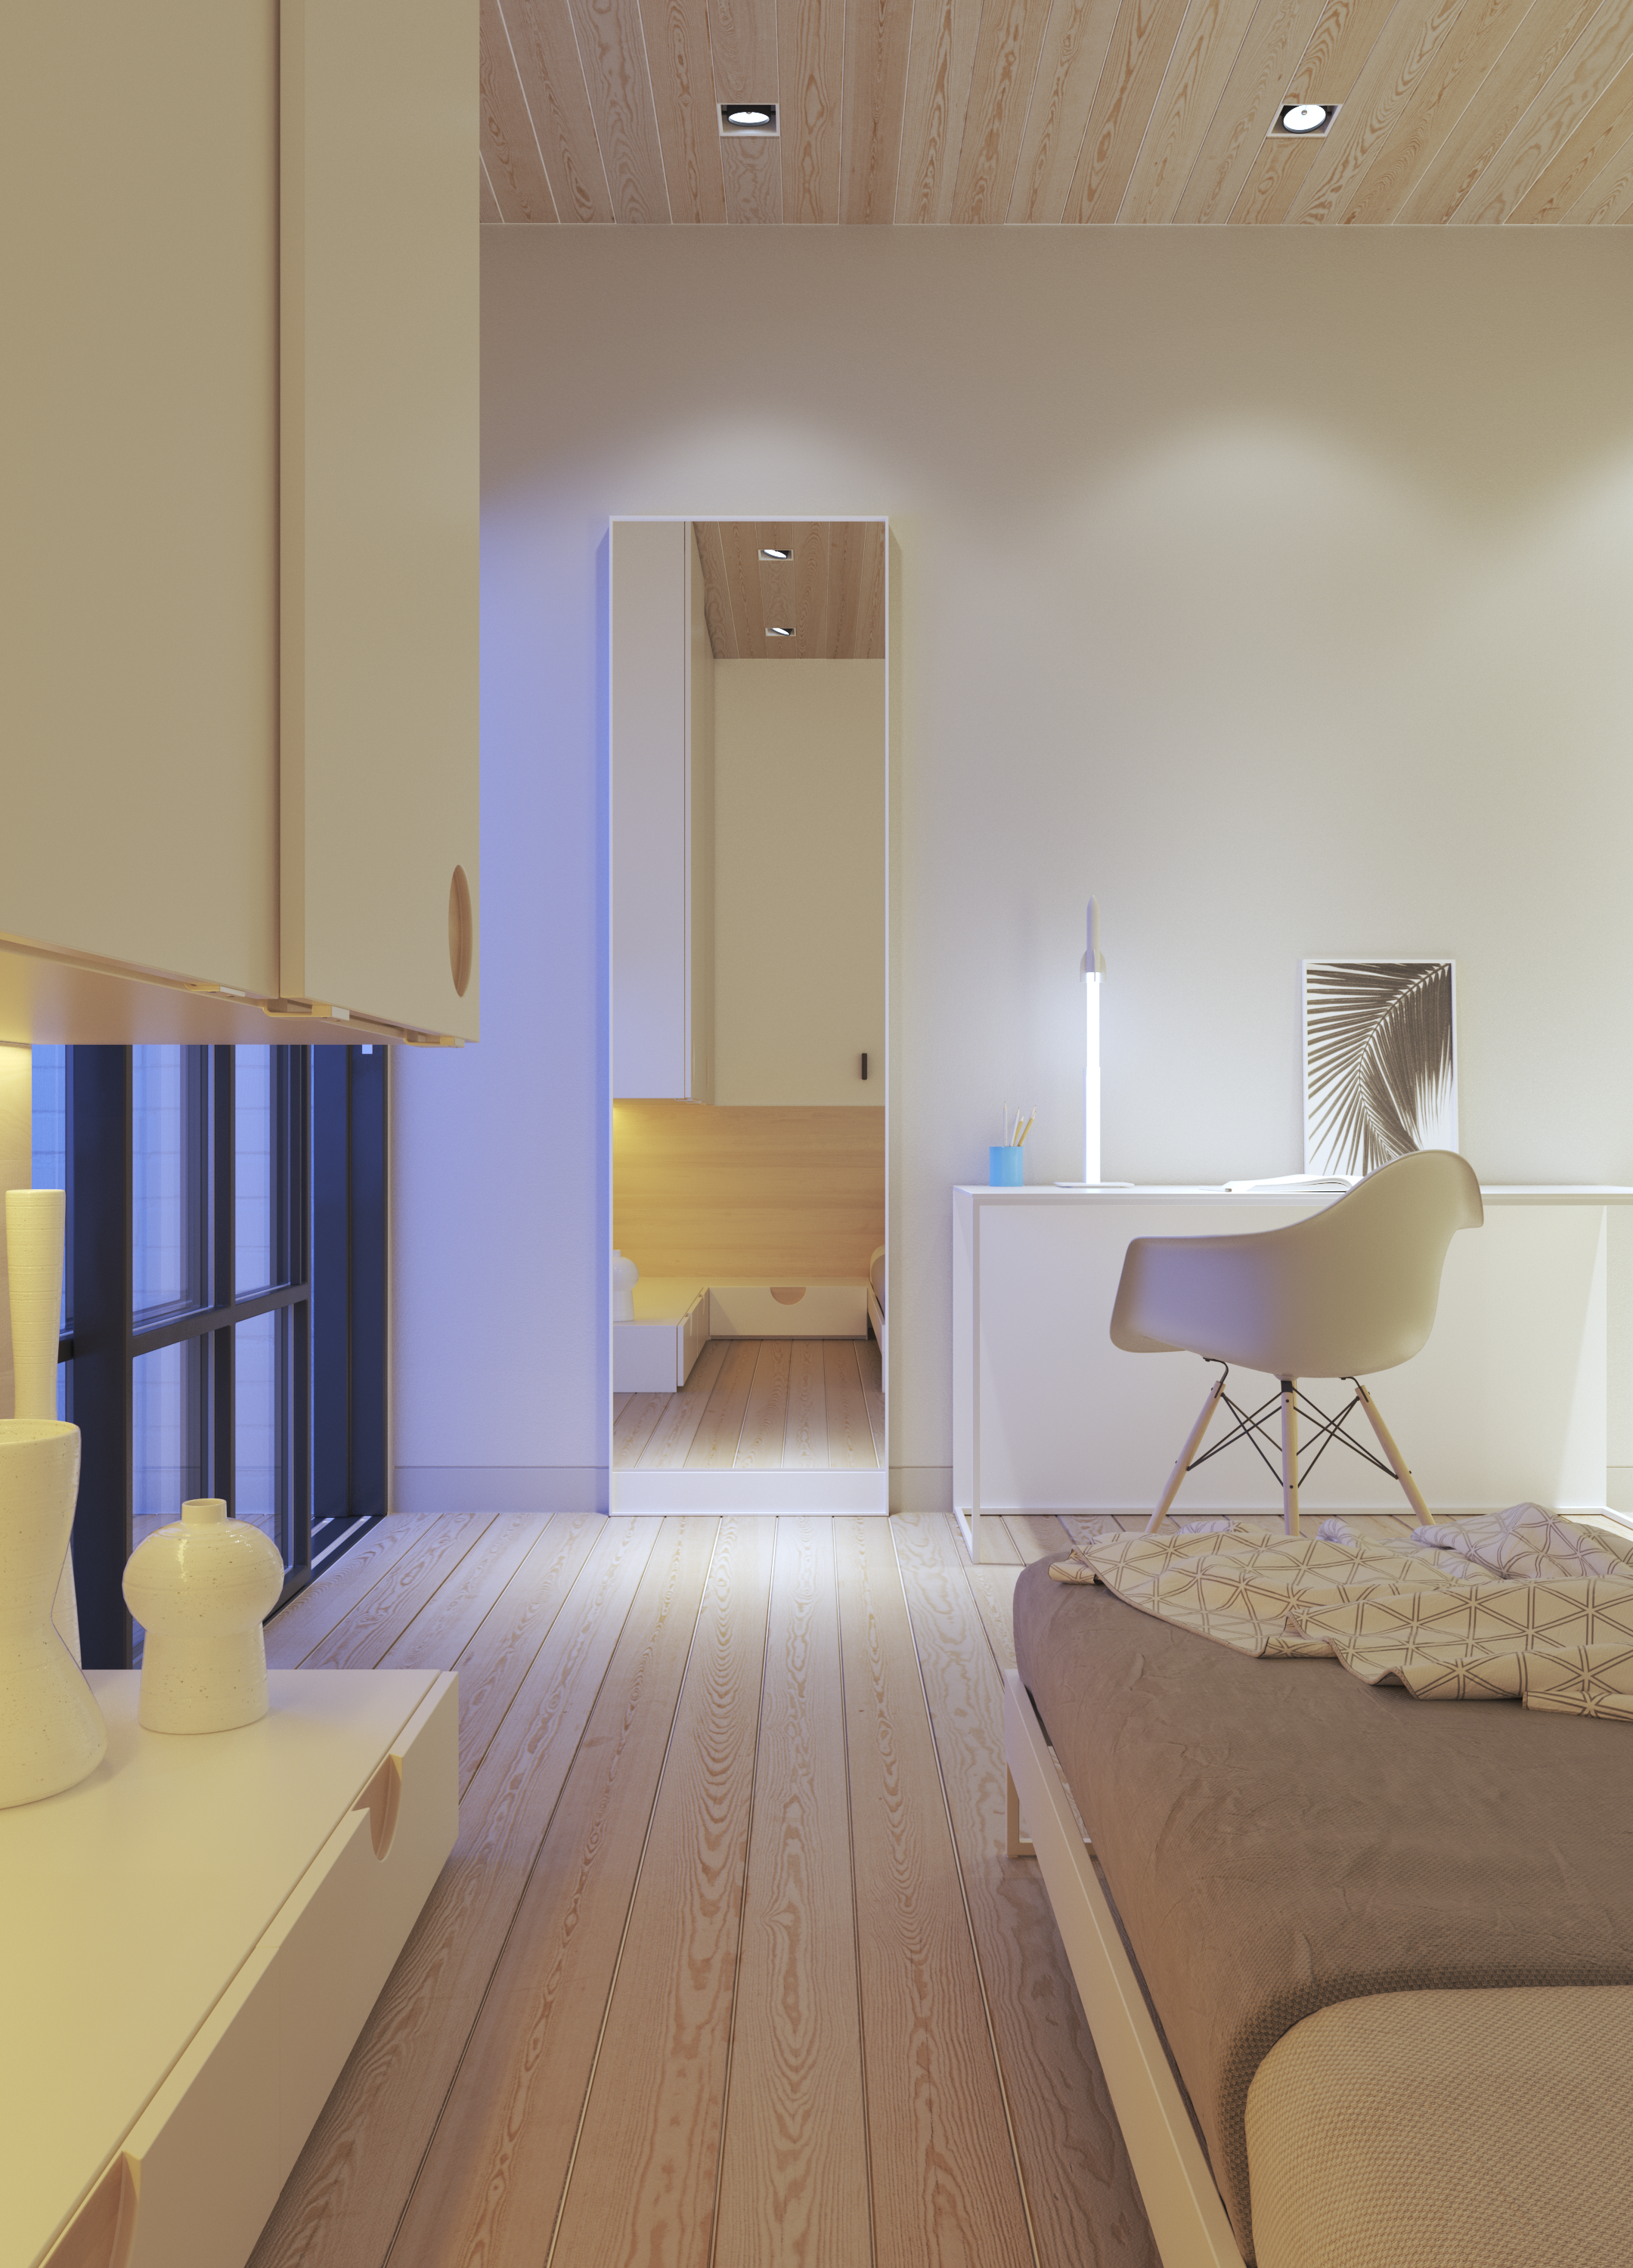
Examples: Light Mix
The example below shows two different light setups created with the help of Light Mix: daylight and dusk.
The Daylight appearance is achieved by using sunlight and an additional softlight to simulate light coming from the outside. The Dusk appearance is achieved by setting the sun Multiplier to 0, changing the color multiplier of the outside light to blue, increasing the intensity multiplier of all interior lights and tinting them with warmer colors (all ceiling and built-in furniture V-Ray Lights), adjusting the self-illumination multiplier of desk and ceiling lights shaded with Emission.