This page describes the Section Clipper tool and its usage.

Overview


VRayClipper is a geometric primitive that can be used to clip away parts of the scene with a defined geometry or a simple plane. It is a render-time effect and does not modify the actual scene geometry in any way.

The images at right show geometry before and after being clipped with VRayClipper.


||V-Ray Shelf|| > V-Ray Clipper button


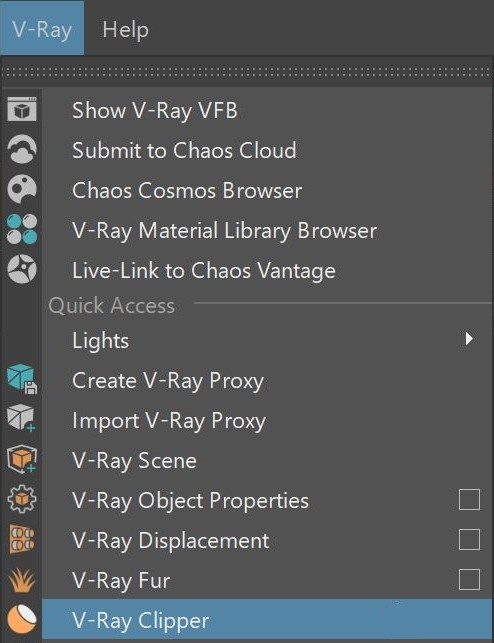
||V-Ray Menu|| > V-Ray Clipper


||Create menu|| > V-Ray > Create VRayClipper


Parameters


Enabled – Turns the clipper effect on and off.

Affect Lights – Enables the clipper to also affect area light sources.

Camera Rays Only – The clipper affects objects as they are directly seen by the camera, but they appear unchanged to reflection/refraction/GI rays.

Clip Lights Geometry – Enables the clipping of lights geometry (for example a mesh light). 

Use object material – Enables the clipper to use the material of each clipped object to fill in the resulting holes. When disabled, the material applied to the clipper object itself is used.

Mesh Mode – Enables the clipper to clip against an arbitrary mesh object rather than an infinite plane. 

Clip Mesh – Displays the name of the mesh VRayClipper uses to clip.

Note: Creating a V-Ray clipper when you have already selected an object in your scene automatically turns the selected object to a mesh-clipper. You can use the Mesh mode to disable this behavior.

Mesh Operation – Determines how to use the mesh when Mesh mode is enabled:

Intersection – Clips away anything that is outside the specified mesh; only renders objects and parts of objects inside the specified mesh;
Subtraction – Clips away anything inside the specified mesh; only renders objects and parts of objects outside of the specified mesh.

Exclude– Opens an include/exclude list that allows you to select which scene objects to be clipped.

As Inclusive set – When enabled, inverses the meaning of the Exclude list - only objects in the list are clipped.


How to Create VRayClipper


Clipper Object

Select an object in the scene to use as a clipping gizmo.

Navigate to the V-Ray shelf and select the VRayClipper. It turns the object into a clipper.

In this video, we set a sphere clipper and enable the Use Object Material option to use the robot's material for its insides.


<iframe width="700" height="394" src="https://www.youtube.com/embed/I5CCvM6LUAg?rel=0" frameborder="0" allow="accelerometer; autoplay; encrypted-media; gyroscope; picture-in-picture" allowfullscreen></iframe>


Clipping Plane

To create a clipping plane, navigate to the V-Ray shelf and select the VRayClipper. It creates a clipping plane that is infinite in size. Note that it clips all objects inside of reach.

You can rotate it to choose the angle of clipping.

Note that the clipping plane is created at 0, 0, 0 coordinates and can be moved as shown in the video.


<iframe width="700" height="394" src="https://www.youtube.com/embed/6gkEJw23-gA?rel=0" frameborder="0" allow="accelerometer; autoplay; encrypted-media; gyroscope; picture-in-picture" allowfullscreen></iframe>


Example: Mesh Clipping Mode


This example demonstrates using a defined meshes a Clipper Geometry to create detailed results 


Original Geometry Viewport


Clipper Mesh


Original Geometry Render


Cut Geometry Render


Notes


  • Right-clicking on the V-Ray Shelf button provides options for selection any Clipper nodes that exist in the Maya scene. 

  • VRayClipper works best with "closed" objects. The results on open objects (without a corresponding back face) are not well defined.

  • Currently, the VRayClipper may produce artifacts if there are overlapping triangles in the scene, regardless of whether they are part of the same object or not.