This article explains how to work with Corona Decal, its settings, and usage examples.
Overview
Corona Decal is a very convenient way of projecting textures and materials onto your scene objects: graphics, surface imperfections, potholes, all within the 3D viewport and without UVW mapping.
Create Corona Decal
To create a Corona Decal use the dedicated Corona Toolbar icon. It can also be accessed by typing Decal into the 3ds Max X menu or from the Command Panel > Create > Geometry > Corona > CDecal
Corona Decal's pivot is always placed at the creation point and there is a default pivot offset of 0.3. This is to avoid decal texture and base surface overlapping, both for viewing and projection purposes.
Corona Decal toolbar icon

Create Corona Decal in the 3ds Max X menu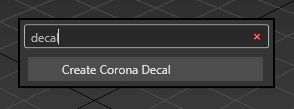
Command Panel > Create > Geometry > Corona > CDecal

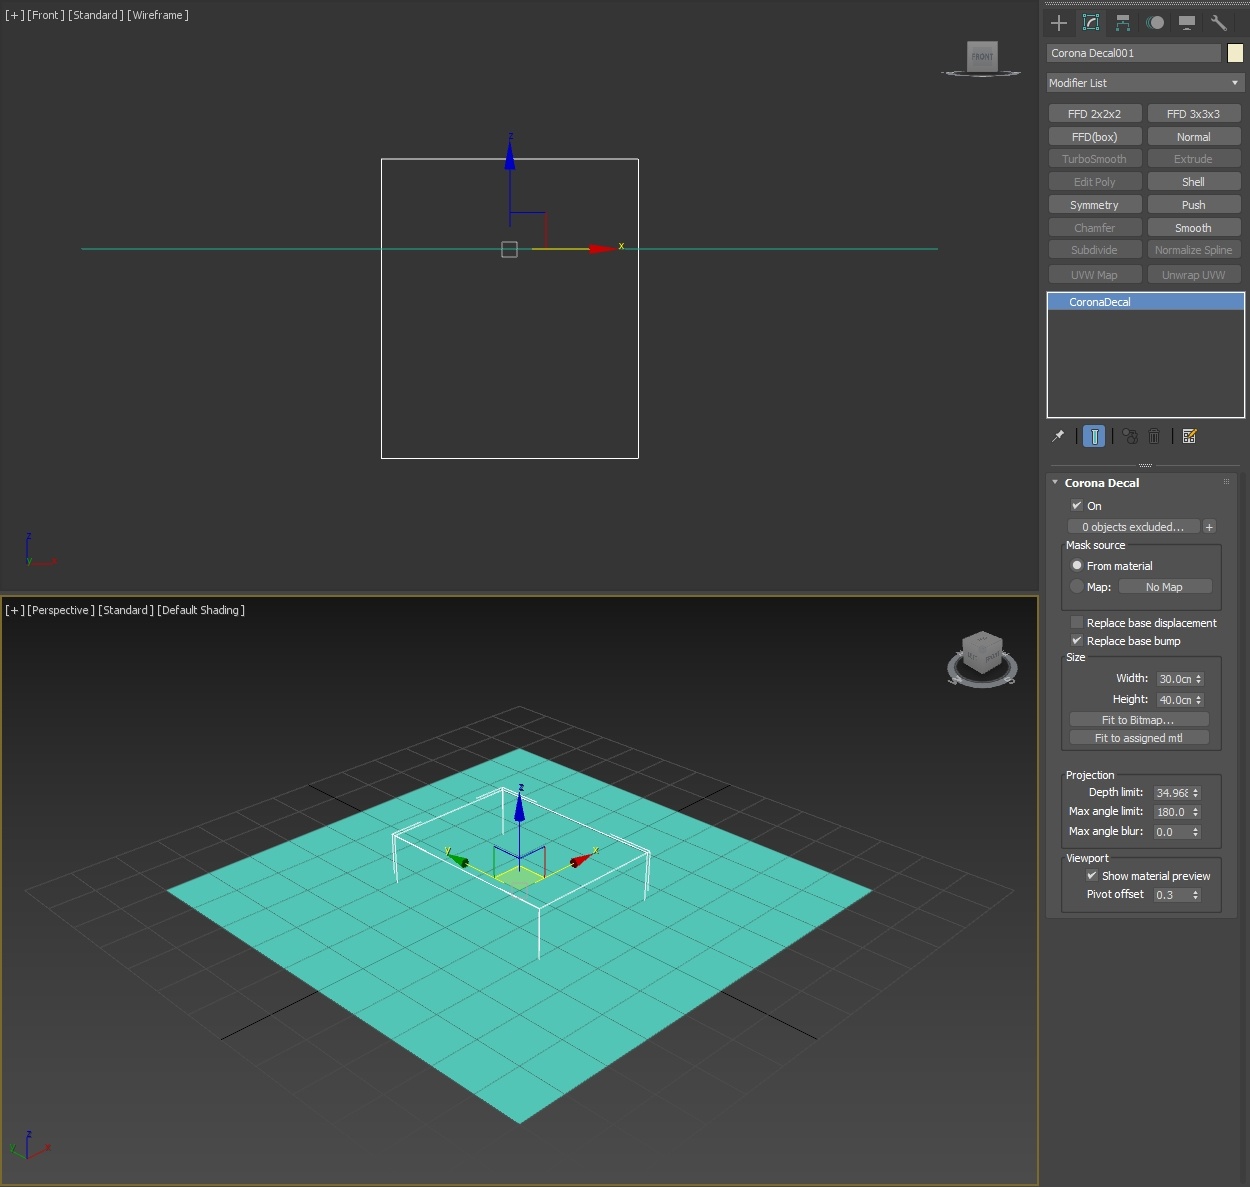
A Corona Decal can be created in a similar fashion as the 3ds Max plane object - by click and drag a cuboid with some relative height, edge-to-edge creation method or Ctrl + Click and Drag a cube centered at the creation point.
Workflow
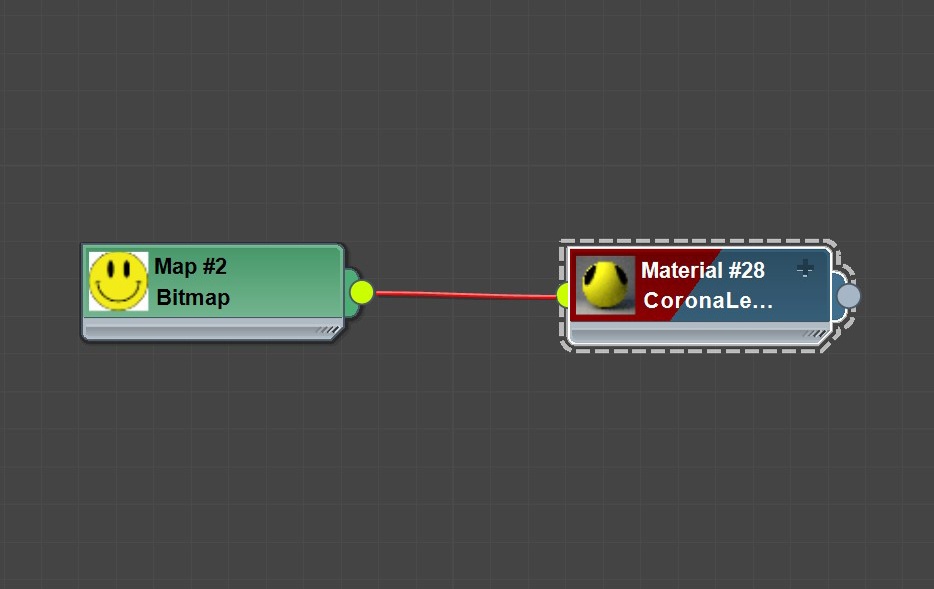
Let's create a simple material and apply it to the Corona Decal object.
You can see that the texture on the Decal is stretched. Fit to Bitmap..., just like in UVW Mapping, or Fit to assigned mtl options can be used to quickly get the correct proportions of the texture. In case there is already a material assigned, Fit to assigned mtl is the faster option.
Use the "Fit to.." option to automatically adjust the Decal's width and height.


Let's start Interactive Rendering in the viewport.
The Corona Decal will be projected onto surfaces which intersect with its bounding box. If we move the Decal object higher, the plane won't be intersecting with it any more, resulting in no projection at all.

The Decal currently has no opacity mask and that is why we see a white square around the smiley.
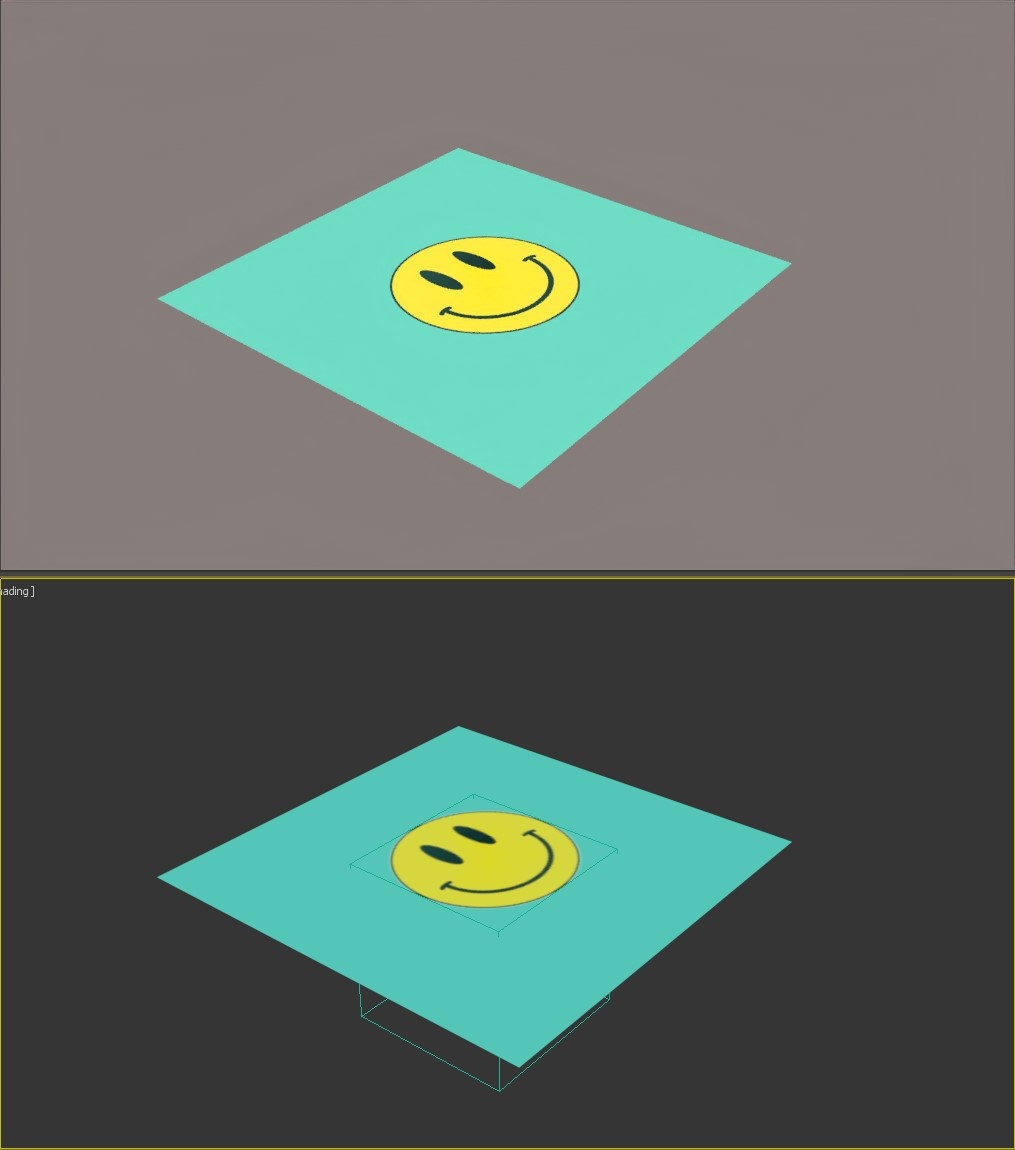
After adding a circular mask, the Decal now appears with a transparent background.
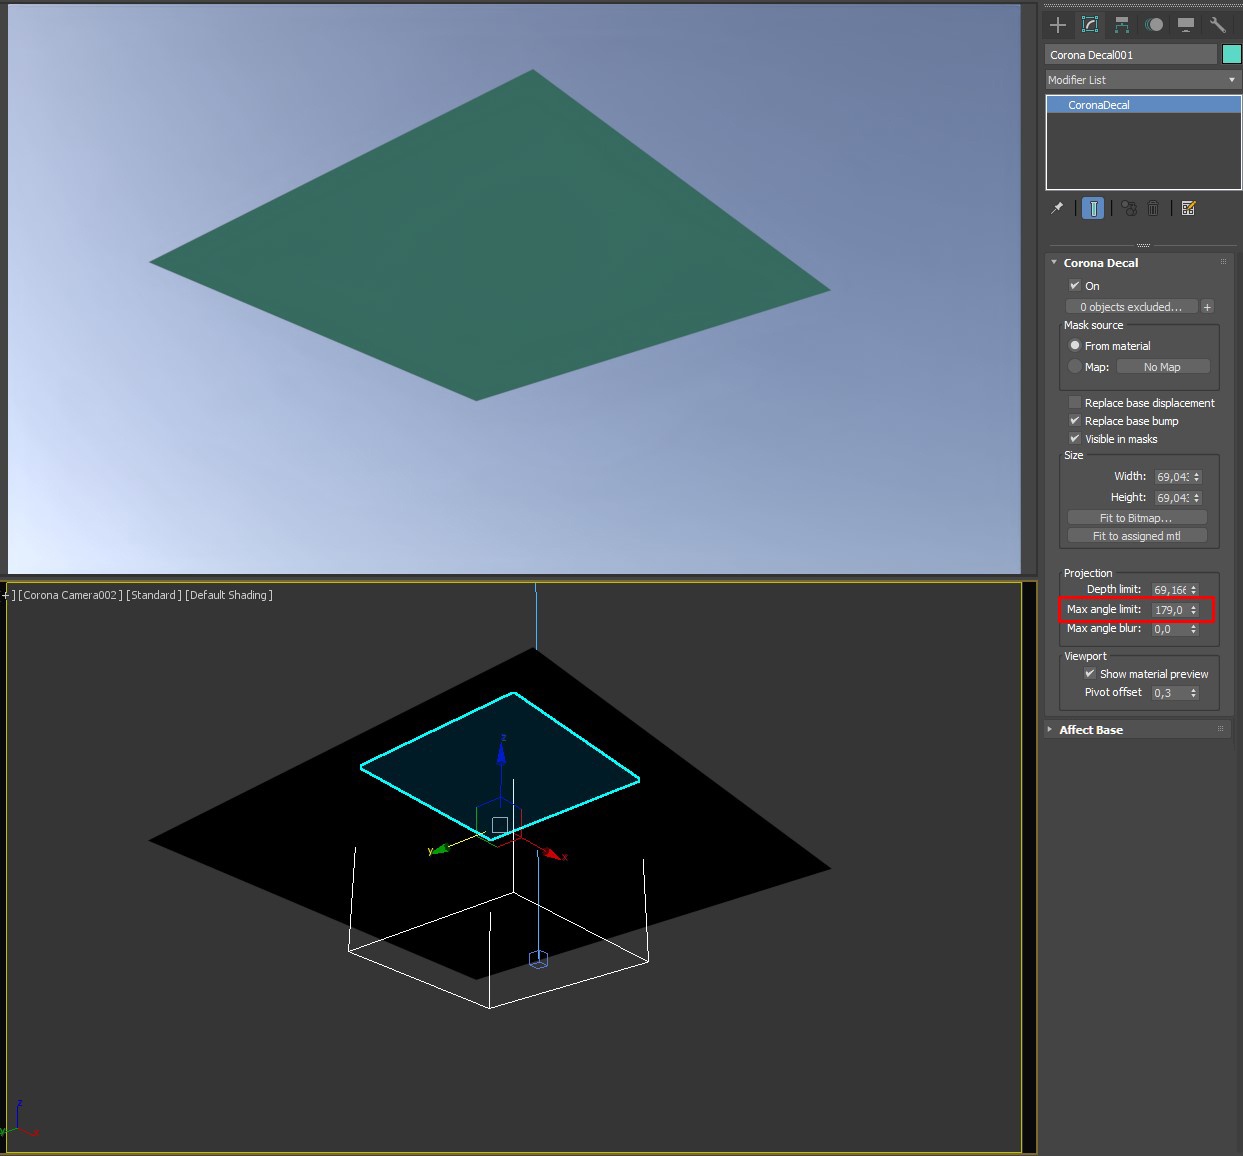
Max Angle Limit
Max angle limit defines the maximum angle at which the projection occurs. If the angle between the Corona Decal and the surface is lower than the specified "Max angle limit", the surface will receive the projection. This is how the Decal is projected with default settings.
Max angle limit of 180 degrees means the decal will be projected even on the backface (the sphere is hidden in the below image).


Changing the Max angle limit to anything below 180 degrees will result in no projection on the backside of the plane.
Max angle limit of 45 degrees will result in some clipping of the Decal on the sphere.
Max angle blur can be used to avoid sharp clippings around the max angle limit.
Max angle limit changed to less than 180 degrees. Projecting the Decal onto a surface where the normals are flipped (180 degrees compared to the decal object) is not possible any more.

The Decal is projected on the the sphere object only up until the specified Max angle limit.
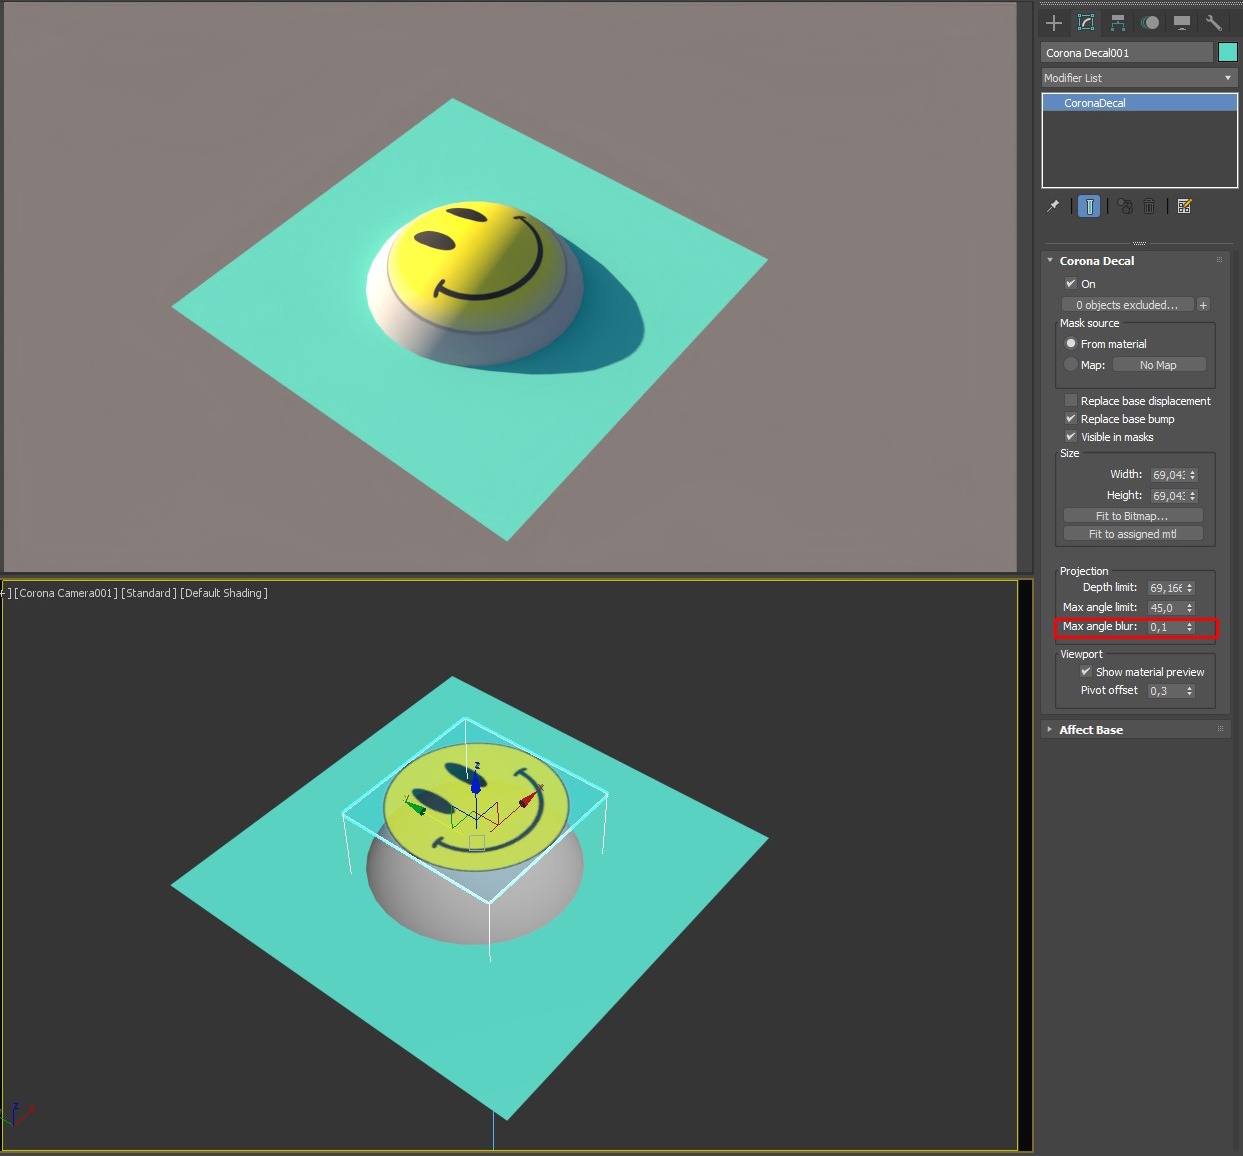
With the Max angle blur option enabled, there is a soft transition between the areas where the Decal is projected and where it isn't
Corona Decals can form a stack. The projection order is based on the decals' vertical position - over or under another decal.


Additional Examples
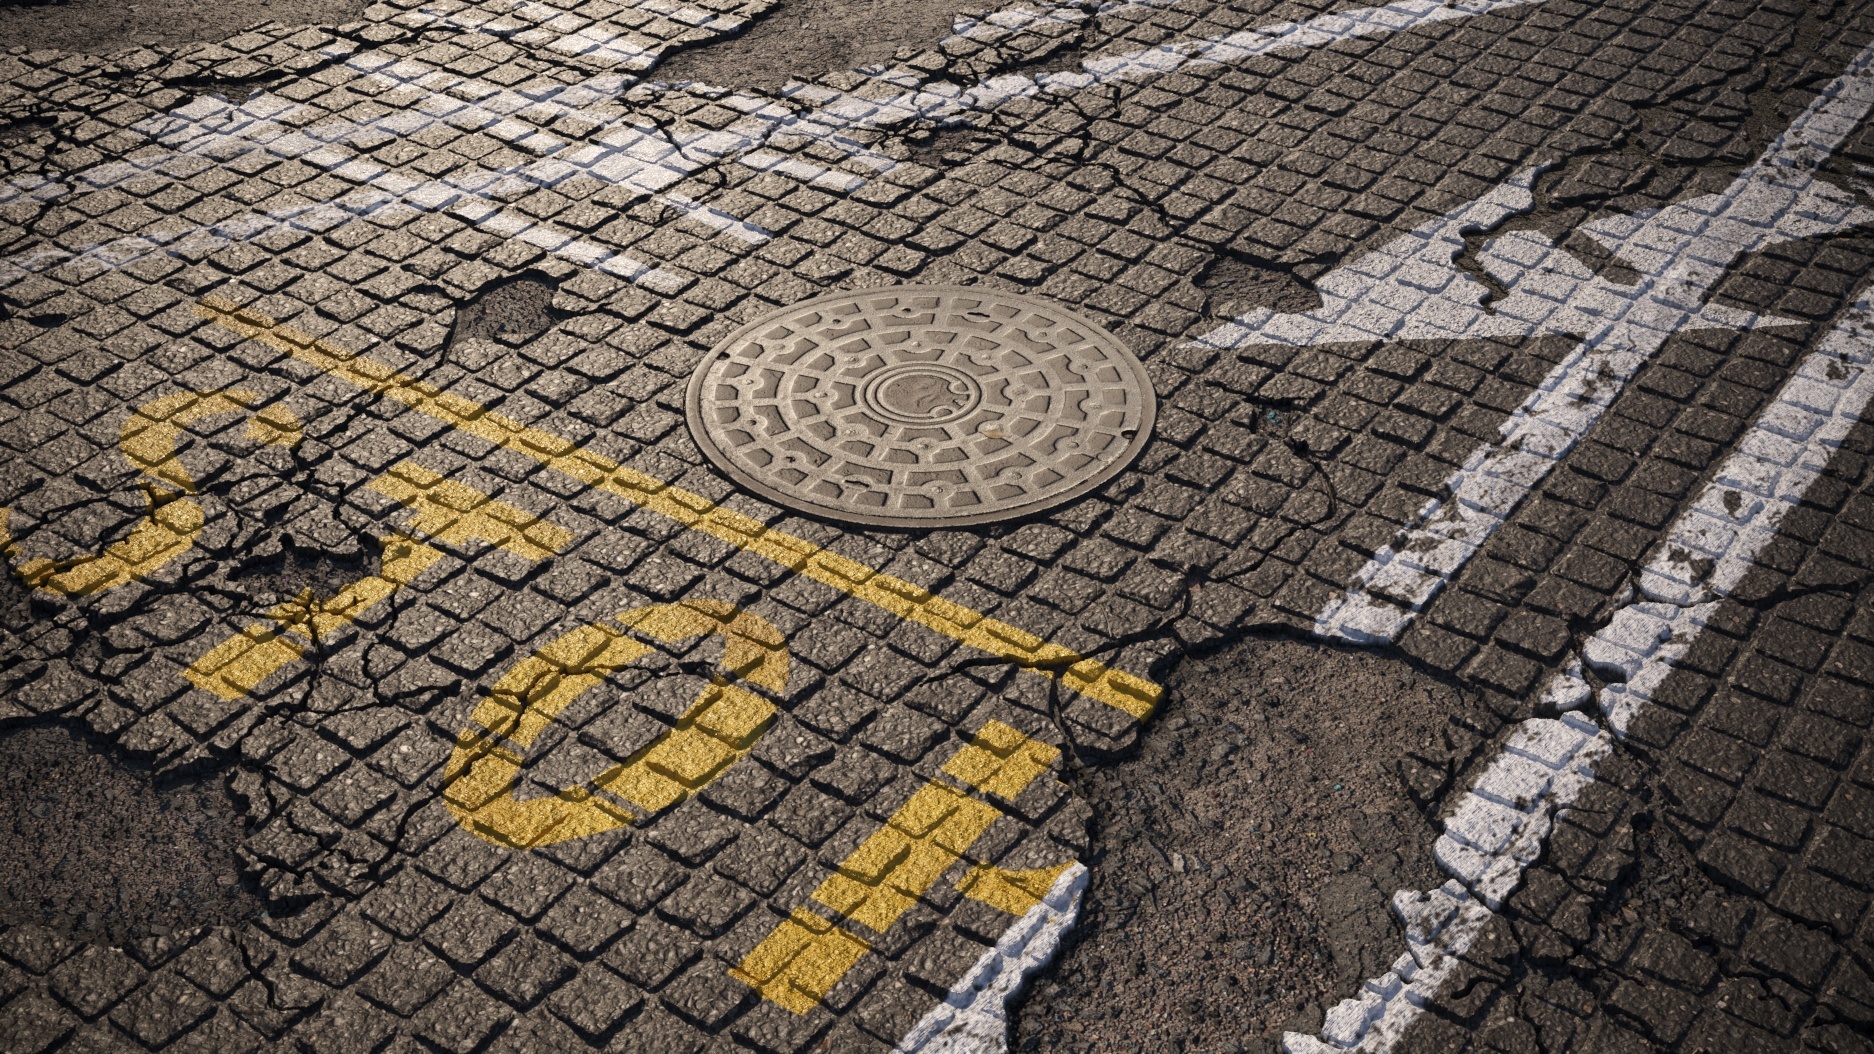
A Corona Decal with no bump map, projected onto the asphalt material which does have a bump map.
Disabling the Replace base bump option in the decal will make the decal inherit the bump effect from the underlying asphalt material.
The stop sign decal can have its own bump map. When the Replace base bump option is disabled, the decal's bump will be added to the underlying material's bump:

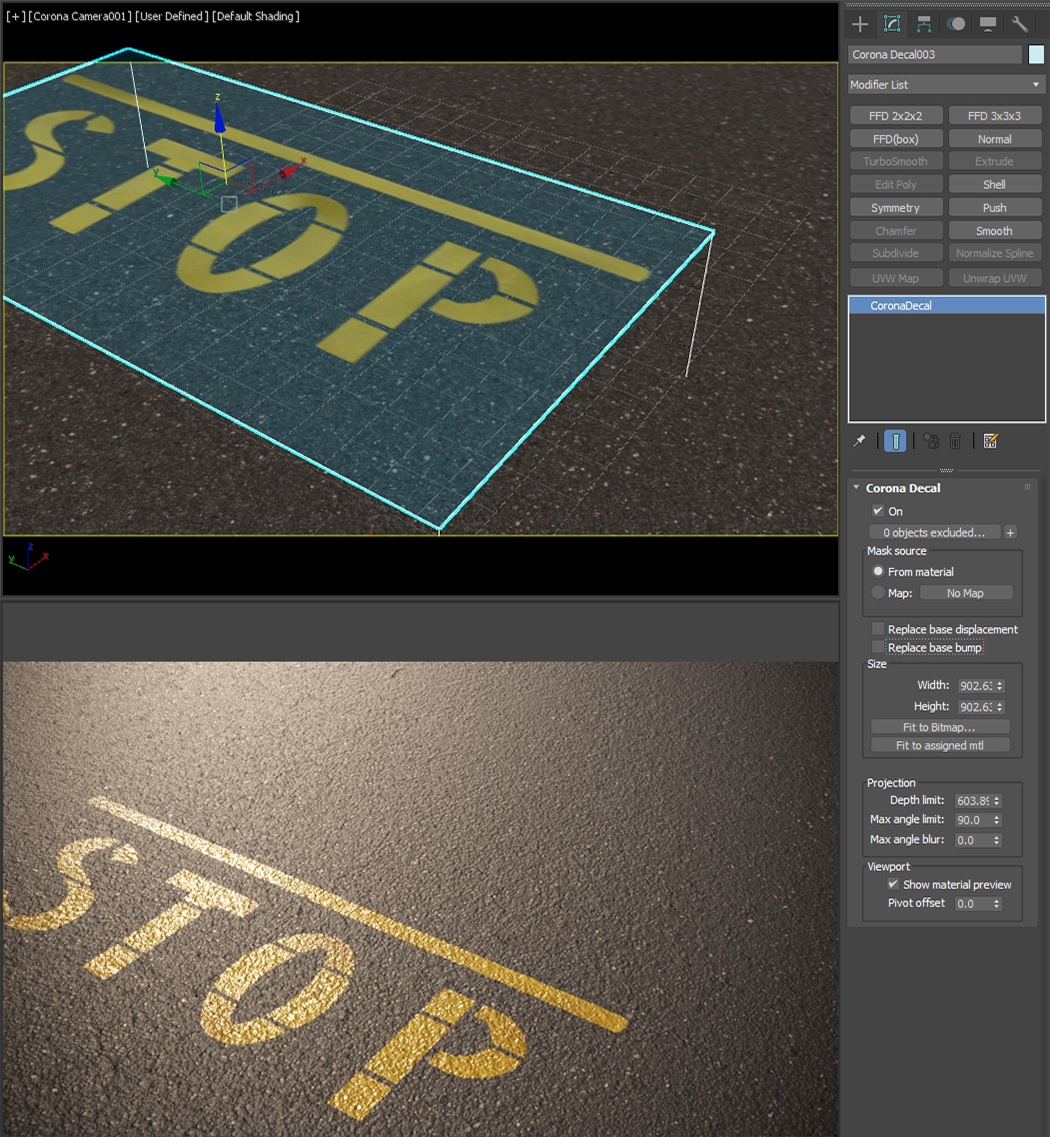
The "Replace base bump" option in the stop sign decal makes the decal appear flat, as there is no bump used in the decal material.

The same principle applies to Displacement:
By default, Replace base displacement is disabled, resulting in adding the underlying material's and the decal's displacements together. If the asphalt material has a displacement map and decals with displacement are projected on it, this is how it looks with Replace base displacement disabled:
Enabling Replace base displacement results in the desired look in case of decals like manholes:


Overlaying many decals with varying vertical positions and options can quickly produce good-looking results.