

This page provides information about the Lighting in Enscape for Archicad.
Overview
Enscape is not currently mapped to all light settings for Archicad light types, and their individual settings are beyond the scope of this article.
For a full description of Archicad’s lights, please refer to this Archicad article.
There are two types of lights in Archicad:
- Light Objects
- Interior and Street Lamps
The Light Objects can be categorized into four basic light source types:
- Omni Light - Emits uniform light rays in all directions from a single point in space
- Spot Light - Emits light from a single point in space and provides a cone that can be adjusted to a specific direction as well as allowing you to define the lights fall off
- Area Light - Emits soft light that uses a two- or three-dimensional surface as its source
- Infinite Light - Emits an infinite light in a consistent parallel direction
To open the light options you need to first select the Light Tool from the More section of the Archicad side Toolbar.
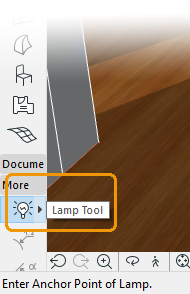
Lamp Tool button location
This displays the Lights option in the Archicad Info Box, which is near the top of the active Archicad viewport.
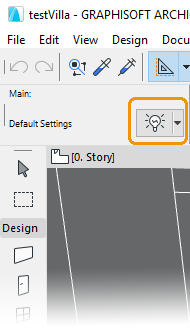
Light options in Info Box
Clicking on the light icon in the Info Box opens the Archicad Lamp Default Settings window, where you can choose the type of light source you want to place. Begin by selecting the General Light Sources category from the Archicad Library in the Lamp Selection Settings' top left menu structure.
You can then see seven different light objects. However, we only deal with the four object types already set out above.
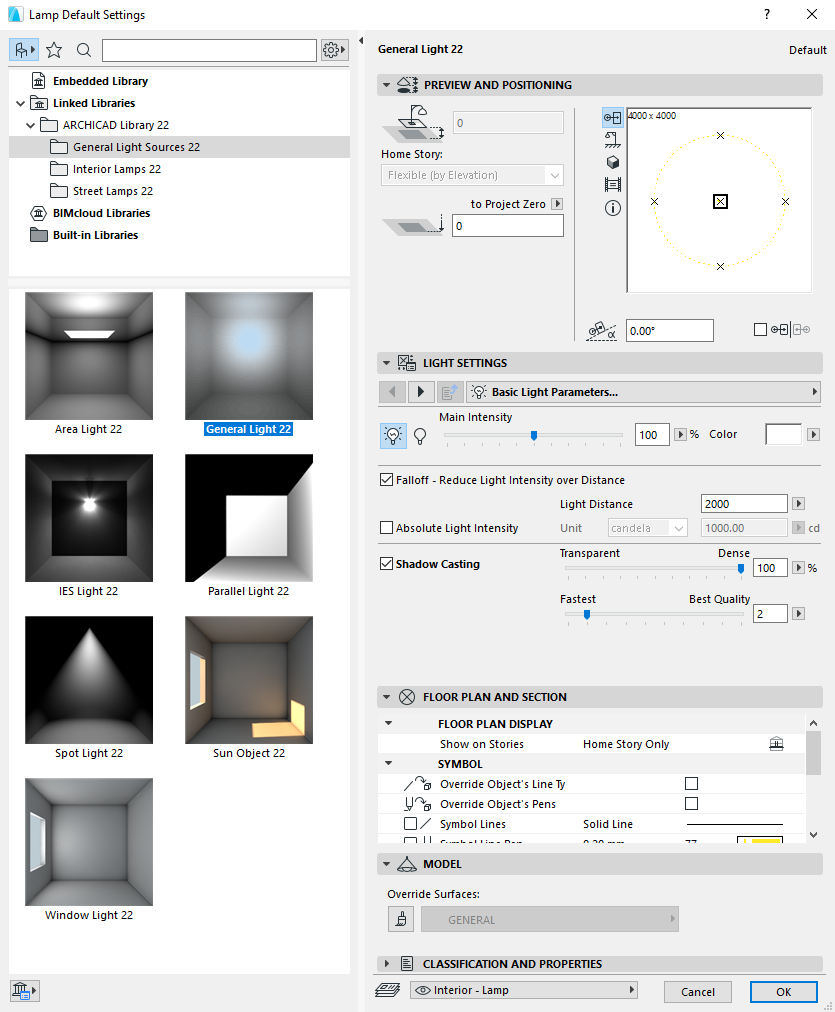
Archicad's Default Lamp Settings
Despite the amount of options available for lights in Archicad, Enscape is currently only mapped to the basic settings of switching the Light on/off, the Main Intensity, and the light's Color settings.
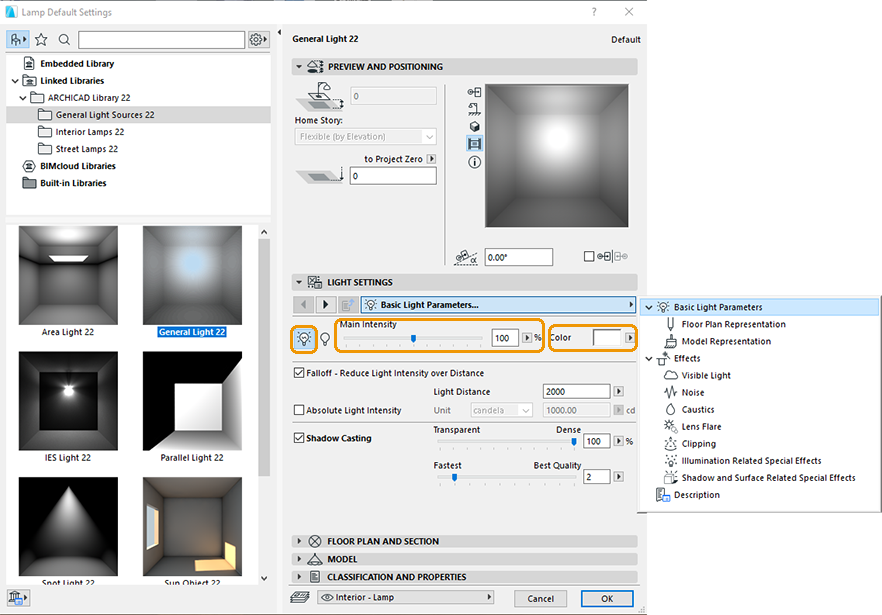
Archicad's Basic Light Parameters
The Absolute Light Intensity can also be adjusted, and you can choose between using candela and lumen as the Unit.
Although Enscape is not mapped to all the available Archicad light settings, adjusting any other light settings may result in unexpected behavior of the lights in Enscape.
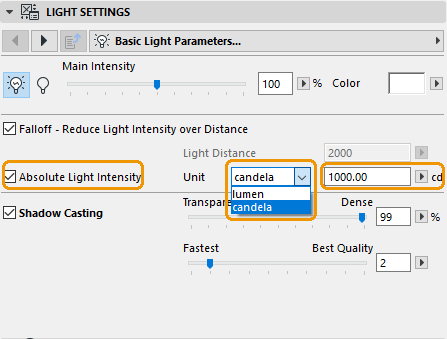
Choose between Candela and Lumen Light Intensity Units
Light Types and Placement
Once you have selected the type of light you want to use, the placement of the light is indicated by a dark rectangular area showing the footprint of the object. This placement indicator follows your mouse movement. In the screenshot, you can see that we want to place our light on the ceiling.
Once placed, Archicad shows you the control points for adjusting the light's position, rotation, and falloff (for the Spot Light), depending on the light type.
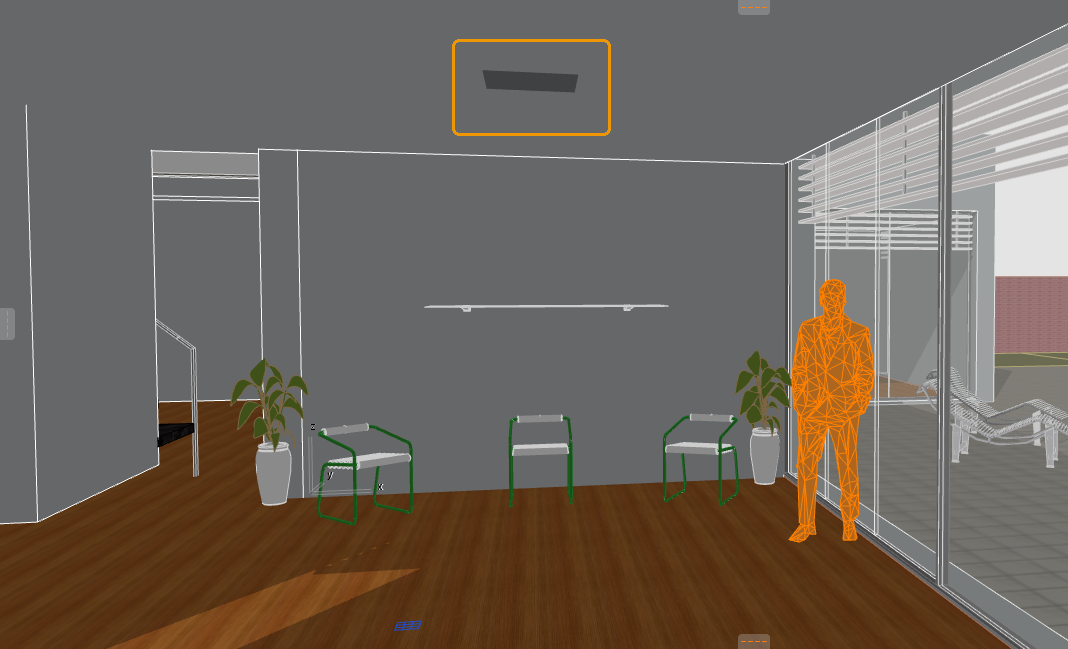
Light Placement Indicator
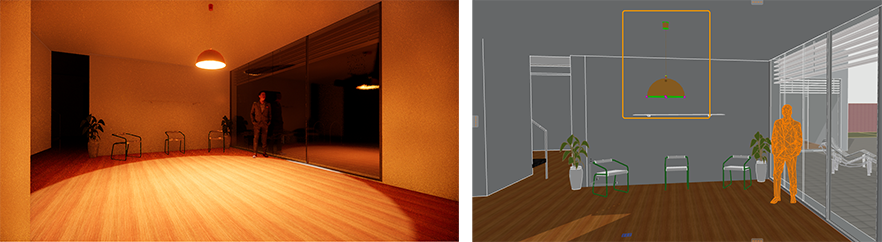
Omni Light (General Light)
The Omni Light, or General Light, emits uniform light rays in all directions from a single point in space.
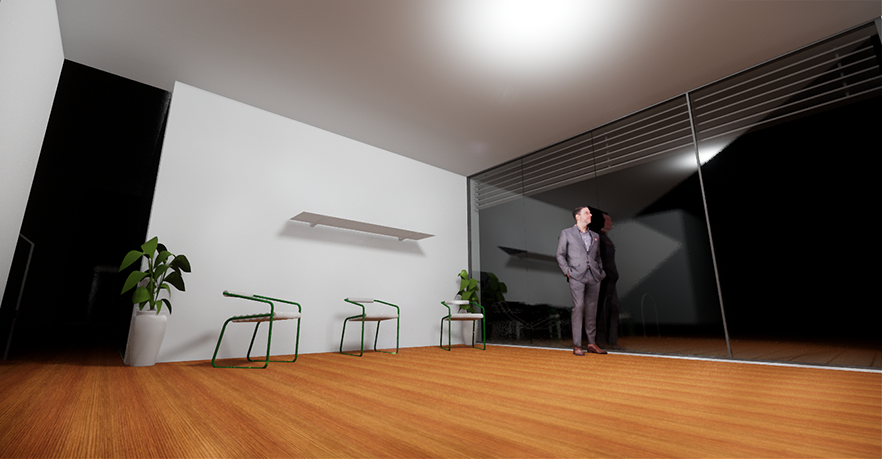
Omni Light in the Enscape window
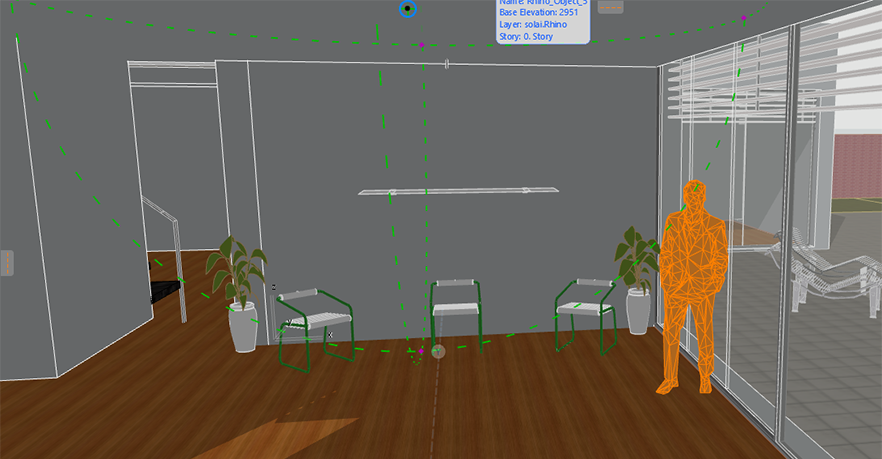
Omni Light in the Archicad viewport
Spot Light
The Spot Light emits light from a single point in space and provides a cone that can be adjusted to a specific direction and that allows you to define the light's falloff.
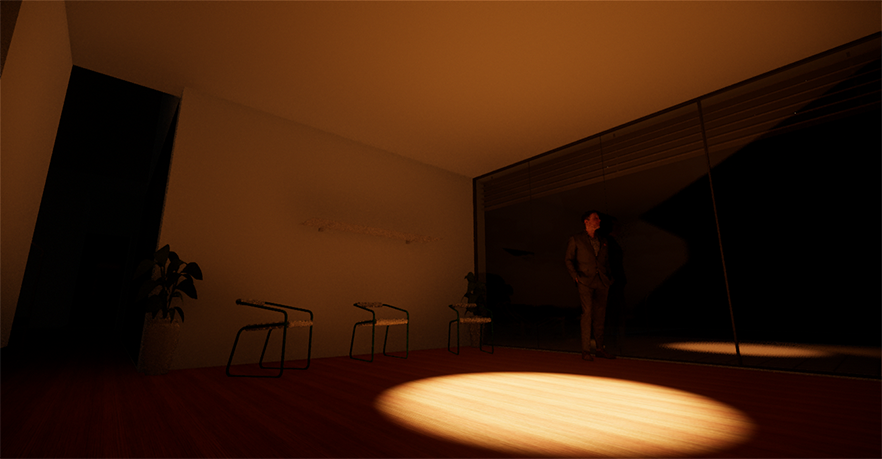
Spot Light in the Enscape window
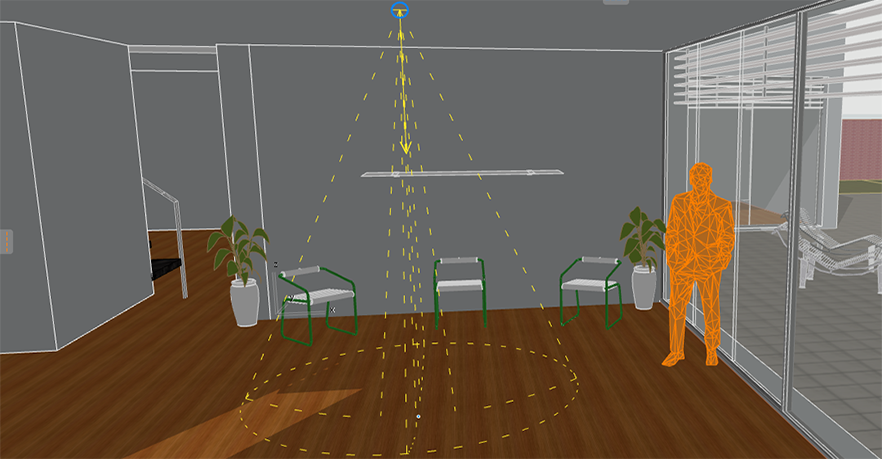
Spot Light in the Archicad viewport
Area Light
The Area Light emits soft light that uses a two- or three-dimensional surface as its source.
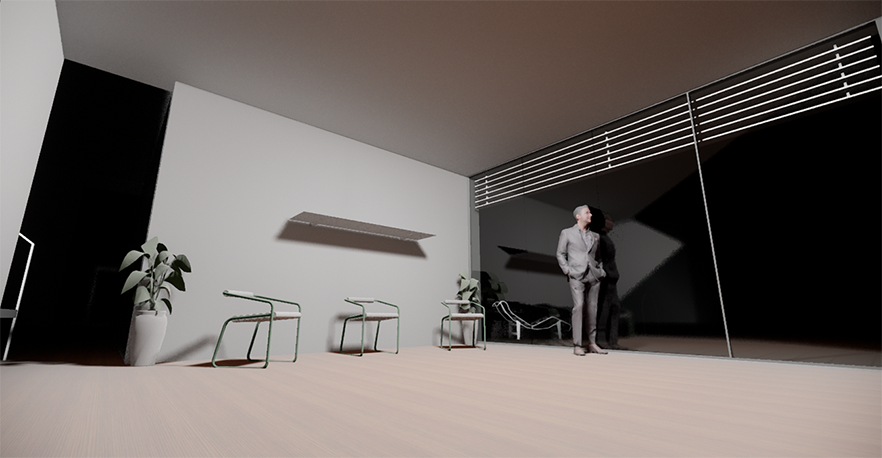
Area Light in the Enscape window
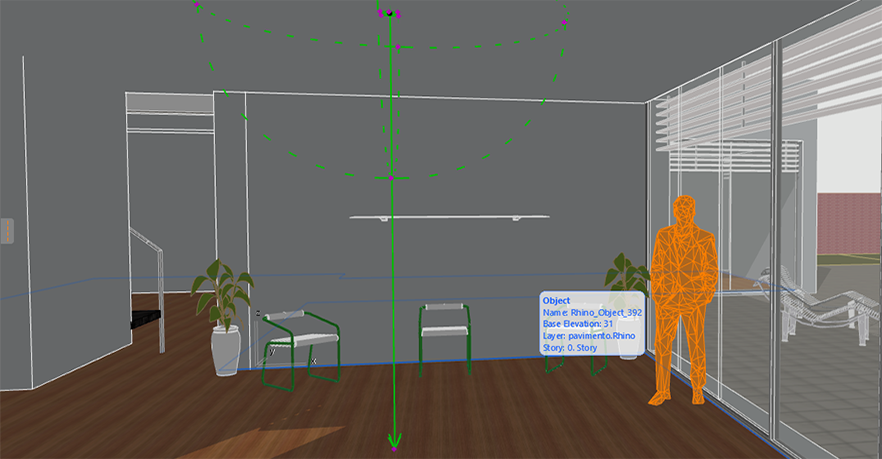
Area Light in the Archicad viewport
Parallel Light
The Parallel Light emits an infinite light in a consistent parallel direction.
To Move the Parallel light, grab the node at the end of the direction arrow.
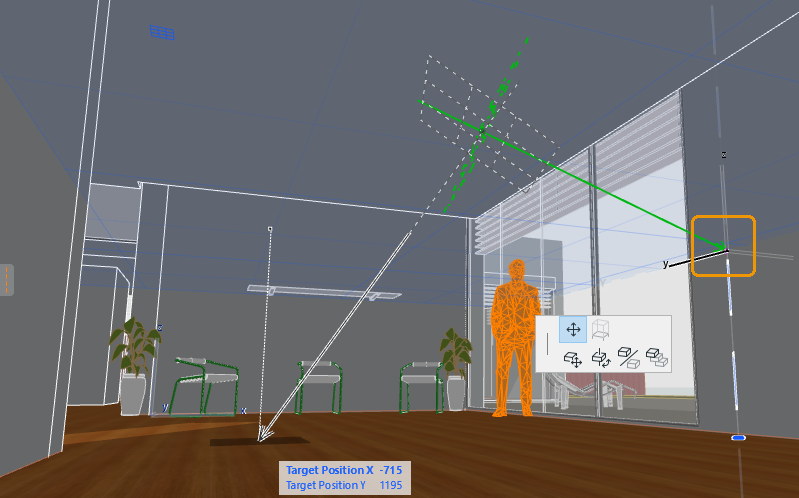
Adjust the Parallel light direction
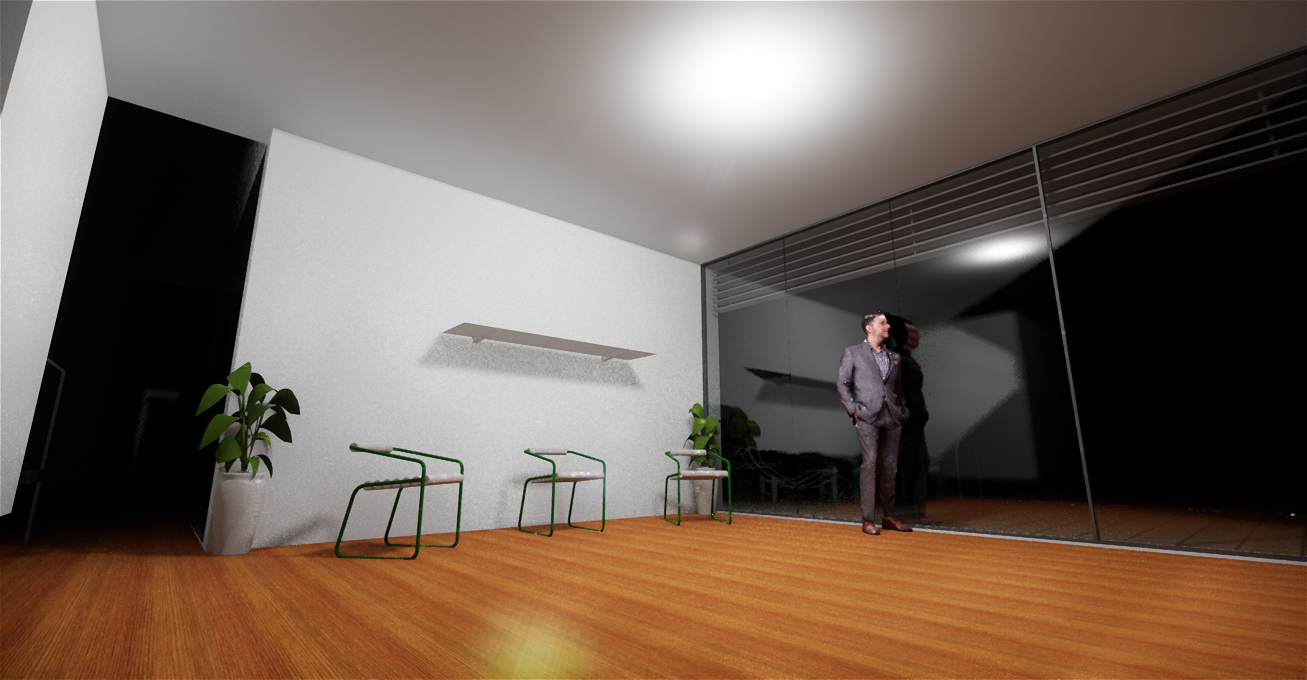
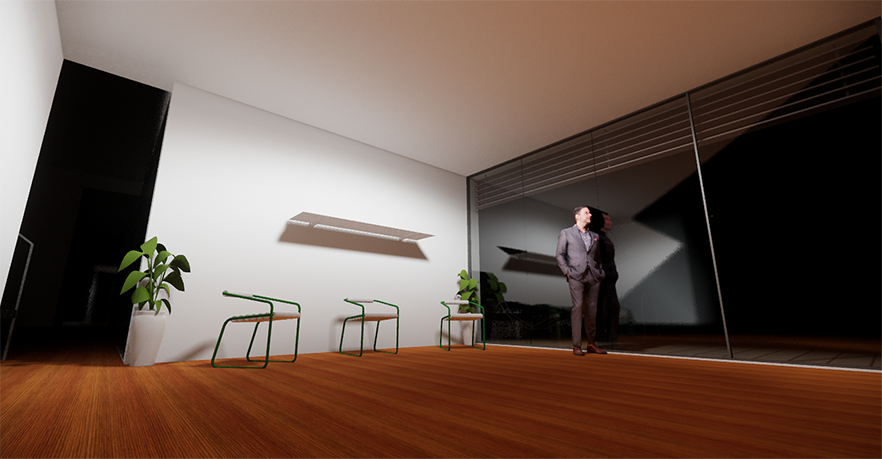
Parallel Light in the Enscape window
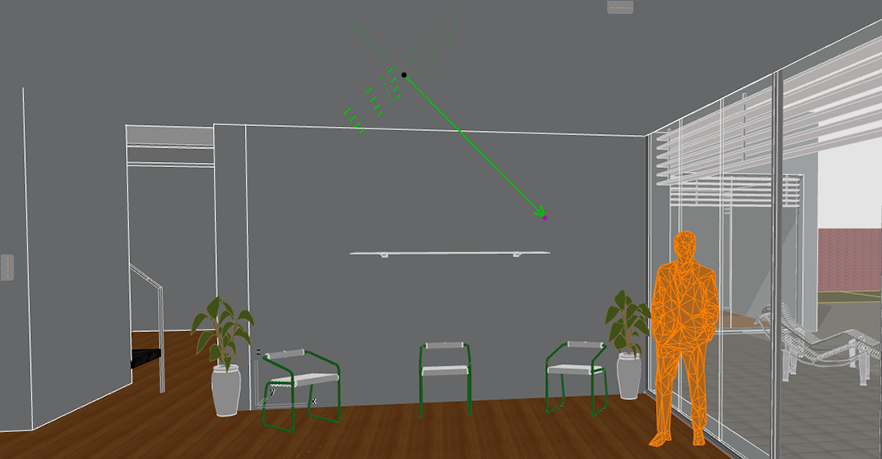
Parallel Light in the Archicad viewport
IES Light
If no *.ies light profile file is loaded, then ArchiCAD defaults to the Omni Light.
IES Light in the Enscape window

IES Light in the Archicad viewport
The option to select the IES Light profile can be found under the Photometric File Name option.
Click on the Details and Help… button for further information about where to place the IES files once you have downloaded them to your machine.
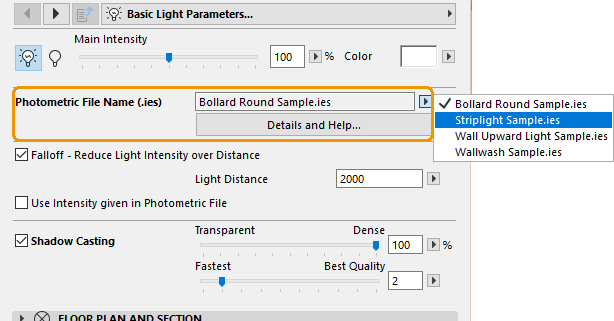
Select the IES Profile file
If you then want to adjust the light, you can click on its control nodes, which can be seen as colored points on the light cage.
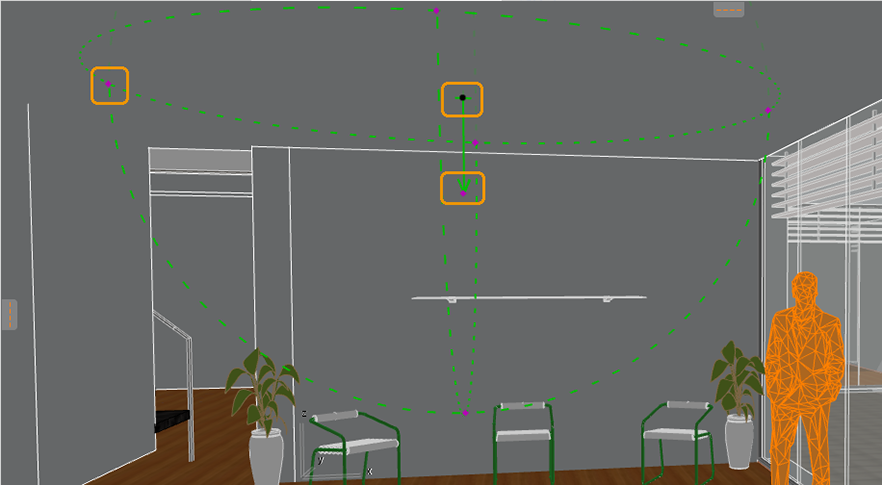
Light Adjustment Nodes
Once you click on one of these adjustment nodes, you can see various options, depending on the control point you click.
By clicking on the node nearest to where you originally placed the light, you’ll be given the option to drag, rotate, mirror, or multiply that light.
If you press TAB on your keyboard you can then numerically adjust the parameters.

Light Placement Properties
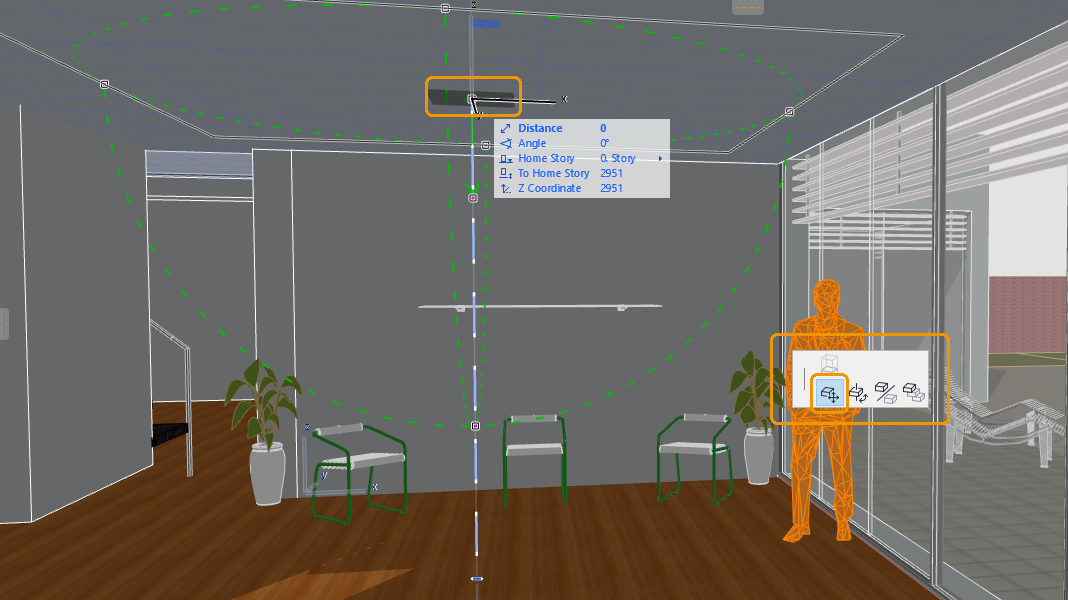
Light Node Placement
You can adjust the direction of the light by clicking on the node at the end of the light cage arrow.

Light Node Rotation Control
Interior and Street Lamps
Archicad comes with a good selection of pre-modeled lamps that can be used for both interior and exterior situations.
These are accessible by selecting either the Interior Lamps or the Street Lamps categories.
The placement of Interior and Street Lamps is exactly the same as is with other Light Objects.
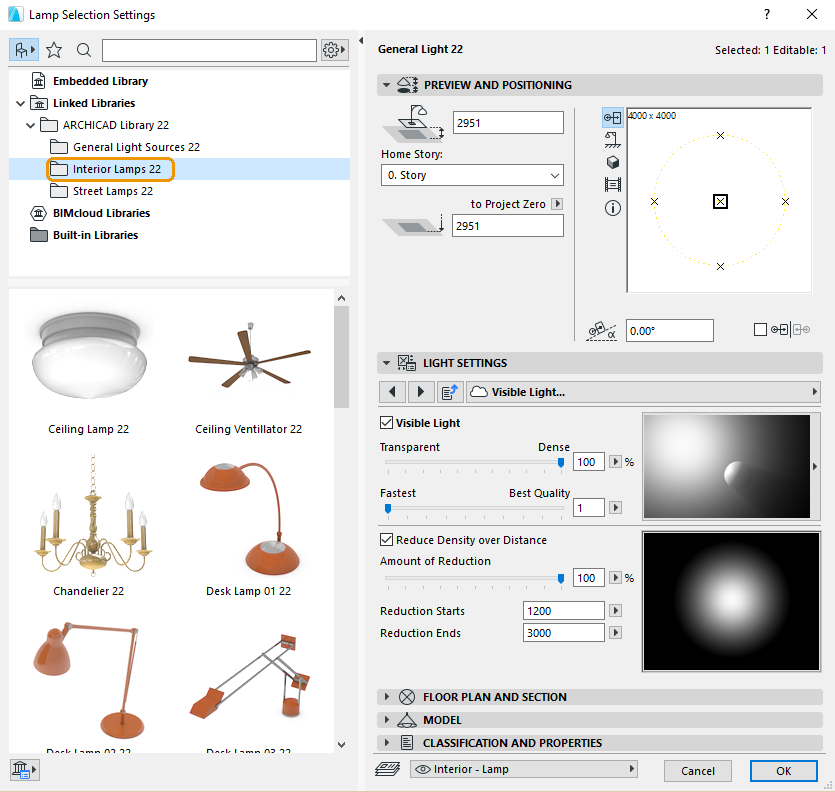
Archicad's Interior Lamps
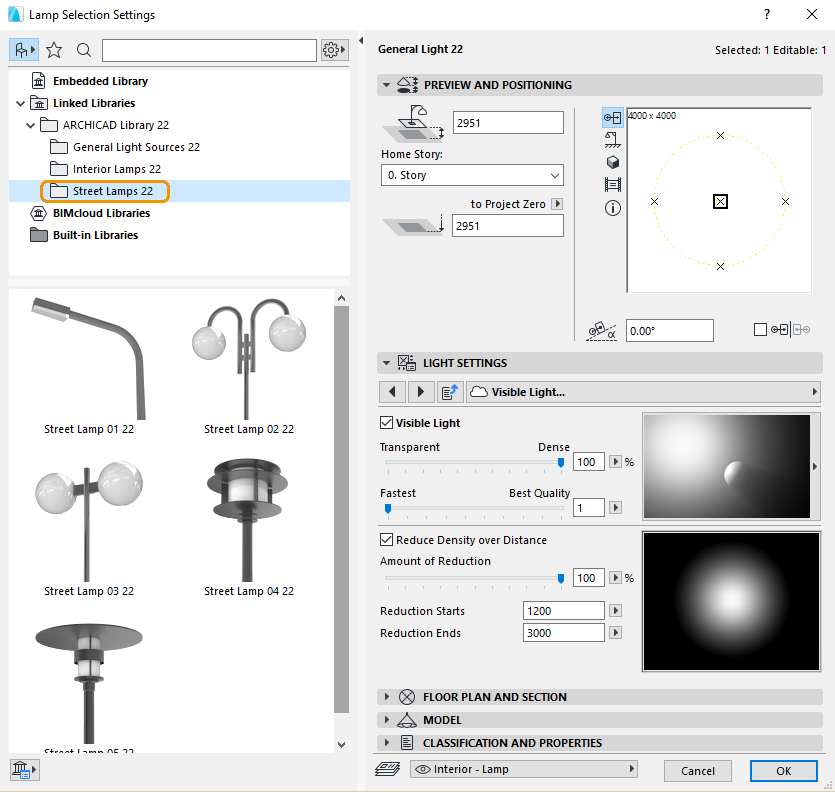
Archicad's Street Lamps
All lamps can have their surface overridden via the Lamp Default Settings window under the Model option. In the following example, we have given the lamp a Metal Brass material.
Interior Lamp Placement
Using the control nodes, both the interior and the street lights basic geometry can be adjusted. For instance, we can extend the cable between the roof position and the lamp. The menu option to adjust the size then becomes available.

Interior Lamp Adjustment
With a standing light, we can adjust the overall height of the light. See the before and after.
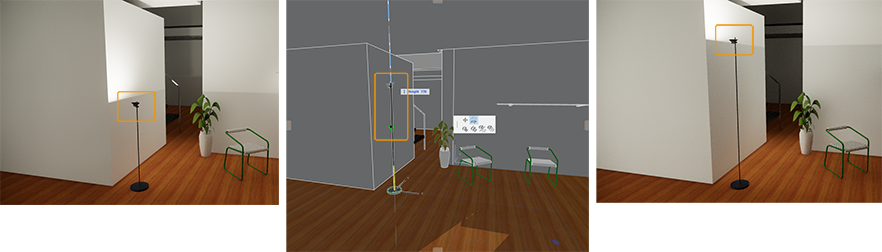
Interior Light Height Adjustment
The same method can be used when adjusting Street lamps.
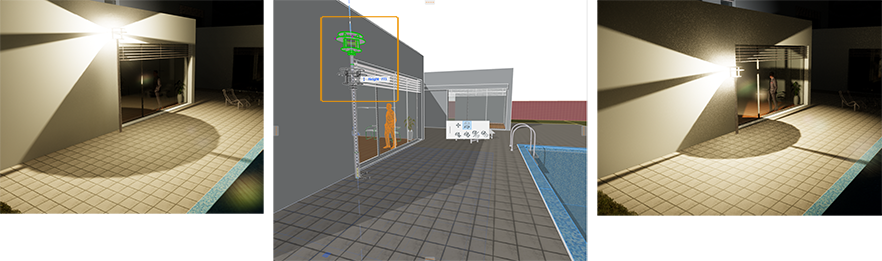
Street Light Height Adjustment