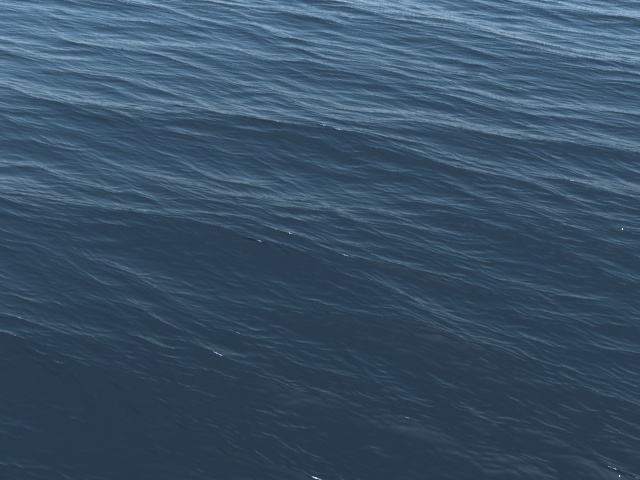
This page provides information on the Phoenix Ocean Texture (PhoenixFDOceanTex).
Overview
The Phoenix Ocean Texture is an infinite non-cyclic procedural texture for displacing a water surface. It produces a realistic ocean-like appearance, which makes it easy to create an infinite ocean mesh.
The Ocean Texture can be created from the Material Editor, and then can be used in several different ways:
- After simulating a Phoenix container, it can be displaced at render time to add wave detail. Phoenix can be in Ocean Mesh, Cap Mesh, Mesh or Isosurface Render mode and the Ocean Texture can be plugged into the Phoenix Rendering rollout's Displacement, so you'd get an infinite ocean mesh or an editable displaced mesh in the viewport.
- Any non-Phoenix mesh can be displaced with ocean waves at render time using V-Ray Displacement.
- If you need to add foam details to your displaced ocean at render time without simulating, you can use a Phoenix Foam Texture for the diffuse color of the ocean material and plug a Phoenix Ocean Texture in the Foam Texture. The Foam Texture can serve as a mask for a blend material, so that the Foam material is applied over the wave crests, and the rest of the liquid mesh uses the regular Water material.
- If you need real simulated waves interacting with a geometry, instead of just a render time displacement, you can plug the Ocean Texture into a Wave Force and use it to drive your Phoenix simulation.
Parameters
Vector Mode | vector – When disabled, normal displacement is used for the output format. When enabled, vector displacement is used and in order to the Ocean Texture to be compatible with the V-Ray Displacement in Tangent mode, X and Y of the texture are centered around 0.5, while Z is centered around 0.0. For more information on vector displacement and normal displacement, see the Vector Mode example.
When using this texture with the V-Ray Displacement Modifier, please expand its Texmap min/max limits in order to avoid clamping. If the Ocean Texture is in Vector Mode, please use 3D mapping and set Vector displ to Tangent in the V-Ray Displacement. Otherwise, you should use 2D mapping.
Control by Wind Speed | usewind,wind – When enabled, the wave height and speed are automatically calculated according to the wind speed. When disabled, wave height and speed are directly set by the Wave Height and Rate of Change parameters.
Level of Detail | lod – Controls the amount of detail in the texture. This is similar to the Levels parameter in a standard noise texture. Larger values will produce more pronounced and richer details.
Wave Height | rgbmult – Controls the amplitude of the waves. When Control by Wind Speed is enabled, this value is a multiplier of the amplitude. When Control by Wind Speed is disabled, this value is the final wave height measured in system units.
Vertical Offset | rgboffset – Introduces an additional shift to the displacement.
Sharpness | sharpness – Controls the definition of the wave crest peaks. When using with V-Ray Displacement, keep in mind that when Vector Mode is enabled, adjusting the Amount parameter of a V-Ray Displacement Modifier will affect the resulting sharpness. To avoid this scenario, use only the Wave Height parameter in this rollout to control displacement and not the Amount parameter in the V-Ray Displacement.
Velocity Coherence | velcoh – Controls the degree of variation in wave direction. When this value is set to 1, all waves will move in the same direction, as they do in coastal areas. When set to 0, all waves will move in random directions, as they might in the open seas.
Wave Crest | crest – Adjusts the length of the waves' crests. For the most realistic results, use smaller values to create short crests when the Velocity Coherence is low and larger values for bigger crest when the Velocity Coherence is high. For more information, see the Wave Crest example below.
Seed | seed – The initialization point for the random generator. Changing this value changes the randomization of the waves. In the event of multiple Ocean Textures in a scene, use different Seed values to make each texture look different.
Displacement Scaling | scaletex – Controls the strength of the output values with a texture map. Black values equal a value of 0, and white values equal 1. Values less than 1 will scale down the output value strength.
Time Bend Controls
This section contains playback options you can use for retiming the animation of the Ocean Texture. Using these, you can speed up, slow down or loop the motion of the texture.
Playback Mode | animmode – Chooses between different options for animation control:
Linear – This is the default mode. The animation is played with constant speed.
Direct Time – Explicitly specifies the time in seconds to be used for the current timeline frame using the Direct Time (sec) field. Can be used to either show a static ocean or it can be animated in case you want varying play speed, including playing the animation backwards.
Loop – A specified part of the texture animation is looped.
Rate of Change | velmult – Controls the speed of the waves. When Control by Wind Speed is enabled, this is a multiplier. When Control by Wind Speed is disabled, this directly sets the velocity in system units per second.
Direct Time (sec) | t2f– Directly specifies the time from the animation that will be used at any given point in time.
Loop Length (sec) | loopLength – Specifies a range of the animation to be looped.
Example: Vector Mode
Vector mode is disabled
(normal displacement is used)
Vector mode is enabled
Example: Wave Crest
Wave crest = 0
Wave crest = 1


