This page provides a tutorial on how to make a hardwood floor with VRayMtl.
Overview
The way objects look in the real world depends on the substance they are made of as well as on the micro-structure in which this substance is organized. The micro-structure affects how clear or blurry the objects’ reflections and refractions are. The VRayMtl is perfect to create a realistic matted surface, such as wood flooring.
In this tutorial, we show the simplest way to create a realistic hardwood floor material with VRayMtl.
Want to follow along but don’t have a license?
Step 1: Create a VRayMtl
Let’s start by creating a VRayMtl material and assigning it to our floor plane.
Open the Hypershade and go to Create panel > VRay section > VRayMtl.
Select the plane in the viewport and use the Assign Material To Selection right-click option of the VRayMtl.
Keep all parameters at their default values for now.

Step 2: Add a Diffuse texture
The hardwood floor can reflect and absorb light waves which result in reflection and a diffuse color. We use texture maps to define these material properties.
Let’s first assign a File node to the Diffuse Color slot of the VRayMtl and choose an image that best represents the floor we need.

Step 3: Adjust the texture tiling
The next step is to adjust the tiling of the hardwood floor based on how densely we want the wooden planks to be lined.
This can be done by selecting the place2dTexture node of the Diffuse texture and adjusting the Repeat UV parameter to a preferable value.
The images on the right show how the Repeat UV parameter changes the render. The Repeat UV in the first image is set to a value of 3. See how wide the wooden planks are.
In the second image, the Repeat UV is set to a value of 8. Thus, the size of the wooden planks is reduced and they are lined more densely.


Step 4: Adjust the Reflection
Let's make the floor look polished by adding some reflection to it. We use a remapHSV node to adjust the color output of the Diffuse texture.
First, create the remapHSV node and link the Diffuse texture to its Color input.
In the remapHSV parameters, remove the saturation to make the texture black and white. To do so, set all points of the Saturation ramp to a value of 0.
Then, bring up the texture's brightness and contrast by adjusting the points of the Value ramp. We get a good result by setting the first ramp point to a position of 0.15 and a value of 0, and the second point to a position of 0.7 and a value of 1.
Link the remapHSV to the Reflection Color slot of the VRayMtl.
In the Reflection rollout of the VRayMtl, bring the Reflection glossiness down to about 0.9.

Step 5: Add a Bump map
Floor surfaces are not entirely smooth, they have some bumps. To simulate tiny bumps, we can use the remapHSV node that was used to desaturate our texture as the Bump Map of the VRayMtl.
Then, set the Bump Multiplier to around 0.1 as the default value makes the bump too strong.
Note that the bump map is just a shading effect and does not change the original geometry, only the way it looks.

Let's check out how the Bump map changes the floor's appearance.
The first render is good but lacks some fine details. We need to make the surface look rougher.
In the second render we use a Bump map. See how the floor is no longer smooth and resembles a wooden surface.


Final Image
A Curve and Saturation color corrections were added to the final image in the V-Ray VFB.
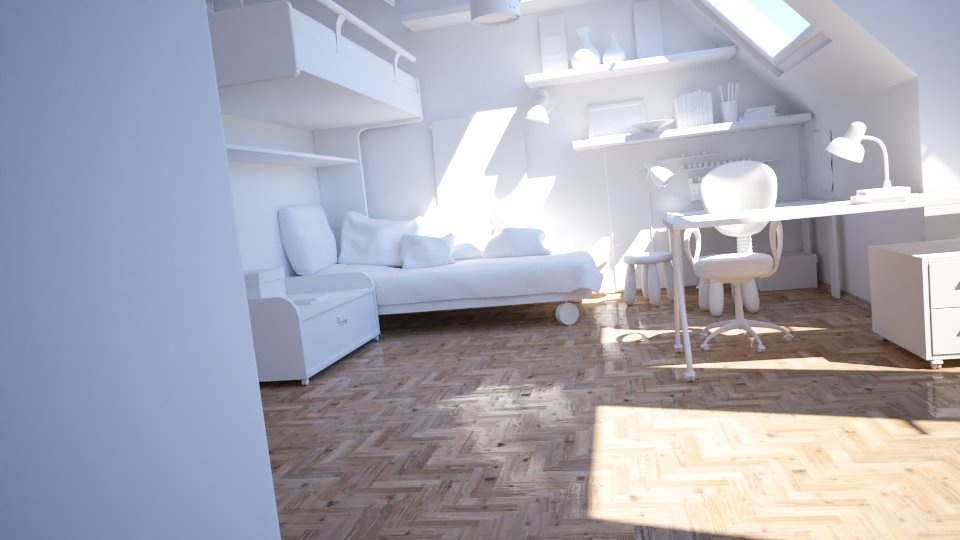
Note: The scene uses a V-Ray Sun and Sky setup for the lighting and a V-Ray Physical Camera. The Auto-exposure and Auto White Balance options are enabled in Render Settings > Overrides > Camera.