This page provides information on V-Ray Camera settings.
Overview
The Camera Settings window can be accessed through the Exposure Value button on the V-Ray for Revit Ribbon.

UI Path
||Revit Ribbon|| > V-Ray tab > Camera panel > Exposure Value

Camera Settings
Mode – Specifies the type of camera to use for rendering. The cameras in V-Ray generally define the rays that are cast into the scene, which essentially is how the scene is projected onto the screen. V-Ray supports several camera types:
Standard Camera – A traditional pinhole camera.
VR Spherical Panorama – Spherical camera with independent horizontal and vertical FOV selection that is useful for generating latlong images for spherical VR use.
VR Cubemap – A variant of the Box camera with the cube sides arranged in a single row. Unlike the Box camera's output, Cube6x1 does not produce an empty space in the output image and is useful in generating cubic VR output.
When the current view is set to an ortho 3D view, the Mode is locked to Standard Camera, while VR Spherical Panorama and VRCubemap are unavailable.
When rendering in Interactive mode in some specific cases and using the native Revit Undo/Redo command, the rendering stops and the Undo/Redo command has a priority.
Stereo – Enables or disables the Stereoscopic rendering mode. Stereoscopic images are rendered Side-by-side or Top-bottom based on the Output Layout option. You do not need to re-adjust the image resolution as it adapts automatically. Note that when current view is set to an ortho 3D view, the Mode is locked to Standard Camera and this option is unavailable.
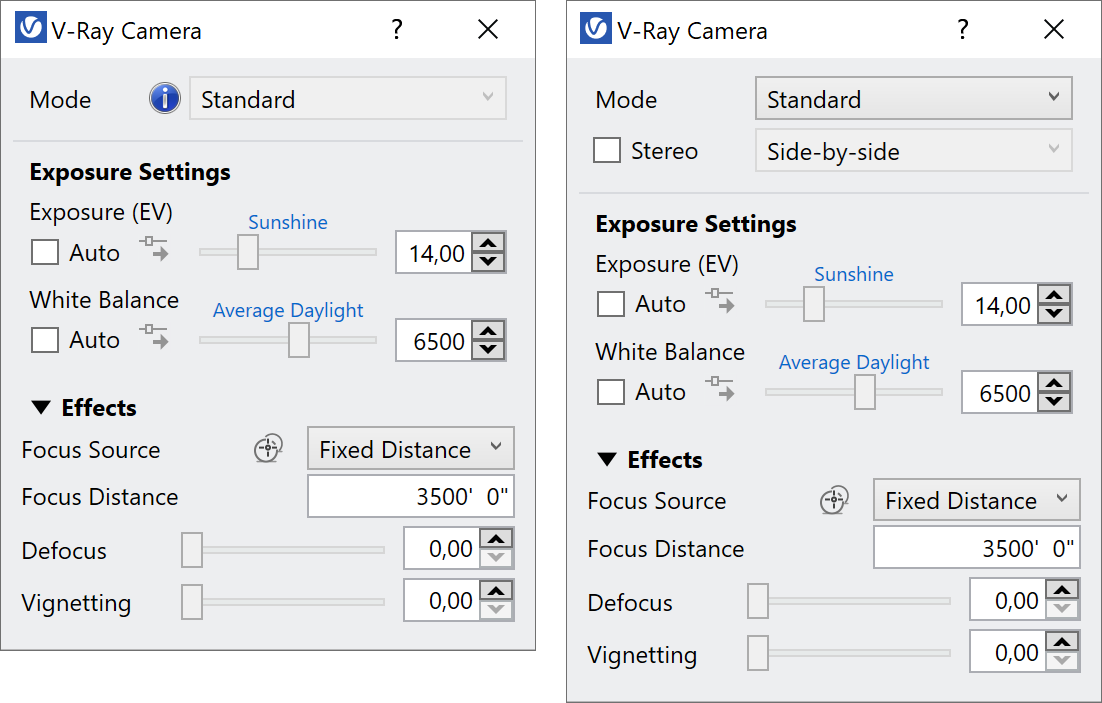
Exposure Settings
Exposure (EV) – Controls the render brightness in exposure value (EV) units. EV ranges correspond to the following lighting environments:
| EV Range | Environment |
|---|---|
| 25.0 to 14.0 | Bright Sunshine |
| 14.0 to 12.0 | Sunshine |
| 12.0 to 10.0 | Overcast Sky |
| 10.0 to 5.0 | Bright Interior |
| 5.0 to 0.0 | Floodlit Building |
| 0.0 to -3.0 | Dim Ambient Light |
| -3.0 to -6.0 | Night - Full Moon |
| -6.0 to -15.0 | Night - Starlight |
Auto – Automatically determines an appropriate exposure value for the render. It requires Light Cache to be set as a Secondary GI engine. Note that Auto Exposure does not take into account pixels with zero or negative Alpha value.
White Balance (K) – Specifies the color temperature in degrees Kelvin that appear white in the render. The following temperature ranges correspond to the following lighting environments.
| Temperature Range | Environment |
|---|---|
| 2000 | Candle Flame |
| 2000 to 3250 | Incandescent Lighting |
| 3250 to 4250 | Halogen Lighting |
| 4250 to 5050 | Fluorescent Lighting |
| 5050 to 6550 | Average Daylight |
| 6550 to 10000 | Daylight |
Auto – Automatically determines a suitable white balance value for the image. It requires Light Cache to be set as a Secondary GI engine. Note that Auto White Balance does not take into account pixels with zero or negative Alpha value.
Auto icon ( ) – Transfers the auto calculated exposure/white balance value to the slider for further manual adjustments. Note that when no auto values are available, the buttons are grayed out.
Effects
This rollout is only accessible when the Camera Mode is set to Standard Camera.
Focus Source – Chooses the way in which the camera focus us determined.
Fixed Distance – Fixes the camera focus to the Focus Distance value.
Fixed Point – The focus distance is automatically calculated before the rendering starts and equals the distance between the camera position and the 3D point selected using the Pick Focus Point Command from the toolbar menu. If no point has been selected, the camera target is used instead as a default point.
Focus Distance – Specifies the distance from the camera where objects are in sharp focus. Note that Focus Distance depends on the selected Focus Source and its units are synchronized with Revit's project units.
Defocus – Controls the strength of the defocus (bokeh) effect. Objects farther away from the Focus Distance appear blurry.
Vignetting – Controls the strength of the vignetting effect which gradually darkens the edges of the render.
Defocus and Focus Distance are in a relation. The Defocus (bokeh) effect is applied correctly after the setup of the Focus Distance option.
To define the Focus Distance when Focus Source is set to Fixed Distance, open any floor plan view in Revit and measure the distance from the Current View camera to the object/s that you want to appear in sharp focus.
To define the Focus Distance when Focus Source is set to Fixed Point, select the Pick Focus Point tool from the toolbar button under EV and click an object on the Revit 3D view that is set as Current View in V-Ray.