![]()
Page History
This page provides detailed information on Viewport Rendering in V-Ray.
Overview
...
| Section | ||
|---|---|---|
| Column | | |
|
UI Paths
...
| Section | ||||||||||||||||||||||||||
|---|---|---|---|---|---|---|---|---|---|---|---|---|---|---|---|---|---|---|---|---|---|---|---|---|---|---|
|


Workflow
...
| Section | ||||||||||||||||||||
|---|---|---|---|---|---|---|---|---|---|---|---|---|---|---|---|---|---|---|---|---|
|
| Section | ||||||||||
|---|---|---|---|---|---|---|---|---|---|---|
|
...
| Section | |||||||||||||||||
|---|---|---|---|---|---|---|---|---|---|---|---|---|---|---|---|---|---|
|


|
...
| Expand | ||
|---|---|---|
| ||
Viewport Rendering In Previous SketchUp Versions |
...
UI Paths
|

...
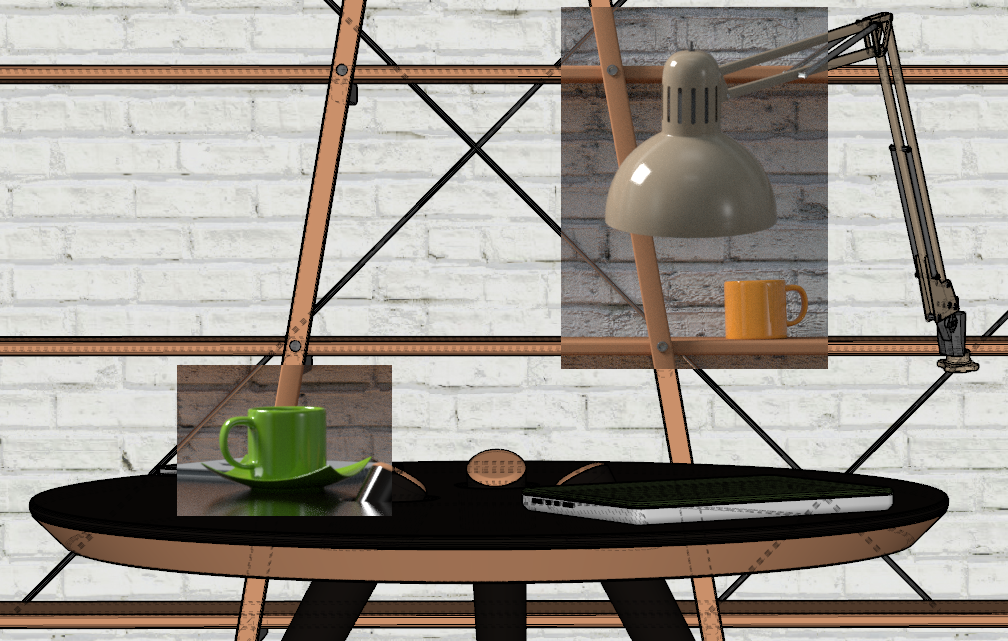
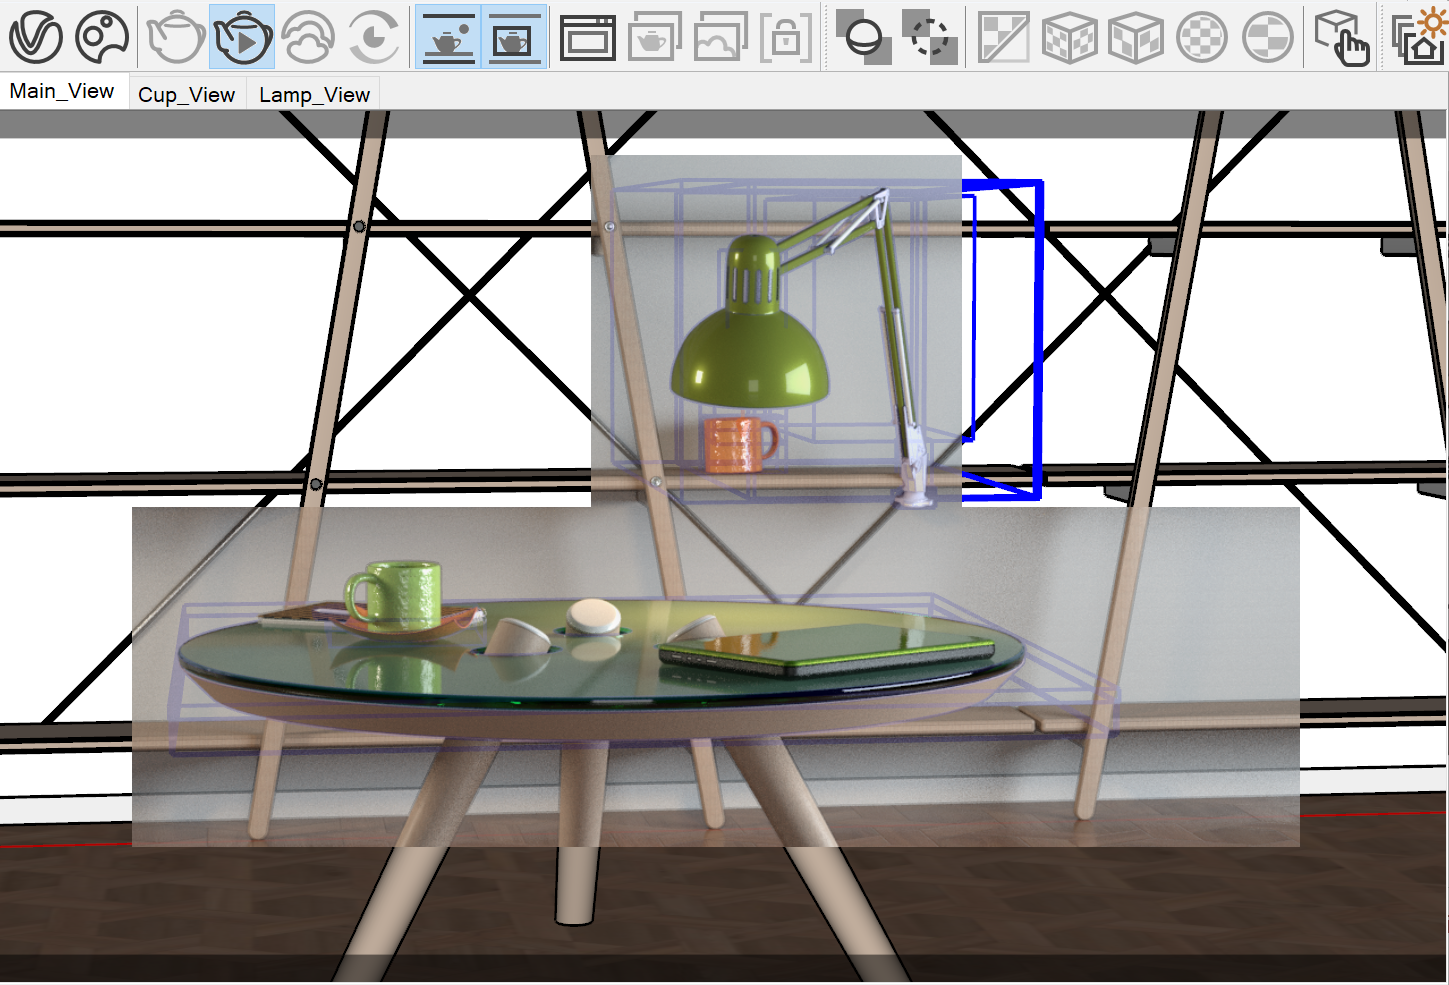
Viewport Rendering
|
...
|
|
...
|
...
|
...
|
...
|
...
Viewport Rendering in SketchUp 2023
...
| Column | ||
|---|---|---|
| ||
...
| width | 25% |
|---|
SketchUp Menus Ribbon
||Extensions|| > V-Ray > Rendering > Render Interactive
||V-Ray for SketchUp Toolbar|| > Render Interactive

||V-Ray Frame Buffer|| > Start Interactive Rendering
||V-Ray Frame Buffer|| > Region render

| Column | ||
|---|---|---|
| ||
|
| Column | ||
|---|---|---|
| ||
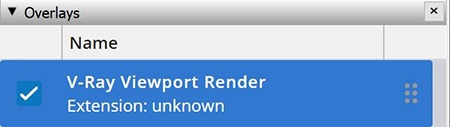
||Window|| > Default Tray > Overlays > V-Ray Viewport Render
||Extensions|| > V-Ray > Preferences > Viewport Render Opacity
|
| Column | ||
|---|---|---|
| ||
|
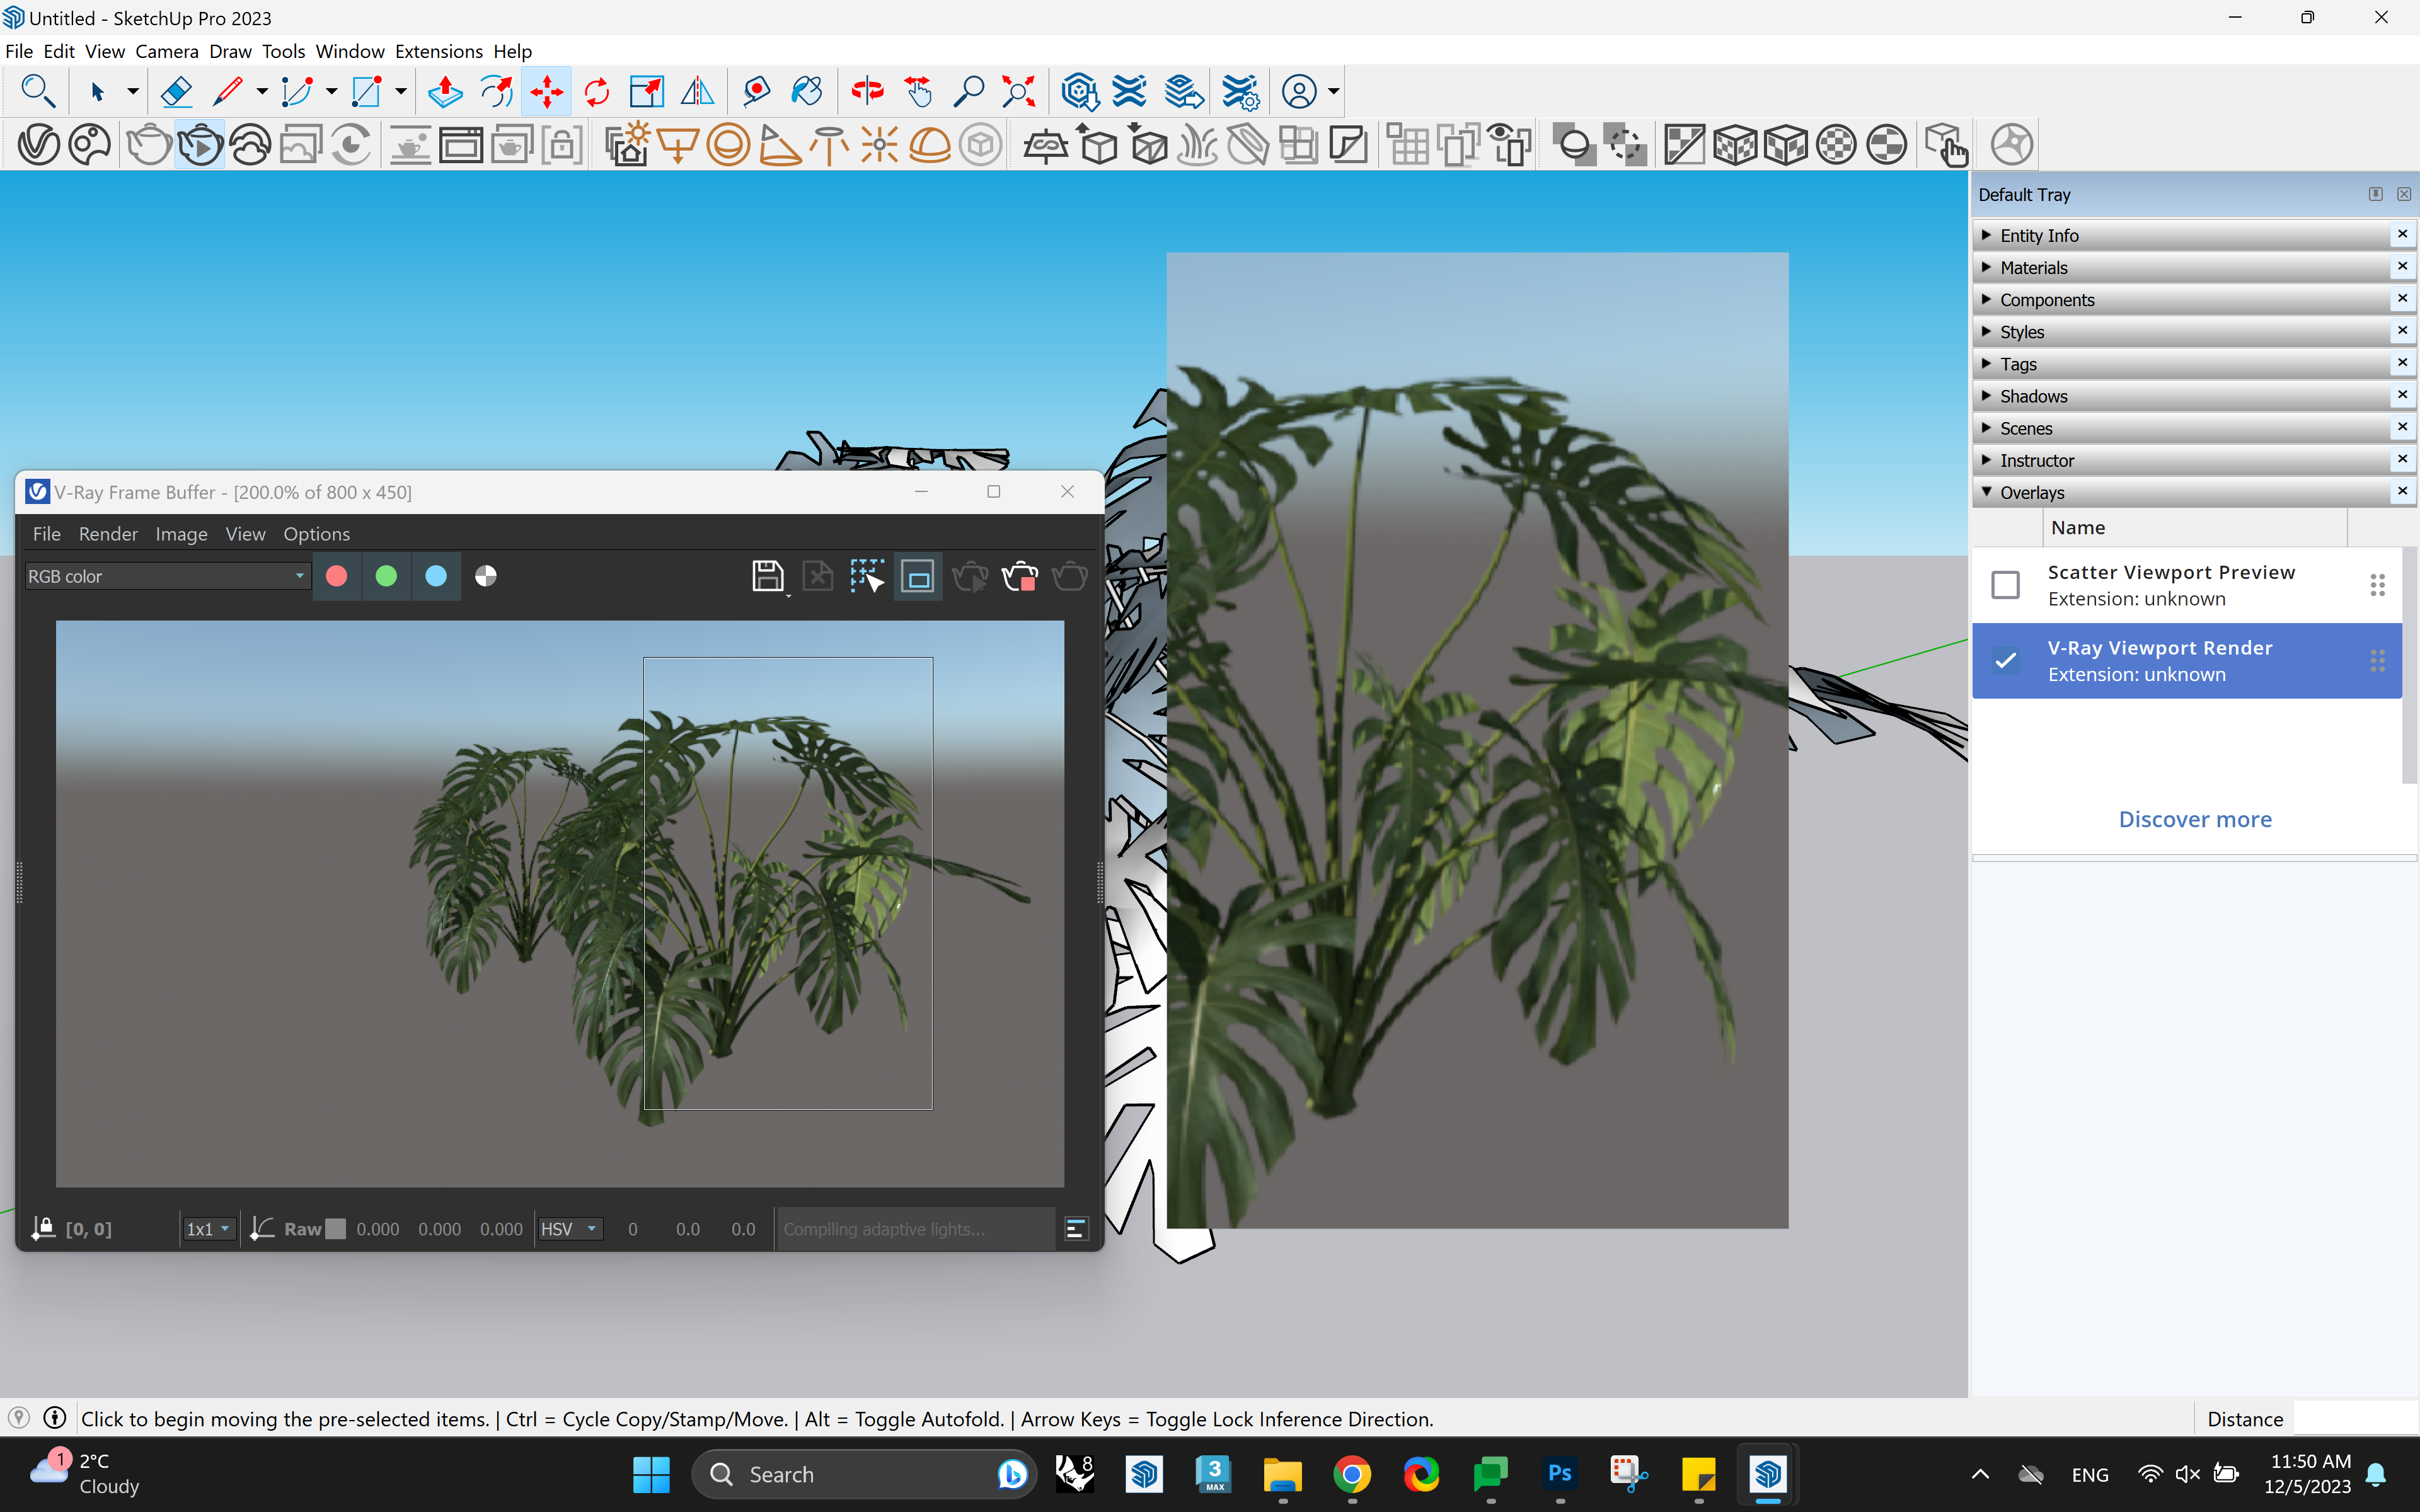
Workflow
To start the Viewport render, activate the V-Ray Viewport Render Overlay first. Then start an Interactive render. Adjusting the viewport render region is available with the V-Ray Frame Buffer Region render option. The Viewport Render Overlay opacity is modified from the Viewport Render Opacity menu option.
|
| Section | ||||||||||
|---|---|---|---|---|---|---|---|---|---|---|
|


Notes
...
| Fancy Bullets | ||
|---|---|---|
| ||
|