This page provides detailed information on Viewport Rendering in V-Ray.
Overview
Viewport Rendering (VPR) is a render output overlay visible in SketchUp's viewport. It updates upon scene updates during interactive rendering It is rendered. VPR can either overlay the entire viewport or render over selected regions.
UI Paths
||V-Ray Frame Buffer|| > Region render
||V-Ray Frame Buffer|| > Start Interactive Rendering

||V-Ray for SketchUp Toolbar|| > Render Interactive
||V-Ray for SketchUp Toolbar|| > Viewport Render

SketchUp Menus Ribbon
||Extensions|| > V-Ray > Rendering > Render Interactive
||Extensions|| > V-Ray > Rendering > Viewport Render
Accessing Viewport Render from the V-Ray Toolbar or the V-Ray Menu in Sketchup 2023 or later versions opens the following notification.
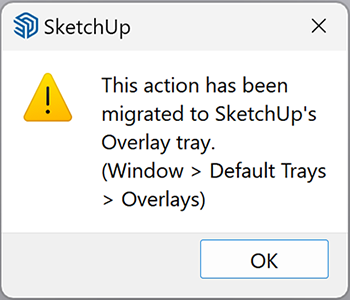
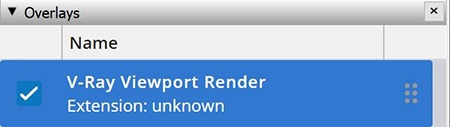
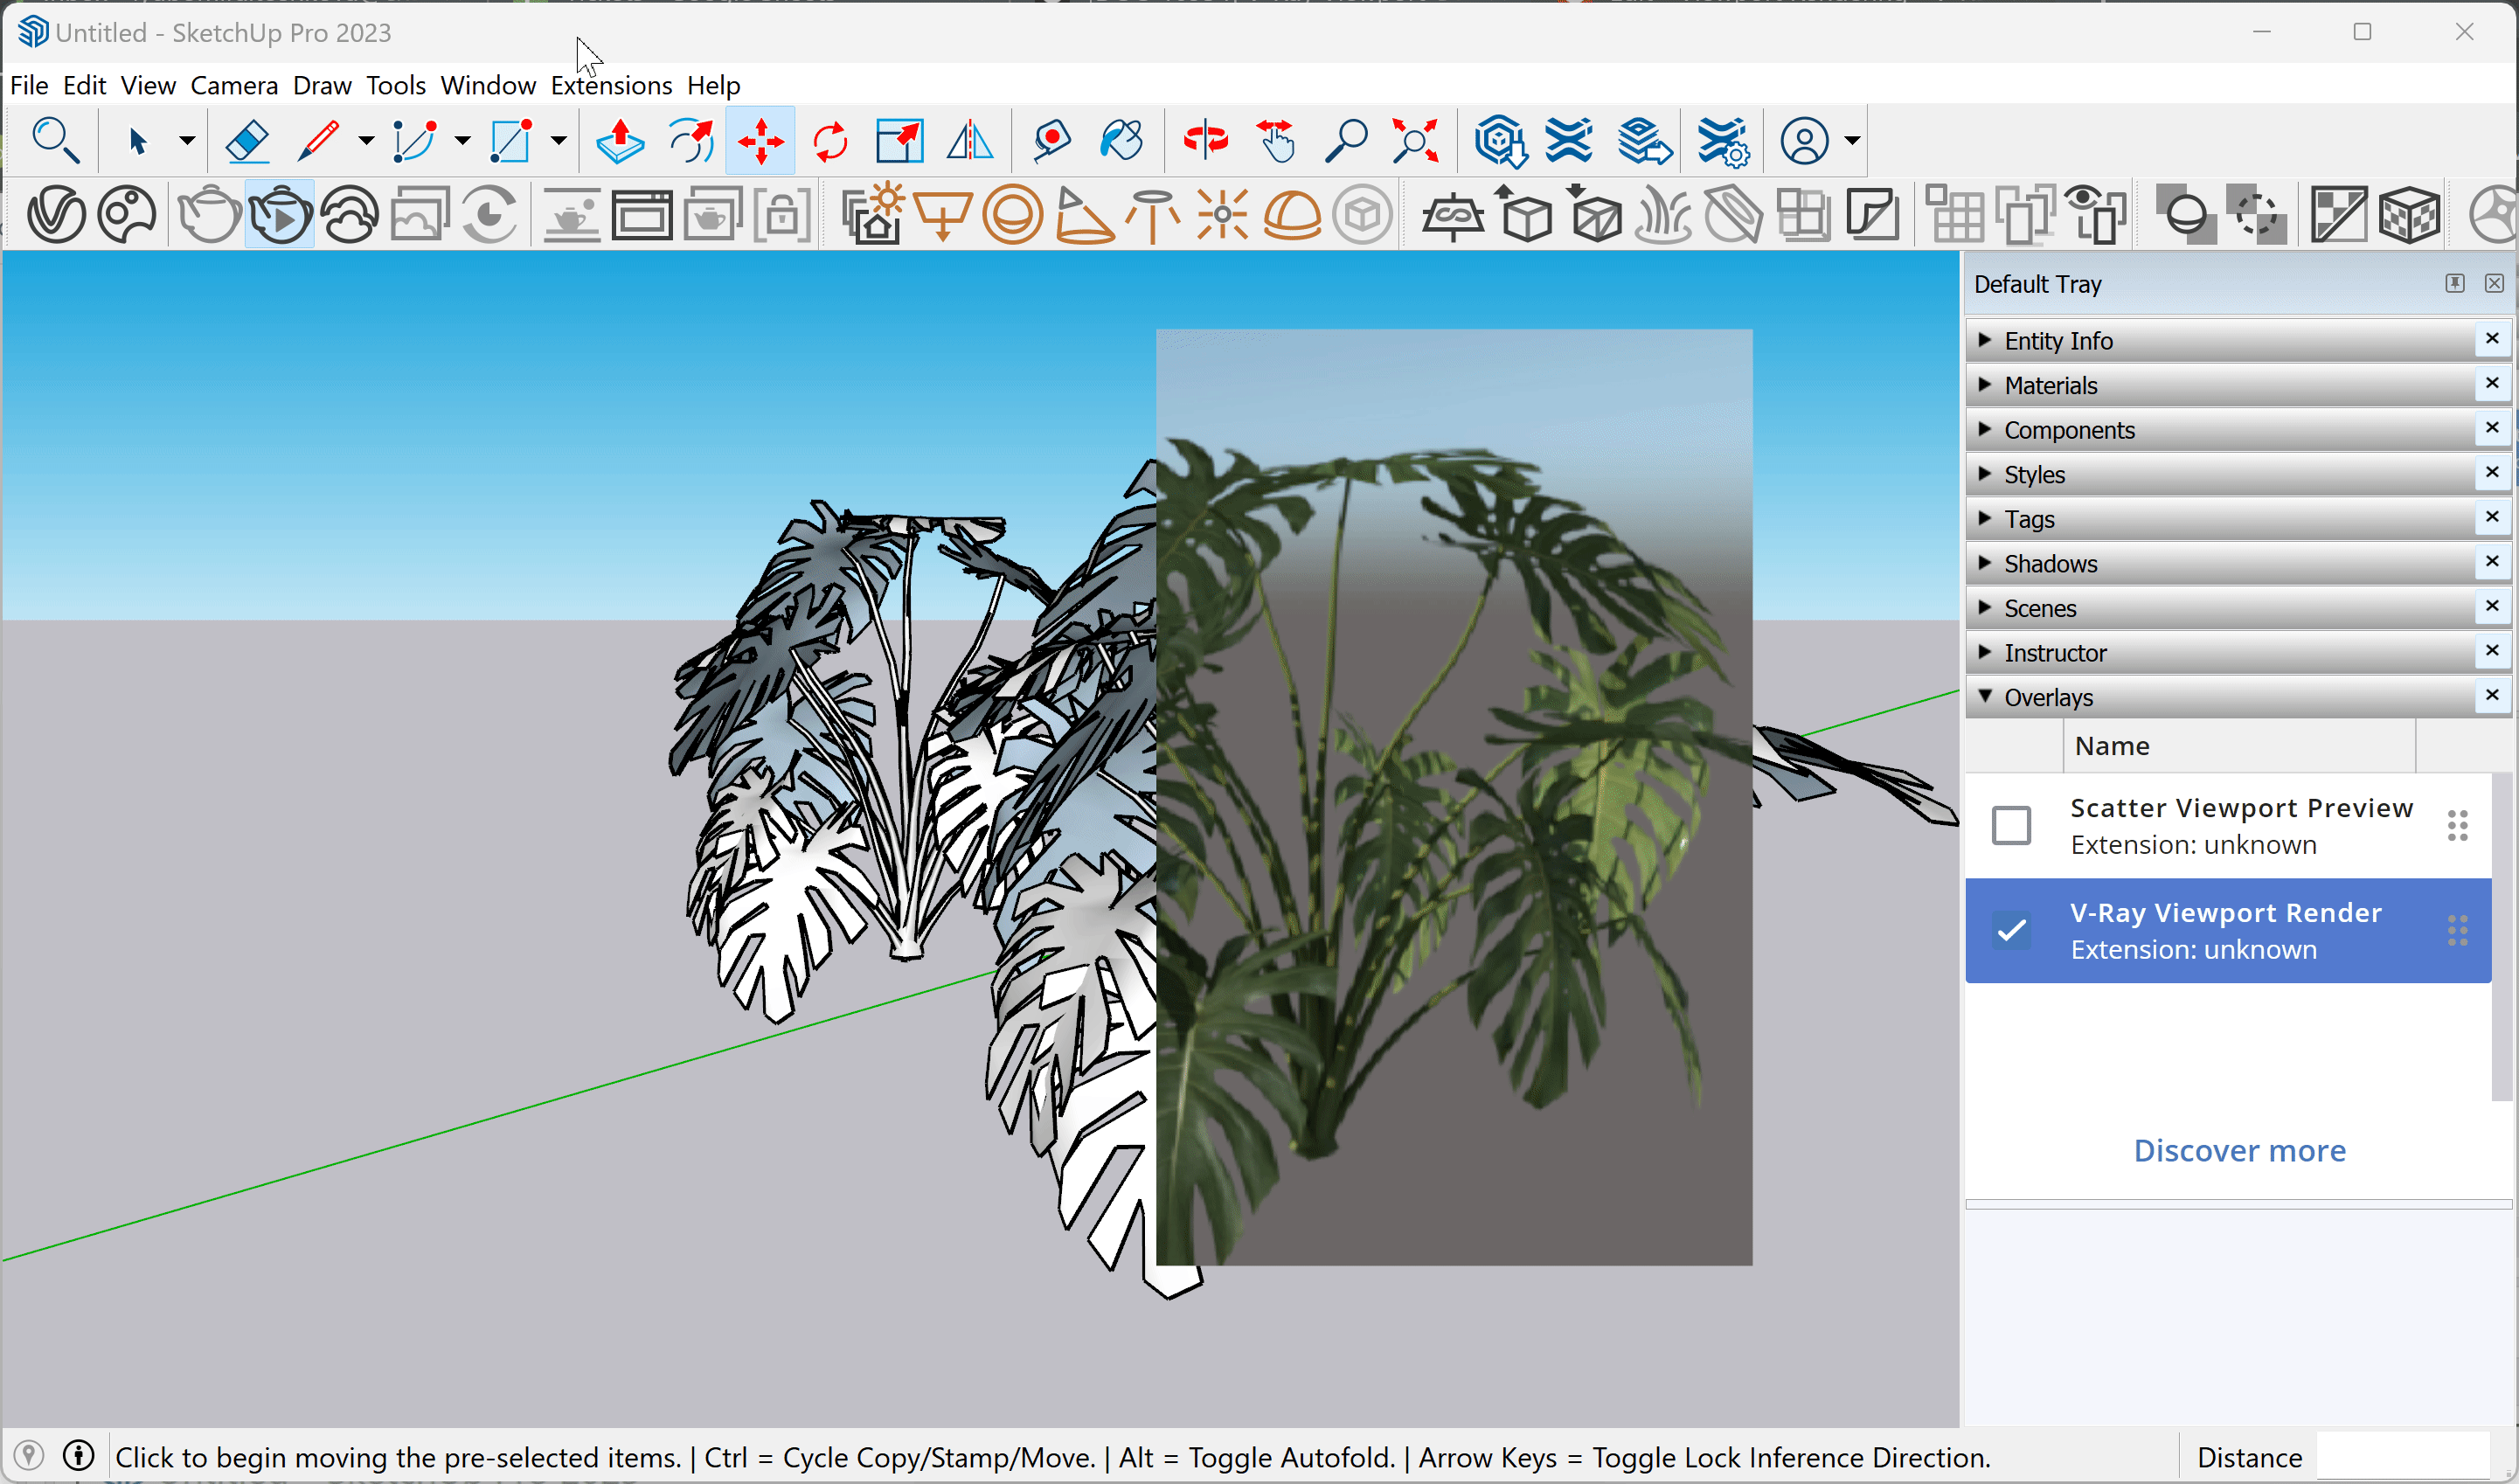
||Window|| > Default Tray > Overlays > V-Ray Viewport Render
||Extensions|| > V-Ray > Preferences > Viewport Render Opacity

Workflow
First, activate the V-Ray Viewport Render in the Overlays menu. Then start an Interactive render.
Adjusting the viewport render region is available with the V-Ray Frame Buffer Region render option.
The Viewport Render Overlay opacity is modified from the Viewport Render Opacity menu option.
Closing the V-Ray Frame Buffer does not stop the Viewport Render.
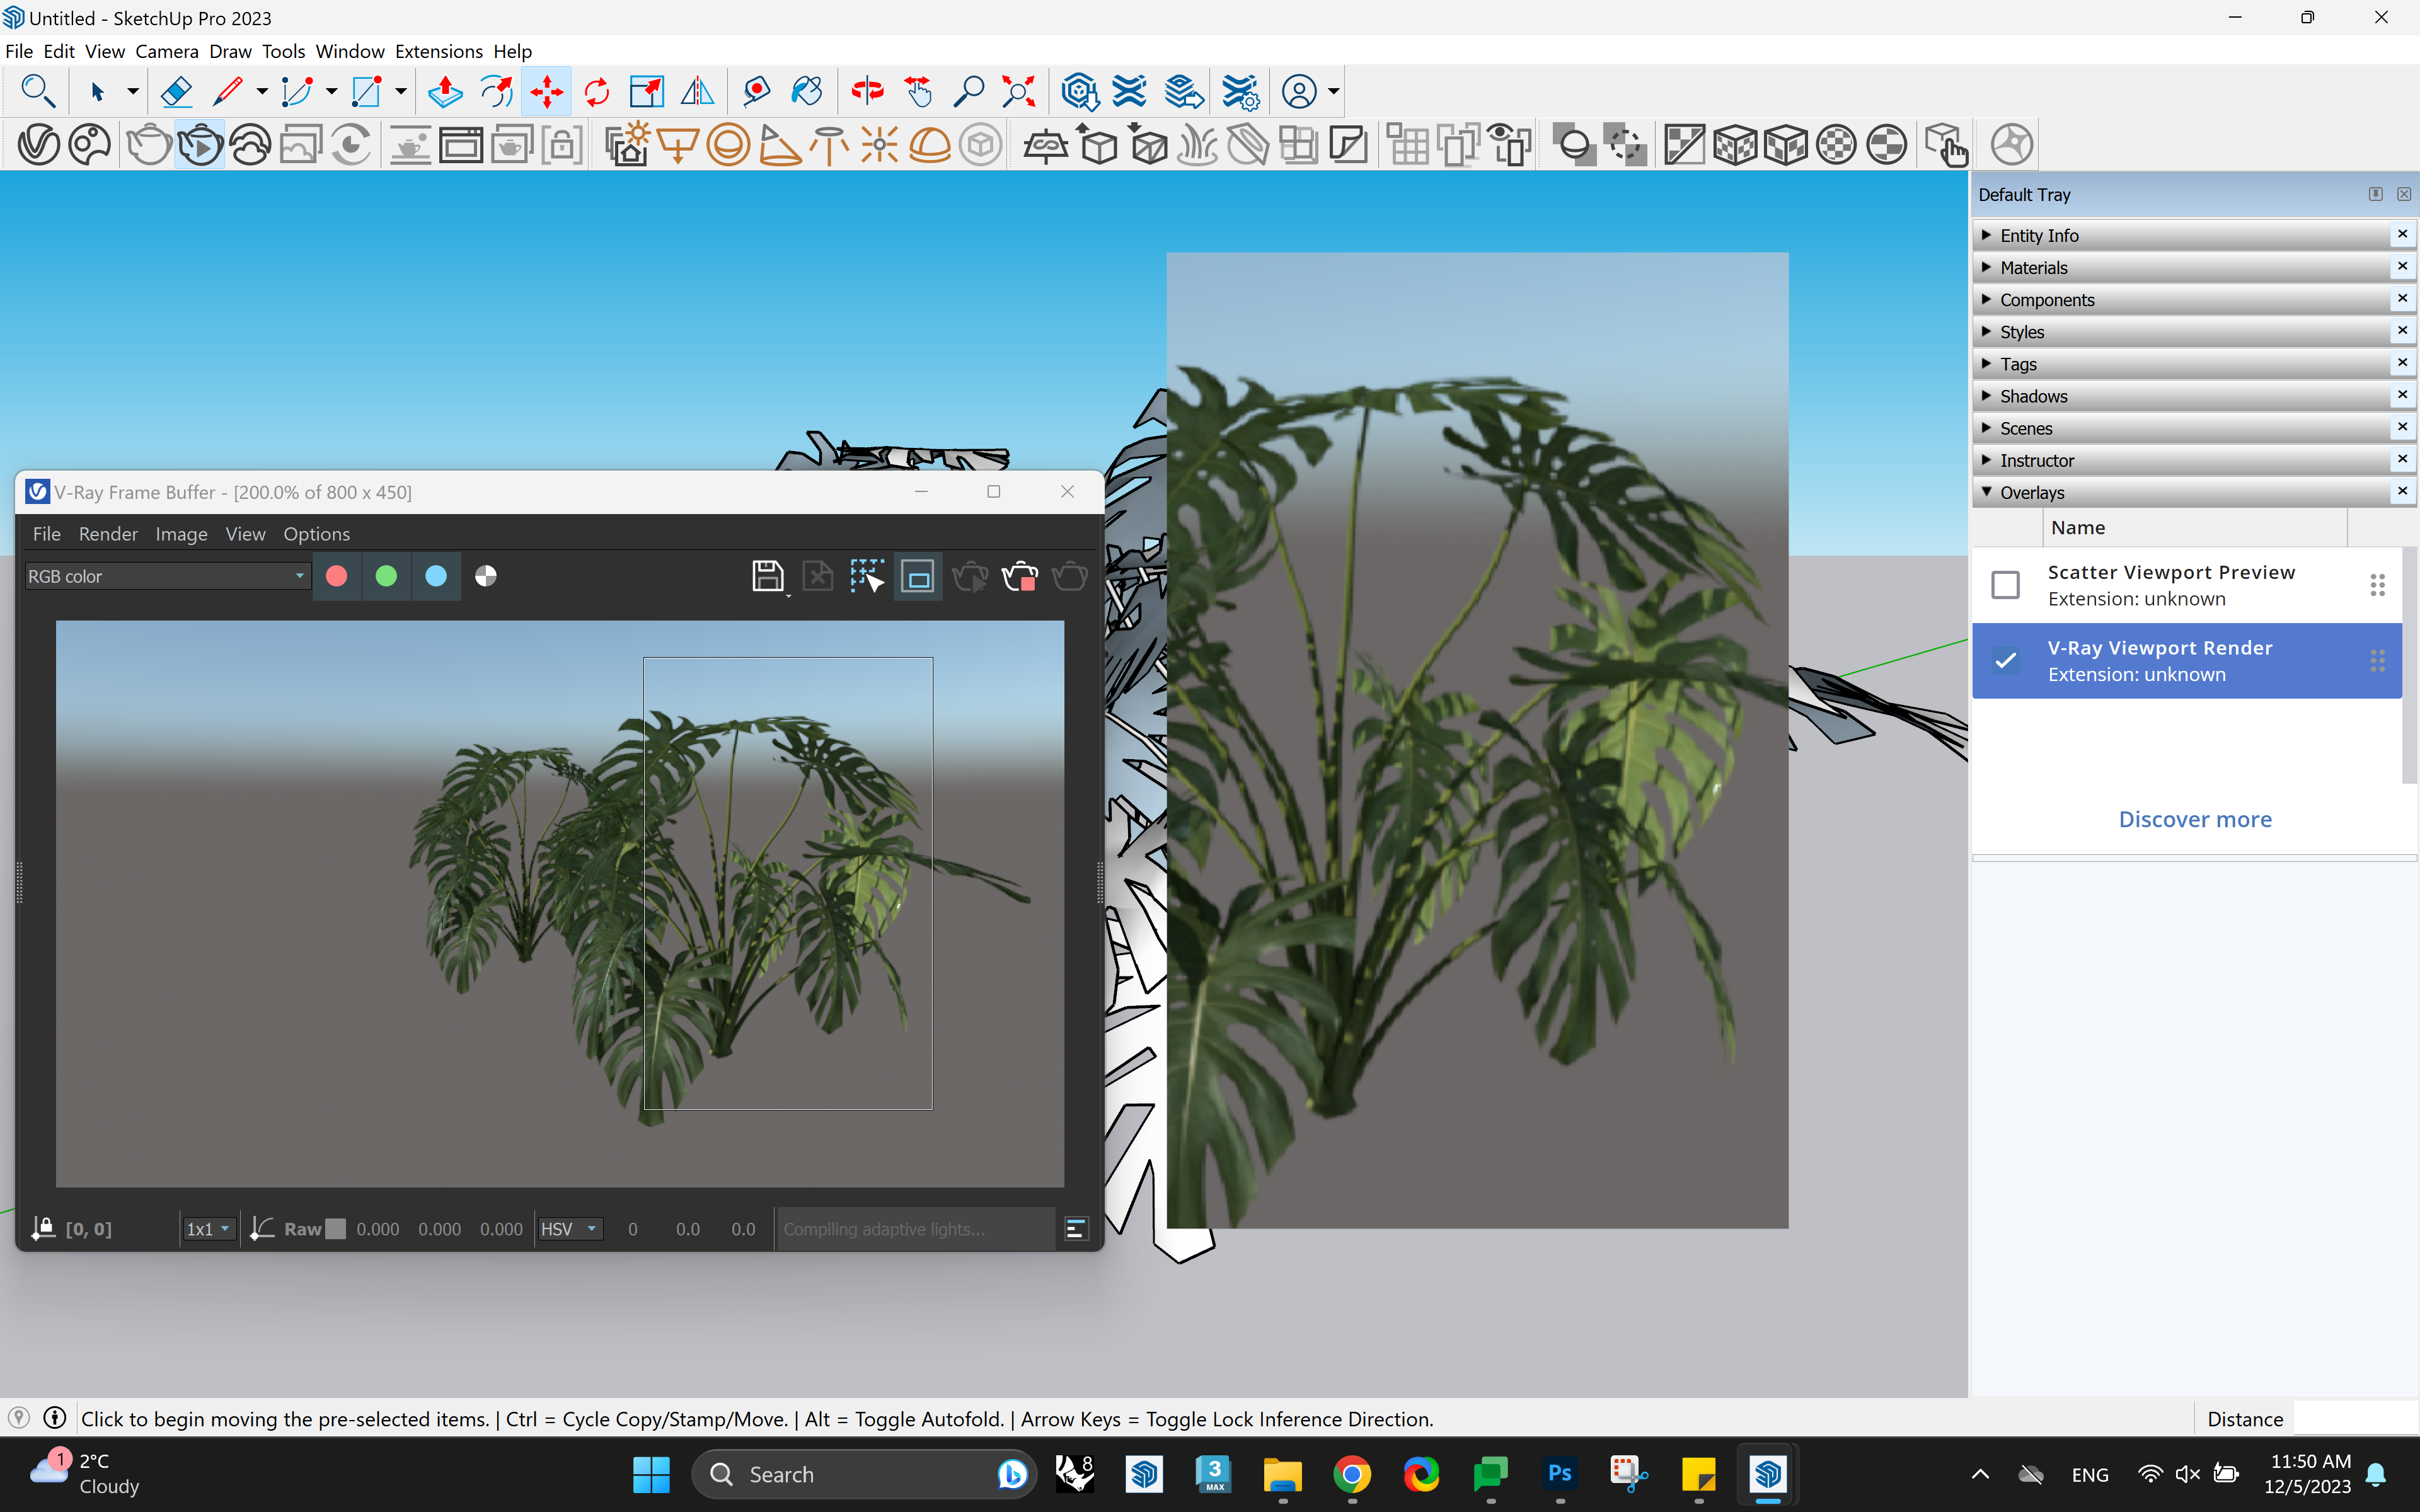
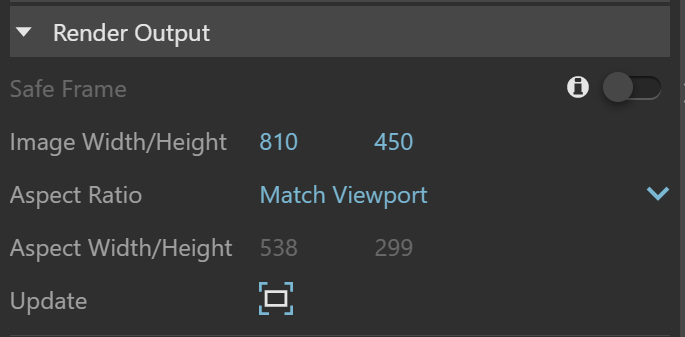
The Render Output does not automatically fit the viewport resolution. Adjust the resolution from the Asset Editor > Render Settings > Render Output and set the Aspect Ratio to Match Viewport. You can either adjust the image's Width and Height to match the Aspect's Width and Height or resize SketchUp's window and press the Update ( ) button.
Viewport Rendering In Previous SketchUp Versions
UI Paths
||V-Ray for SketchUp Toolbar|| > Viewport Render
||V-Ray for SketchUp Toolbar|| > Viewport Render Region

SketchUp Menus Ribbon
||Extensions|| > V-Ray > Rendering > Viewport Render
||Extensions|| > V-Ray > Rendering > Viewport Render Region
Viewport Rendering
Note that the render output does not automatically fit the viewport resolution. If you wish it to do so, go to Asset Editor > Render Settings > Render Output and set the Aspect Ratio to Match Viewport. You can either adjust the image's Width and Height to match the Aspect's Width and Height or resize SketchUp's window and press the Update () button.
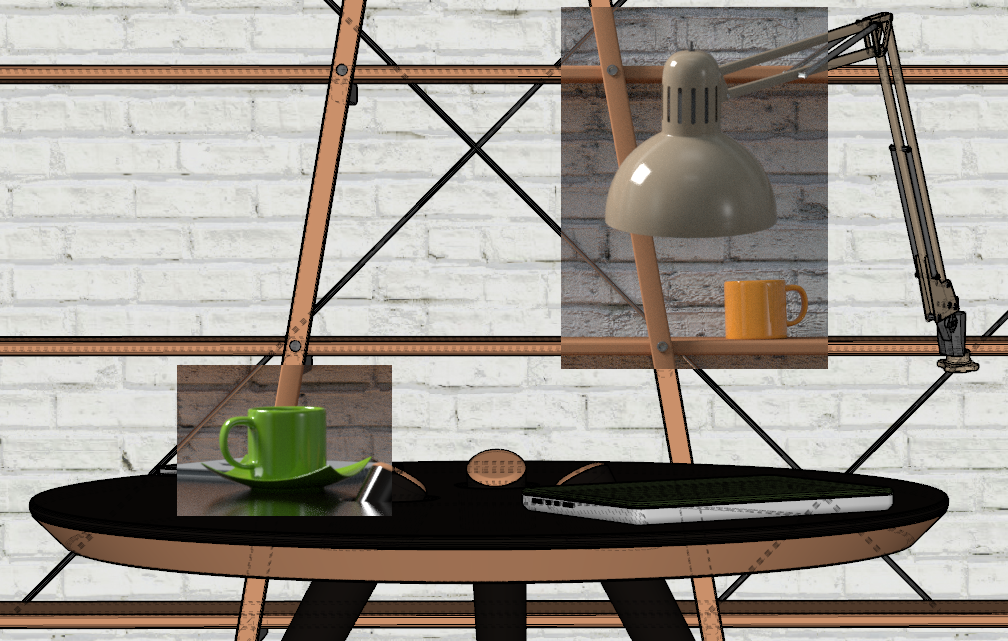
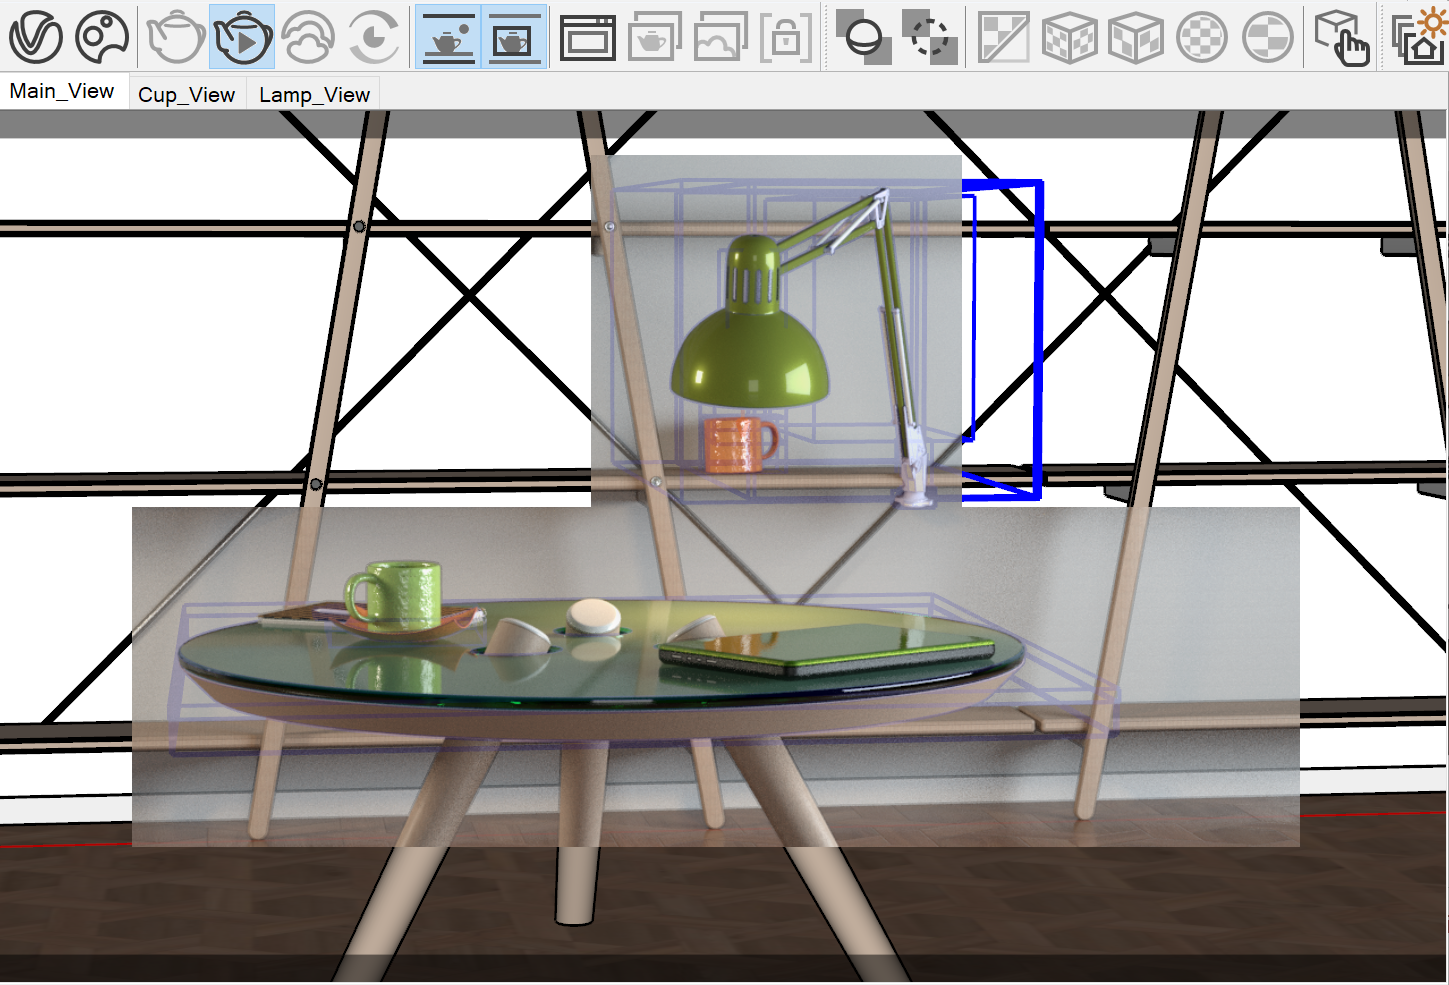
Select only a region in the viewport to be interactively rendered from the toolbar button or from the V-Ray Rendering submenu. Multiple regions can be selected while the VPR is running.
Control of the render overlay opacity is done through Ctrl and ‘+’ or ‘-‘ keyboard shortcuts, so you can decide how much to blend it with the SketchUp regular viewport.
Shift key adds a region to the existing one, while Ctrl key selects a new region discarding the previous ones.
Example: Region Viewport Rendering
Example: Reduced render overlay opacity
Notes
- Use 'Ctrl' plus '+' or '-' key combination to control overlay opacity.
- V-Ray Vision is an alternative to the Viewport rendering and can be used instead. However, V-Ray Vision is currently not directly available in the viewport.