This page provides information about the real-time viewer V-Ray Vision.
Overview
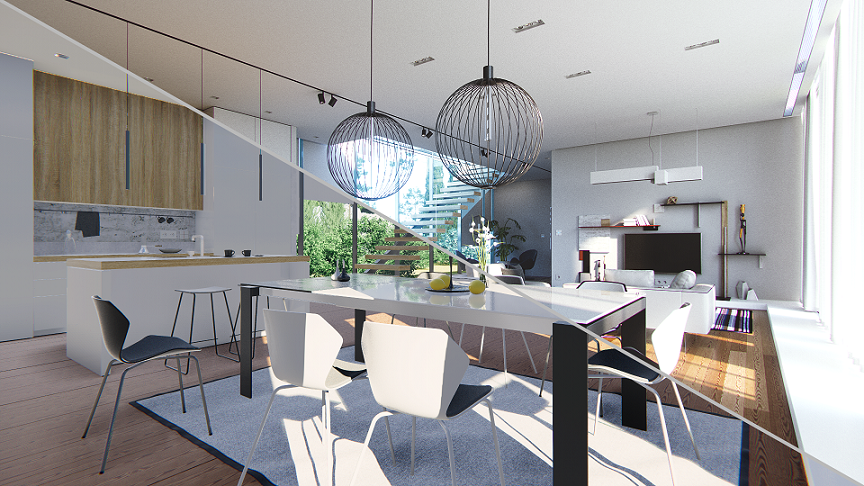
V-Ray Vision is a real-time viewer that can be used in any project set up for V-Ray rendering. It is a lightweight “game engine” (rasterizer) that does not currently use any type of ray-tracing. Due to its speed, it can serve as a powerful alternative viewport that provides better lighting and material representation as well as camera animation playback controls.
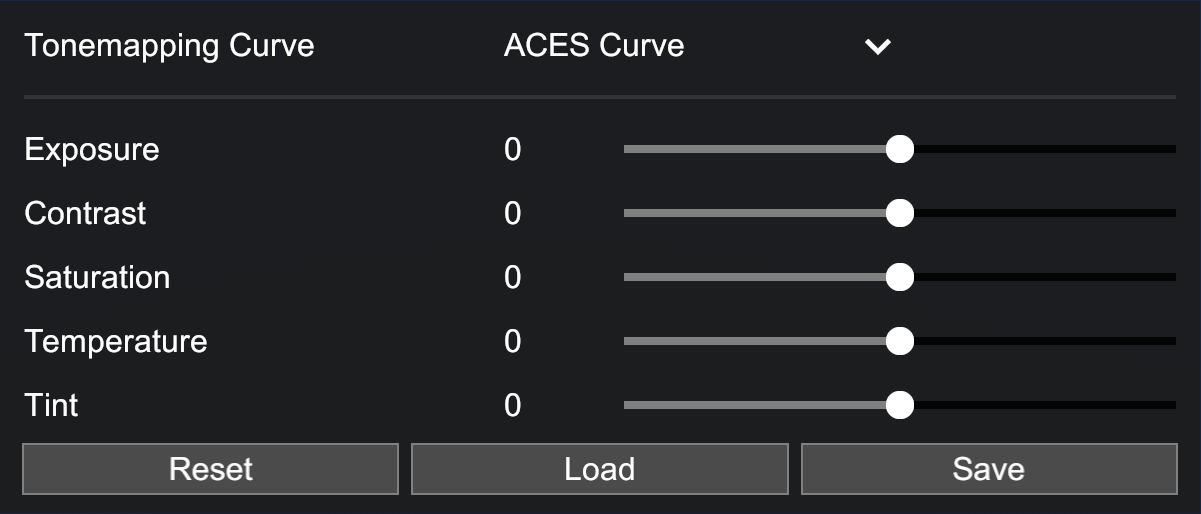
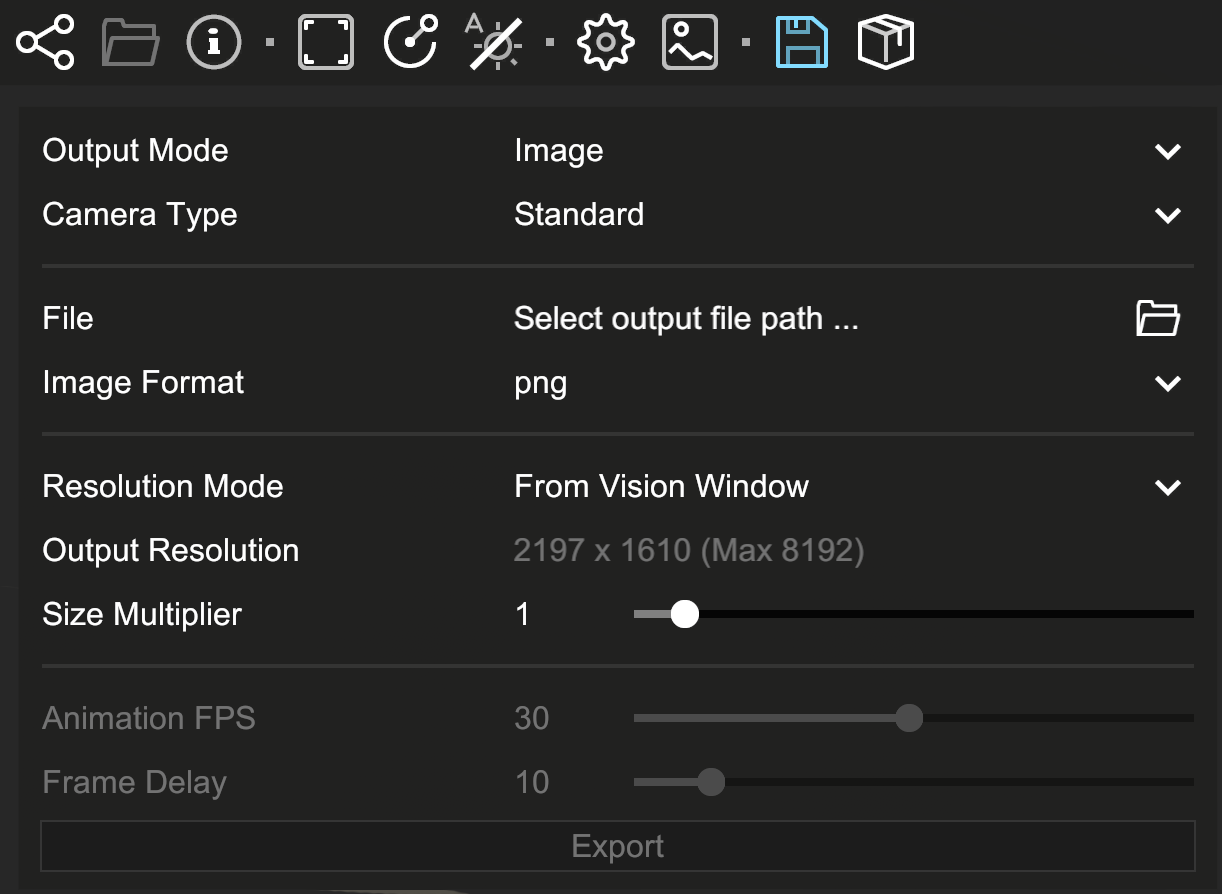
In addition to its main function as a viewer, V-Ray Vision can produce spherical panoramas and quick output of both still frames and animation sequences. It comes with its very own auto-exposure, tonemapping, and color correction options.
When V-Ray Vision is launched, it automatically loads the current SketchUp project and starts an interactive session. This means that while it is running, a live link is established that sends to the viewer all updates made to the SketchUp scene.
Stopping the live link, by either clicking the SketchUp toolbar's V-Ray Vision button or any of V-Ray's Render buttons, ends the connection but does not clear the loaded scene. To stop V-Ray Vision, close its window.
In addition to loading scenes directly from SketchUp, V-Ray Vision is able to load .vrscene files directly. In this case, in order for the modifications to be displayed, the source file has to be reloaded.
See the V-Ray Vision tutorial or the Courseware page for more information.
UI Paths
||V-Ray for SketchUp Toolbar|| > Start V-Ray Vision
SketchUp Menus Ribbon
||Extensions|| > V-Ray > Live Link > Start V-Ray Vision
V-Ray Vision Menu
Indicates whether the live link with V-Ray is currently active. Click on the button to open the Live link parameters panel: Sync Camera – Sync vision camera with the host application viewport. | |
| Selects a .vrscene file to be loaded in the viewer. | |
| Shows or hides the information panel and the shortcuts. | |
Resolution mode. Click on the button to cycle between the following modes: Fit in Window – Matches the window size and aspect. | |
Camera Navigation Mode. Click on the button to cycle between the following modes: Orbit mode – enables the camera movement based on orbit, pan, and zoom manipulations. | |
Enables/disables Auto Exposure.1 | |
| Enables/disables the Measurement Tool. | |
| Opens the Settings panel. | |
Opens the Color Corrections panel. | |
Opens the Save Options panel. | |
Enables the Standalone Application Export.2 Packages and exports the project as a standalone application. |
Toolbar Menu Hide Option – An arrow appears upon hovering at the top part of the V-Ray Vision window. This allows for the toolbar to be hidden or expanded.
Settings
Color Corrections
Output
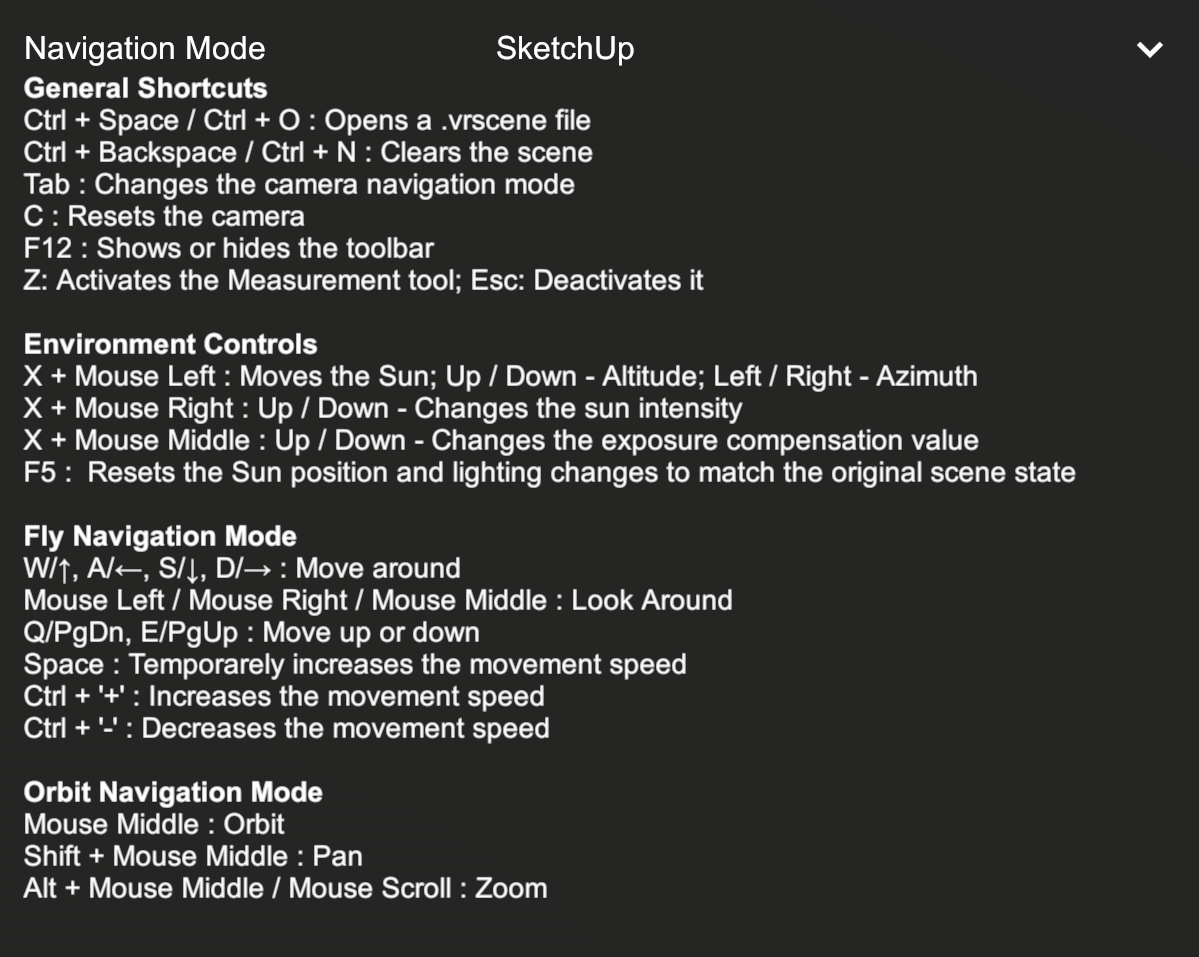
Shortcuts
These shortcuts navigate through V-Ray Vision.
General Shortcuts
| Shortcut | Description |
|---|---|
Ctrl + Space or Ctrl + O | Opens a .vrscene file. |
Ctrl + Backspace or Ctrl + N | Clears the scene. |
| Tab | Changes the camera navigation mode. |
| C | Resets the camera. |
| F12 | Shows or hides the tollbar. |
| Z/Esc | Activates/deactivates the measurement tool allowing you to measure the distance between two points on your project (select the points by left clicking on the screen). For better results make sure to click inside of the geometry outlines when selecting the points. |
Environment Controls
| Shortcut | Description |
|---|---|
| X + Left-click | Moves the Sun. Up/Down – Altitude |
| X + Right-click | Up/Down – Changes the sun intensity. |
| X + Middle-Click | Up/Down – Changes the Exposure Compensation value |
| F5 | Resets the Sun position and lighting changes to match the original scene. |
Fly Navigation Mode
| Shortcut | Description |
|---|---|
| W, A, S, D | In Fly Mode, allow for moving around. |
| Left/Right/Middle Click | Look around in Fly Mode. |
| Q/E or Page Up/Down | Move the page up and down in Fly Mode. |
| Space | Temporarily increases the movement speed. |
| Ctr + '+' | In Fly Mode, it increases the movement speed. |
| Ctr + '-' | In Fly Mode, it decreases the movement speed. |
Orbit Navigation Mode
| Shortcut | Description |
|---|---|
| Middle-click | Orbit |
| Shift + Middle-click | Pan |
| Alt + Middle-click/Mouse scroll | Zoom |
FAQ
Does V-Ray 6 include Vision?
Yes, Vision is integrated in V-Ray 6 for SketchUp. It can be launched directly from the main V-Ray toolbar.
What is the difference between Vision and Chaos Vantage?
How do you see both engines develop in the future?
V-Ray Vision is a feature of V-Ray for SketchUp, Rhino and Revit, while Vantage is a standalone application that can import and render V-Ray data. The technologies used differ quite significantly as well.
Vision is a rasterizer, a game engine meant to be used as a real-time scene viewer. It can also output final images or animations when the quality is sufficient for the project presentation.
Vantage is a real-time ray-tracer which makes it a lot more powerful in some regards. The lighting quality as well as reflections, refractions and other complex effects are calculated with high accuracy. Heavy models (in terms of polygonal count) are also not a problem for Vantage. Also note that Vantage requires a DXR compatible GPU (NVIDIA RTX only), while Vision runs on any GPU that supports DirectX 11 or 12 and Shader Model 5.0 (both NVIDIA and AMD cards can be used).
A common design shared between Vision and Vantage is that they visualize standard V-Ray Lights, materials and other effects. There is no need to modify your scene in order to use one of the engines. Future plans include Vision to be extended in terms of its presentation capabilities, V-Ray effects support and lighting quality while keeping the high framerate a priority.
Does V-Ray Vision work on macOS?
Yes. Make sure you use V-Ray 5.1 or a more recent V-Ray version and launch Vision from the main V-Ray toolbar.
What is the reason for lighting and material differences between Vision and the production V-Ray render engine?
• The technology used in Vision (rasterization) is fast but limited in quality and number of effects that can be supported.
• Most of the common material parameters used in V-Ray are supported in Vision. Some are still unsupported and hence you’ll see some differences in the way surfaces appear.
• Vision is also still not capable of evaluating the global illumination in the scene. As a result closed interior spaces would be illuminated incorrectly in most cases. Calculating many light bounces is required for better results.
• Chaos' main goal with Vision is to give a real-time experience keeping a high framerate. Vision is in active development, so the supported features are subject to change.
Footnotes
1- Note that when Auto Exposure is enabled, sizeable very dark or light portions of the buffer (e.g. completely black background surrounding a model), might produce an exaggerated exposure value adjustment.
2- To successfully open a standalone executable Vision file on Apple M1 systems, make sure to enable the 'Open using Rosetta' option from the file's info window.
- V-Ray Vision is part of V-Ray for SketchUp and does not require additional licensing.
- V-Ray Vision requires hardware capable of running DirectX 11 or DirectX 12 and Shader Model 5.0
- Scenes with Chaos Cosmos assets can be rendered in V-Ray Vision.
- Temporal Anti-aliasing is disabled when spherical panorama images are exported.
- Sun and camera animations from Grasshopper can be rendered in Vision from manually exported .vrscene files. Note that object animations are currently unsupported.
- The Always face camera option of SketchUp components is disregarded during Live Link.
