![]()
Page History
...
| Section | |||||||||||||||||||||||||||
|---|---|---|---|---|---|---|---|---|---|---|---|---|---|---|---|---|---|---|---|---|---|---|---|---|---|---|---|
|

...
The diagrams below show how Object IDs relate to the shadows being received. Note that only the Object IDs of objects receiving shadows matter in this setup. The Object ID of an object casting shadows does not make a difference.

Shadows as they appear normally.
The sphere casts shadows on both the table and floor,
and the table casts a shadow on the floor.
| Section | |||||||||||||||||||||
|---|---|---|---|---|---|---|---|---|---|---|---|---|---|---|---|---|---|---|---|---|---|
|


Tutorial Steps
...
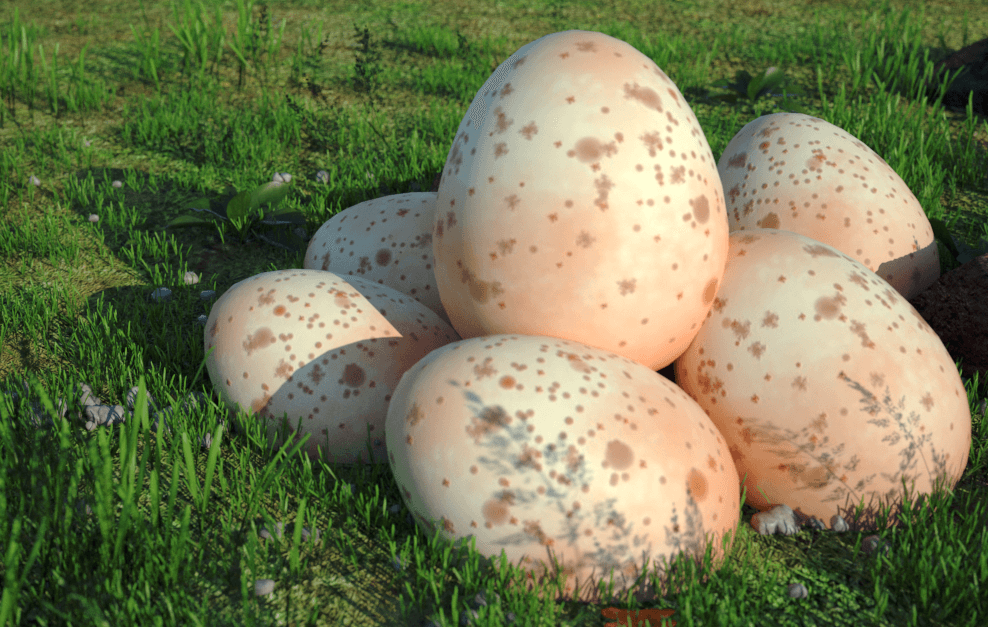
In this tutorial, we will show how to adjust the shadows in the egg scene shown above. The shadow cast by the topmost egg will be limited to falling on certain objects. At this point, all the eggs have the same material applied to them:

In this tutorial, the main shadow-casting object is considered to be the topmost egg. All other objects in the scene can potentially receive shadows from the main shadow-casting object.
...
1. Select the objects that our main object will cast shadows upon, under normal circumstances where no special parameters are set. Whether the shadows are cast upon objects depends on the current lighting setup. Select these shadow-receiving objects one at a time, and add a V-Ray Object ID attribute to each (Attributes > VRay > Object ID).

2. For any object that is to receive shadows from the main shadow-casting object, set the Object ID to 1.

3. For any that you don't want to receive shadows from the main shadow-casting object, set the Object ID to 0.

| UI Text Box | ||
|---|---|---|
| ||
For objects that could potentially receive shadows from the shadow-casting object in the scene, assign an Object ID of 1 to geometry objects that you want to receive shadows, and an Object ID of 0 to geometry objects that you do not want to receive shadows. No special material is required for these objects. If you don't change the Object ID for an object, it will behave normally, receiving shadows if shadows are cast upon it. |
...
Set up Shadow Material Override
...
1. Open Hypershade and create a samplerInfo node.

2. With the SamplerInfo node selected, add VRay Attributes in the attribute editor: Attributes > VRay > Additional outputs.

3. The shadow-casting object must have its own shader which is not be shared with other objects in the scene. Create a new VRayMtl material for the main shadow-casting object, and with this material selected choose Attributes > VRay > V-Ray material override.

4. Since we will be using the Shadow Material override, make sure that Enable Shadow Material Override is enabled.

Set up VRaySwitchMtl
1. In the Hypershade create a VRaySwitchMtl material and name it ShadowControl.

2. In the material 0 slot, add a VRayMtl material named Transparent and make both the Diffuse Color and Opacity Map slots are black in color.
![]()
3. Duplicate the Egg_Whites_Mtl material and then connect the output of the Egg_Whites_Mtl to the Material 1 slot. This will provide the shadowed textures. Note Opacity must be set to a white color in order for this to work properly.

4. In the Hypershade, navigate to the Utilities tab and drag the SamplerInfo node we created earlier into your graph area. We will use this along with Object IDs to drive the VRaySwitchMtl.
5. Connect the V-Ray Parent Object ID Tex output of the SamplerInfo node to the Materials Switch input of the Switch Material. This can be done by left-clicking on the white circle on the right-hand side of the SamplerInfo node, selecting VRay Parent Obj IDTex, and connecting the wire to the Materials Switch channel. You can also select the vrayParentObjIDTex output and the materialsSwitch input in the Connection Editor window.

The V-Ray Switch material set up for shadow control is assigned to the topmost egg
...
6. Middle-click-drag the VRaySwitchMtl material into the Shadow Material slot for the VRayMtl of the main shadow casting object.

Render the Result
The images below show the render result of our setup. The image on the left shows a render before the Switch Material is used with the Sampler Info node to control the shadows, to help you visualize the difference between the renders. The second image shows the result of our Sampler Info and Switch Material setup, where the egg on the top of the pile is casting shadows on the grass but not the other eggs. The last image shows the egg on the top casting shadows on the other eggs but not on the grass.
No Switch Material used.
Topmost egg casts shadows on other eggs and grass.
| Section | |||||||||||||||||||||||
|---|---|---|---|---|---|---|---|---|---|---|---|---|---|---|---|---|---|---|---|---|---|---|---|
|
