This page offers information on how to set up and batch render with multiple cameras with Chaos Cloud Cloud Rendering from V-Ray for 3ds Max.
Steps
...
Multiexcerpt
MultiExcerptName
BatchRenderingMultipleCameras
Section
Column
width
60%
45%
UI Text Box
type
note
This rendering approach requires
the latest
at least V-Ray 5
Update
, update 1 or later.
First, you have to add several cameras to your scene. Note that the current Chaos Cloud Rendering workflow is still the default workflow - i.e. Chaos Cloud Rendering renders the scene with the active view set in 3ds Max.
Press the
All - renders all cameras. Clear - clears all selected cameras and leaves the active view/perspective.
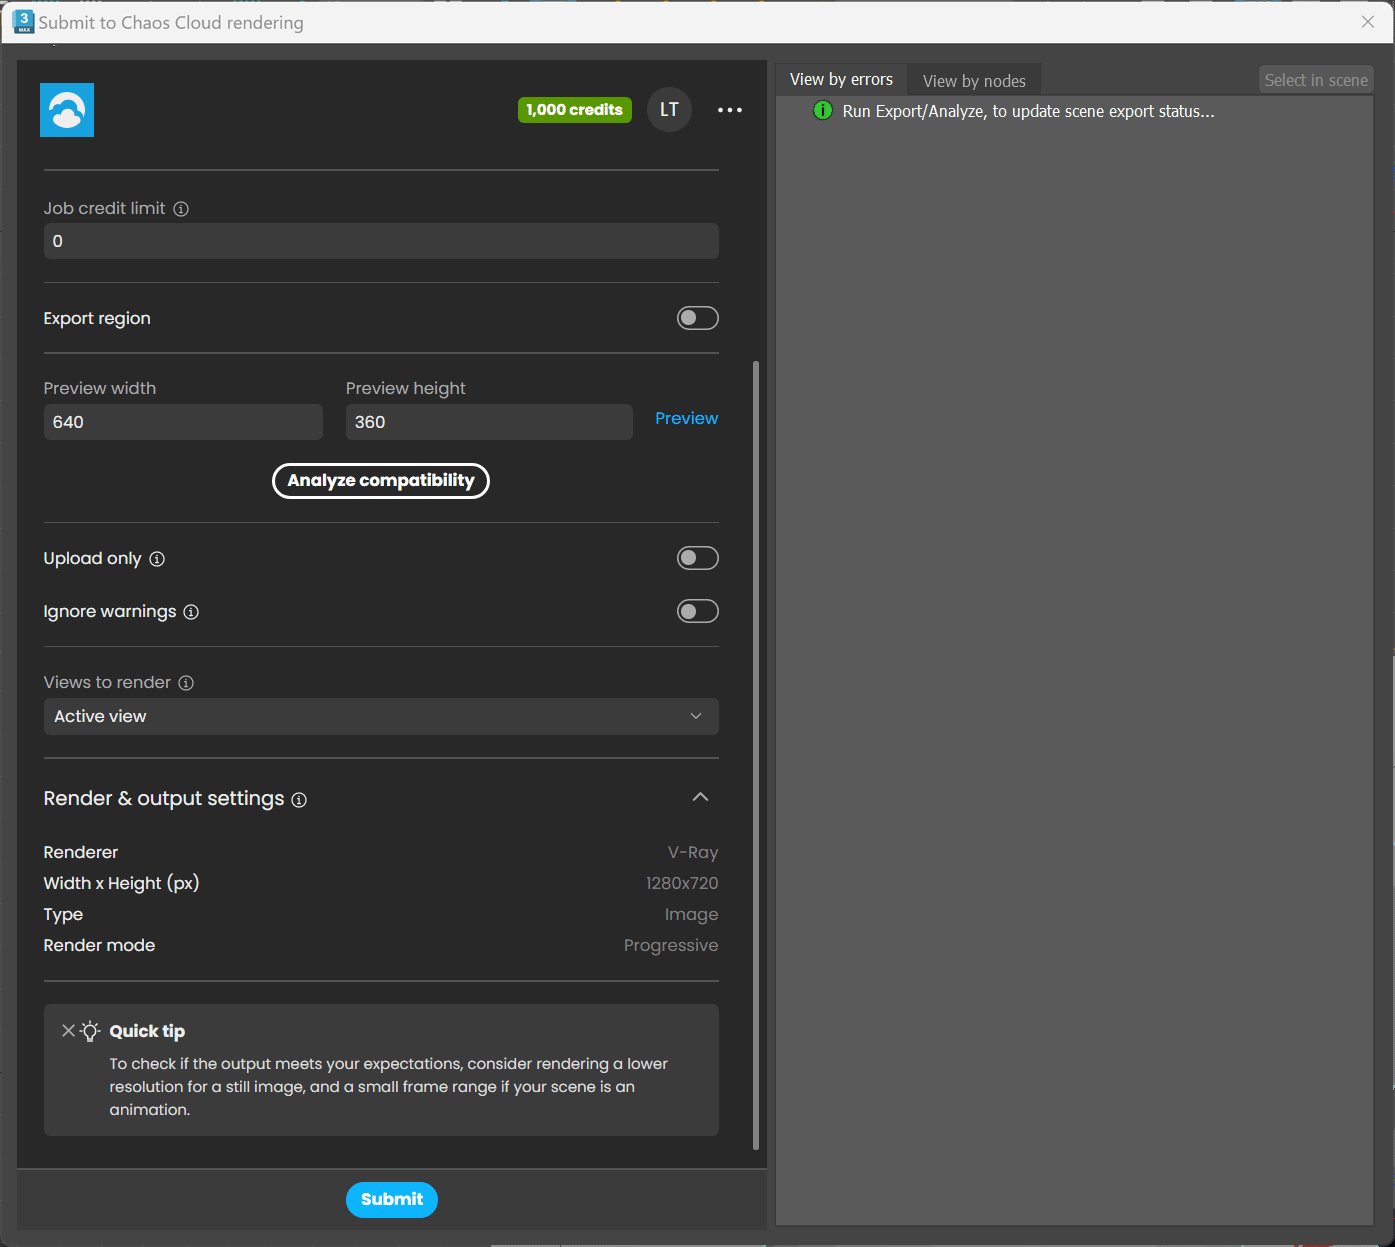
Click Image AddedSubmit toChaos Cloud
button (Image Removed). A note that multiple cameras are available is present on the Chaos Cloud page. To render them, add the cameras from the drop-down menu. Two filters are available below the drop-down:
rendering. To render the cameras, add them from the Views to render dropdown menu.
If you do not want to render the different cameras, leave the
drop-down empty, and Chaos Cloud will render
dropdown empty. In this way, Chaos Cloud renders the job from the active view set inRender Setup> View to Renderin 3ds Max.
UI Text Box
type
note
You cannot render both the active view and the cameras in one render job. However, you can clone the job and render the active view or the different cameras in the cloned job.
The camera name
will be
is added to the name of the frames.
The
Adjust the camera name position
can be adjusted
in the Naming Output convention.
The rest of the submission options are the same as the ones from the Chaos Cloud Rendering page.
Press
Click the Submitbutton.
UI Text Box
type
tip
Starting with V-Ray 6, update 1 different cameras in a scene can have different resolutions with the help of the new Resolution Override feature.
UI Text Box
type
note
The
For V-Ray 6 and earlier, the frame range, the aspect ratio, and the resolution are the same for all submitted cameras in one job.
If you want to render different cameras with different options, e.g. different frame range, different aspect ratio, or different resolution, clone the job and render only the needed cameras with the corresponding options.
A job with selected multiple cameras has several frames, each corresponding to a respective camera.
If the job is an animation, the frames are equal to the number of frames multiplied by the number of the selected cameras. The animation job has a video preview as well.
UI Text Box
type
info
If
the
a job is
rendered
submitted with
the
an active view, it
will look as before. If it is still, it will have
has only one frame as a still image. If it is an animation, all frames
will be
are listed and can be previewed individually and in a video preview
.
UI Text Box
type
warning
There's a known issue for scenes containing multiple cameras and moving objects with motion blur - a render is physically correct only from the active view
.
In case your scene contains moving objects, re-export and submit using the active view for a correct render result.
Column
width
5%
Column
width
35%
50%
Image Removed
Image Added
Notes
Fancy Bullets
Standard Cameras are not supported yet.
type
circle
For scenes with multiple Standard Physical cameras and Exposure control installed,
the
the render is physically correct only if rendered with the active view.