![]()
Page History
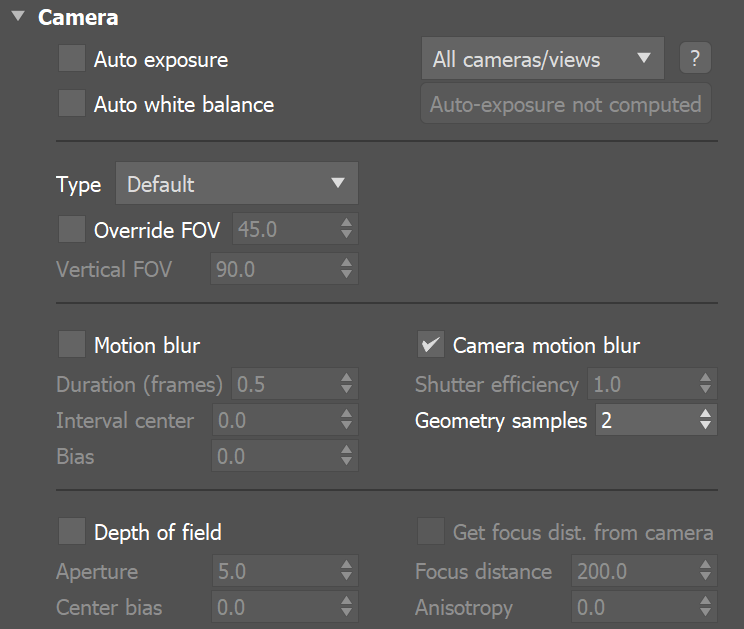
This page provides information on the Camera rollout in the GPU Settings tab of the Render Settings.
Overview
...
| Section | |||||
|---|---|---|---|---|---|
|
...
|
...
|
...
|
...
|

Parameters
...
| Section | ||||||||||||||||||||||
|---|---|---|---|---|---|---|---|---|---|---|---|---|---|---|---|---|---|---|---|---|---|---|
|
|
| Anchor | ||||
|---|---|---|---|---|
|
...
The images below show the difference between the different camera types (Note that not all camera types are available with GPU Renderer):
| Section | |||||||||||||||||||||||||||
|---|---|---|---|---|---|---|---|---|---|---|---|---|---|---|---|---|---|---|---|---|---|---|---|---|---|---|---|
|


| Section | ||||||||||||||||||||||||||
|---|---|---|---|---|---|---|---|---|---|---|---|---|---|---|---|---|---|---|---|---|---|---|---|---|---|---|
|


...
Example: Camera Types Explained
...
This example shows how the rays for different camera types are generated. The red arcs in the diagrams correspond to the FOV angles. Note that not all cameras are available with the GPU Renderer.
| Section | ||||||||||||||||||||||||||||
|---|---|---|---|---|---|---|---|---|---|---|---|---|---|---|---|---|---|---|---|---|---|---|---|---|---|---|---|---|
|


| Section | |||||||||||||||||||||||||||||
|---|---|---|---|---|---|---|---|---|---|---|---|---|---|---|---|---|---|---|---|---|---|---|---|---|---|---|---|---|---|
|


Motion Blur
...
Motion blur – – Turns Motion Blur on. For more information, see The Motion Blur example below.
...
Geometry samples – Determines the number of geometry segments used to approximate motion blur. Objects are assumed to move linearly between geometry samples. For fast rotating objects, you need to increase this value to get correct motion blur. Note that more geometry samples increase memory consumption, since more geometry copies are kept in memory. You can also control the number of geometry samples on a per-object basis from the the Object settings dialog dialog. For more information, see the Geometry Samples example below.
Prepass samples – Controls how many samples in time are computed during irradiance map calculations.
...
| Anchor | ||||
|---|---|---|---|---|
|
Example: Motion Blur
This example demonstrates the various parameters for motion blur.
| Section | |||||||||||||||||||||||
|---|---|---|---|---|---|---|---|---|---|---|---|---|---|---|---|---|---|---|---|---|---|---|---|
|


...
Anchor duration duration
Example: Duration
The following scene consists of three-frame animation of a moving conecube. In the first frame the cone cube is on the left. In the second frame it is at the boxsphere. And in the third frame the cone cube is on the right.
| Section | ||||||||||
|---|---|---|---|---|---|---|---|---|---|---|
|

...
|
...
|
The following images show frame 1 rendered with different duration values:
| Section | ||||||||||||||||||||||
|---|---|---|---|---|---|---|---|---|---|---|---|---|---|---|---|---|---|---|---|---|---|---|
|
...
Anchor interval interval
Example: Interval Center
...
This example demonstrates the effect of the interval center parameter. The scene is a moving sphere. Here are three sequential frames without motion blur:


Here is the middle frame, rendered with motion blur and three different values for the interval center; the motion blur duration is one frame.
 Interval center = 0.0; the middle of the motion blur interval
matches the sphere position at the second frame
 Interval center = 0.5; the middle of the interval is halfway
between the second and the third frame
 Interval center = 1.0; the middle of the motion blur interval
matches the sphere position at the third frame
...
Anchor geometrysamples geometrysamples
...
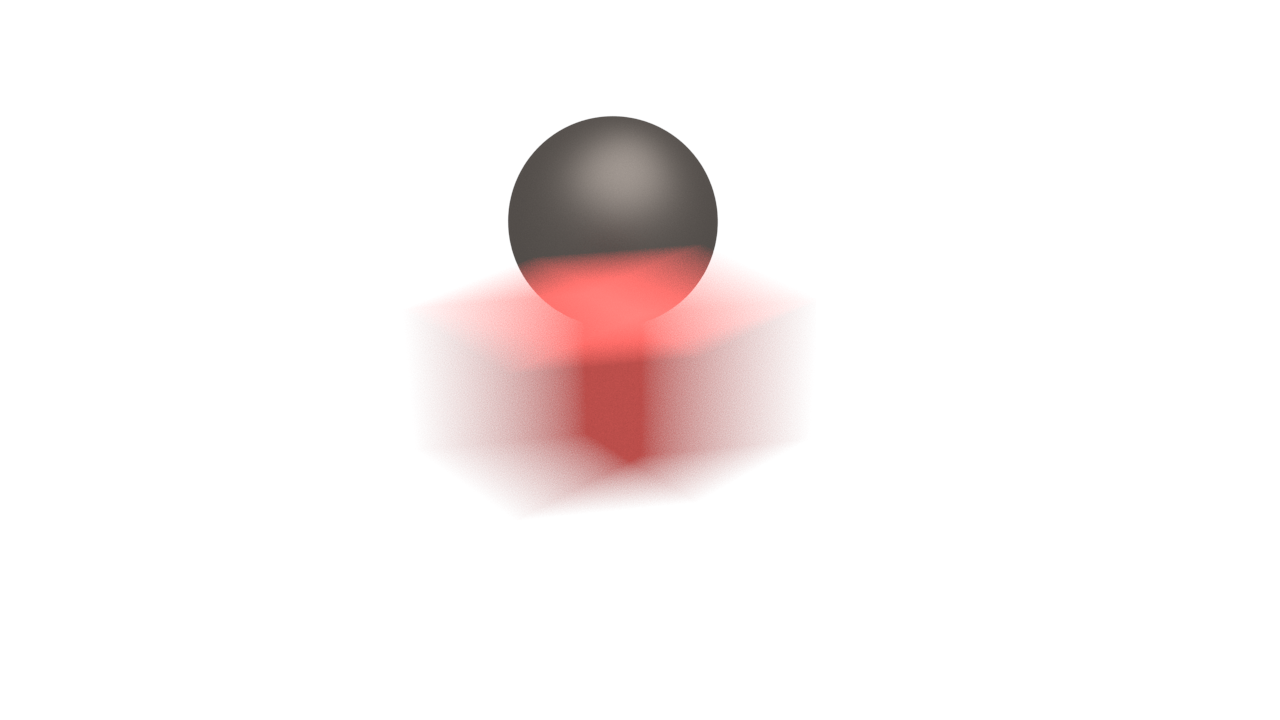
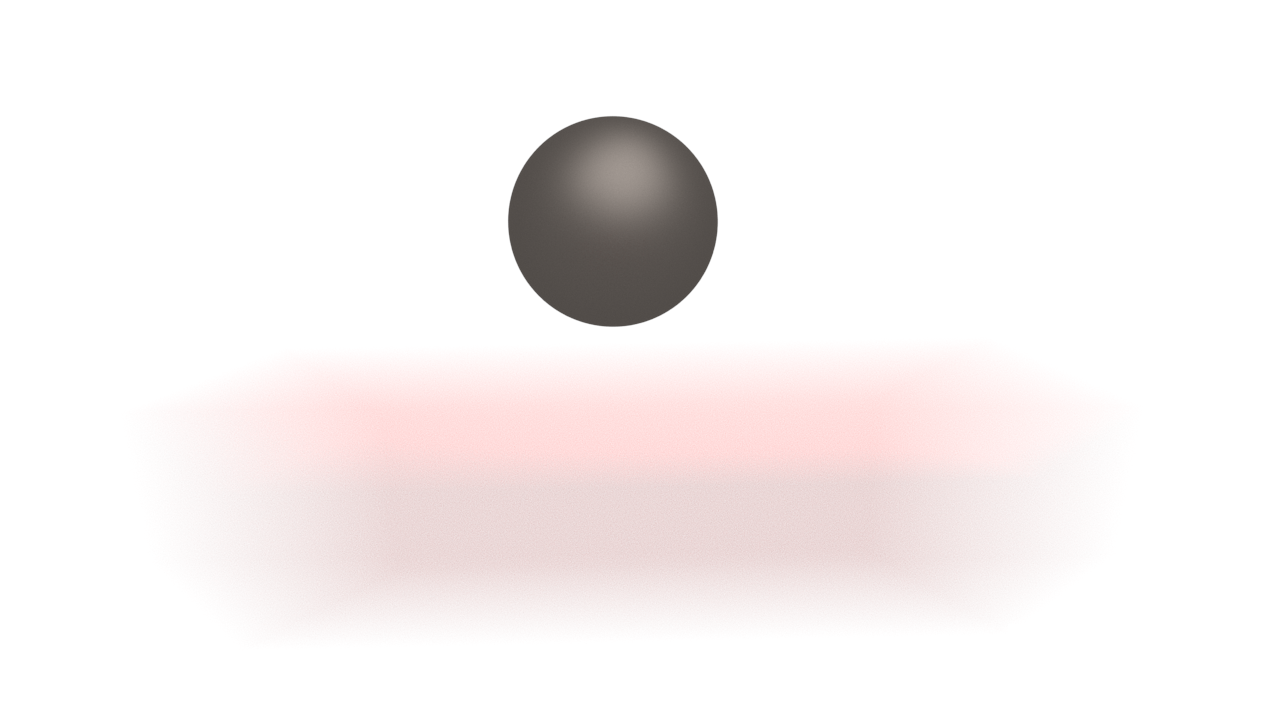
Example: Geometry Samples
The following images demonstrate the Geometry samples parameter. Duration (frames) is set to 2. All other parameters are the same as for the previous images. The higher value is set for Geometry samples the more accurate is the estimated object motion. However, excessive increase of this value will result results in long rendering times:
| Section | |||||||||||||||||||||||||
|---|---|---|---|---|---|---|---|---|---|---|---|---|---|---|---|---|---|---|---|---|---|---|---|---|---|
|


| Section | ||||||||||||||||||||
|---|---|---|---|---|---|---|---|---|---|---|---|---|---|---|---|---|---|---|---|---|
|


The geometry samples parameter is useful when motion-blurring complex motions, for example fast-rotating objects. Here is an example with an accelerating airplane propeller:
| UI Text Box | ||||
|---|---|---|---|---|
| ||||
You You can control the number of geometry samples on a per-object basis (from the Object properties dialog). This is useful if you need a lot of samples only for some objects in the scene (for example, the wheels of a car), while other objects (the car body) can do with fewer samples, thus saving memory and speeding rendering. |
Depth of Field
...
These parameters control the depth of field effect when rendering with a standard 3ds Max camera or with a perspective viewport. The parameters are ignored if you render from a Physical Camera (VRayPhysicalCamera ) view view.
| UI Text Box | ||||
|---|---|---|---|---|
| ||||
The quality of the DOF effect (the noise) is controlled from the settings of the currently selected image sampler. |
...
Sides – Allows you to simulate the polygonal shape of the aperture of real-world cameras. When this option is offenabled, the shape is assumed to be perfectly circular.
...