![]()
Page History
This page provides information on the Anti-Aliasing options in the Sampler tab of the V-Ray Renderer.
Overview
...
| Section | |||||||||||||||||
|---|---|---|---|---|---|---|---|---|---|---|---|---|---|---|---|---|---|
|
UI Path
||V-Ray Shelf|| > ROP Parm > Renderer tab > Sampler tab
||out Network|| > V-Ray > V-Ray Renderer > Renderer tab > Sampler tab
V-Ray menu > Render Settings > Sampler tab
...
...
What is Anti-Aliasing?
One of the functions of image sampling is anti-aliasing, which is the reduction of jagged
...
One of the functions of image sampling is anti-aliasing, which is the reduction of jagged edges in a rendering. The following example shows the basic difference between an image with anti-aliasing, and one without. The left images are jagged around the edges of the sphere, while the right are smooth.
Here we have an example of a gray sphere against a blue background. If only one sample is taken for the each of the pixels around the edge of the sphere, the choice of pixel color is limited to the dark gray at the edge of the sphereobject, or the blue (white) background. Using one of these colors (iei.e. taking only one sample) makes the image look jagged around the perimeter of the sphere. This . This is the equivalent of no anti-aliasing at all.
If two or more samples are taken in each pixel, the colors are averaged, and pixels at the edge of the sphere object end up being a color in between the dark gray of the sphere and the blue background. These in-between colors make the sphere object appear smoother in the final rendering.
| Section | ||||||||||||||||||||||||||||||||||||
|---|---|---|---|---|---|---|---|---|---|---|---|---|---|---|---|---|---|---|---|---|---|---|---|---|---|---|---|---|---|---|---|---|---|---|---|---|
|


Anti-Aliasing
...
| Section | |||||
|---|---|---|---|---|---|
|
| Section | ||||||||||||||||||||
|---|---|---|---|---|---|---|---|---|---|---|---|---|---|---|---|---|---|---|---|---|
|
Anti-Aliasing
| ||||||||||||||||
| Section | ||||||||||||||||
|---|---|---|---|---|---|---|---|---|---|---|---|---|---|---|---|---|
|
...
|

Anchor antialiasingFilters antialiasingFilters
...
...
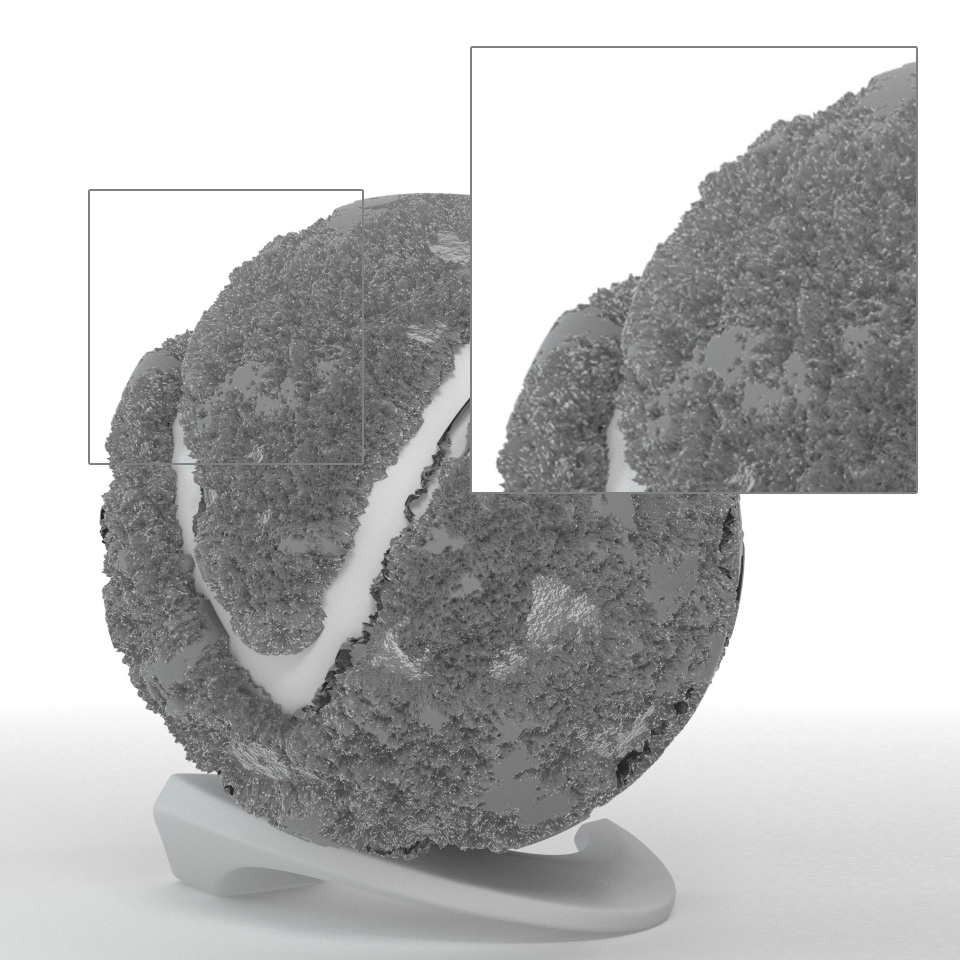
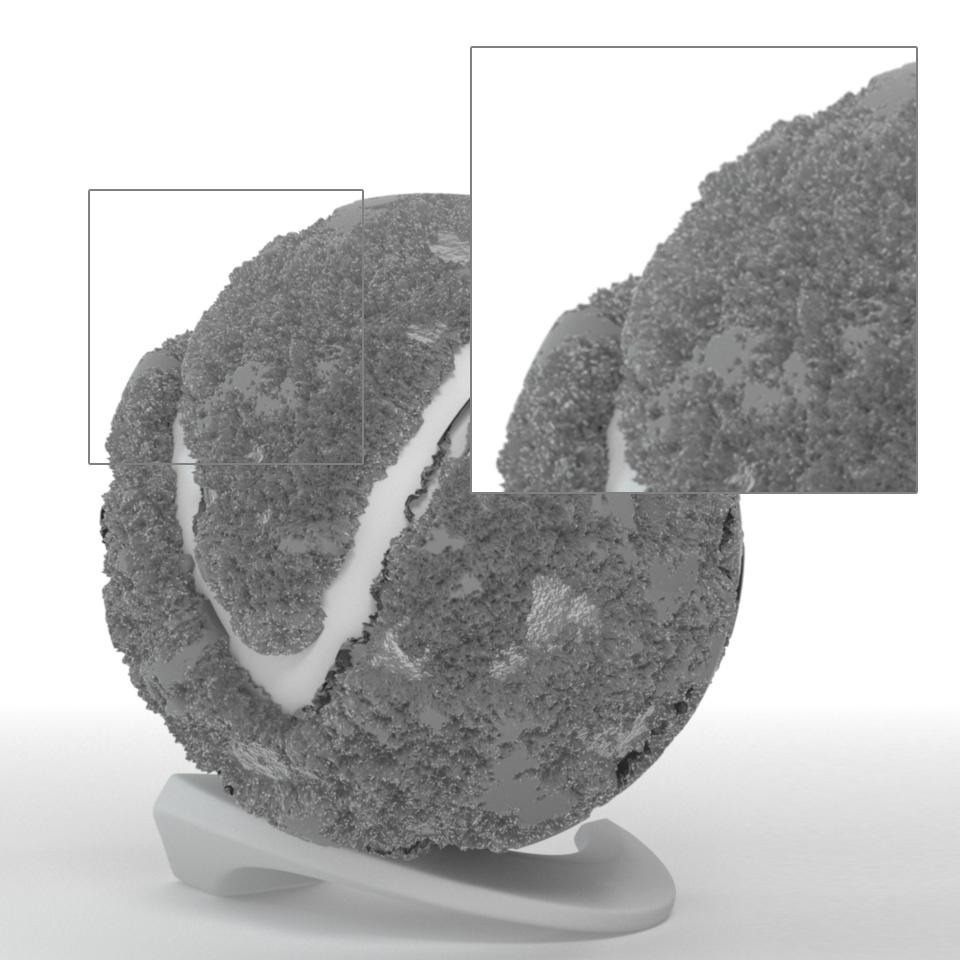
Example: Anti-aliasing Filters
...
Here is an example briefly demonstrating the effect of different anti-aliasing filters on the final result.
Note that rendering with a particular filter is not the same as rendering without a filter and then blurring the image in a post-processing program like Adobe Photoshop. Filters are applied on a sub-pixel level, over the individual sub-pixel samples. Therefore, applying the filter at render time produces a much more accurate and subtle result than applying it as a post effect. The zoomed in images below have been zoomed in and cropped 300%.
| Section | ||||||||||||||||||||||||||||||||||||||||||||||||||||||||||||||||
|---|---|---|---|---|---|---|---|---|---|---|---|---|---|---|---|---|---|---|---|---|---|---|---|---|---|---|---|---|---|---|---|---|---|---|---|---|---|---|---|---|---|---|---|---|---|---|---|---|---|---|---|---|---|---|---|---|---|---|---|---|---|---|---|---|
|


| Anchor | ||||
|---|---|---|---|---|
|
...
ExampleExample: Anti-aliasing Filters and Moire Effects
...
The scene is very simple: a sphere with a very fine checker map applied. The images were rendered with a very high sampling rate (15 subdivs, or 225 rays/pixel). This is enough to produce quite an accurate approximation to the pixel values. Note that the image looks quite different depending on the filter:
| Section | ||||||||||||||||||||||||||||||||||||||||||||||||||||||||||||||||||
|---|---|---|---|---|---|---|---|---|---|---|---|---|---|---|---|---|---|---|---|---|---|---|---|---|---|---|---|---|---|---|---|---|---|---|---|---|---|---|---|---|---|---|---|---|---|---|---|---|---|---|---|---|---|---|---|---|---|---|---|---|---|---|---|---|---|---|
|


| Anchor | ||||
|---|---|---|---|---|
|
...
Example: Render Mask
...
| Section | ||||||||||||||||||||||||||||||
|---|---|---|---|---|---|---|---|---|---|---|---|---|---|---|---|---|---|---|---|---|---|---|---|---|---|---|---|---|---|---|
|


| Section | |||||||||||||||||||||||||||||
|---|---|---|---|---|---|---|---|---|---|---|---|---|---|---|---|---|---|---|---|---|---|---|---|---|---|---|---|---|---|
|


| Anchor | ||||
|---|---|---|---|---|
|
...
| Section | |||||||||||||||||||||
|---|---|---|---|---|---|---|---|---|---|---|---|---|---|---|---|---|---|---|---|---|---|
|

...
Example: Stages of Rendering with the Progressive Sampler
| Section | ||||||||||||||||||||||||||||||||||||||||||||
|---|---|---|---|---|---|---|---|---|---|---|---|---|---|---|---|---|---|---|---|---|---|---|---|---|---|---|---|---|---|---|---|---|---|---|---|---|---|---|---|---|---|---|---|---|
|


| Anchor | ||||
|---|---|---|---|---|
|
| Anchor | ||||
|---|---|---|---|---|
|
Bucket Sampler
...
| Section | ||||||||||||||||
|---|---|---|---|---|---|---|---|---|---|---|---|---|---|---|---|---|
|

| Section | |||||||||||||||
|---|---|---|---|---|---|---|---|---|---|---|---|---|---|---|---|
|
...
Example: The Threshold Parameter
This example deals with texture anti-aliasing and the effect of the color threshold for the Bucket sampler.
By default V-Ray anti-aliases everything in the image, including textures. This is especially useful for textures with small details or noisy bump maps. The Threshold parameter controls the extent to which texture anti-aliasing is performed. The effect of this parameter is most noticeable with low min rates. For the four images below, min/max rate of -3/2 was used:
| Section | ||||||||||||||||||||||||||||||||||||||||||
|---|---|---|---|---|---|---|---|---|---|---|---|---|---|---|---|---|---|---|---|---|---|---|---|---|---|---|---|---|---|---|---|---|---|---|---|---|---|---|---|---|---|---|
|
Note that the edges of the object in those images are always sharp.
|

If you set the Threshold to a high value, you are effectively telling V-Ray not to anti-alias textures. You can use this fact to speed up the rendering of complex materials. Note however, that this disables anti-aliasing of V-Ray shadows, reflections etc as well.
...
Textures
...
| Section | |||||||||||||||||||||||||||
|---|---|---|---|---|---|---|---|---|---|---|---|---|---|---|---|---|---|---|---|---|---|---|---|---|---|---|---|
|
...
|

Post Effects
...
| Section | ||||||||||||||||
|---|---|---|---|---|---|---|---|---|---|---|---|---|---|---|---|---|
|
...
|

| Anchor | ||||
|---|---|---|---|---|
|
Notes
...
| Fancy Bullets | ||
|---|---|---|
| ||
|