This page provides information on the render settings in V-Ray for Houdini.
Overview
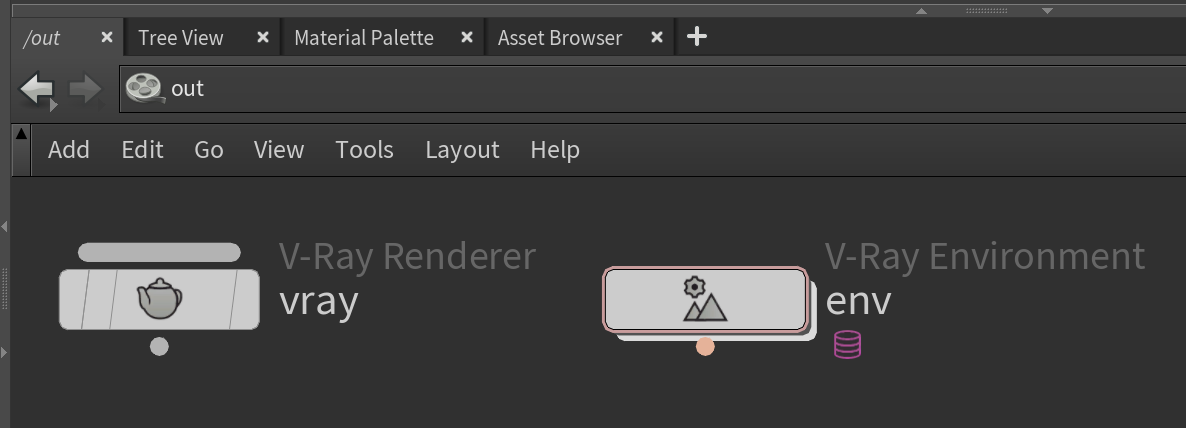
The V-Ray Renderer (vray) ROP contains a multitude of options for V-Ray. These settings include rendering speed and quality, global overrides, indirect illumination, caustics, and distributed rendering.
Additional rendering settings related to environment overrides can be accessed from the V-Ray Environment (env) node.
UI Paths
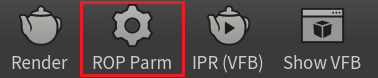
||V-Ray Shelf|| > ROP Parm button
V-Ray menu > Render Settings
||out Network|| > V-Ray > V-Ray Renderer

||out Network|| > V-Ray > V-Ray Environment

V-Ray Renderer ROP
Render to Disk – Starts a V-Ray render.
Controls... – Launches the Houdini Render Control window.
Valid Frame Range – Specifies the frame(s) to render.
Render Current Frame – Renders the current frame.
Render Frame Range – Renders frames from the specified range set below as well as other frames if they are referenced by in-range frames.
Render Frame Range Only (Strict) – Only renders the frames in the specified range set below.
Start/End/Inc – Specifies the range of frames to render (start frame, end frame, and increment).
Render With Take – Renders using the settings from a specified take.
Bake to Texture – When enabled, exposes the Bake tab which contains the Texture Baking controls for the Renderer. V-Ray produces an image in UV space instead of rendering through the specified camera.
Camera – Specifies the camera to render from. The camera specified by this path must be a valid camera object in the scene, otherwise nothing is rendered and an error is logged in the console.
Additional Cameras – Specifies additional cameras to export to a .vrscene file. Later, they can be used with their scene_name parameter.
Override Camera Resolution – When enabled, the camera's resolution is overridden, and the resolution specified from the V-Ray Renderer is used instead.
Resolution Scale – Specifies the resolution of the camera.
Resolution – Specifies the resolution when the Resolution Scale is set to User Specified Resolution.
Pixel Aspect Ratio – Specifies the pixel aspect ratio.
Environment – Specifies the Environment ROP to use with the current Renderer. Multiple V-Ray Renderer nodes can link to the same Environment.

V-Ray Renderer Tabs
- Export – Provides IPR rendering options, as well as setting .vrscene export and selecting the rendering engine (GPU, RTX, CPU).
- Bake – Provides options for texture baking. Visible only when Bake to Texture is enabled.
- Images – Controls the output render image settings.
- Renderer – Holds a number of important settings defining the final V-Ray output.
- Effects – Controls the V-Ray Volumetric effects.
- Objects – Specifies a list of objects/lights to be exported for rendering. This tab also contains parameters that are standard for Houdini. For more information, visit Houdini's documentation.
- Script – This tab is standard for Houdini. For more information, visit Houdini's documentation.
- Post Translate – Exposes options for Python Post Translate of .vrscenes.
Environment Node
The Environment node render settings are accessed by creating a V-Ray Environment node. See the V-Ray Environment page for additional information.

Notes
- You can set different ROP parameters in a scene. Shift+Left-click on the ROP Parm shelf button to switch between different ROP settings.