![]()
Page History
This page provides a tutorial on using V-Ray's Render Mask feature.
Overview
...
| Section | |||||||||||||||||
|---|---|---|---|---|---|---|---|---|---|---|---|---|---|---|---|---|---|
|
...
Workflow
...
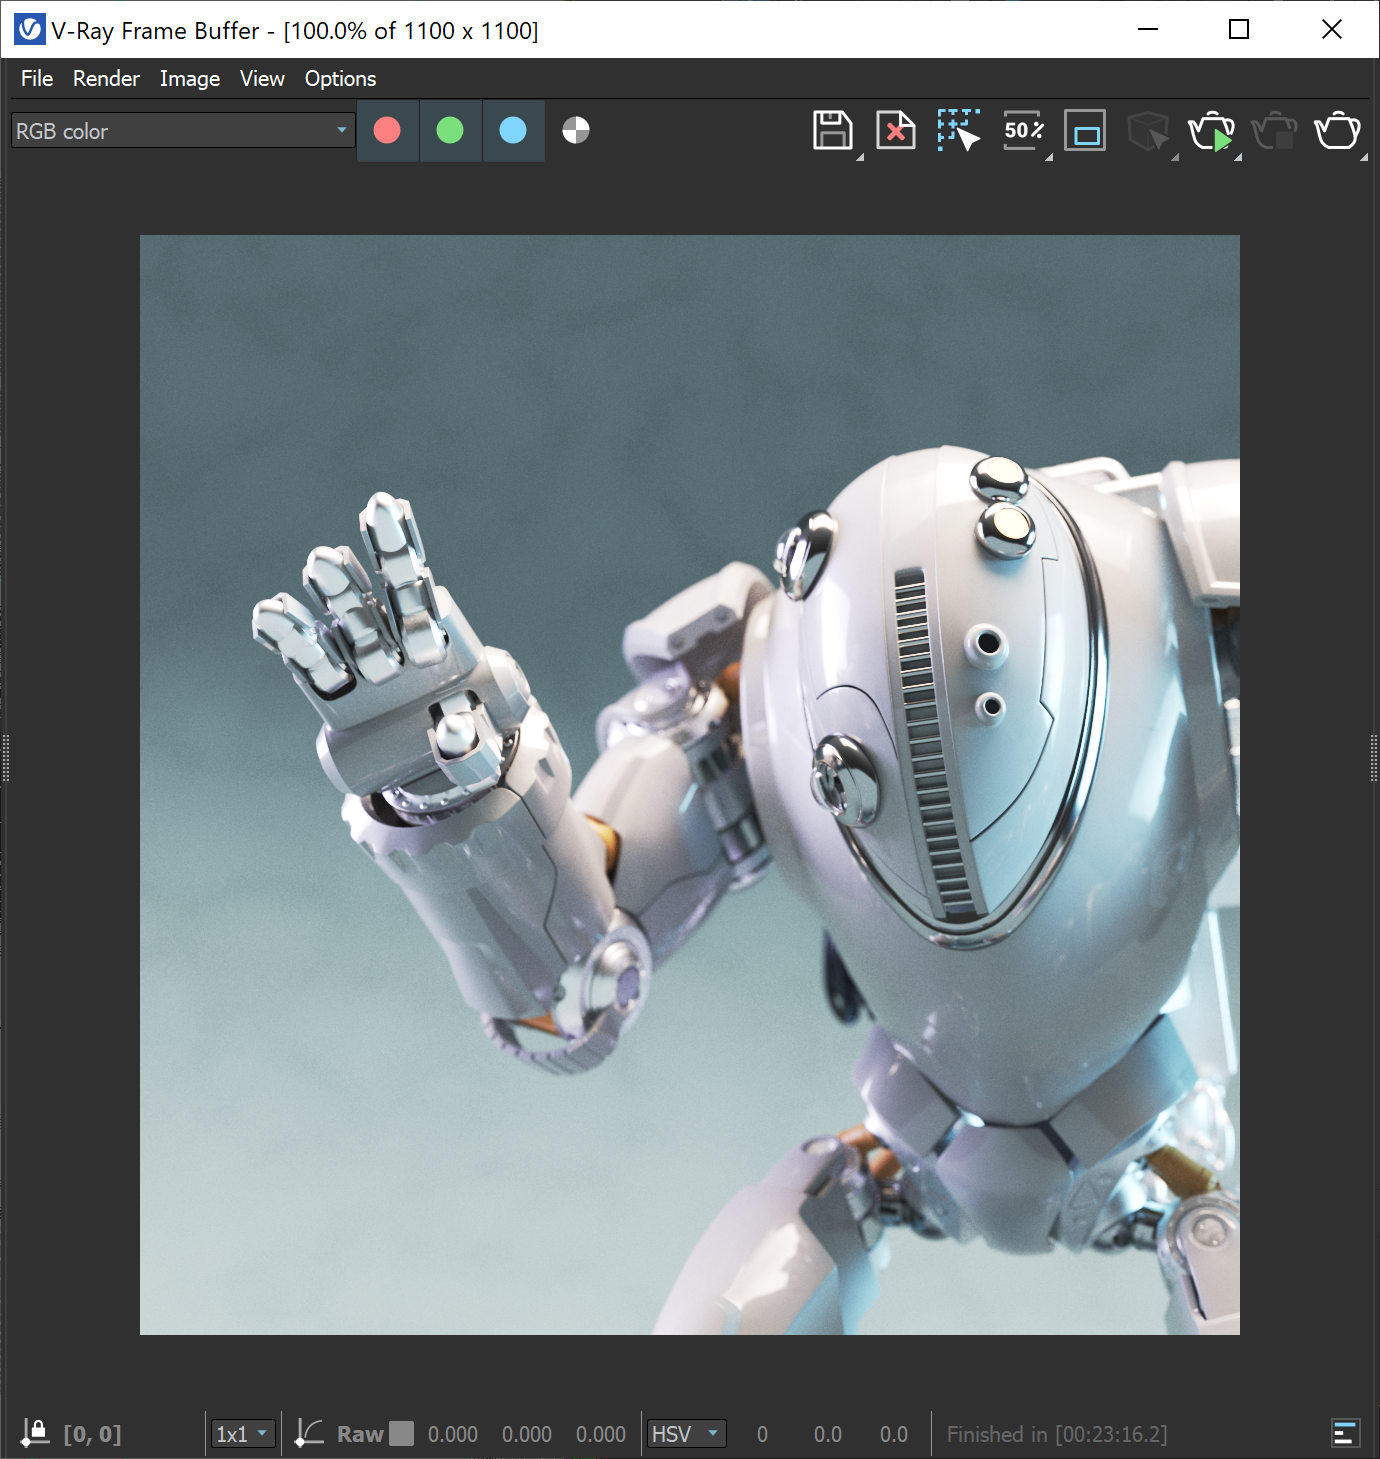
Here's our base render:
| Section | ||||||||||||||||
|---|---|---|---|---|---|---|---|---|---|---|---|---|---|---|---|---|
|
...
In the next steps, we render just a few different objects and not the whole scene again.
...
Then we go to theV-Ray tab > Image sampler (Antialiasing) rollout and choose the dropdown for Render mask.


From the dropdown we have several choices:
...
Render the scene, and you'll notice only the selected objects are re-rendered. The rest of the image remains unchanged.
| Section | ||||||||||||||||
|---|---|---|---|---|---|---|---|---|---|---|---|---|---|---|---|---|
|

...
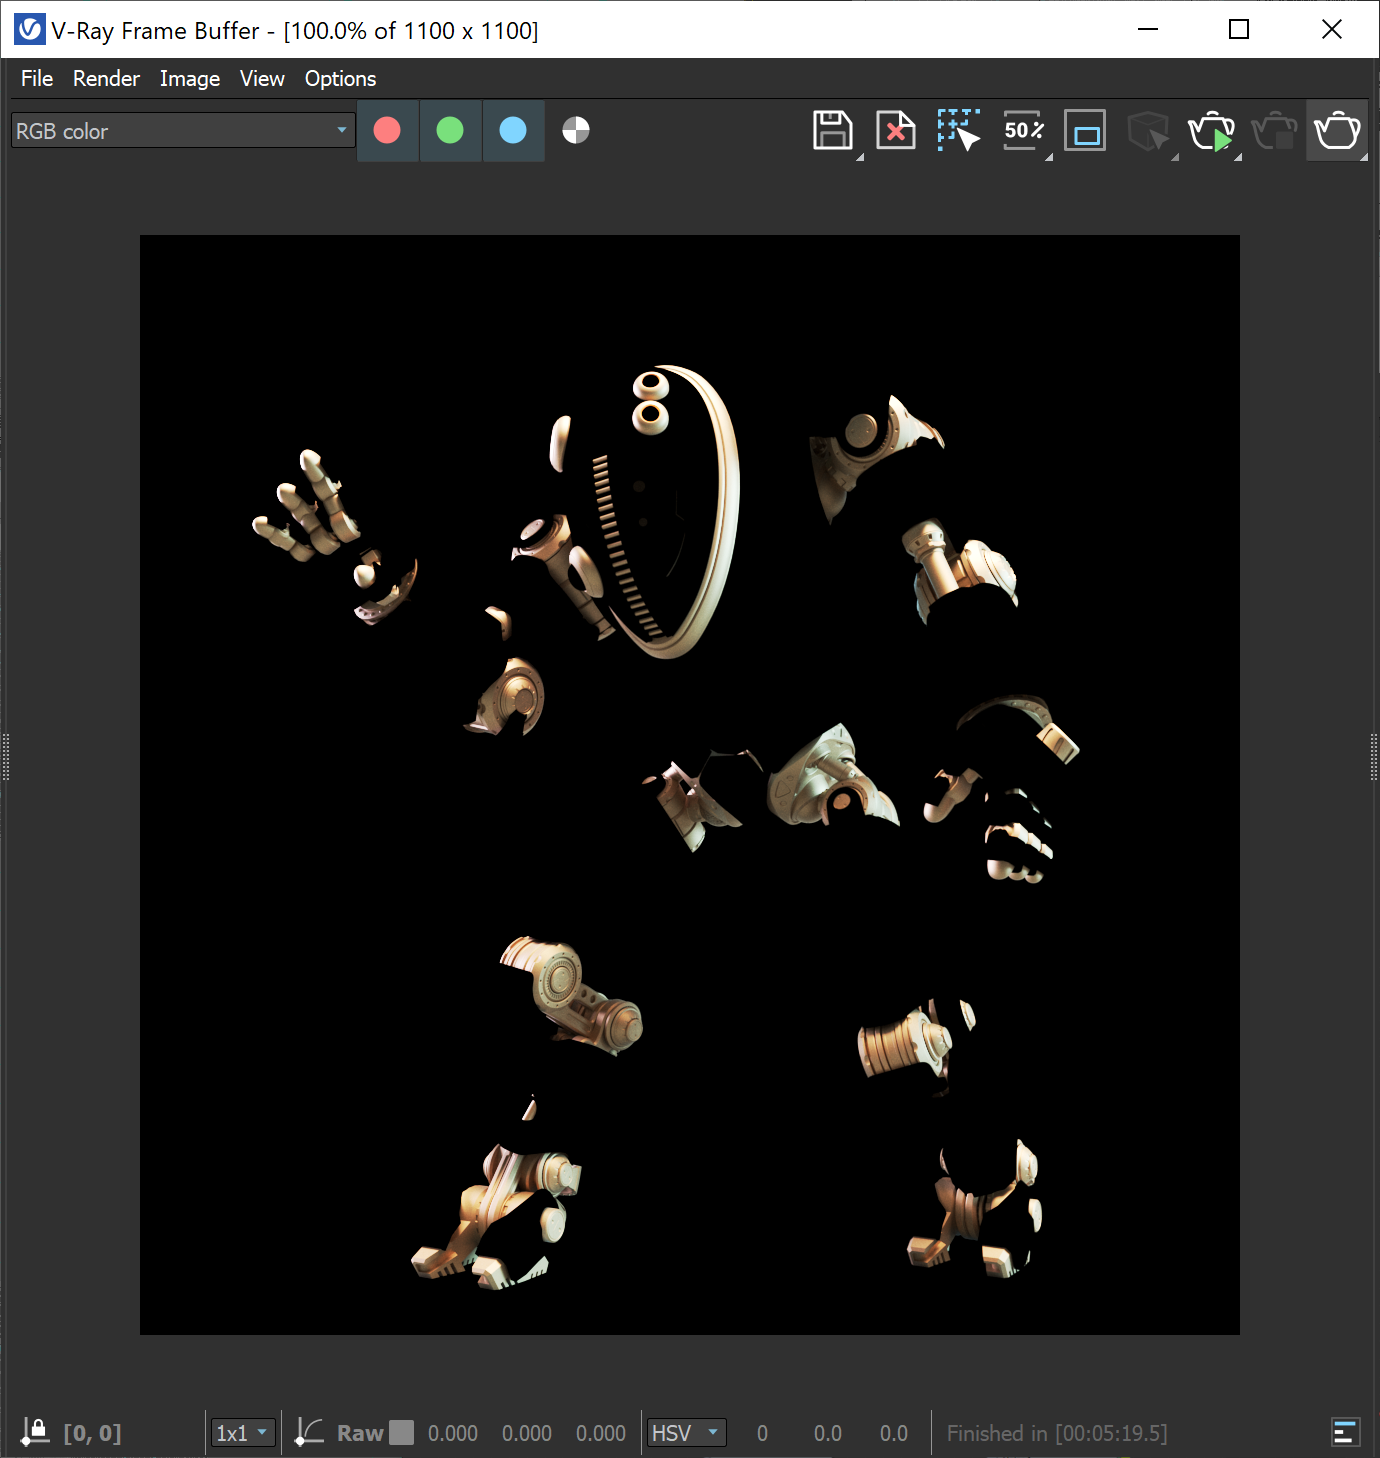
To make it a bit more noticeable, clear the VFB by selecting Clear Image from the VFB toolbar.

In the VFB Confirm dialog that appears, choose Yes to confirm.

Now that we've cleared the VFB, we render again.
| Section | |||||||||||||||||
|---|---|---|---|---|---|---|---|---|---|---|---|---|---|---|---|---|---|
|

...
This time it's easier to see that only the selected objects were re-rendered.
If we look at the Alpha Channel, it is updated as well.
| Section | |||||||||||||||||
|---|---|---|---|---|---|---|---|---|---|---|---|---|---|---|---|---|---|
|

...
Notes
...
| Fancy Bullets | ||
|---|---|---|
| ||
|