![]()
Page History
...
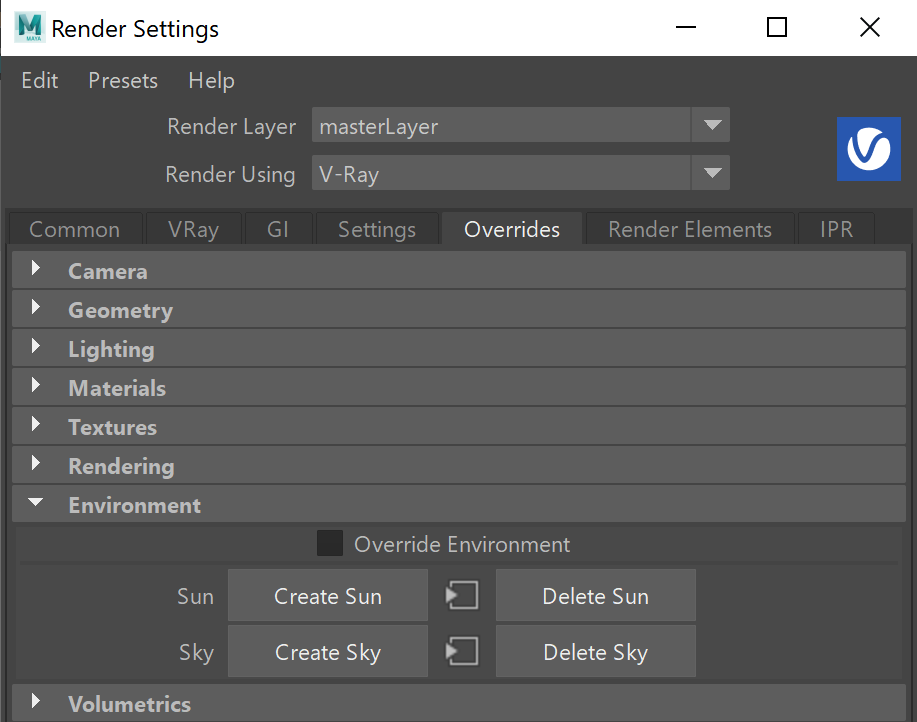
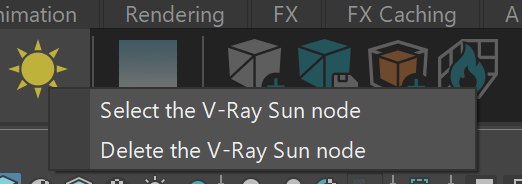
Overview
...
| Section | |||||||||||||||
|---|---|---|---|---|---|---|---|---|---|---|---|---|---|---|---|
|

...
| UI Expand | |||||||||||||||||||||||||
|---|---|---|---|---|---|---|---|---|---|---|---|---|---|---|---|---|---|---|---|---|---|---|---|---|---|
| |||||||||||||||||||||||||
|

Parameters
...
| Section | |||||||||||||||
|---|---|---|---|---|---|---|---|---|---|---|---|---|---|---|---|
|
| Anchor | ||||
|---|---|---|---|---|
|
...
Shadows
...
| Section | |||||||||||||||
|---|---|---|---|---|---|---|---|---|---|---|---|---|---|---|---|
|

...
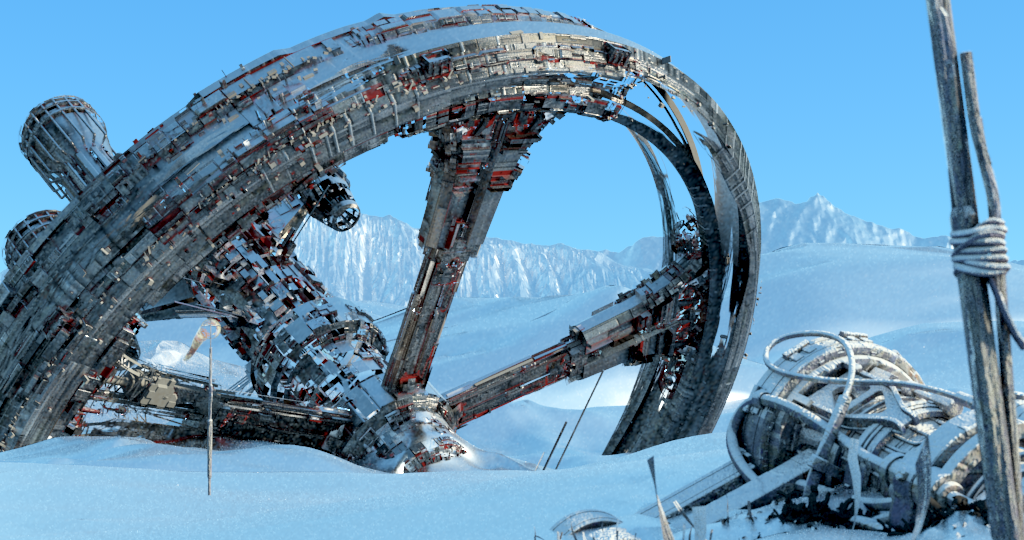
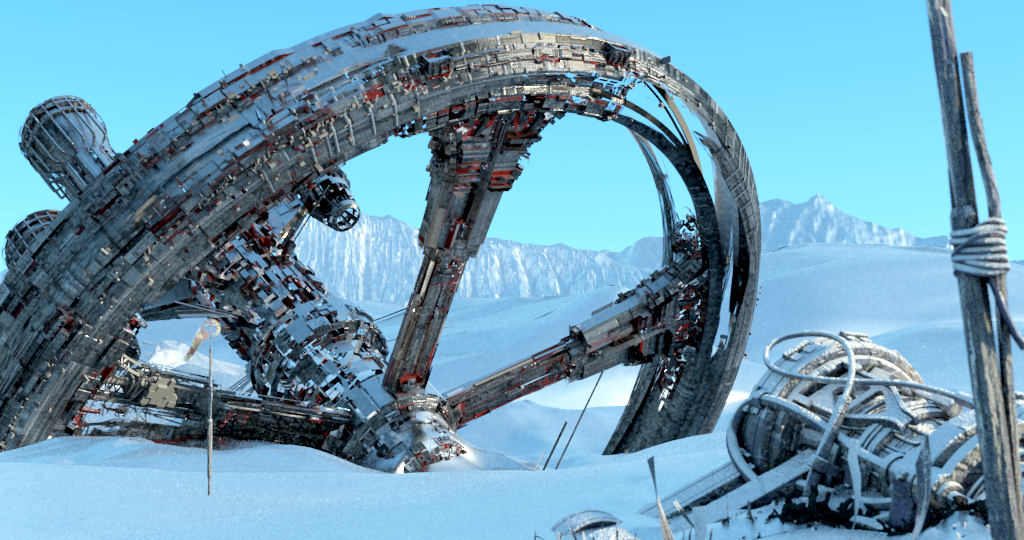
Example: Shadow Bias
In the example renders below, the common settings are Intensity multiplier: 1, Size multiplier: 3.0, while the Shadow bias is the only attribute adjusted between renders. The values shown in the example are highly exaggerated to help show the effect the Shadow bias has on the scene. The change in the shadow position is most noticeable on the front of the building below the roof line where the shadow cast by the roof recedes back toward the top left overhang of the roof as the Shadow bias value increases.
...
Options
...
| Section | |||||||||||||||
|---|---|---|---|---|---|---|---|---|---|---|---|---|---|---|---|
|

Photon Emission
...
| Section | |||||||||||||||
|---|---|---|---|---|---|---|---|---|---|---|---|---|---|---|---|
|

...
...
Example: Color Mapping Types
...
| Section | ||||||||||||||||||||||||||||||||||||||||||||||||||||
|---|---|---|---|---|---|---|---|---|---|---|---|---|---|---|---|---|---|---|---|---|---|---|---|---|---|---|---|---|---|---|---|---|---|---|---|---|---|---|---|---|---|---|---|---|---|---|---|---|---|---|---|---|
|


Clouds
...
| Section | ||||||||||||||||||||
|---|---|---|---|---|---|---|---|---|---|---|---|---|---|---|---|---|---|---|---|---|
|
...
| Anchor | ||||
|---|---|---|---|---|
|
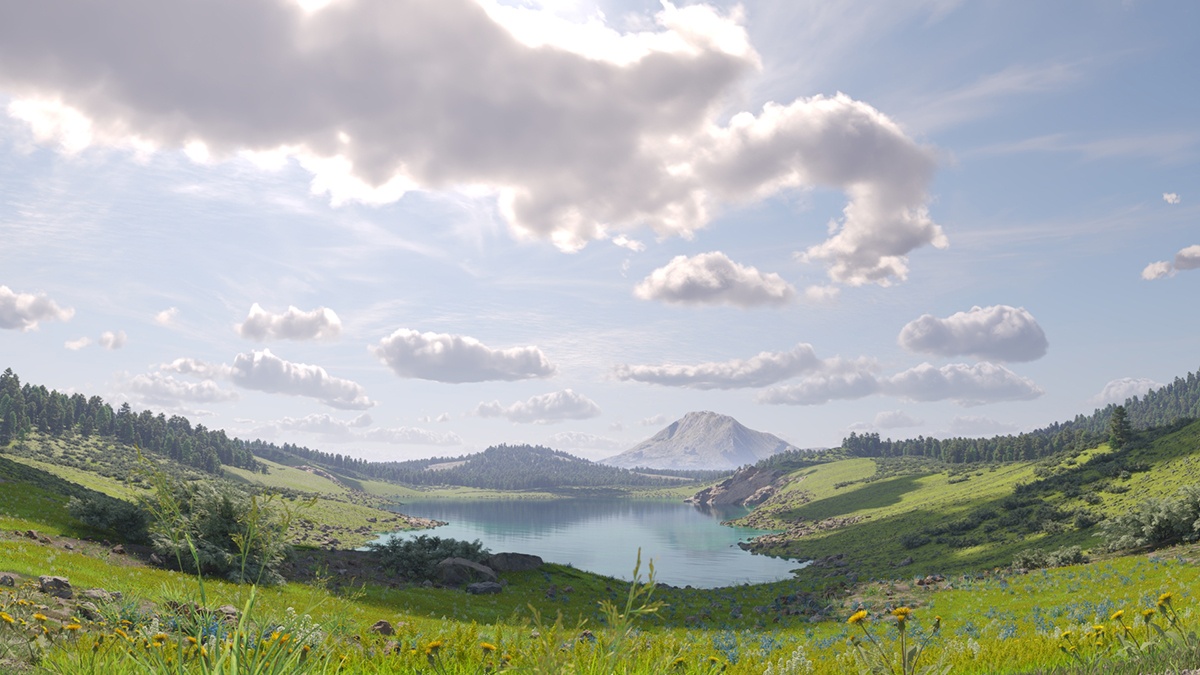
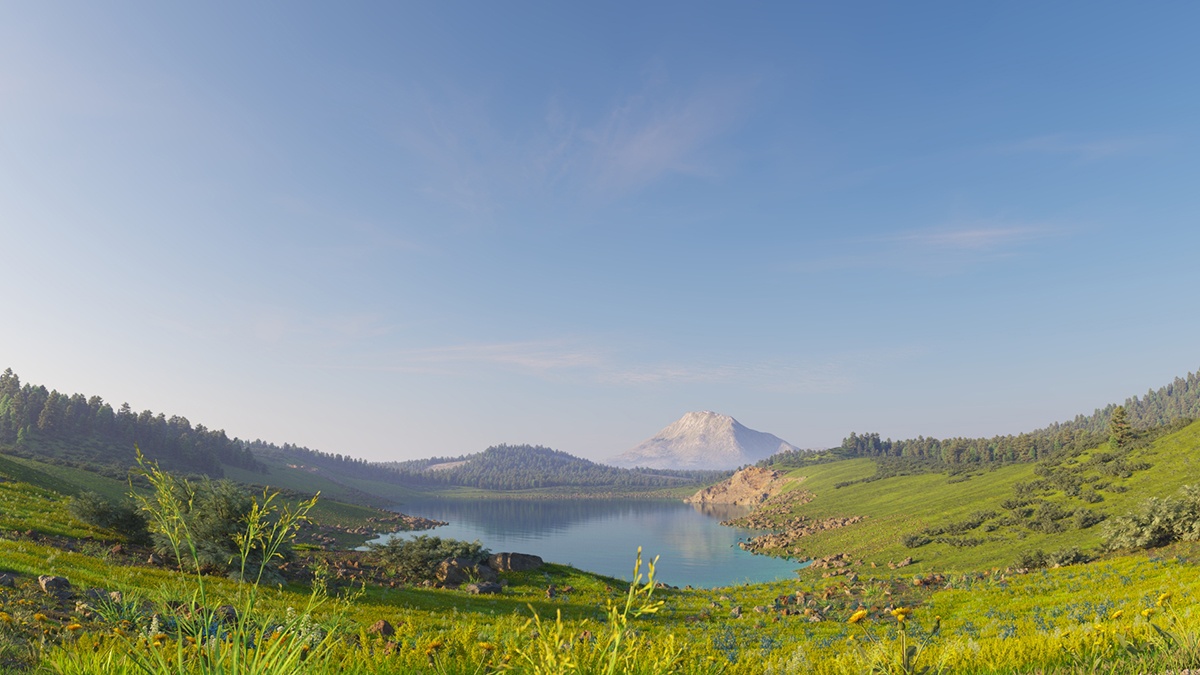
Example: Ground Shadows
The Ground Shadows option controls whether or not the clouds cast shadows in the scene.
| Before after | ||||||||||
|---|---|---|---|---|---|---|---|---|---|---|
| ||||||||||
|

...
| Anchor | ||||
|---|---|---|---|---|
|
Example: Density
The Density parameter controls the amount of clouds in the sky. The higher the value, the higher the amount of clouds appearing in the render.
| Section | ||||||||||||||||||||||||||||||||
|---|---|---|---|---|---|---|---|---|---|---|---|---|---|---|---|---|---|---|---|---|---|---|---|---|---|---|---|---|---|---|---|---|
|


...
| Anchor | ||||
|---|---|---|---|---|
|
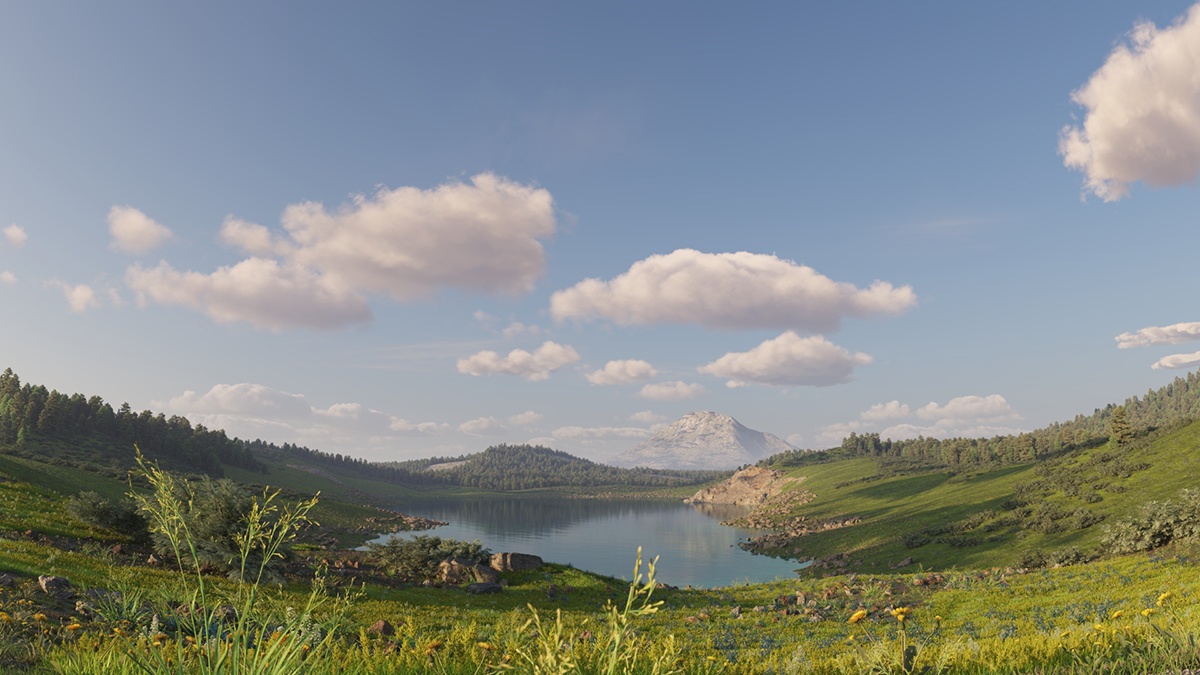
Example: Variety
This example shows how the Variety parameter affects the distribution and look of the clouds.
| Section | ||||||||||||||||||||||||||||||||
|---|---|---|---|---|---|---|---|---|---|---|---|---|---|---|---|---|---|---|---|---|---|---|---|---|---|---|---|---|---|---|---|---|
|


...
| Anchor | ||||
|---|---|---|---|---|
|
Example: Cirrus Amount
This example shows how increasing the Cirrus Amount increases the appearance of the cirrus clouds in the render.
| Section | ||||||||||||||||||||||||||||||||
|---|---|---|---|---|---|---|---|---|---|---|---|---|---|---|---|---|---|---|---|---|---|---|---|---|---|---|---|---|---|---|---|---|
|


...
| Anchor | ||||
|---|---|---|---|---|
|
Example: Longitude and Latitude Offset
This example shows how changing the Longitude and Latitude offsets affects the appearance of the clouds.
| Section | ||||||||||||||||||||||||||||||||
|---|---|---|---|---|---|---|---|---|---|---|---|---|---|---|---|---|---|---|---|---|---|---|---|---|---|---|---|---|---|---|---|---|
|


...
| Anchor | ||||
|---|---|---|---|---|
|
Example: Height
Notice how the clouds change their position in the sky with increasing the Height value.
| Section | ||||||||||||||||||||||||||||||||
|---|---|---|---|---|---|---|---|---|---|---|---|---|---|---|---|---|---|---|---|---|---|---|---|---|---|---|---|---|---|---|---|---|
|


...
| Anchor | ||||
|---|---|---|---|---|
|
Example: Thickness
The thickness parameter specifies how full the clouds are. Smaller values make them more thin and sheer, while higher values make them look heavy.
| Section | ||||||||||||||||||||||||||||||||
|---|---|---|---|---|---|---|---|---|---|---|---|---|---|---|---|---|---|---|---|---|---|---|---|---|---|---|---|---|---|---|---|---|
|


V-Ray Sky Texture
...
For more information on the Sky portion of the V-Ray Sun and Sky System, please see the Sky Map (VRaySky) page.
...