Page History
...
| Section | ||||||||||||||||||||||||||||||||||
|---|---|---|---|---|---|---|---|---|---|---|---|---|---|---|---|---|---|---|---|---|---|---|---|---|---|---|---|---|---|---|---|---|---|---|
|
Part I: Export an Archive
...
| Section | |||||||||||||||||||||||||||
|---|---|---|---|---|---|---|---|---|---|---|---|---|---|---|---|---|---|---|---|---|---|---|---|---|---|---|---|
|
...
| Section | ||||||||||||||||||||||
|---|---|---|---|---|---|---|---|---|---|---|---|---|---|---|---|---|---|---|---|---|---|---|
|
Part II: Create a Simple Scene
...
In this step, we will create a simple scene for the XGen Archive primitives.
| Section | |||||||||||||||||
|---|---|---|---|---|---|---|---|---|---|---|---|---|---|---|---|---|---|
|
Set up the Archive Primitives
...
...
| Section | ||||||||||||||||
|---|---|---|---|---|---|---|---|---|---|---|---|---|---|---|---|---|
|
...
| Section | ||||||||||||||||
|---|---|---|---|---|---|---|---|---|---|---|---|---|---|---|---|---|
|
...
...
| Section | |||||||||||||||||||||
|---|---|---|---|---|---|---|---|---|---|---|---|---|---|---|---|---|---|---|---|---|---|
|
...
Set Up the Render
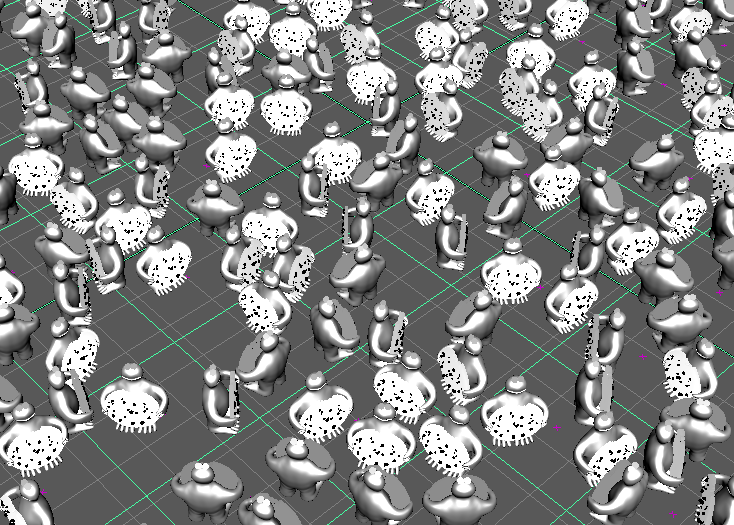
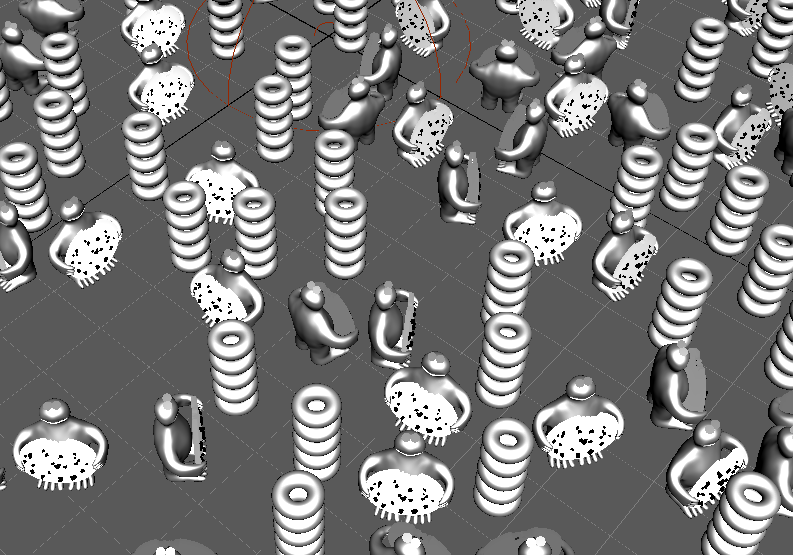
You should see something like this in the viewport:
Add a VRay Dome Light to the scene and render.
The result should be like this:
...
Part III: Adding Multiple Archives
...
...
| Section | |||||||||||||||||
|---|---|---|---|---|---|---|---|---|---|---|---|---|---|---|---|---|---|
|
...
...
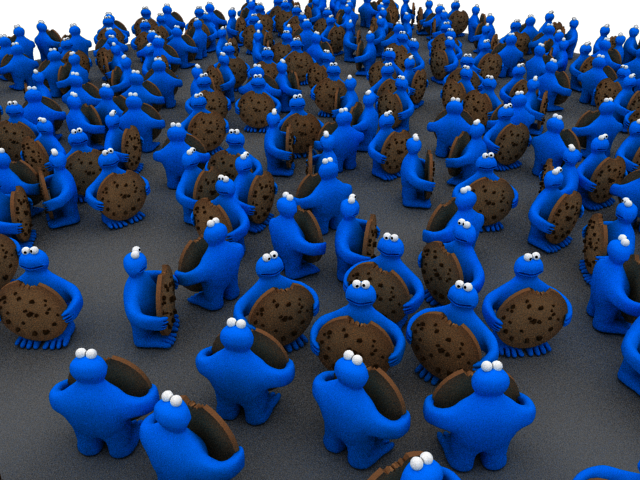
And when rendered it should look like this.
To download the scene created with these steps, please click the button below.
Part IV: Per Patch/Description Materials
...
...
| Section | |||||||||||||||||
|---|---|---|---|---|---|---|---|---|---|---|---|---|---|---|---|---|---|
|
...
...
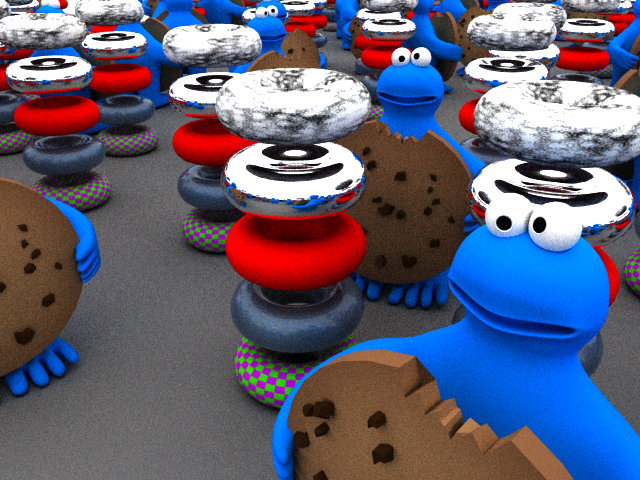
There may not be a change in the viewport, but when rendered it should look like this:
...
- Projected textures can be used too! Here is an example with a projected file texture instead of the yellow diffuse color:
Part V: Shading Archive Instances Uniquely
...
...
| Section | ||||||||||||||||
|---|---|---|---|---|---|---|---|---|---|---|---|---|---|---|---|---|
|
Add a Custom Shader Parameter
...
| Section | |||||||||||||||||
|---|---|---|---|---|---|---|---|---|---|---|---|---|---|---|---|---|---|
|
Randomize the Color with an Expression
...
| Section | |||||||||||||||||||||
|---|---|---|---|---|---|---|---|---|---|---|---|---|---|---|---|---|---|---|---|---|---|
|
...
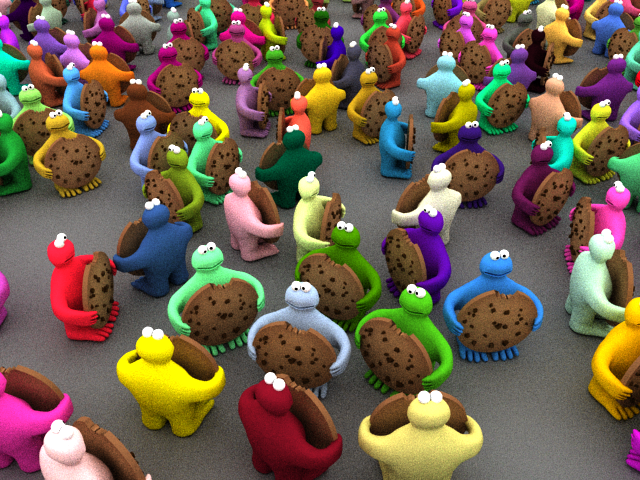
And when rendered it should look like this:
You can also set this expression to the Primitive Color attribute of the Preview Settings in the Preview/Output tab to get some sort of visual feedback in the viewport.
Add a V-Ray User Scalar Map
...
...
| Section | |||||||||||||||||||||
|---|---|---|---|---|---|---|---|---|---|---|---|---|---|---|---|---|---|---|---|---|---|
|
...
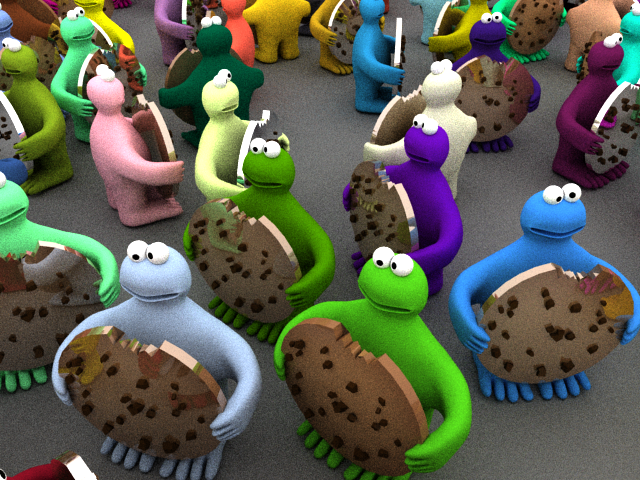
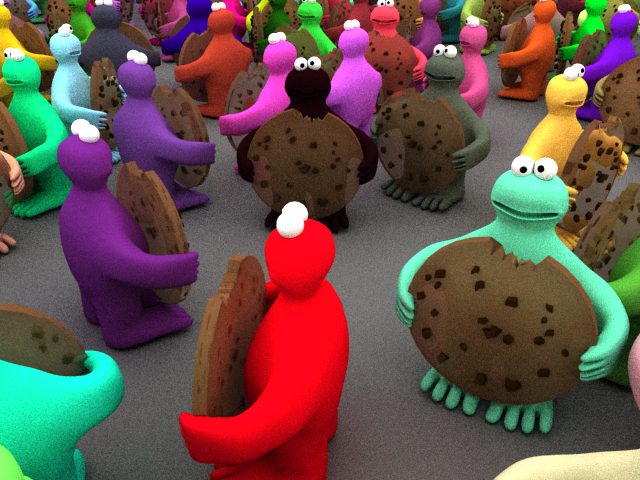
And when rendered it should look like this (with every cookie having different reflectivity):
Additional Options
- A texture map could be also used to drive the Custom Shader Parameters like explained in the XGen General page
Here is another render with randomized refraction for the cookies instead of reflectivity
...
Part VI: Animated Archives
...
XGen can export an archive with animation within it from the export menu as shown below:
As an example here is the cookie monster with its eyes animated for 26 frames:
The whole archive instances can be animated uniquely as well - for more information refer to the XGen Animation and Motion Blur page.
...
Part VII: Frame Attribute Per Archive
...
...
| Section | |||||||||||||||||
|---|---|---|---|---|---|---|---|---|---|---|---|---|---|---|---|---|---|
|
...
Notes
...
| Fancy Bullets | ||
|---|---|---|
| ||
|
...

