![]()
Page History
| Multiexcerpt | ||||||||||||||||||||||||||||||||||||
|---|---|---|---|---|---|---|---|---|---|---|---|---|---|---|---|---|---|---|---|---|---|---|---|---|---|---|---|---|---|---|---|---|---|---|---|---|
| ||||||||||||||||||||||||||||||||||||
This page provides information on installing V-Ray for SketchUp.
OverviewThis guide is to serve as a reference for the installation of V-Ray for SketchUp.
A complete installation of V-Ray for SketchUp consists of:
If you are a trial user, please refer to the Trial installation, as the process differs from the one showed on this page.
Installation StepsTo start the installation, double-click the installation file. 1. Please take a moment to read the license agreement first. Click I Agree to continue.
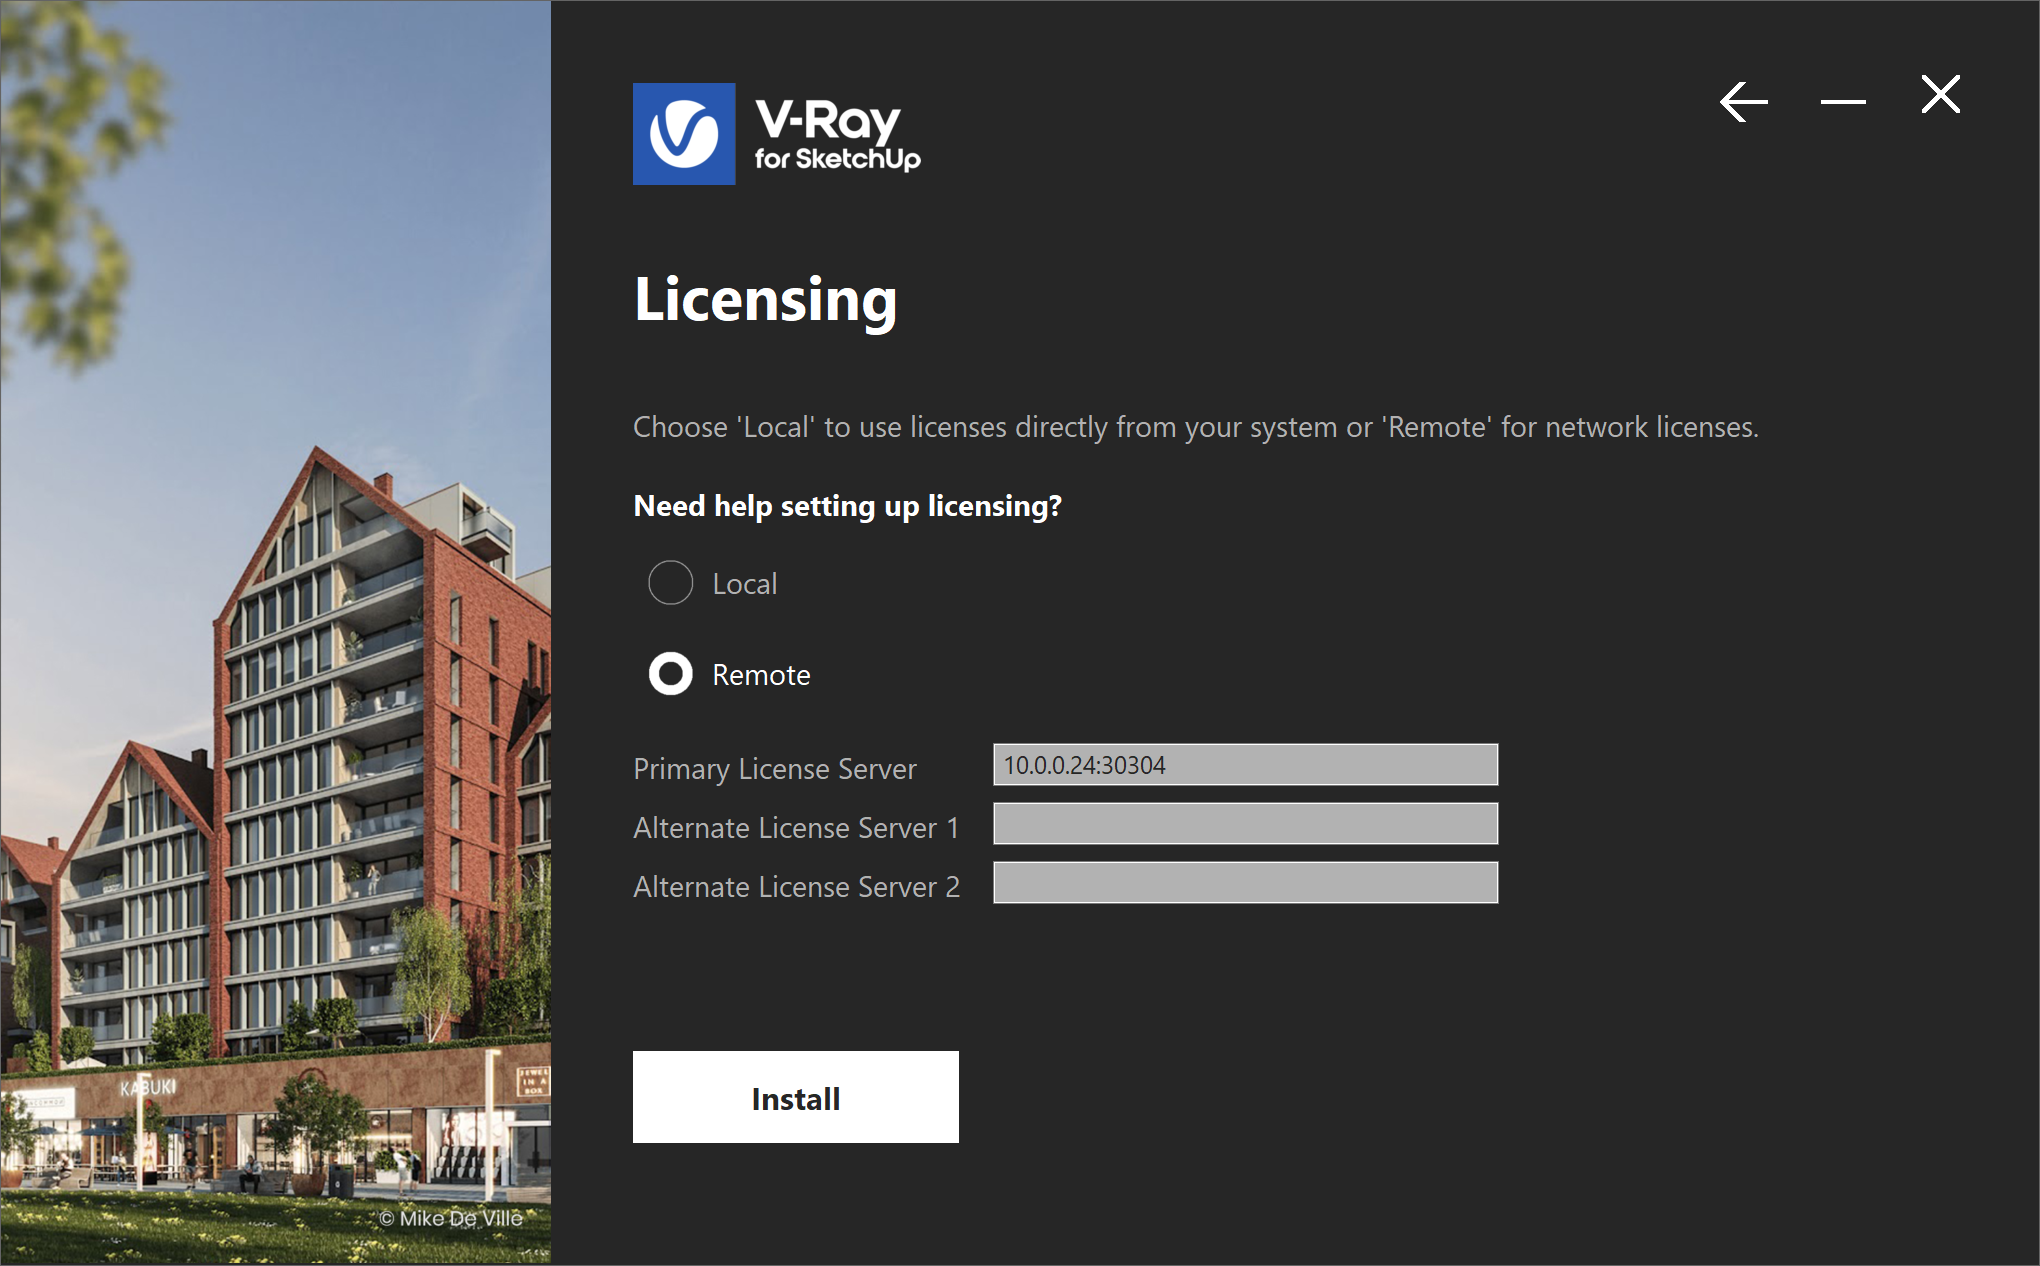
2. In this screen you can select for which SketchUp version to install V-Ray. Selecting more than one version at once is also available. Click the Install button to proceed with standard installation. If you need to customize your V-Ray installation, use the Advanced option. The Advanced installation lets you choose whether to install the License Server, V-Ray Swarm, and Chaos Cloud client and allows you to specify the License server machine.
3. The installer first checks for running applications and prompts you to stop them, if there are such. Then it automatically uninstalls all old versions.
4. Your installation is completed. On the last screen resides the usage statistics collection option. For more information on statistics data collection, visit the Chaos Telemetry page. Also, you can check the Open the release notes file option to open the release notes file after the installation.
Check Your LicenseOnce the installation of the License Server is done, you are directed to the License Server localhost (127.0.0.1:30304) in order to sign in and activate it.
For full information on the License Server options and settings, see the Licensing section of the documentation.
Footnotes
|