![]()
Page History
This page provides information about the Car Paint 2 material in V-Ray for Rhino.
| UI Text Box | ||
|---|---|---|
| ||
Car Paint 2 is available starting with V-Ray 6. |
Overview
...
| Section | |||||||||||||||||
|---|---|---|---|---|---|---|---|---|---|---|---|---|---|---|---|---|---|
| |||||||||||||||||
|
...
UI
...
Paths
...
||V-Ray Asset Editor|| > > Materials (right-click) > Car Paint 2
||V-Ray Asset Editor|| > Materials Create Asset (left-click) > Materials > Car Paint 2
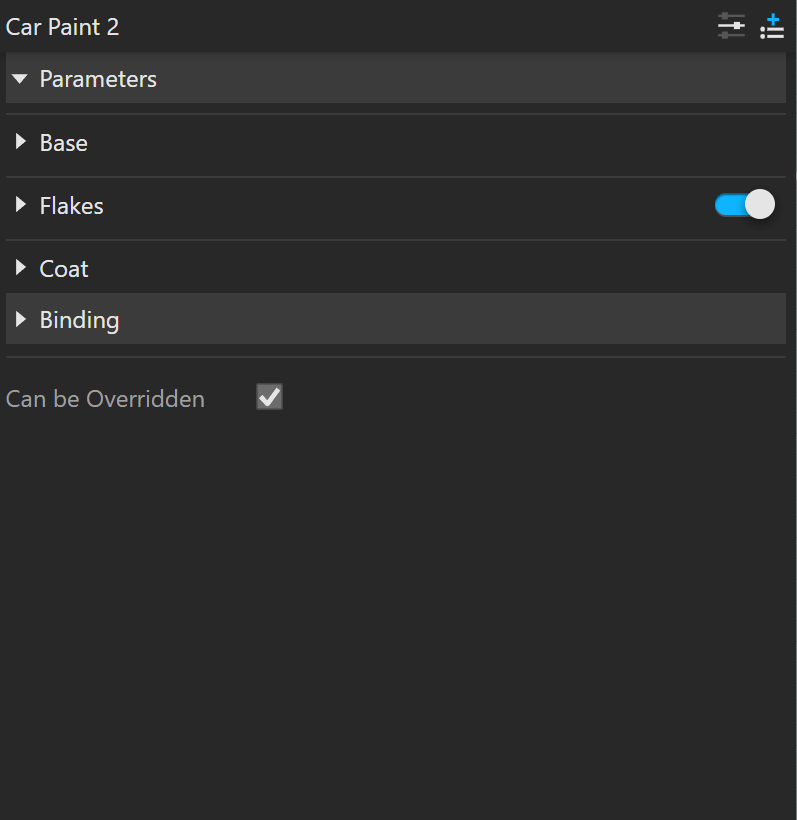
Parameters
...
| Section | |||||||||||||||||
|---|---|---|---|---|---|---|---|---|---|---|---|---|---|---|---|---|---|
Some parameters are available only in Advanced mode.
|

Flakes Parameters
...
| Section | |||||||||||||||||
|---|---|---|---|---|---|---|---|---|---|---|---|---|---|---|---|---|---|
Some parameters are available only in Advanced mode.
|

...
Coat Parameters
...
| Section | ||||||||||||||||
|---|---|---|---|---|---|---|---|---|---|---|---|---|---|---|---|---|
Some parameters are available only in Advanced mode.
|

...
Reflection Options (All Layers)
...
| Section | ||||||||||||||||
|---|---|---|---|---|---|---|---|---|---|---|---|---|---|---|---|---|
This rollout is available only in Advanced mode.
|


Multipliers
...
| Section | ||||||||||||||||
|---|---|---|---|---|---|---|---|---|---|---|---|---|---|---|---|---|
This rollout is available only in Advanced mode.
|

Material ID
...
| Section | |||||||||||||||||
|---|---|---|---|---|---|---|---|---|---|---|---|---|---|---|---|---|---|
|

...
Binding
...
| Section | |||||||||||||||||
|---|---|---|---|---|---|---|---|---|---|---|---|---|---|---|---|---|---|
|

...
Override Control
...
Can be Overridden – When enabled, the material can be overridden by the Material Override option in the Settings.
Attributes
...
For more information on Attributes, see the Attributes section of the Materials page.
| Expand | ||||||||||||||||||||||
|---|---|---|---|---|---|---|---|---|---|---|---|---|---|---|---|---|---|---|---|---|---|---|
| ||||||||||||||||||||||
Outline
|

| Expand | |||||||||||||||||
|---|---|---|---|---|---|---|---|---|---|---|---|---|---|---|---|---|---|
| |||||||||||||||||
Raytrace Properties
|

| Expand | ||||||||||||||||||||||
|---|---|---|---|---|---|---|---|---|---|---|---|---|---|---|---|---|---|---|---|---|---|---|
| ||||||||||||||||||||||
Material ID
|
