This page provides information about V-Ray Scatter in V-Ray for Rhino.
Overview
The V-Ray Scatter tool creates instances of objects using the surface of another object to generate points.
UI Paths
||Asset Editor|| > Geometries (right-click) > Scatter
||Asset Editor|| > Create Asset > Geometries > Scatter

||V-Ray Objects Toolbar|| > Scatter (left-click) > Make Scatter host from the selection
||V-Ray Objects Toolbar|| > Scatter (right-click) > Remove the Scatter host properties from the selection

||V-Ray|| > Objects > Convert to Scatter Host
Creating V-Ray Scatter
V-Ray Scatter consists of two types of objects – Host objects and Guest objects that are scattered over the Host object's surface. There are several ways to create Scatter host and Guest objects.
Creating Scatter Host objects:
- Select an object in the viewport. Click the Scatter button from the V-Ray Geometry Toolbar.
- Select an object in the viewport. Go to the V-Ray menu > V-Ray Objects > Convert to Scatter Host.
- Select an object in the viewport. Open the Asset Editor > Geometry > Scatter and use the Apply to Selection option.
Creating Scatter Guest objects:
Select an object in the viewport and use the Add Guests button in the Asset Editor. The object appears under the Add Guests button.
Parameters
Density – Determines the approximate count of instances in a square meter. When a texture is used, the density value can still be used. Black color in the texture discards all instances in the area. Areas colored with white receive maximum density.
Seed – Controls the random seed of the Scatter. Change this integer value to get a different random distribution.
Axis Filter – Filters the faces that will be used for instance positioning.
All Faces – The points/instances are generated uniformly on all object faces.
Facing Up – The points/instances are only placed on object faces oriented upwards in the scene. Note that host component transformations are ignored.
Orientation – Specifies the initial orientation of the instances.
World Up – All instances are positioned upright independent of the base/host surface face normals.
Along Normals – The instances are oriented based on the base surface face normals.
Collision Detection – When enabled, instances with overlapping bounding boxes will be discarded. Eliminating collisions will reduce the initial density count and may alter the predetermined ratio between multiple guests.
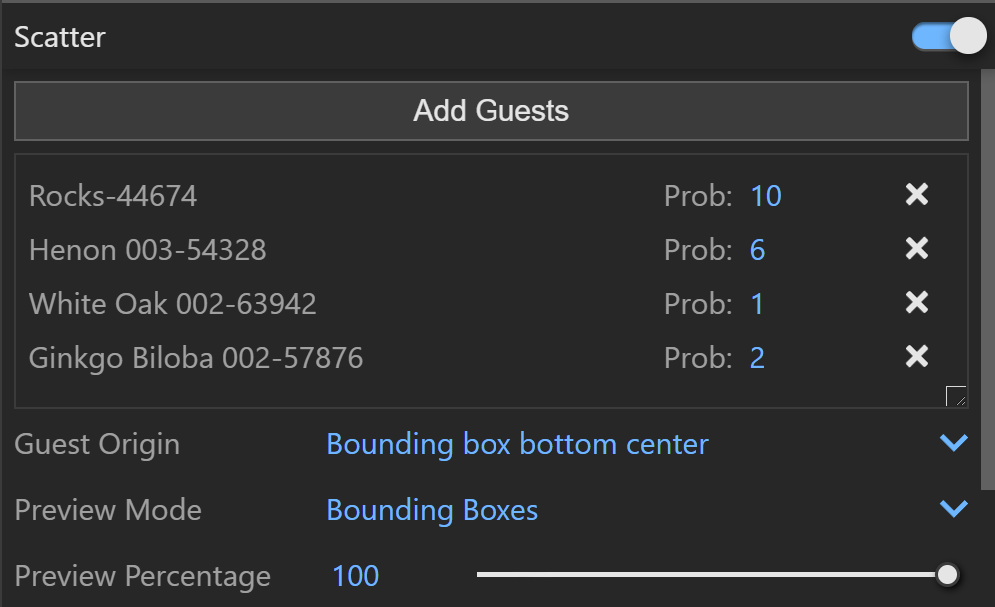
Add Guests – Adds the currently selected scene objects to the Guests list. The objects in this list are scattered on the base geometry.
Probability – Determines the relative probability of the guest to appear. For more information see the Probability Example below.
Guest Origin – Determines how the objects are positioned relative to the random Scatter points.
Bounding box bottom center – The bounding box bottom center of the object is matched to the instance point.
Bounding box volume center – The bounding box volume center snaps to the instance point.
Object origin – The original object origin point snaps to the instance point.
Preview Mode – Changes between a Bounding Box or Point Preview for the instances. Note that the point positions are determined by the origin of the guest.
Preview Percentage – Limits the number of previews displayed in the viewport. Use this to optimize the viewport performance.
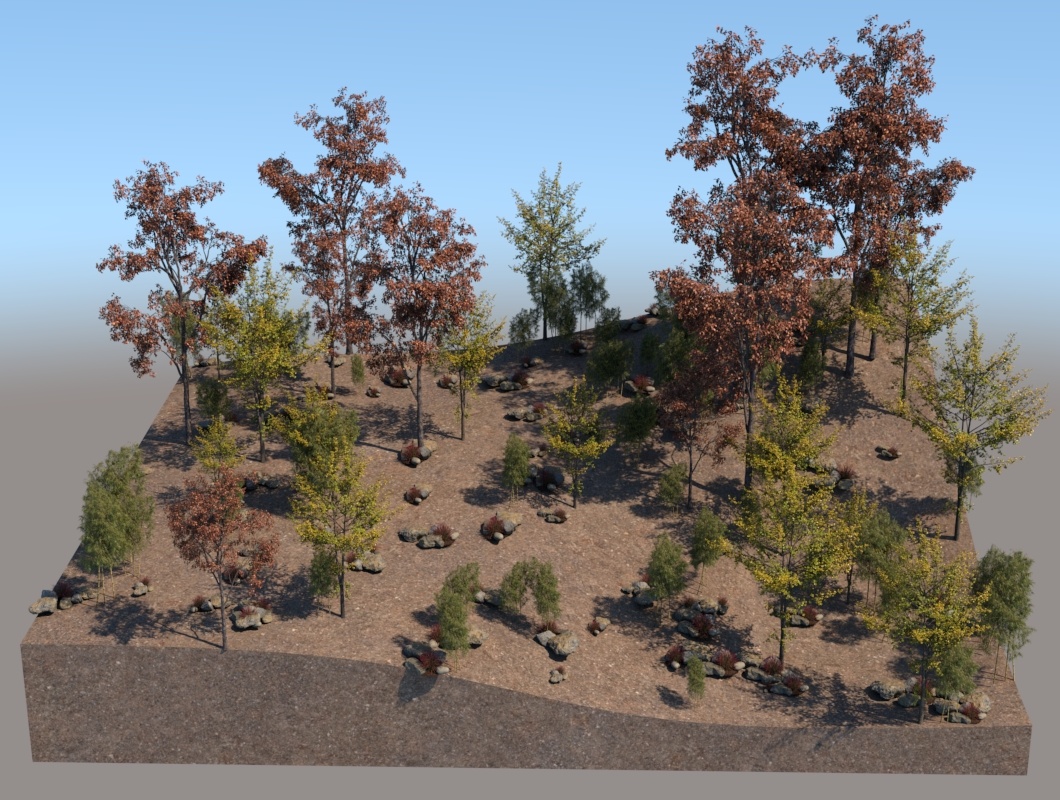
Probability Example
This is an example of introducing multiple Guest objects with different probability to one Host object.
Rotation
Rotation Min – Minimum angle for the random instance rotation around its up axis.
Rotation Max – Maximum angle for the random instance rotation around its up axis.
Scale
Random Min – Minimum factor for the random instance scaling.
Random Max – Maximum factor for the random instance scaling.
Scale Multiplier – Uniform scale multiplier for the instances. This value is combined with the random scaling.
Scatter in Rhino Properties Panel
The  button creates a new Scatter plugin and assigns it to the selection. The
  button opens the geometry property panel of the selected Scatter asset in the V-Ray Asset Editor for edition.
Make Unique – Makes the selected instance of a Scatter unique. It creates a new Scatter (copy of the current one) item in the Asset Editor that is linked only to the selected object.
Select Instances – Selects all objects that have an instance of the same Scatter in the viewport.

Notes
- Starting with V-Ray 5.20.01, V-Ray special objects (Fur/Clipper/Displacement/Mesh Light/Scatter) are not deleted from the Asset Editor, when the last item with the corresponding special object assigned to it, is deleted from the viewport.