This article explains the settings and values for the Corona Sky object in Cinema 4D.
Overview
The Corona Sky object can be used to illuminate your scene with a realistic skylight. By default, it is visible directly, in reflections and in refractions; it casts light onto the scene objects and bounces around, producing global illumination, just like in real life.
Once a combination of Corona Sky and Corona Sun is used, the sky's appearance will be automatically updated based on the sun's position, for example, casting warmer light when the sun is closer to the horizon and cooler light if the sun is in the zenith position.

Tutorial: Sun and Sky with Chaos Corona for Cinema 4D
Object Properties
Type – This parameter allows you to choose between different Sky types.
Simple color – This sky type allows you to use a solid color to represent the sky.
Physical sky – This sky type allows you to choose between different sky models to represent the sky more accurately.
Shader / HDRI – This sky type allows you to use an HDR image to create the overall skylight in your scene project.
Intensity – This value sets the intensity of the skylight.

Sky type – Simple color
Color – This parameter allows you to set the sky color.

Sky type – Physical sky
Sky model – This parameter sets the sky model that is used in the render.
Rawa-fake – This is a "fake" (non-physical) sky model, which allows for easier customization (the Zenith color, Horizon color, Sundisk glow, and Sun color bleed values can be changed under "Rawafake model parameters" once this model is selected).
Hosek & Wilkie – Previously, this was the most recommended and realistic sky model (in Corona Renderer 5 and older). It produces realistic results; however, it has some disadvantages compared to the PRG Clear Sky Model - for example, it does not allow rendering of the sun disk below the horizon and casts a greenish hue into the scene.
PRG Clear Sky – This model was introduced in Corona Renderer 6. It provides greater accuracy, and most importantly, the sky continues to be accurately illuminated when the sun is below the horizon, down to as low as -2.85 degrees (or approximately 5.4 sun diameters below the horizon), which enables dawn and twilight effects.
Fake horizon blur – This parameter defines how much the horizon blurs in the render.
Ground color – This parameter defines the color of the ground below the horizon.
Ground affected by Sky –
Sun linking – This parameter defines the mode for the linking between the Corona Sky and the Corona Sun objects.
Automatic – When using this mode, the Corona Sky is auto-linked to the first active Corona Sun object in the scene.
Select Sun – Using this method, you can manually set the Corona Sun to which the Corona Sky is linked.
Sun – This parameter defines the Corona Sun object in the scene that is used to affect the sky color when the Sun position changes.
This parameter is only available if the Select Sun mode is active for the Sun linking.

Physical Sky – Sky model

![]()
Physical Sky – Intensity
![]()
![]()
Physical Sky – Fake horizon blur
![]()
![]()
Physical Sky – Ground affected by Sky
![]()
![]()
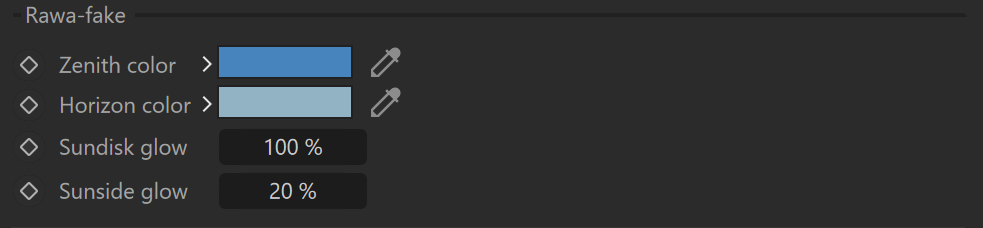
Sky model – Rawa-fake
Zenith color – Sets the overall sky color.
Horizon color – Defines the overall horizon color.
Sundisk glow – Sets the amount of glowing from the Sundisk.
Sunside glow – Sets the amount of overall ambiance glowing depending on where the Sun is located.
Rawa-fake - Zenith color
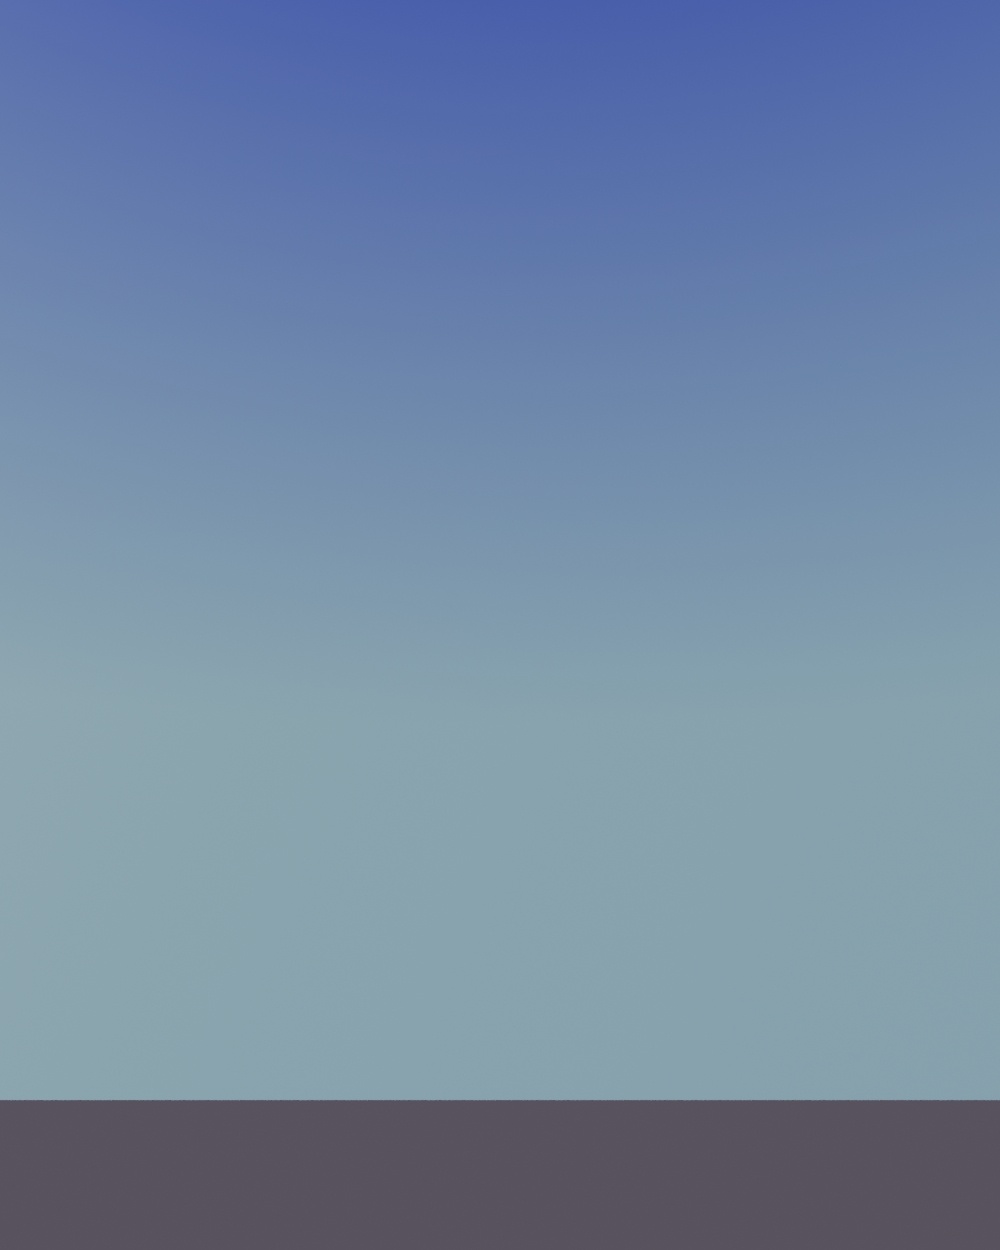

Rawa-fake - Horizon color


Rawa-fake - Sundisk glow

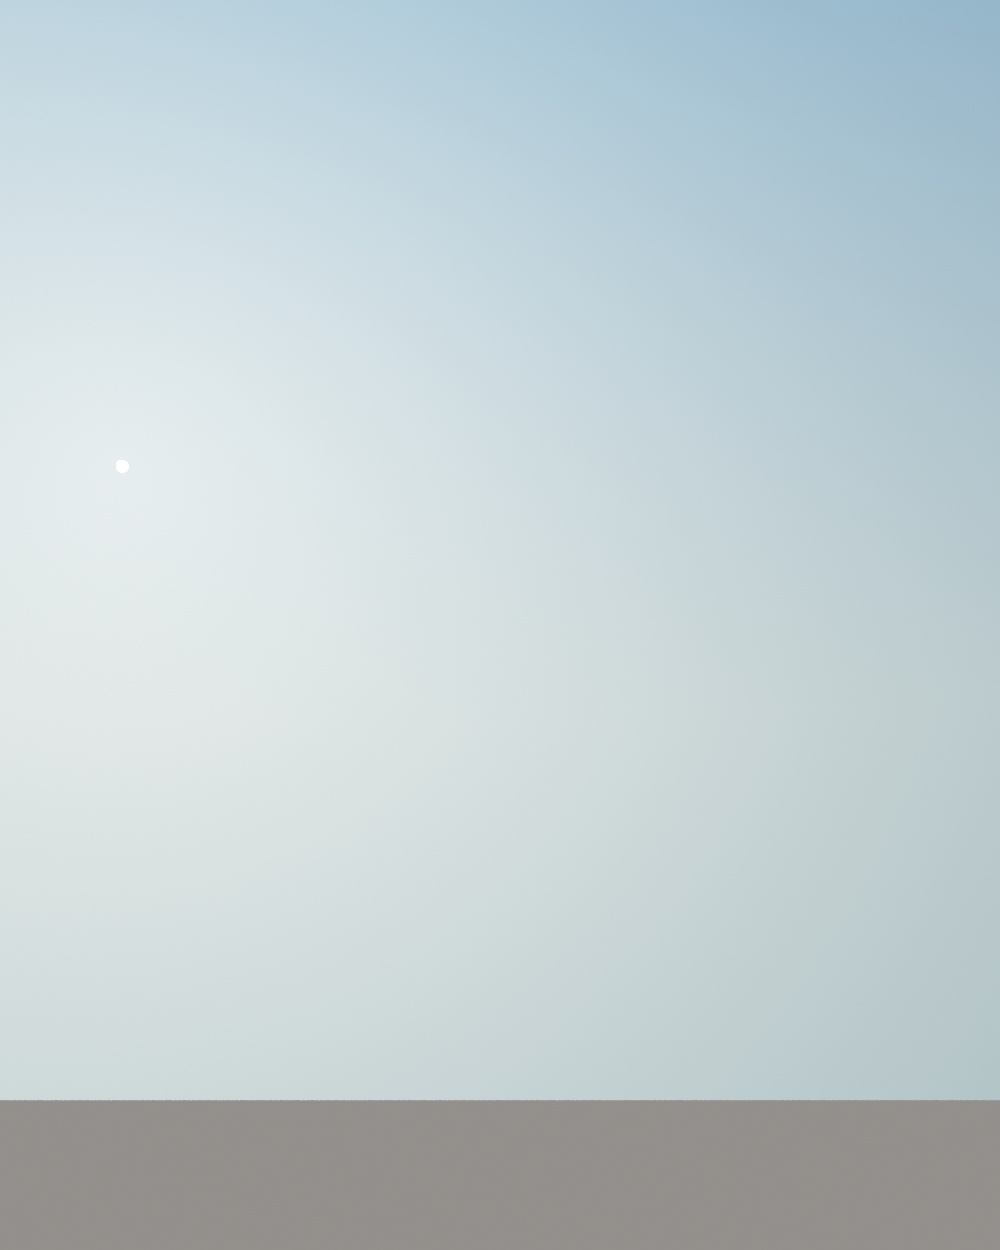
Rawa-fake - Sunside glow


Sky model – Hosek & Wilkie
Turbidity – This value defines the number of pollutants (smog) in the atmosphere. Increasing the value makes the sky hazier, while decreasing it makes the sky clearer.
Hosek & Wilkie - Turbidity


Sky model – PRG Clear Sky
Turbidity – This value defines the number of pollutants (smog) in the atmosphere. Increasing the value makes the sky hazier, while decreasing it makes the sky clearer.
"PRG Clear Sky" model has a valid range of turbidity between 1.81 and 4.89. Values outside of this interval are clamped.
Altitude [m] – This parameter sets the altitude at where the viewer is located. With higher values, the sky gets clearer and the horizon line less sharp.
Volume effect – The Volume Effect is based on the atmospheric settings from the Corona Sky. This creates a volumetric effect like ambiance fog/dust, also known as "Aerial perspective".
Only one atmospheric volumetric effect is used at any given time, even if multiple sky maps are present in the scene.
Scale – This value determines the intensity of the Volume effect. Higher values make the volume effect more visible.
The scale parameter is only available when the Volume effect is enabled.

PRG Clear Sky - Turbidity
![]()
![]()
PRG Clear Sky - Altitude [m]
![]()
![]()
PRG Clear Sky - Volume effect
![]()
![]()
PRG Clear Sky - Scale
![]()
![]()
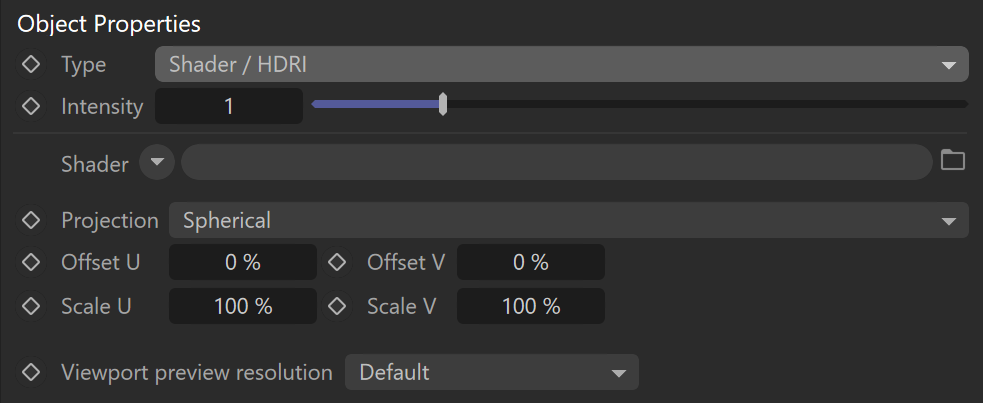
Sky type – Shader / HDRI
Shader – This parameter allows to define the HDR image used for the overall lighting.
Projection – This parameter allows to select between different projection modes for the HDR image.
Spherical
Cubic
Frontal
Dome
Offset U – This parameter offsets the HDR image in the U coordinate.
Offset V – This parameter offsets the HDR image in the V coordinate.
Scale U – This parameter scales the HDR image in the U coordinate.
Scale V – This parameter scales the HDR image in the V coordinate.
Viewport preview resolution – This parameter allows switching between different resolution sizes for the viewport preview.
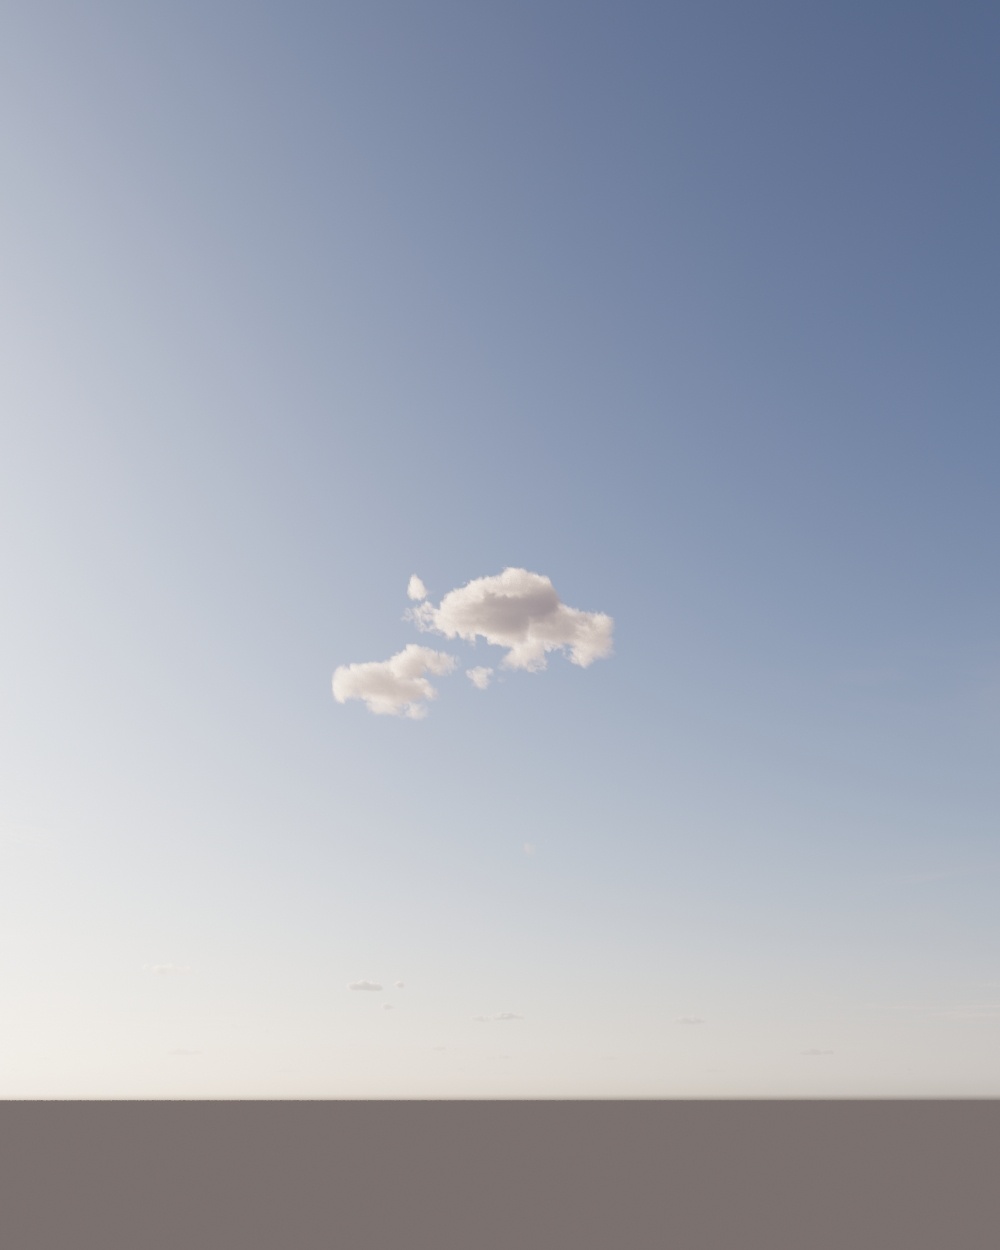
Clouds
Enable – This checkbox enables the Cloud system for the Sky.
Amount – This value is the amount of the main clouds (stratus, cumulus, cumulonimbus). A value equal to zero means there are no such clouds in the sky, while a value equal to 1 means the sky is full of these clouds.
Variety – This value randomly changes the appearance of the main clouds.
Cirrus amount – This value sets the amount of cirrus clouds (clouds high in the sky). A value equal to zero means that no cirrus clouds are visible, while a value equal to one means the maximum amount of cirrus clouds in the sky.
Phase – This value determines minor perturbation of the clouds to simulate their change in time.

Tutorial: Procedural Clouds with Chaos Corona for Cinema 4D
Clouds - Amount

Clouds - Variety


Clouds - Cirrus amount


Clouds - Phase


Clouds Position
Altitude [m] – This value controls the altitude (measured from the ground) at which the main cloud starts. Measured in meters.
Height [m] – This value controls the height (thickness) of the main clouds. Increasing this value leads to heavier clouds, while decreasing it results in lighter (more transparent). Measured in meters.
Offset X [m] – This value offsets clouds on the X-axis. Measured in meters.
Offset Z [m] – This value offsets clouds on the Z-axis. Measured in meters.

Clouds Position - Altitude [m]


Clouds Position - Height [m]


Clouds Position - Offset X [m]

Clouds Position - Offset Z [m]

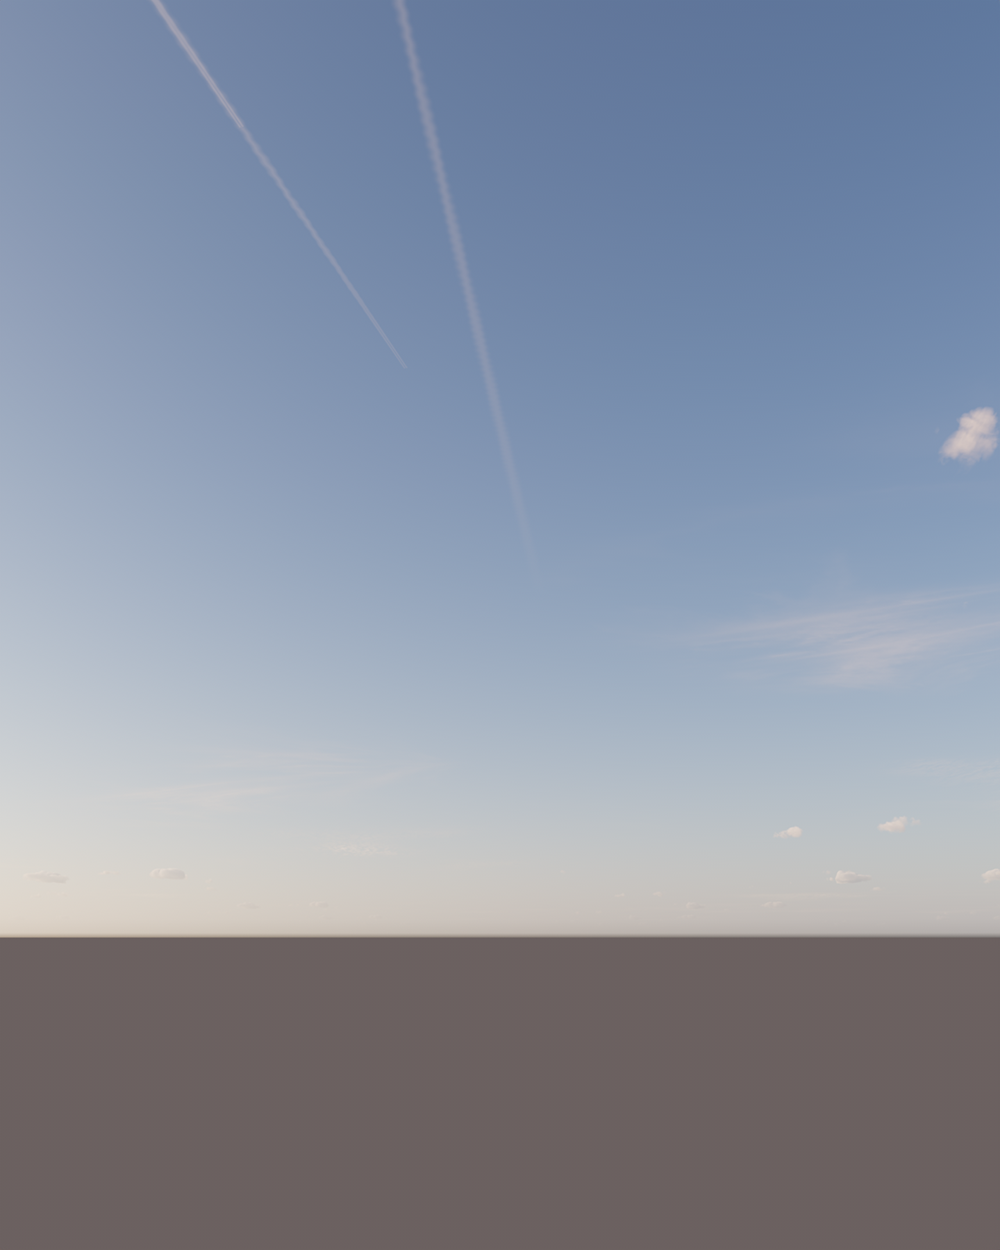
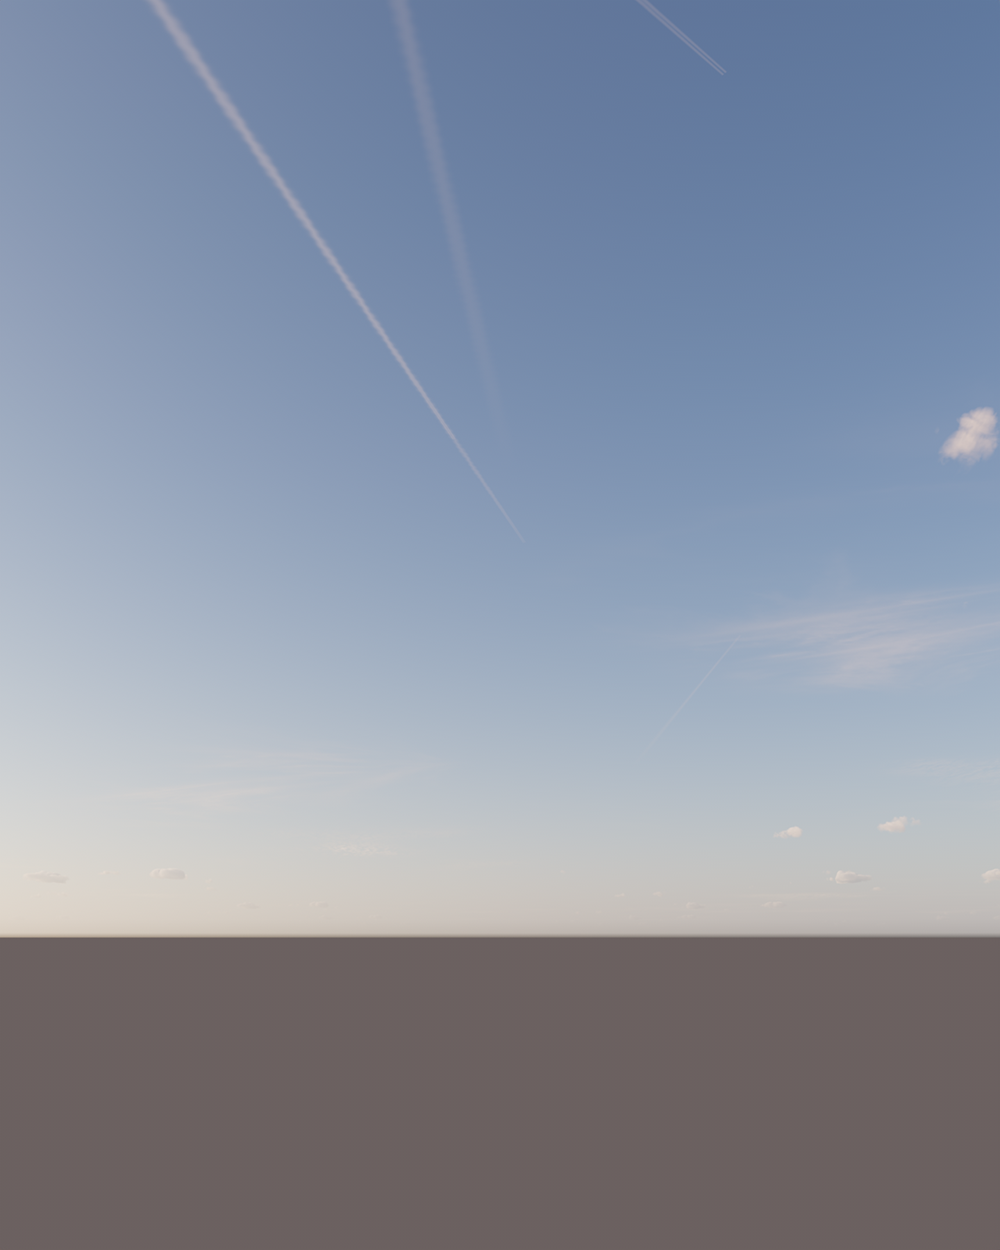
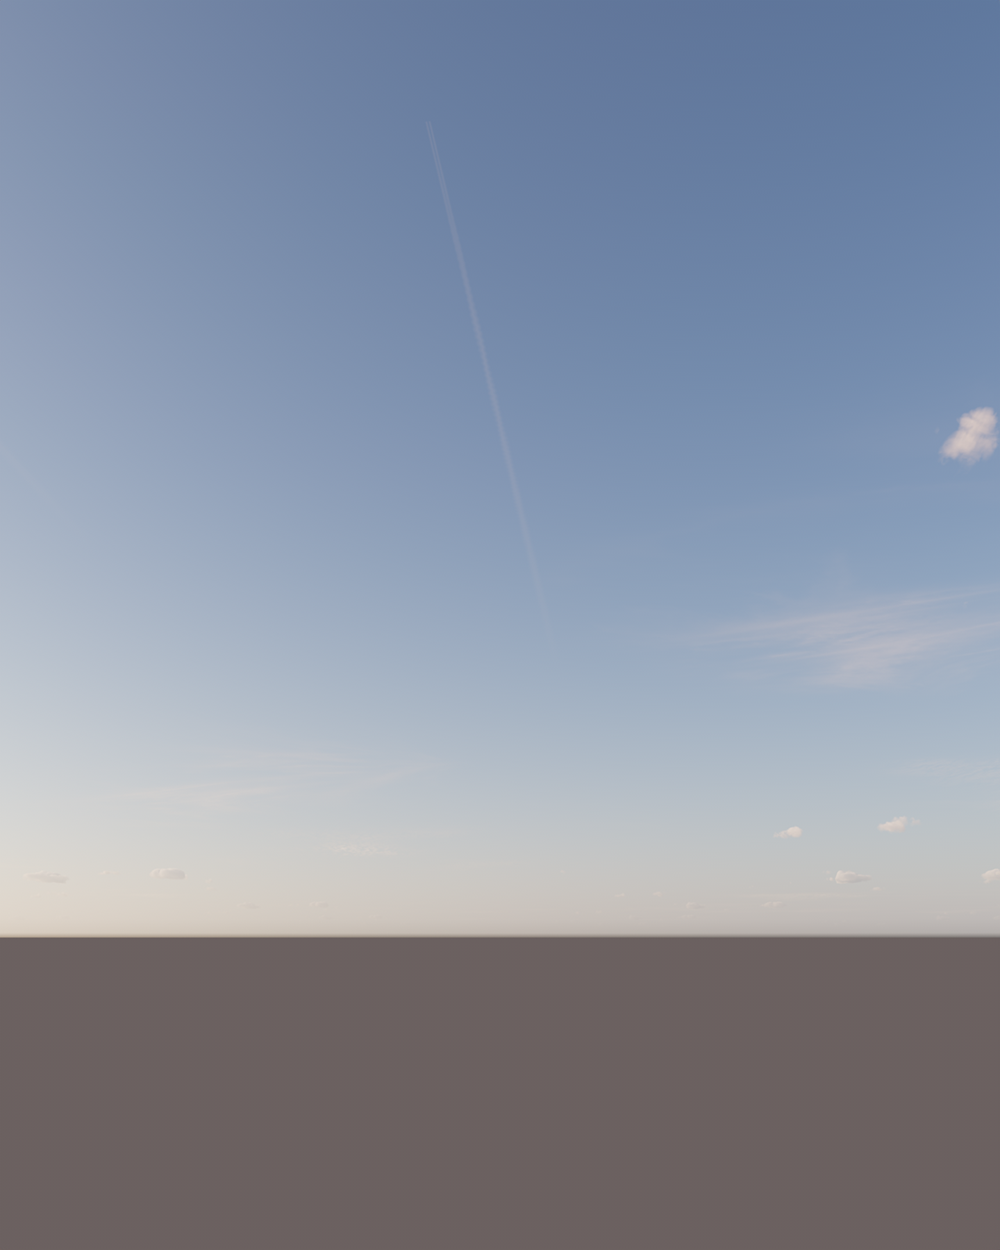
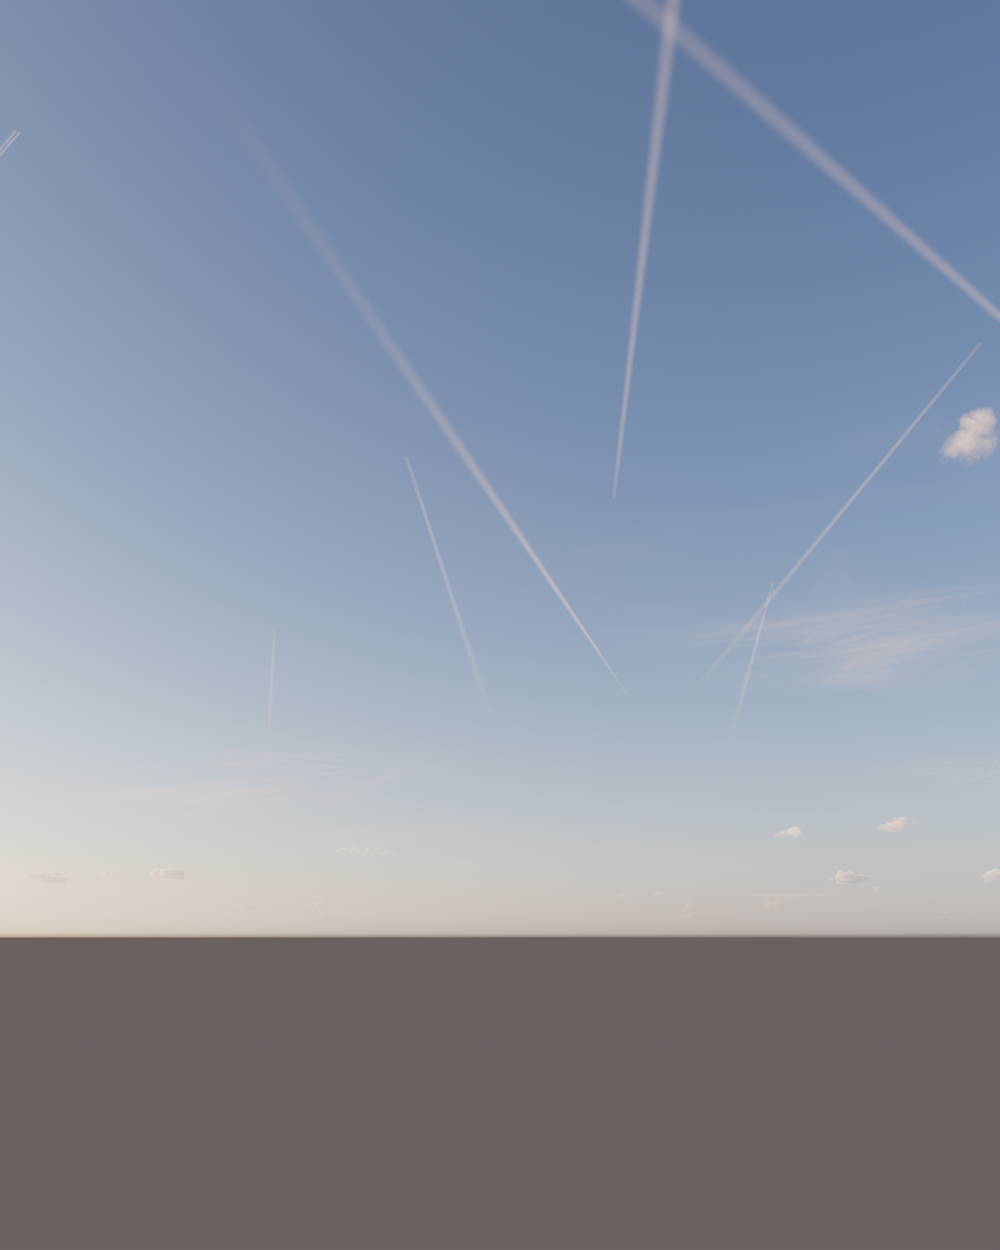
Contrails
Enabled – This enables the use of contrails for the sky.
Plane count – Controls how many planes are simulated to create contrails.
Time – Controls the simulation of time - increasing time moves planes along their travel direction. Increasing this property by larger values can be used as a random seeding of the planes positions.
Strength – Determines how many contrails are visible in the sky.
Distortion – Determines how much contrails are distorted. A value of 0% gives contrail lines without any distortions, while a value of 100% results in a maximum amount of distortion.
Offset X [m] – This value offsets contrails on the X-axis. Measured in meters.
Offset Z [m] – This value offsets contrails on the Z-axis. Measured in meters.

Clouds Contrails - Plane count


Clouds Contrails - Time


Clouds Contrails - Strength


Clouds Contrails - Distortion


Sun Direct input - Color


Sun Positioning - Various


