

This page explains how to enable Enscape in ArchiCAD.
Overview
After the Enscape installer has finished running and has been closed, you should then be able to open Archicad, whereby Enscape should then be visible as a toolbar in the Archicad User Interface(UI). When using Enscape for Archicad, the toolbar can be either a docked or floating window. However, you may also find that you have to manually enable Enscape in the CAD via the CAD’s toolbar/menu options. This article explains how that is done for Archicad.
If you do not see any reference to Enscape in the Archicad menu or toolbar options, it is likely that the installation is corrupt or was somehow unsuccessful. In such circumstances it is recommended to perform a fresh reinstall of Enscape. This means uninstalling Enscape completely, rebooting the machine, and then running the Enscape installer again. You should also refer back to the installation steps, found on the First Steps page.
Enable Enscape in Archicad
Once installed, the Enscape plugin can be found in the Window > Palettes menu. Here you can see the Enscape Palette to the far right.
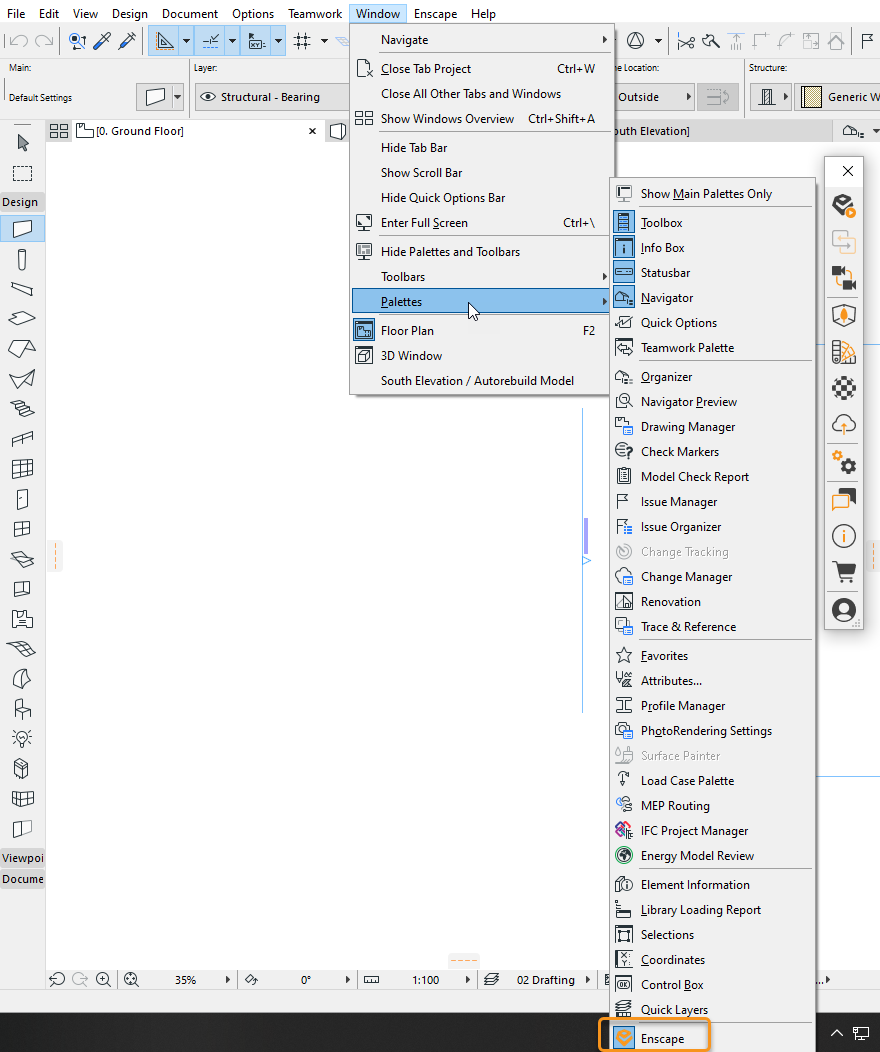
Open the Enscape Palette
You should also have, by default, an Enscape menu option in the Archicad top menu, which you can then click to reveal all the Enscape options.
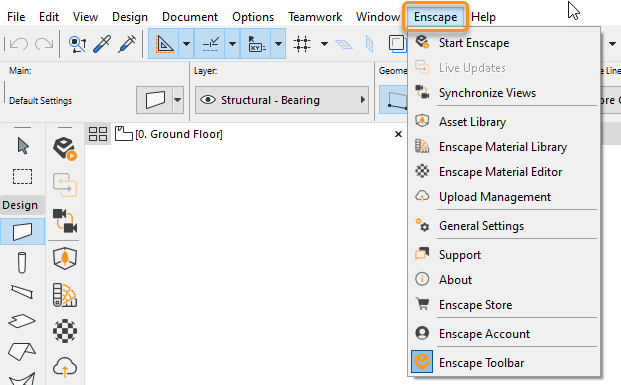
Enscape in top-level Archicad menu
You can also select the Archicad Toolbars options to create an Enscape Toolbar, which can then be docked horizontally or vertically into the Archicad workspace.
Docking the Enscape toolbar in ArchiCAD
As Enscape is only available as a Palette by default, which is only vertically dockable, then if you want Enscape options available as an Archicad Toolbar, you will have to manually create that toolbar. To do this, take the following steps:
Click on Window > Toolbars > Toolbars.. option.
This opens the Archicad Work Environment window, and the Toolbars section is highlighted.
Click on Toolbar Options and then New Toolbar…
Name it Enscape.
From the List drop-down menu options, select All new commands in alphabetical order.
You then see a list. From the list, highlight all options that have (Enscape) after the name, apart from Enscape (Enscape) and Enscape Toolbar (Enscape) and then click on Add selected. This adds these buttons to the Enscape Toolbar you created previously.
You can then re-order these options to suit your needs. It is worth having the Enscape Palette open and visible whilst you do this so that you can mirror the order for the sake of consistency.
Once done, click OK, which closes the Work Environment window.
Click again on Window > Toolbars, and you can see Enscape listed as a Toolbar option. Click on it, and the horizontal Enscape Toolbar that you created in the previous steps becomes visible, either floating or docked. It can be left floating or dragged and docked vertically or horizontally to the Archicad workspace.
Starting Enscape in Archicad
Follow these steps to view your Archicad project in 3D:
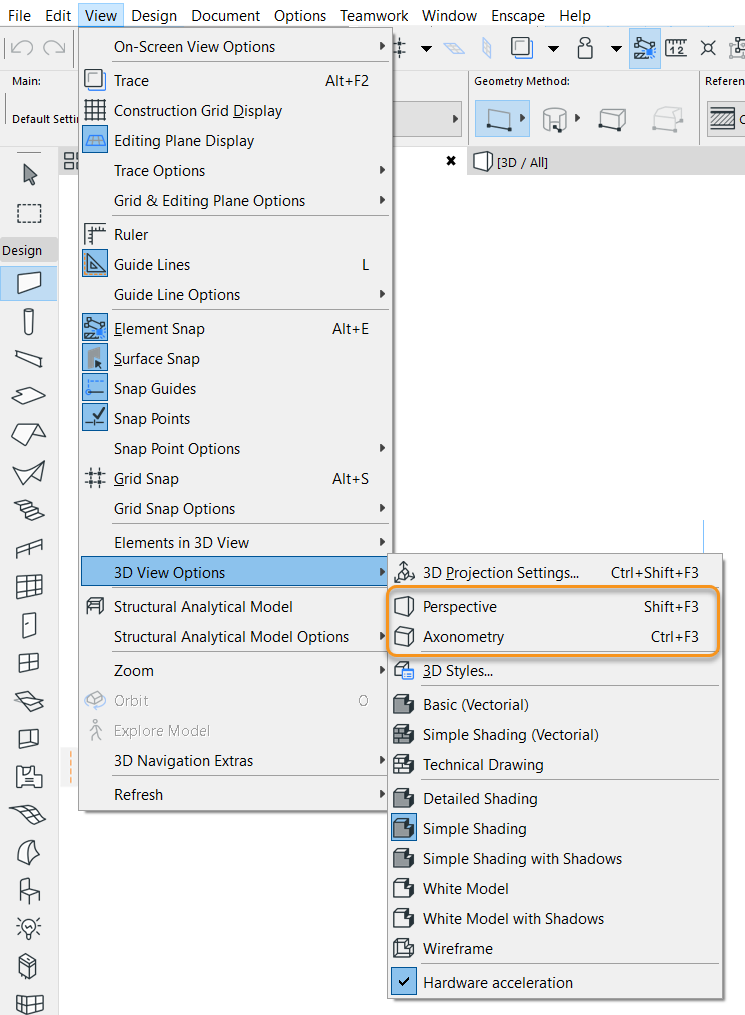
Open your Archicad project file and make sure you have either a Perspective or Axonometry view open.
Click on the Start Enscape button in the Enscape menu, palette, or toolbar.
The Enscape window opens separately.
You can leave Enscape open while you make any desired changes in Archicad (e.g., cross sections, materials, or geometric changes in the model). Your changes show up instantly, as long as you have activated the Live Update ![]() in Enscape. Activating the Synchronize Views
in Enscape. Activating the Synchronize Views ![]() syncs the perspective view from Archicad to the Enscape window.
syncs the perspective view from Archicad to the Enscape window.
Open the required view in ArchiCAD