This page provides information about the Z Depth Render Channel in V-Ray for Blender.
Overview
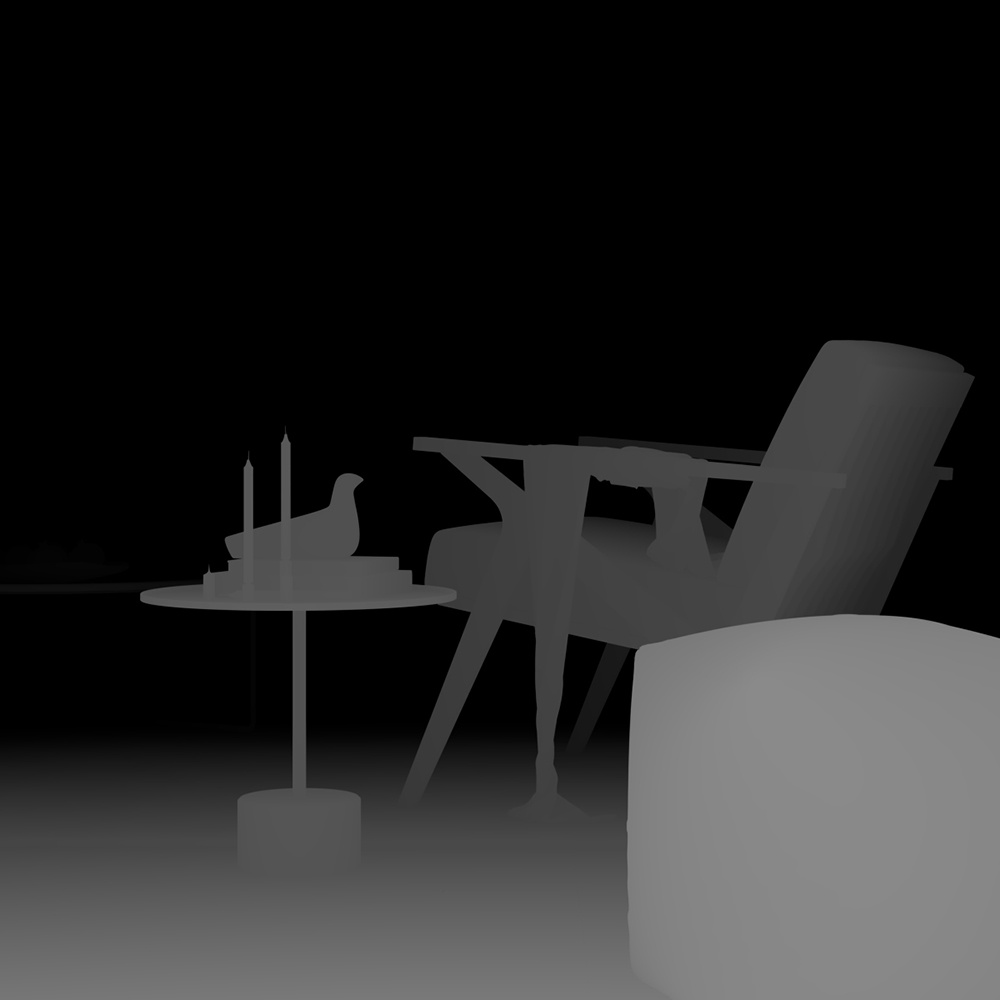
The Z-Depth Render Channel is a grayscale image that renders each pixel based on its distance from the camera in the view. It provides information about each object's distance from the camera in the current view. Each pixel representing the object is evaluated for distance individually; different pixels for the same object can have different grayscale values. You can adjust this render channel so that objects (or portions of objects) closest to the camera appear black, while those furthest away appear white or vice versa.
The most common usage of the Z-Depth Render Channel is as a control for depth of field in the composite. Depth of field can be challenging to do correctly, requiring many tweaks and re-renders; using the Z-Depth Render Channel in a composite is usually much faster and allows easier and faster adjustment than trying to get it exactly right within the render.
UI Path: ||V-Ray Node Editor|| > World > Render Channels > Geometry > V-Ray Z Depth

Properties
See the Render Channels page to find out where you can find these properties.
Channel Name – Customizable name for the render channel.
Enable Deep Output – Specifies whether to include this render channel in deep images.
Depth from Camera – Specifies whether to use camera clip boundaries as the minimum and maximum Z-Depth distance, even if camera clipping is disabled. The camera clipping boundaries can be found in the Details tab of each camera object. Enabling this option disables the Depth Black and Depth White parameters.
Depth Black – Objects up to this distance from the camera render black.
Depth White – Objects further than this distance from the camera render white.
Depth Clamp – Clamps the Z-Depth colors to a linear 0-1 range.
Filtering – Applies an image filter to this channel.
Depth Invert – Inverts the colors of the Z-Depth render channel. Objects closest to the camera render white, while those furthest away are black.
Force Infinity Black – When enabled, overrides the infinity color, turning it black. Everything beyond the Depth White amount (if not using Depth from Camera) is the infinity color.
Dont Filter Env – When enabled, only outlines of overlaying objects are filtered. When Filtering is enabled, and Dont Filter Env is enabled, pixels bordering scene objects and the environment remain unfiltered, while pixels bordering different objects are still filtered.

Common Uses
The Z-Depth render channel is useful for adding Depth of Field to the final image in post-production using a compositing application without the need for re-rendering. It can also be used to create basic fog by overlaying it on the composite with Add mode or Screen mode, with color correction as needed.

Depth of field applied to composite using Z-Depth Render Channel

Original Beauty Composite

Basic fog applied to composite using Z-Depth render Channel