This tutorial covers the steps to create snow using multiple V-Ray Decals.
Overview
The following instructions show you how to stack multiple V-Ray Decals on several geometries (rocks and terrain) to achieve the appearance of a snowy surface. Each of the decals projects a material on top of the geometries’ materials without being affected by their UV set.
Here, you will learn how to order the decals, make them affect only specific geometries and control the decals’ bumps and spread on the affected geometries.
The scene used in this tutorial contains a simple exterior scene with a terrain and several rock geometries on the foreground. Chaos Cosmos tree assets are used to complete the overall forestry look.
When opening the scene files, a mislocated Chaos Cosmos assets warning may pop up. Choose No for working with the assets packed in the archive and keeping consistent output with this tutorial.
To download scene files: Download Scene Files
Want to follow along but don’t have a license?: Download Free Trial

Step 1: Create VRayDecals
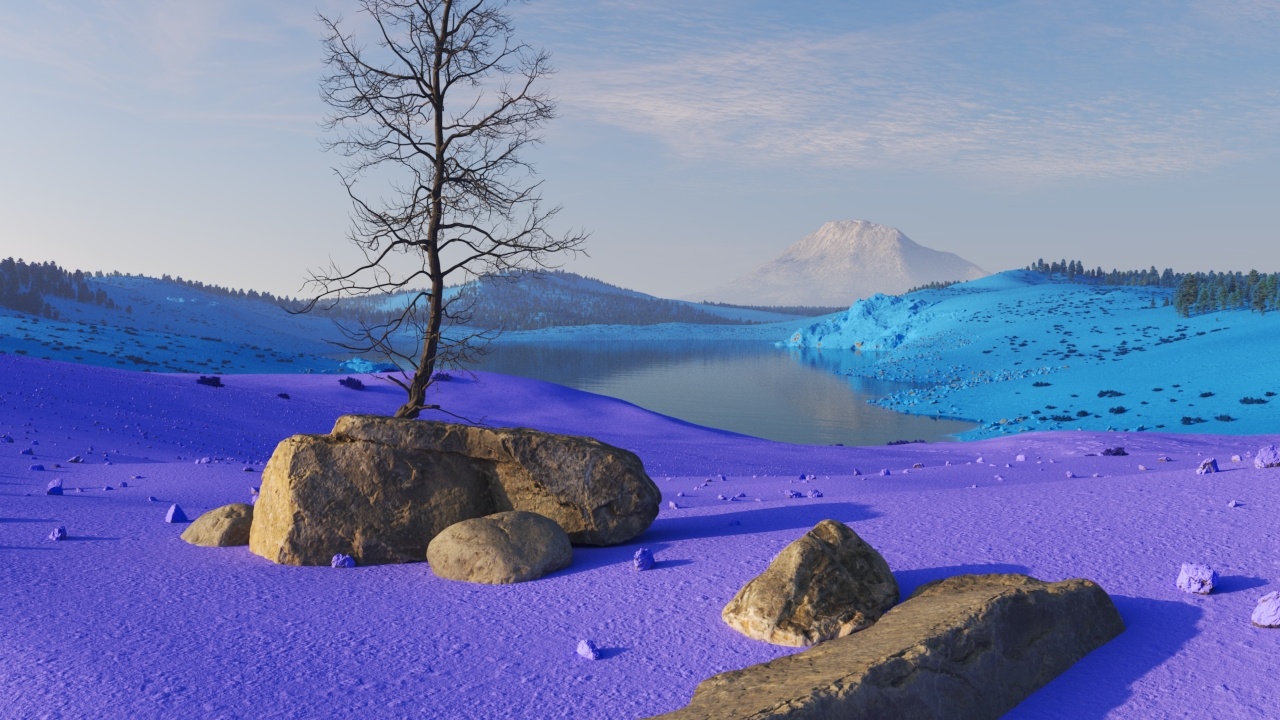
Let’s first render the scene to see how it looks without VRayDecals.
There are several rock geometries on barren terrain in the foreground that need to be covered by snow. Behind them is a small hill with a forest.
For finer control, use separate decals with different settings for the foreground and background geometries. Later on, also assign different materials to them: a simple one for the background where no great detail is needed, and a more complex one for the closeup geometries.

Create the first VRayDecal (VRayDecal001) and set its dimensions to:
Width = 25000m
Length = 25000m
Projection depth = 1500m
Note that a default color is automatically assigned to the decal after its creation.
Adjust the decal as shown in the image. Make sure to cover all geometries.
Render.

Here’s the rendered decal. It covers all the geometry in the scene. You need to remove its effect from the stones, trees and the lake.

In the decal’s parameters, click Exclude. In the Exclude/Include dialog, keep the mode to Exclude and pick the geometries.
Select the lake (Lake_Water), all tree proxies (Tree_Proxies_Snow), and the rocks and bare tree in the front (Stones_Tree) so they are not affected by the decal.
Note that the Tree_Proxies_Snow group contains tree Cosmos assets that are hidden to speed up rendering. For the final image, the group should be visible.

Now the decal covers the entire terrain but does not affect the lake, rocks and trees. For the trees and stones you are going to use other decals.

Let’s use another VRayDecal (VRayDecal002) for the near terrain and rocks and set different dimensions to it.
Width = 900m
Length = 900m
Projection depth = 200m
Adjust it so it covers all geometries in the near terrain, as shown in the image.
Set its Order to 1 to bring it over the VRayDecal001.
Exclude all the tree proxies (Tree_Proxies_Snow) and rocks (Stones_Tree) from the decal from the Exclude button.
Render.

Here’s the rendered decal. It affects only the near terrain, it does not affect the rocks and the trees.
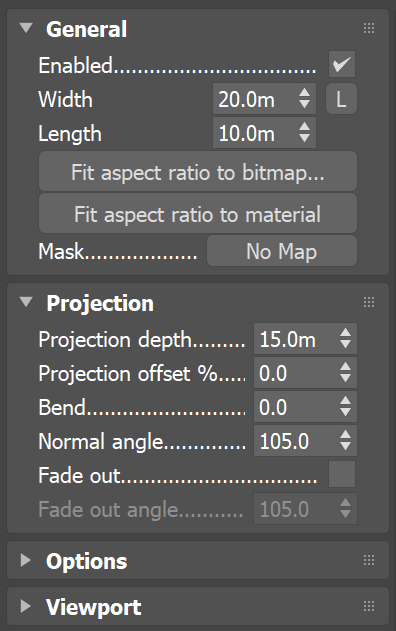
Let’s add a third and last VRayDecal (VRayDecal003) to the stones and the bare tree (Stones_Tree) in the foreground. The dimensions of this decal are as follows:
Width = 20m
Length = 10m
Projection depth = 15m
Adjust its position as shown in the image.
Render.

Note that each decal is assigned a different default color for easier demonstration of the decals’ dimensions and effect.
Now when the decals have accurate size and location, let’s assign proper materials to them.

Step 2: VRayDecal materials
Open the Material Editor and create a simple VRayMtl material and assign it to VRayDecal001.
Set both the Diffuse color to and the Reflection color to white rgb (245, 245, 245).
Reduce Reflection glossiness to 0.6 to blur the reflections.
Duplicate the material twice and assign it to VRayDecal002 and VRayDecal003. Name the materials Snow_001, Snow_002, and Snow_003 respectively to ease your workflow.

Here’s how the simple snow material turned out. The closeup parts look too flat. Let’s add some micro detail to the snow material there.
Create a VRayNoiseTex map. Plug it to the displacement slot of Snow_002 material.
Set the Displace multiplier to 0.1 in the material’s parameters (Maps rollout) to reduce the displacement effect.
Create another VRayNoiseTex map for the bump of the bigger stones in the foreground, and attach it to Snow_003 material.
Lower the Bump multiplier of the material from 30 to 20.

Now there’s much more detail in the foreground, while the background is kept simple to speed up rendering.
However, the bumps are too strong in the closeup geometry. This is because you see the accumulated effect of the terrain's bump plus the decal's own bump.
In the next step, see how to correct this.

Step 3: VRayDecal bump and displacement
In the VRayDecal002 parameters, enable Use only decal bump option. Thus, the bumps of the terrain material aren’t visible on the displaced snow material.
In the VRayDecal003 parameters, set the Surface bump to 20% to reveal the bumps of the snow material more, and to fade the underlying stone bumps.

Now the decal doesn’t cover the rocks very naturally, so let’s see how to fix this via the decal’s parameters.

Step 4: VRayDecal angles
Let’s see how you can use the decal’s Normal angle and Fade out angle options to improve the snow projection.
Select VRayDecal003 and set its Normal angle to 105.
Render the scene.
The projection changes based on the average of the normal angle - lower normal angles produce less projected material and vice versa. Let’s try another value for the angle.

Set the Normal angle to 75 so it covers the stones a bit less.

Enable the Fade out angle to soften the borders between the decal projection and the snow material. The Fade out angle is always equal or higher than the Normal angle. Note that here, when you enable it, it renders with a value of 105 as this was the first value that you gave to the Normal angle, which is higher than 75.
Render.

The stones are again heavily covered by snow but this time the snow material transitions more naturally to the stones’ edges.

Let’s reduce the Fade out angle to 85 for sharper borders.
Render again.

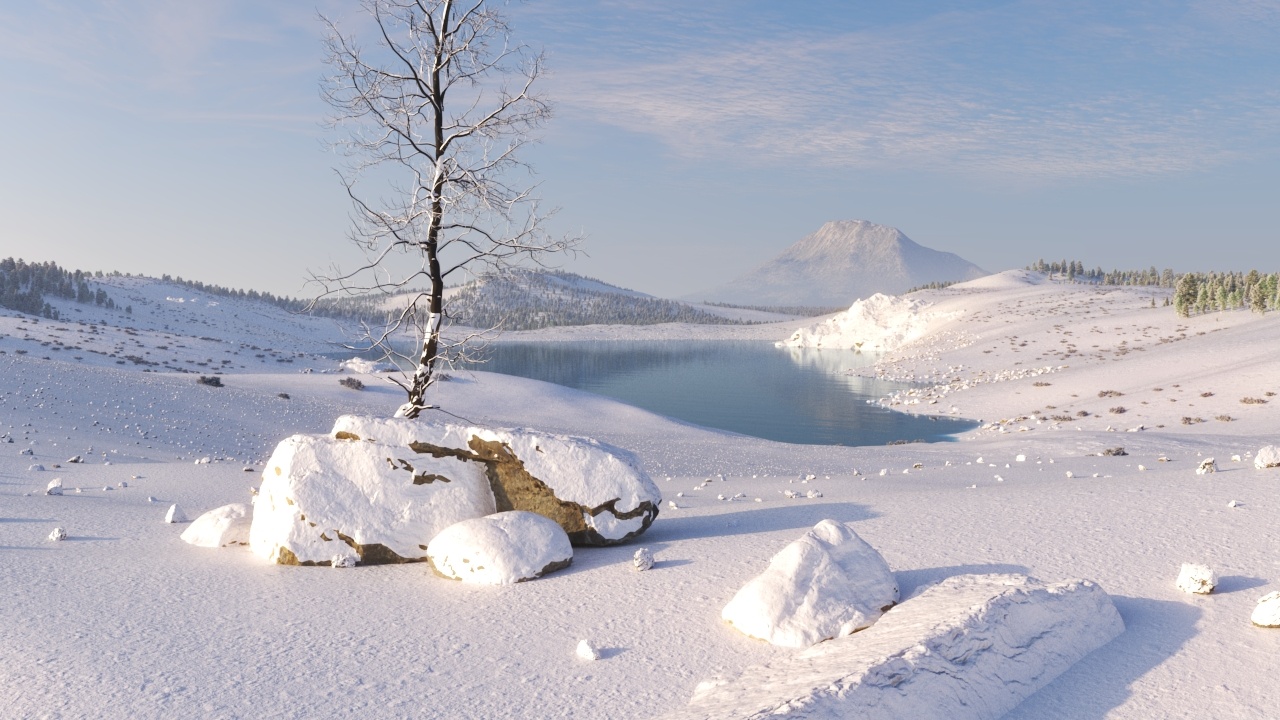
Here’s the final look of the snow surface.

Final Image
Finally, unhide the geometries in the Trees_Proxies_Snow layer. To complete the composition, add Cosmos trees assets with premade geometric snow. Note that VRayDecal’s displacement does not work with proxies.