This page provides information on the VRayFur Styler tool.
Overview
The VRayFur Styler provides a brush tool that allows basic V-Ray Fur styling. This tool is accessed individually for each V-Ray fur created and can be found under its preview node (VRayFurPreview).
UI Path: ||Select VRayFurPreview|| > Attribute Editor > Styler rollout > Brush tool icon

Initial setup
Before being able to use the brush tool to style V-Ray fur, some setup is required:
- Create a color set for the base mesh through Maya's Color Set Editor.
- Setup textures to connect to a VRayFurProperties node.
The brush tool works with textures which are connected to the VRayFurProperties node slots. The Bend direction and Initial direction slots are supported. Currently, only the VRayVertexColors texture type can be connected to the slots.
The brush tool actually modifies the vertex colors of the underlying mesh (the fur's base mesh). Meshes with more vertices will allow for finer control over the styling. Brush size takes into account the base mesh vertices that fall into its range, and not the actual strands that are in range.
Here is quick step-by-step guide on creating, setting up the vertex colors textures, and connecting them to the desired slots:
1. Create a color set for the parent mesh. (The mesh that the VRayFur is applied to.)
2. Create a VRayVertexColors texture.
3. Now, connect the color set to the vertex texture: Using the Connection Editor window, choose the shape node on one side and the vertex texture on the other. Connect meshShape.colorSet[0].name --> vertexTexture.colorSet.
4. Middle click and drop the vertex texture from the Hypershade into the Bend direction and/or Initial direction slot of the fur properties node. You also can assign different textures.
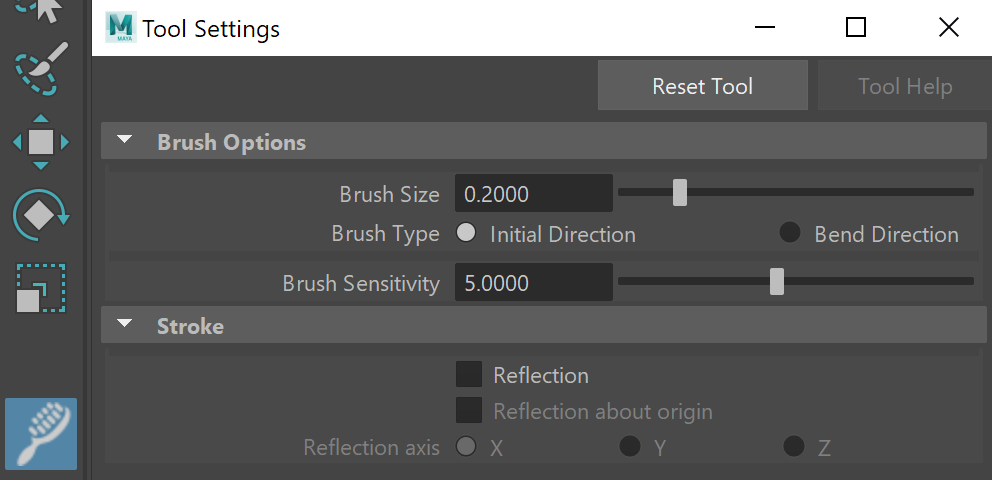
5. The brush tool can now be enabled. First select the tool, then double click the tool in Maya's toolbar area to display the Tool Settings.
The Brush Options rollout provides controls for Brush Size, Brush Type (specifies the slot that will be affected), and Brush Sensitivity.
The Stroke rollout provides options for mirroring brush strokes.
6. To begin styling, brush over the mesh to change the vertex colors, and thus change the fur strand's bend and/or initial direction.