This page includes details about the Sky texture used for the environment within the V-Ray Sun and Sky System.
Overview
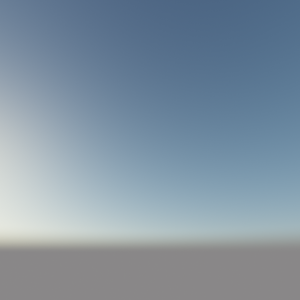
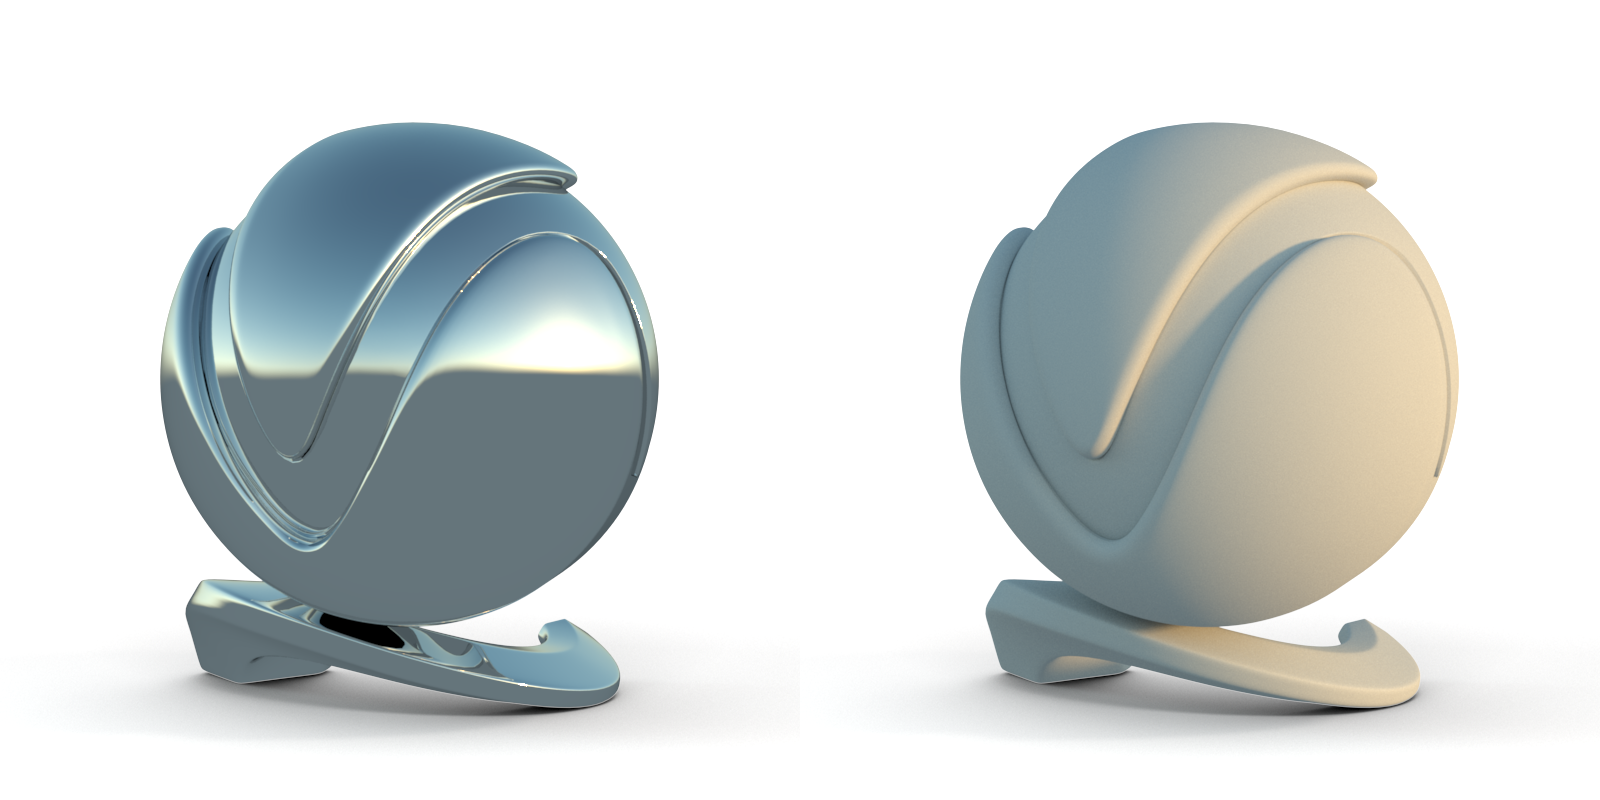
The VRaySky texture map is typically used as an environment map to help simulate outdoor lighting. The texture changes its appearance based on the position of the VRaySun, which it is normally used in conjunction with the V-Ray Sun and Sky System. The example below on the left is a swatch of the sky map with a visible horizon line and ground. The renders to the right show a chrome shader ball and a diffuse shader ball with the VRaySky texture map as an environment along with sun lighting.
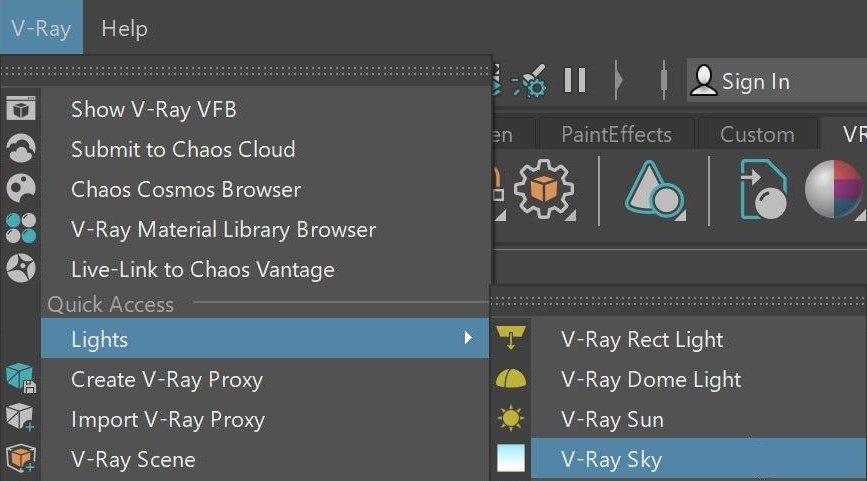
The V-Ray Shelf includes right-click options from the Sky button that allows an easy way to Select or Delete the Sky node if needed.
Sun – Creates a connection between a VRaySun and the VRaySky object to calculate its appearance. If you have multiple suns created in the scene, you can use the Connect V-Ray Sun button () to choose which sun to connect to this VRaySky texture. Overwrite Sun Settings – Overwrites the VRaySun Settings that would otherwise be taken from the Sun node. This is useful when using the VRaySky without a Sun node. Intensity Multiplier – Determines the intensity value when overwriting the sun settings. Size Multiplier – Controls the visible size of the sun. This affects the appearance of the sun disc as seen by the camera and reflections, as well as the blurriness of the sun shadows. Turbidity – Determines the amount of dust in the air and affects the color of the sun and sky. Smaller values produce a clear and blue sky and sun as you get in the country, while larger values make them yellow and orange as, for example, in a big city. Ozone – Affects the color of the sun light. Available in the range between 0.0 and 1.0. Smaller values make the sunlight more yellow, larger values make it blue. Sky Model – Determines the procedural model that will be used to generate the VRaySky texture: Hosek et al – When selected, the VRaySky procedural texture is generated based on the Hosek et al. method and uses a different ground and sky gradient. Horizontal Illumination – Specifies the intensity (in lx) of the illumination on horizontal surfaces coming from the sky. Filter Color – Shifts the hue of the V-Ray Sun and Sky system towards the color specified in the field. Ground Albedo – Sets the color of the V-Ray Sun and Sky system's ground. Blend Angle – Specifies the angle in degrees where blending will occur between the horizon line and sky. Values close to 0.0 produce a sharper horizon line, while larger values produce a softer horizon line. Horizon Offset – Allows the user to manually lower the horizon line.V-Ray Sky Parameters
Preetham et al. – When selected, the VRaySky procedural texture is generated based on the Preetham et al. method.
CIE Clear – When selected, the VRaySky procedural texture is generated based on the CIE method for clear sky.
CIE Overcast – When selected, the VRaySky procedural texture is generated based on the CIE method for cloudy sky.
PRG Clear Sky – The VRaySky procedural texture is generated based on the Improved method which has enhanced sunrise and sunset sky. See the Improved Sun and Sky courseware page for more information.
Note: Only available when CIE Overcast or CIE Clear are selected as the Sky model.
Example: Sky Models
The examples below show the different sky model types, in these examples default values for VRaySky have been used.


