This page describes the use of Batch Rendering in V-Ray for Revit.
Overview
The Batch Render option in V-Ray for Revit allows multiple renders to be rendered altogether with one button.
Thus, there is no need to wait for each render to complete in order to run the next one.
Currently, batch rendering is supported only on the local machine and in the Cloud.
UI Path
||Revit Ribbon|| > V-Ray tab > Render panel (dropdown menu) > Batch Render
||Revit Ribbon|| > V-Ray tab > Render panel (dropdown menu) > Cloud Batch Render
How to Run Batch Rendering
1. From the drop-down menu of the View Selector, select the views you want to batch render.
2. Enable Auto-Save and specify the file path and type from Settings > Renderer tab > Auto-Save. Image options can be also changed. For more information, see Renderer.
3. After the two steps above are completed, the batch rendering can be run.
The rendering process is cancelled, if Revit is closed during batch rendering.
How to Run Batch Rendering in Cloud
1. From the drop-down menu of the View Selector, select the views you want to batch render.
2. Now the batch rendering can be run. Click the Cloud Batch Render button. V-Ray will export the views as .vrscenes and send them to Chaos Cloud.
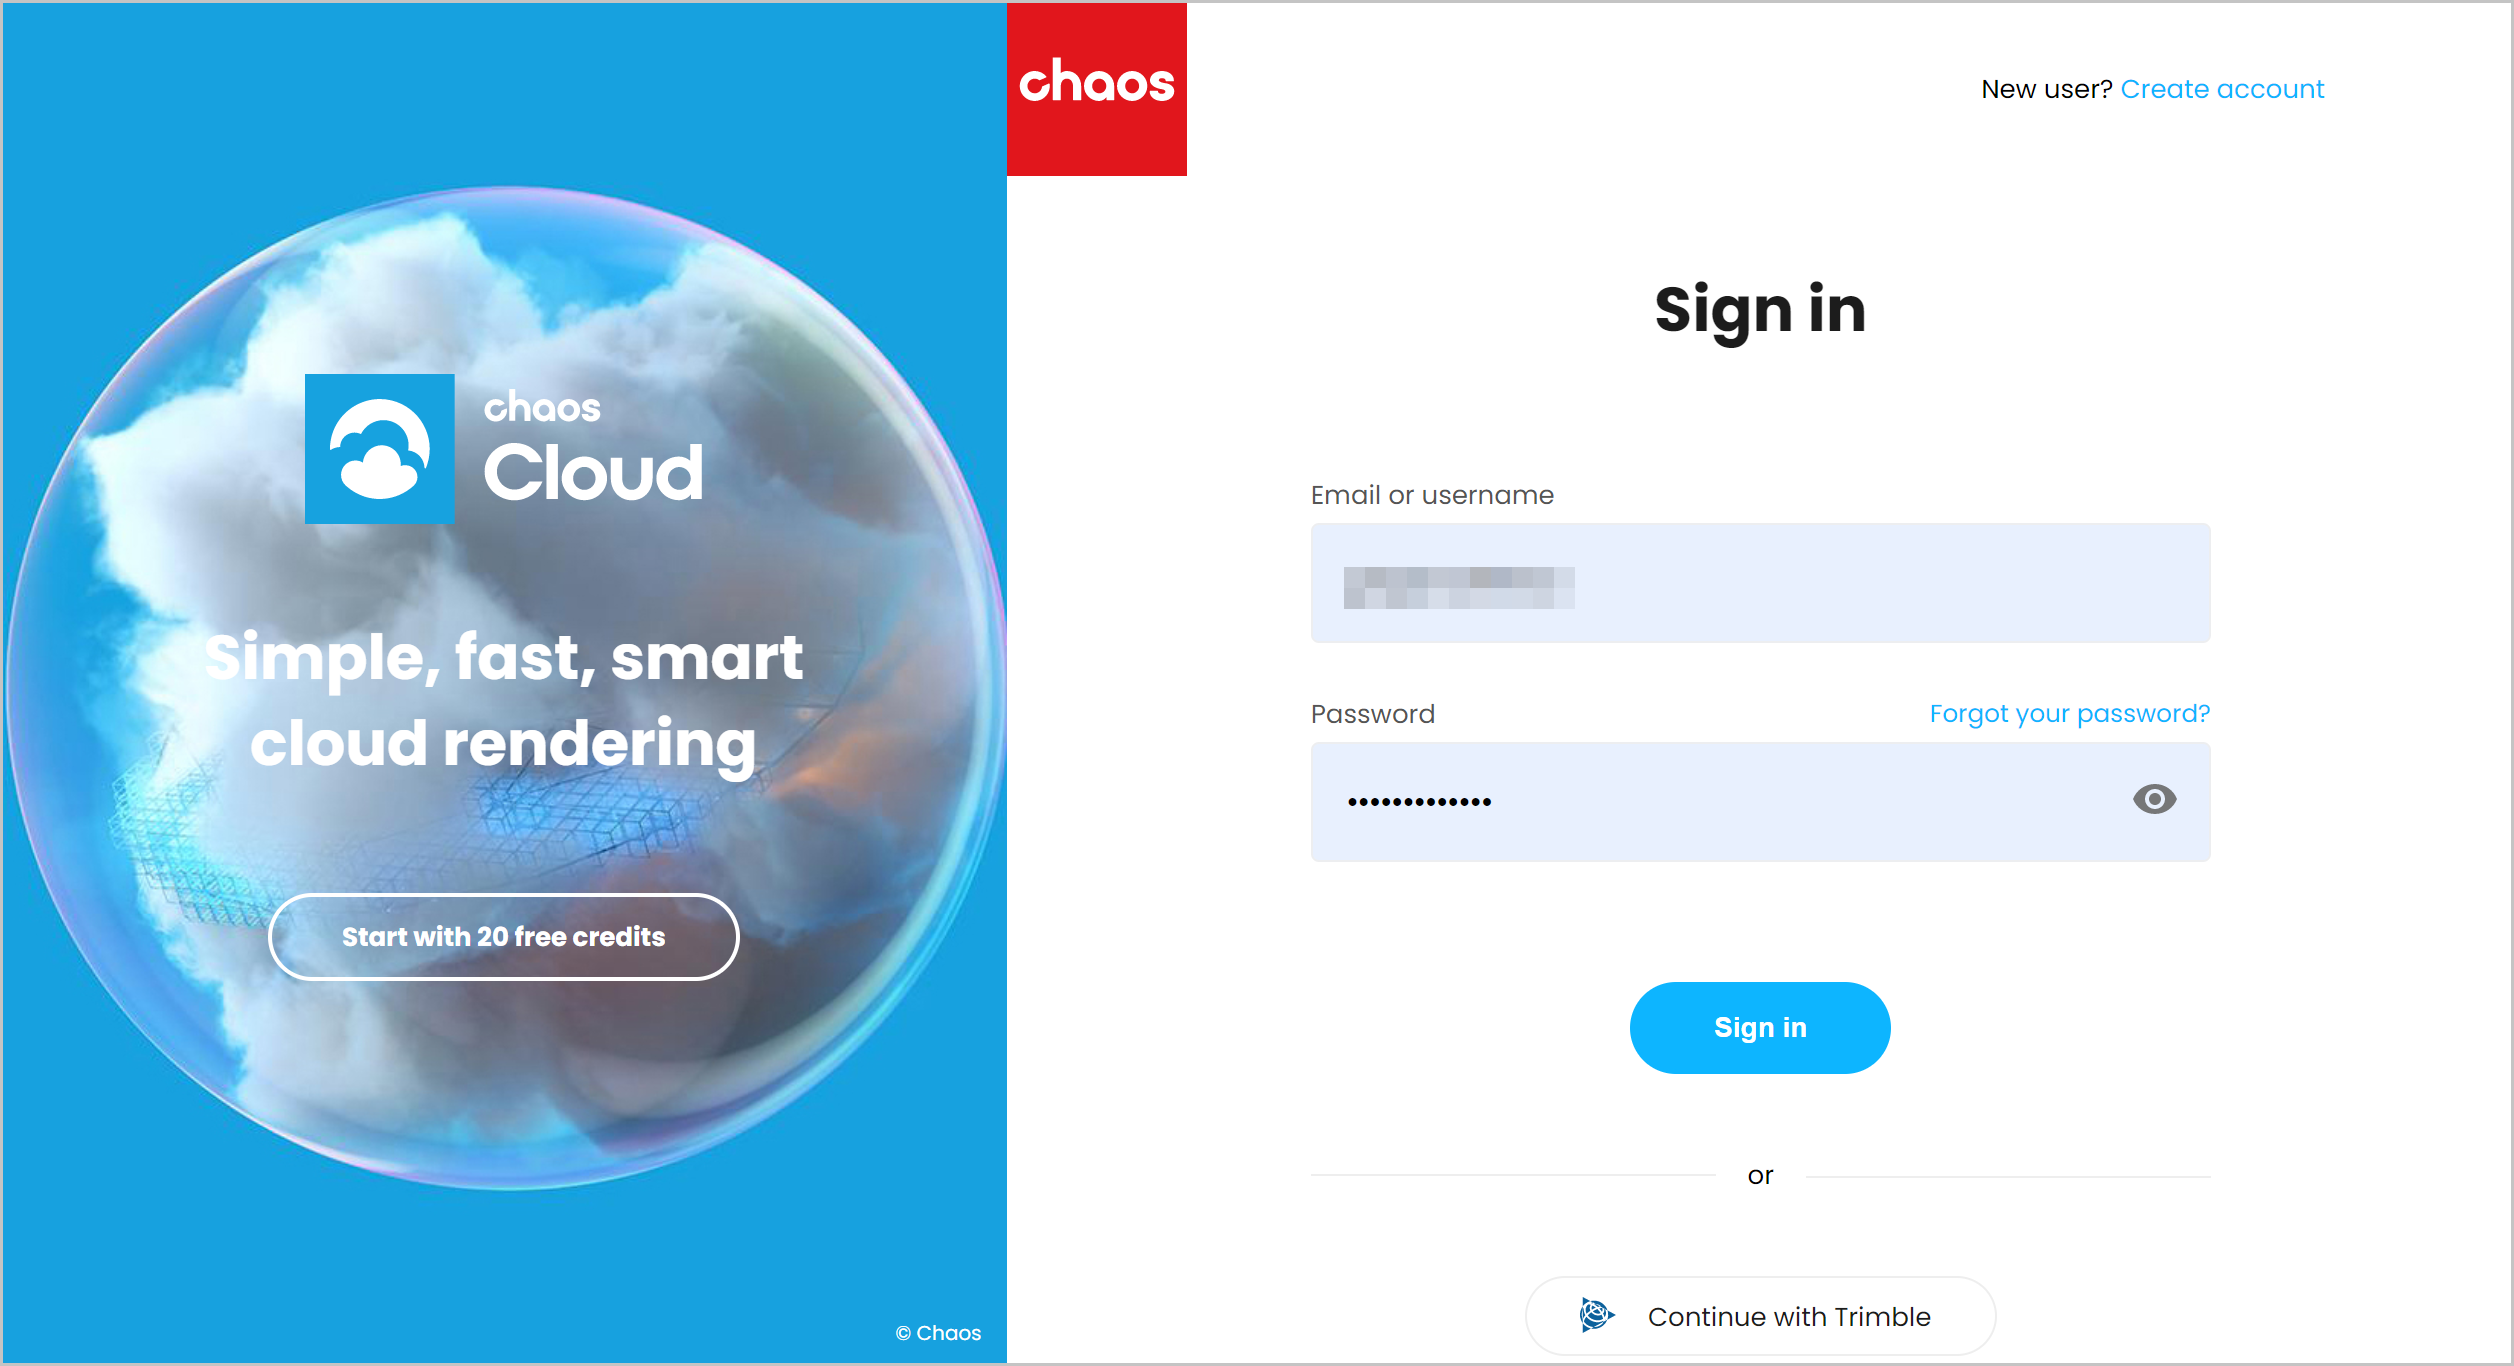
3. Sing in your Chaos Cloud account.
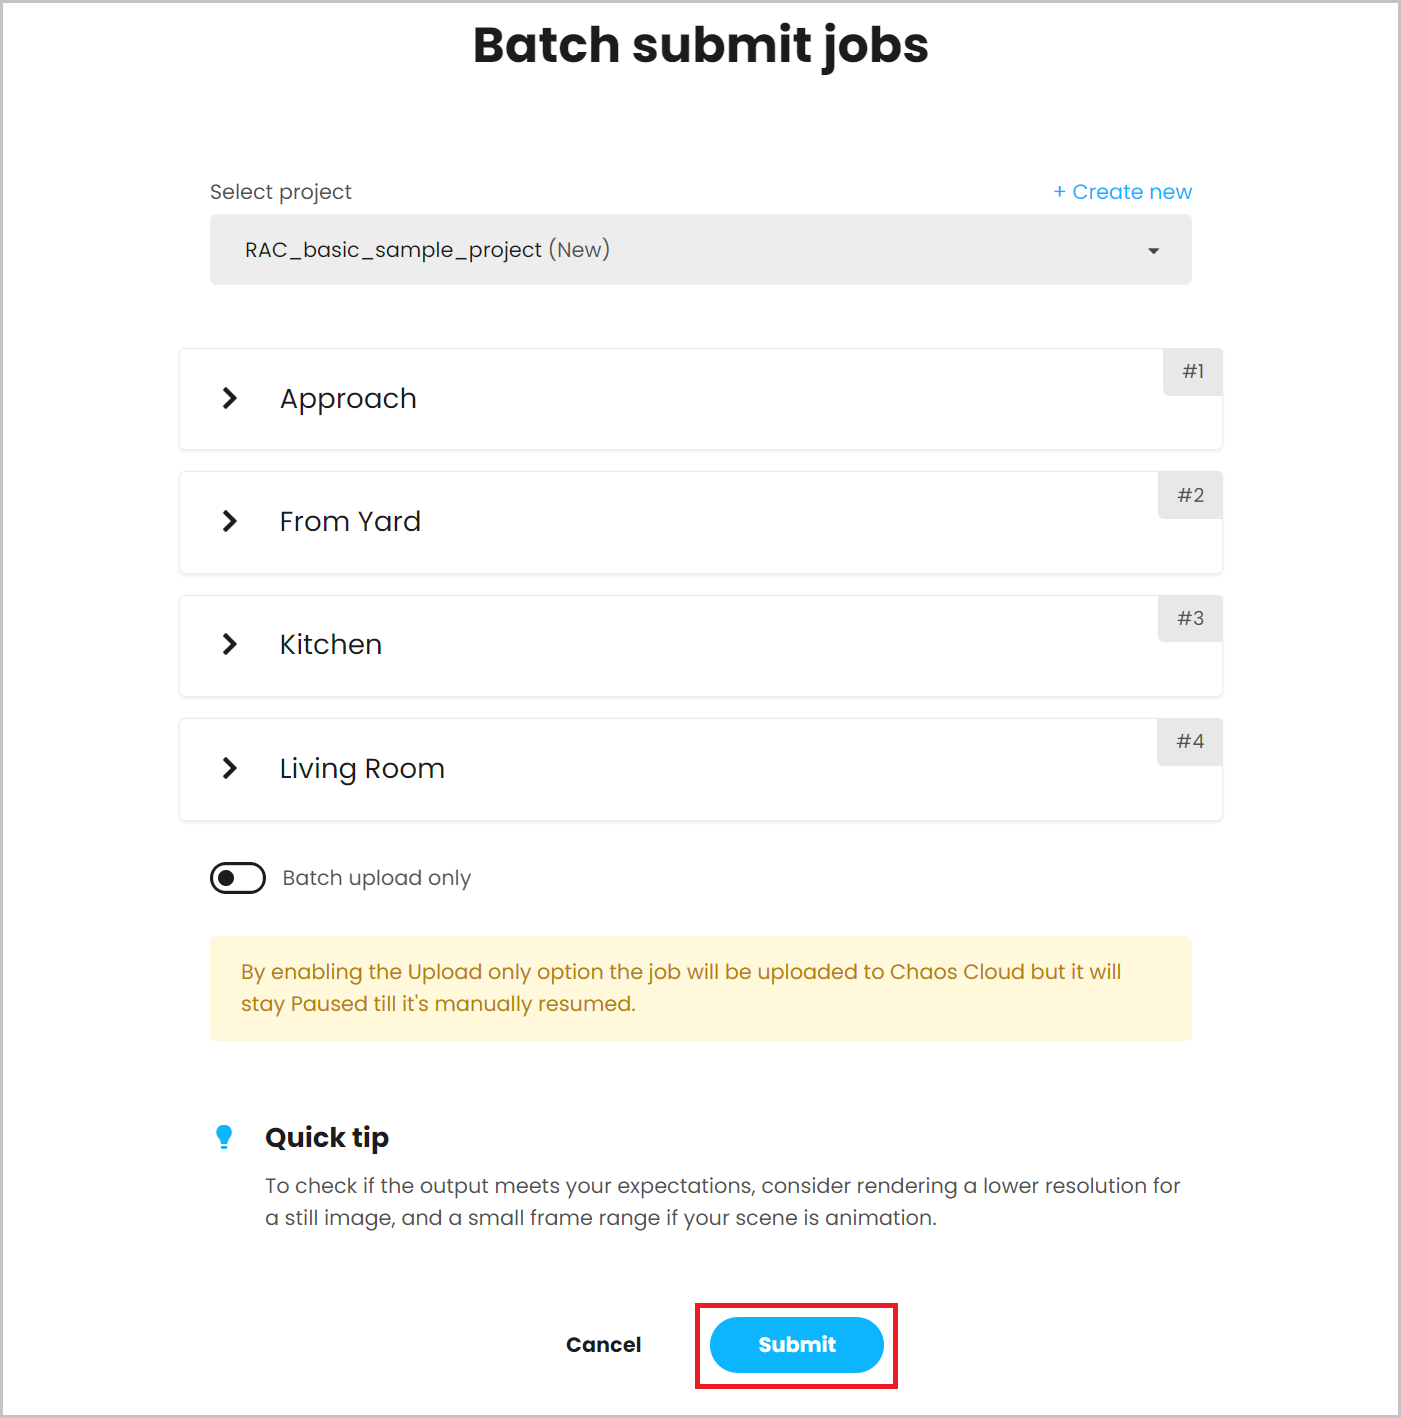
4. Submit your jobs to Chaos Cloud for rendering.


