This page provides information about V-Ray Fur in V-Ray for Rhino.
Overview
V-Ray Fur is a very simple procedural fur plugin. The fur is generated only during render time and is not actually present in the scene, thus making the viewport faster. V-Ray Fur is more
commonly used for simulating grass cover or textile fibers.

UI Paths
||V-Ray Asset Editor|| > Geometry (right-click) > Fur
||V-Ray Asset Editor|| > Create Asset (left-click) > Geometries > Fur

||V-Ray Objects Toolbar|| > Fur (left-click) > Add Fur to Selection
||V-Ray Objects Toolbar|| > Fur (right-click) > Remove Fur from Selection

Rhino Menus Ribbon
||V-Ray|| > Objects > Add Fur to Selection
Creating V-Ray Fur
Fur creation is possible in the V-Ray menus (V-Ray > V-Ray Objects > Apply Fur to Selection) and toolbars, as well as in the V-Ray Asset Editor (Asset Editor > Geometry > Fur and use the Apply to Selection context option). vrayFur command also applies Fur properties onto a selection.
Fur creation is available in the Rhino Properties V-Ray section as well.
When V-Ray Fur is applied to an object, a viewport widget resembling a strand appears on each face. The strand indicates the normal vector used by the Fur as well as the Fur length parameter value.
It is possible to override one Fur asset with another using the Apply to Selection context option.
Once a Fur geometry is created, it can be toggled via its asset icon as well as via the Toggle in parameters.
To remove the Fur from a selected object, use the Remove from Selection context option.

Parameters
VRay Fur – Enables or disables the VRay Fur.
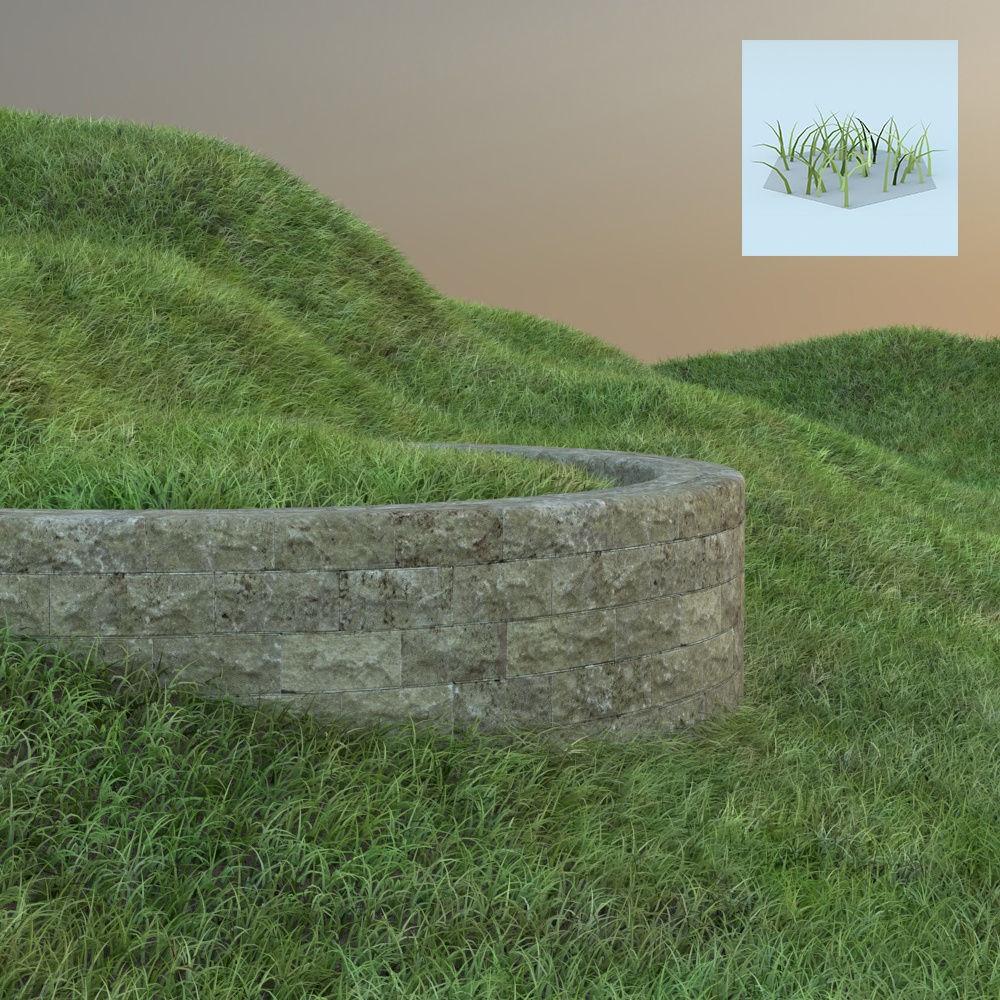
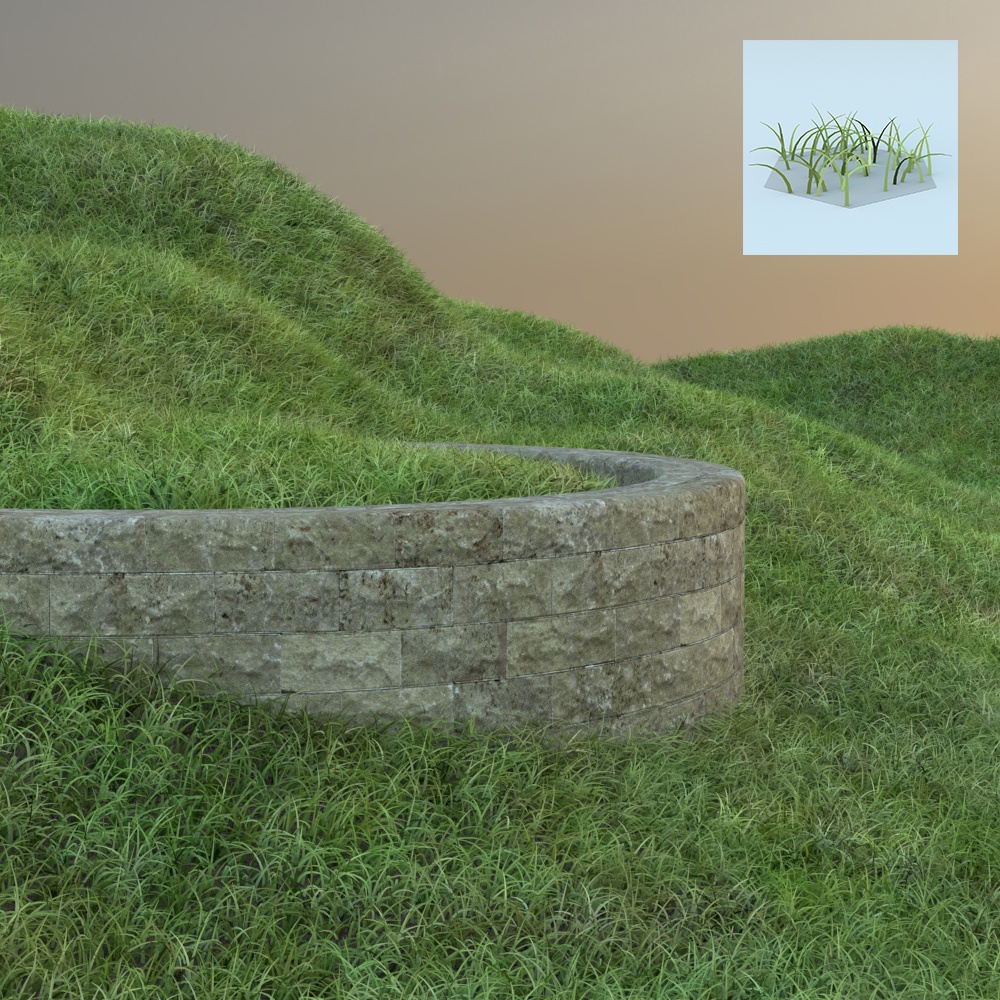
Distribution – Specifies how the density of strands is determined over the source object:
Per Face – Every face generates the specified number of fur strands. Specifies the number of fur strands per face of the source object.
Per Area – The number of strands for a given face is based on the size of that face. Smaller faces have fewer strands, larger faces have more strands. Every face has at least one strand.
Count (Face) – Specifies the number of fur strands per face of the source object when Per Face option is selected.
Count (Area) – The number of strands for a given face is based on the size of that face when Per Area option is selected. For more information, see the example Count Area below.
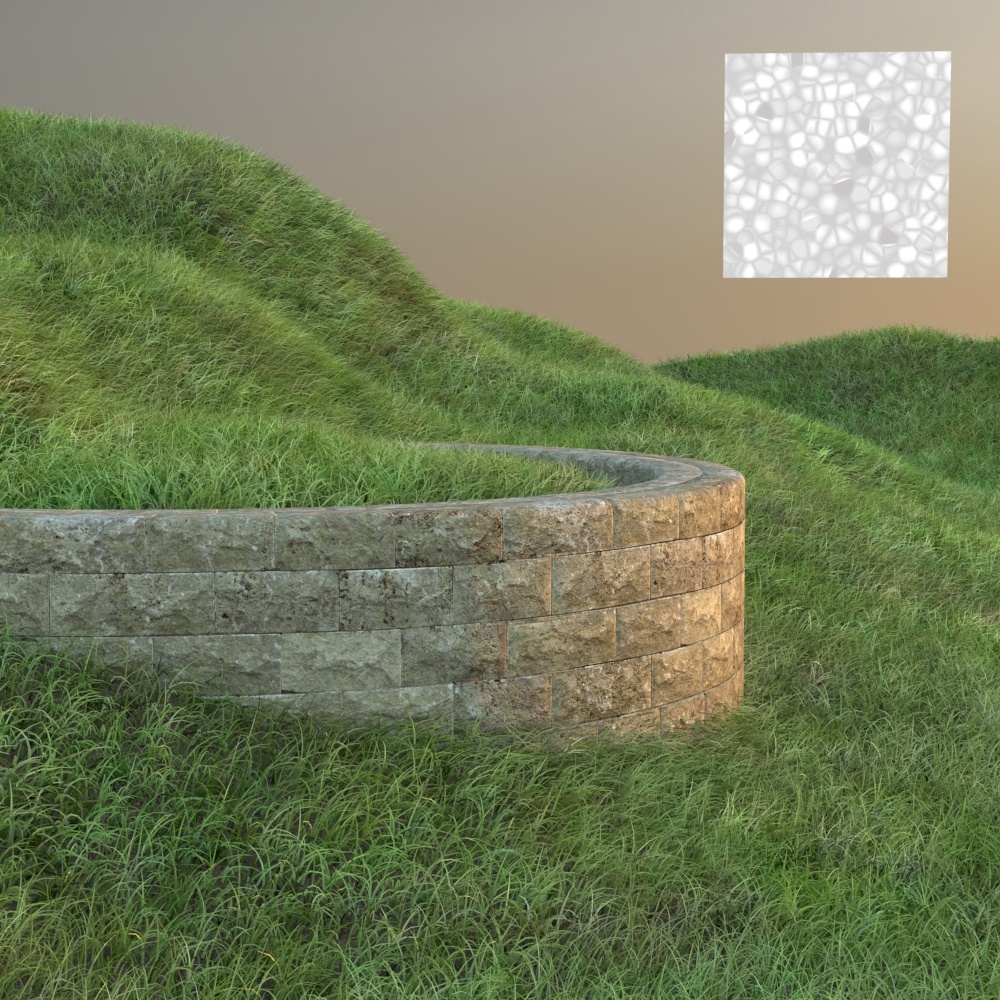
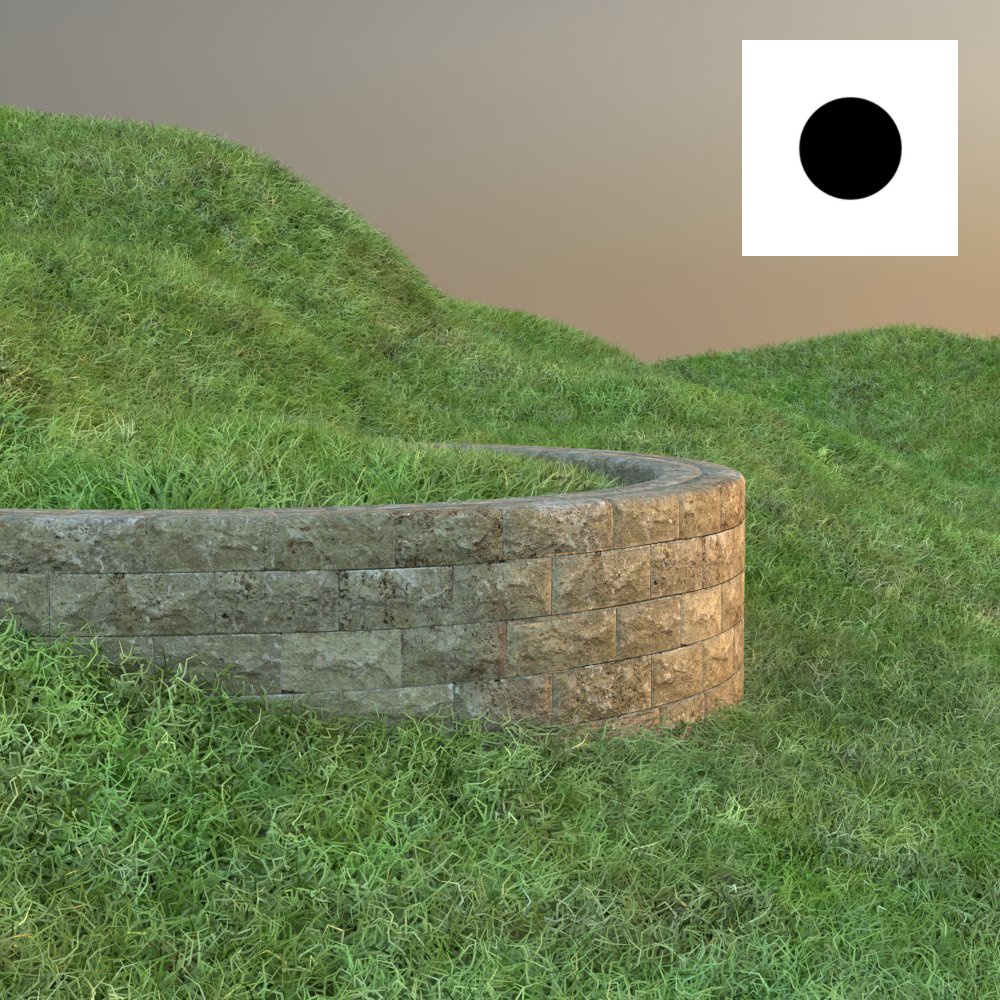
Density Map – The map is a multiplier for the strand density. Black portions of the map correspond to zero density (effectively no fur is generated in these areas). White represents the normal strand density, as specified by the Distribution parameter. See the Maps example below for more information.
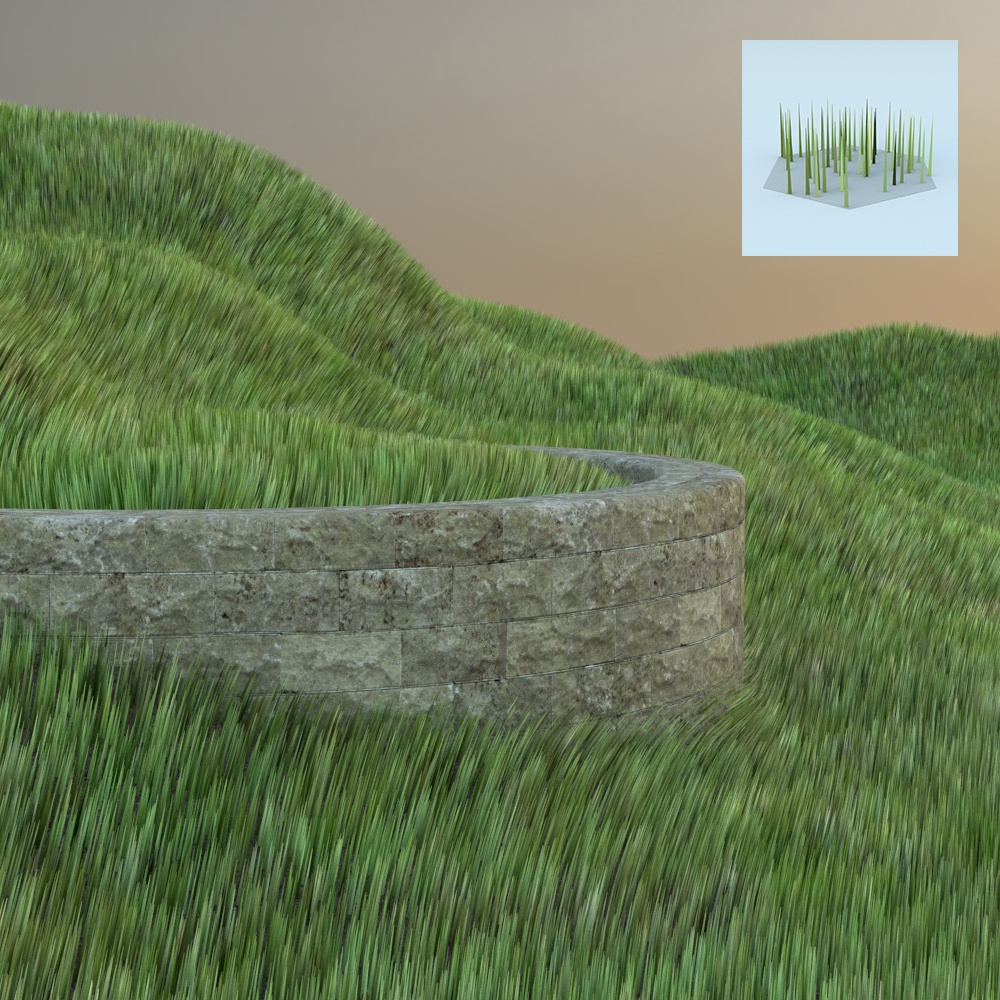
Length – Specifies the length of the fur strands. See the Length example and the Maps example below for more information.
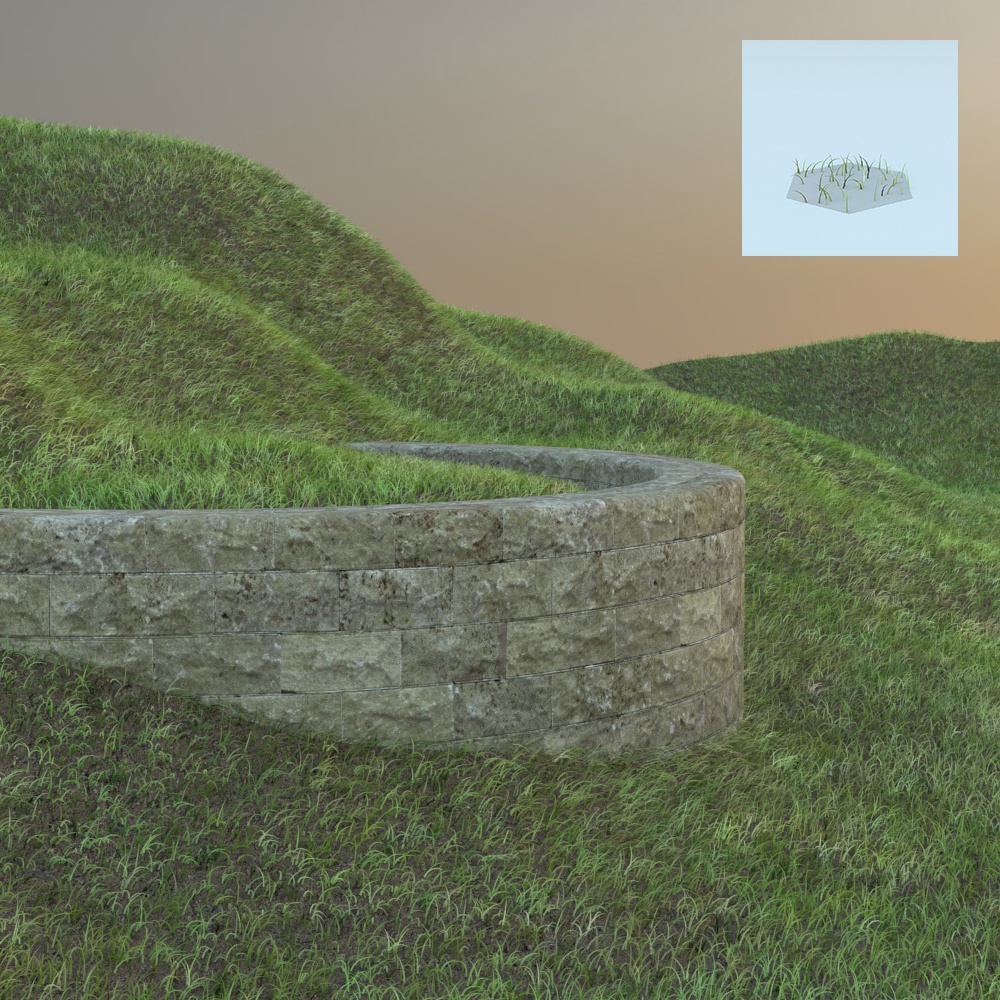
Thickness – Specifies the thickness of the fur strands. It measures the strand radius. See the Thickness example and the Maps example below for more information.
Taper – Adds a taper to the individual strands of fur. Increasing this value makes each strand thinner at its upper end and wider at its base. See the Taper example below for more information.
Gravity – Controls the force that pulls fur strands down along the Z-direction. See the Gravity example and the Maps example below for more information.
Bend – Controls the elasticity of the fur strands. When set to 0.0, the all strands are stiff and straight lines. Greater values cause the strands to bend (e.g. under the influence of the Gravity parameter). See the Bend example and the Maps example below for more information.
Global Scale – Globally controls the scale of the fur in the scene. See the Global Scale example below for more information.
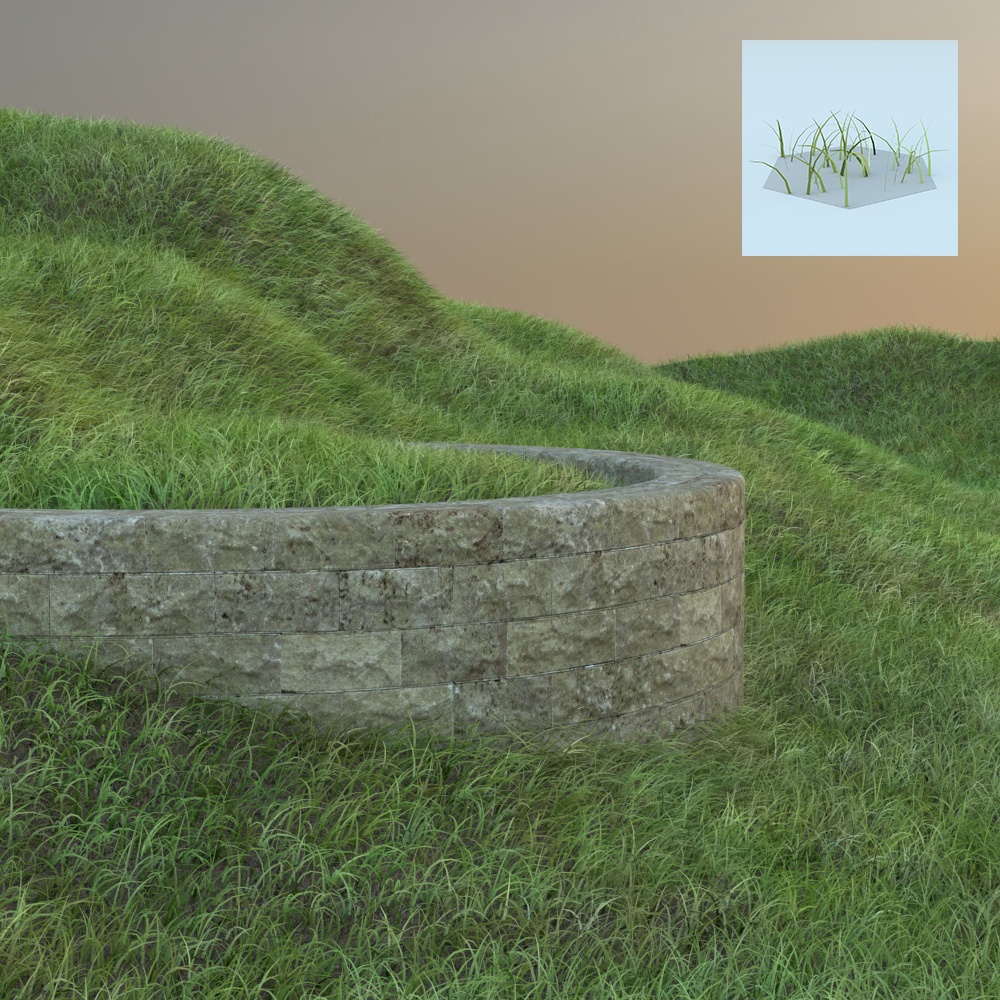
Knots – Controls the number of connected straight segments the fur strands are rendered in. See the Knots example below for more information.

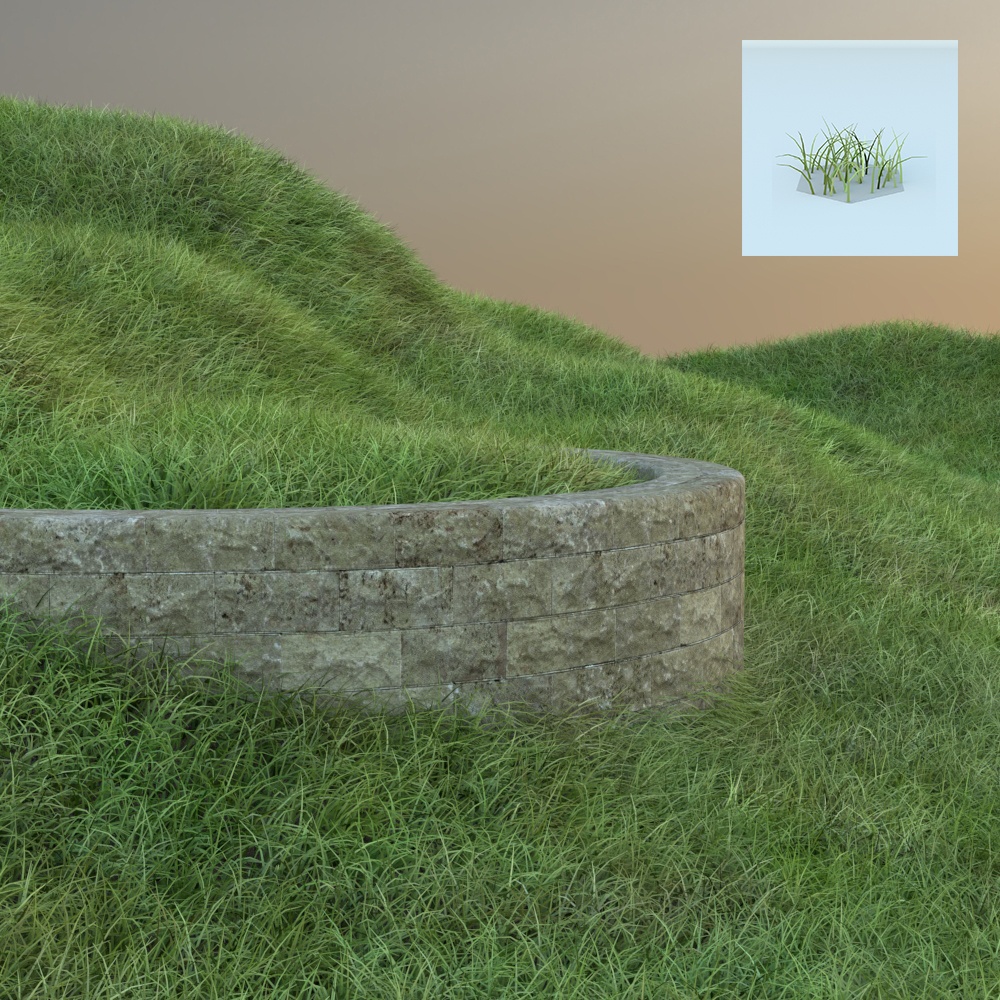
Example: Count Area
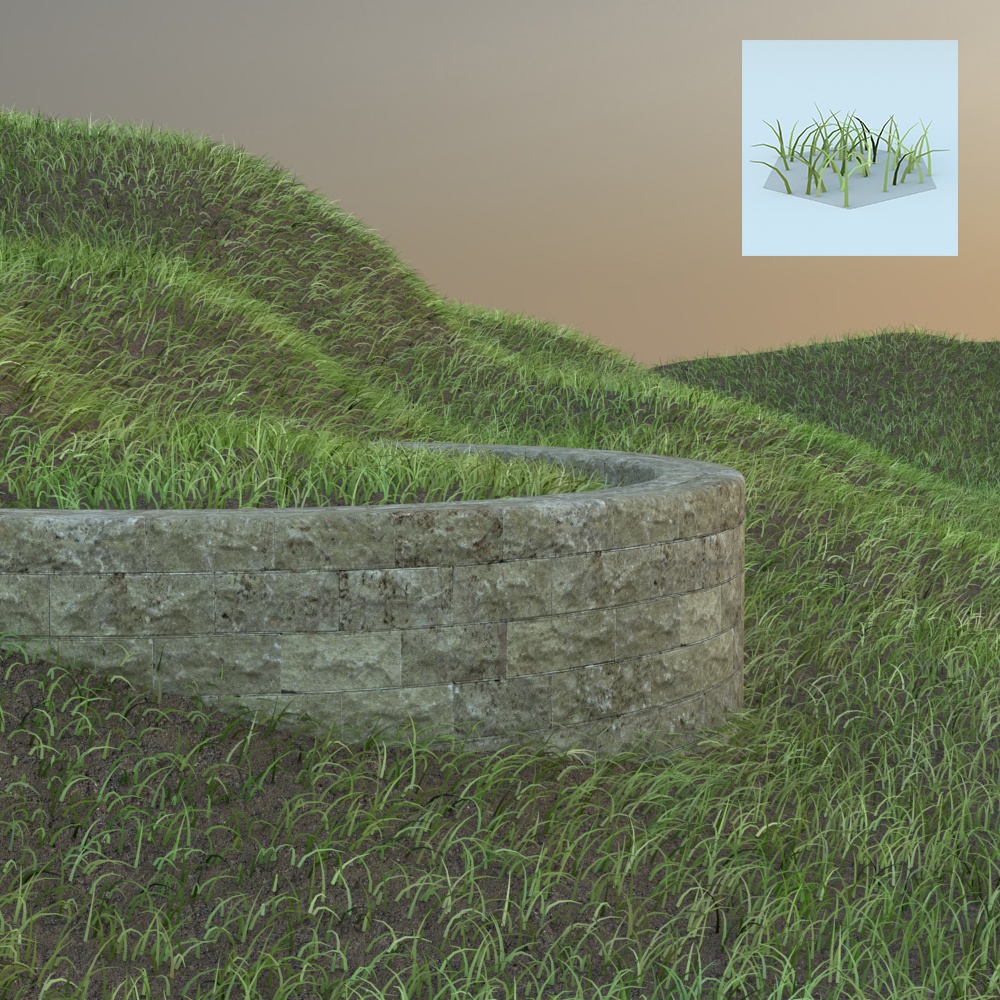
Count Area = 0.6

Count Area = 1.2
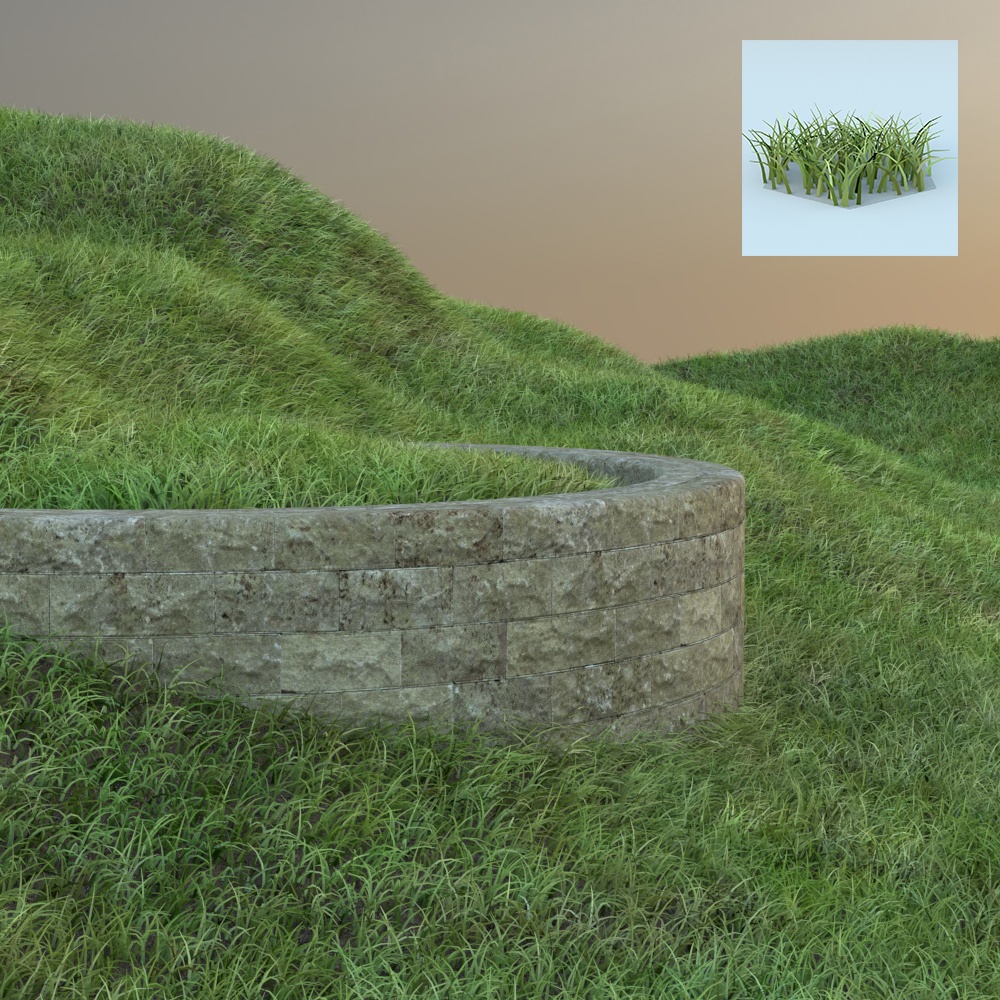
Count Area = 2.4

Count Area = 4.8
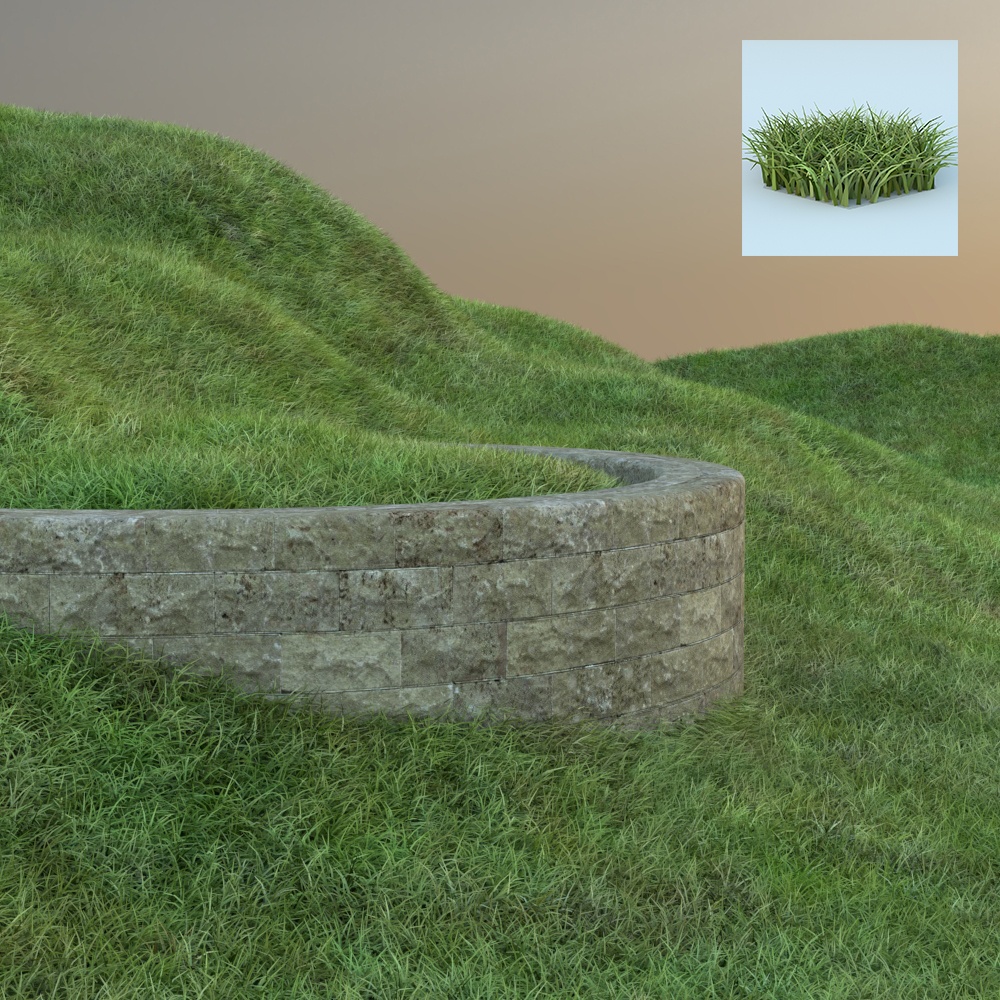
Count Area = 9.6
Example: Length

Length = 2

Length = 4
Length = 6

Length = 8

Length = 10
Example: Thickness

Thickness = 0.6

Thickness = 1.2

Thickness = 2.4

Thickness = 4.8

Thickness = 9.6
Example: Taper

Taper = 0.1

Taper = 0.3

Taper = 0.5

Taper = 0.7
Taper = 1
Example: Gravity

Gravity = -6

Gravity = -4

Gravity = -3

Gravity = -2

Gravity = 0
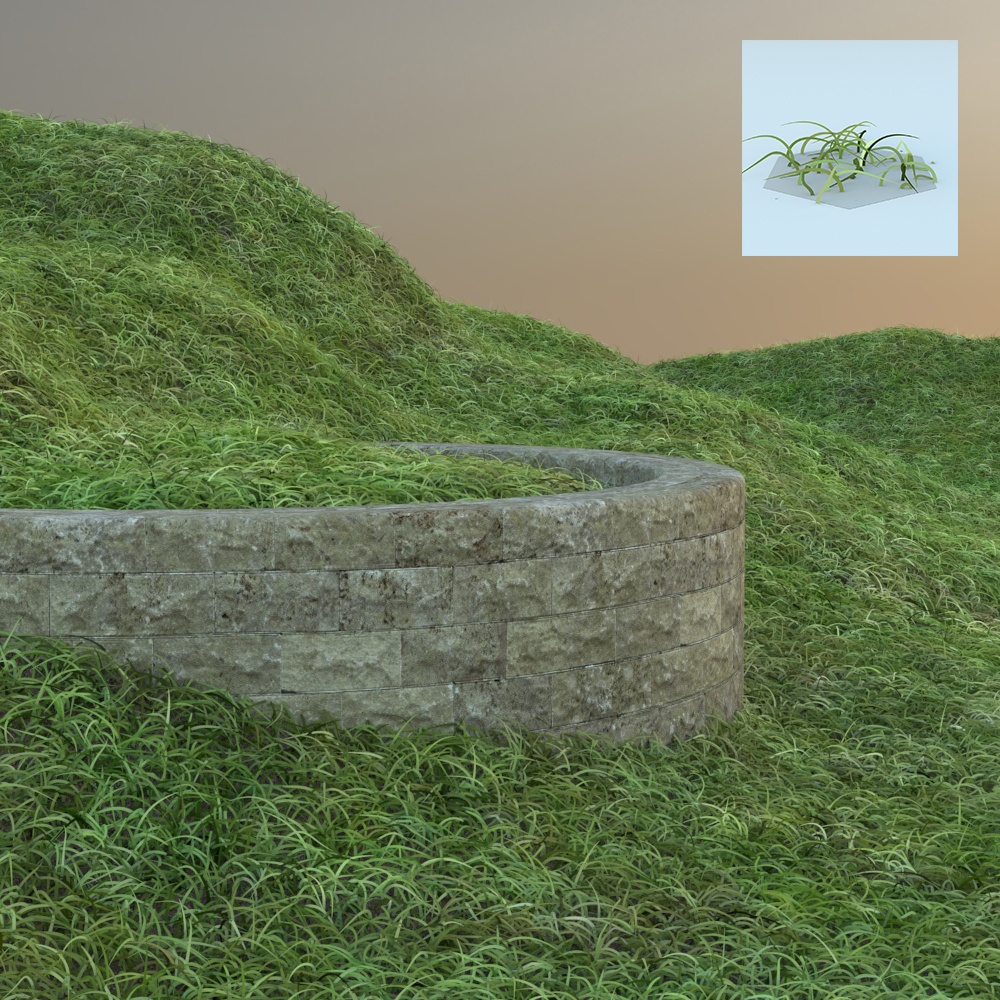
Example: Bend
Bend = 0

Bend = 0.3

Bend = 0.5

Bend = 0.7

Bend = 1
Example: Global Scale

Global Scale = 0.1
Global Scale = 0.5

Global Scale = 1

Global Scale = 1.5

Global Scale = 2
Example: Knots

Knots = 3

Knots = 4

Knots = 5

Knots = 6
Knots = 7
Variance
The Direction, Length, Thickness and Gravity parameters in this rollout add variation to their corresponding parameters from the Parameters rollout. Values range from 0.0 (no variation) to 1.0. See the Variance examples below for more information.
Bend Direction Map – Specifies a bend direction of the fur strands. This is the direction the fur strands are curved to (the amount of curvature is also controlled by the Bend parameter). The red component of the texture is offset along the U texture direction, the green component is the offset along the V texture direction, and the blue component is the offset along the surface normal.
Initial Direction Map – Specifies the initial direction of the fur strands. The red component is offset along the U texture direction, the green component is the offset along the V texture direction, and the blue component is the offset along the surface normal.

Variance Direction


Variance Gravity


Variance Length


Variance Thickness

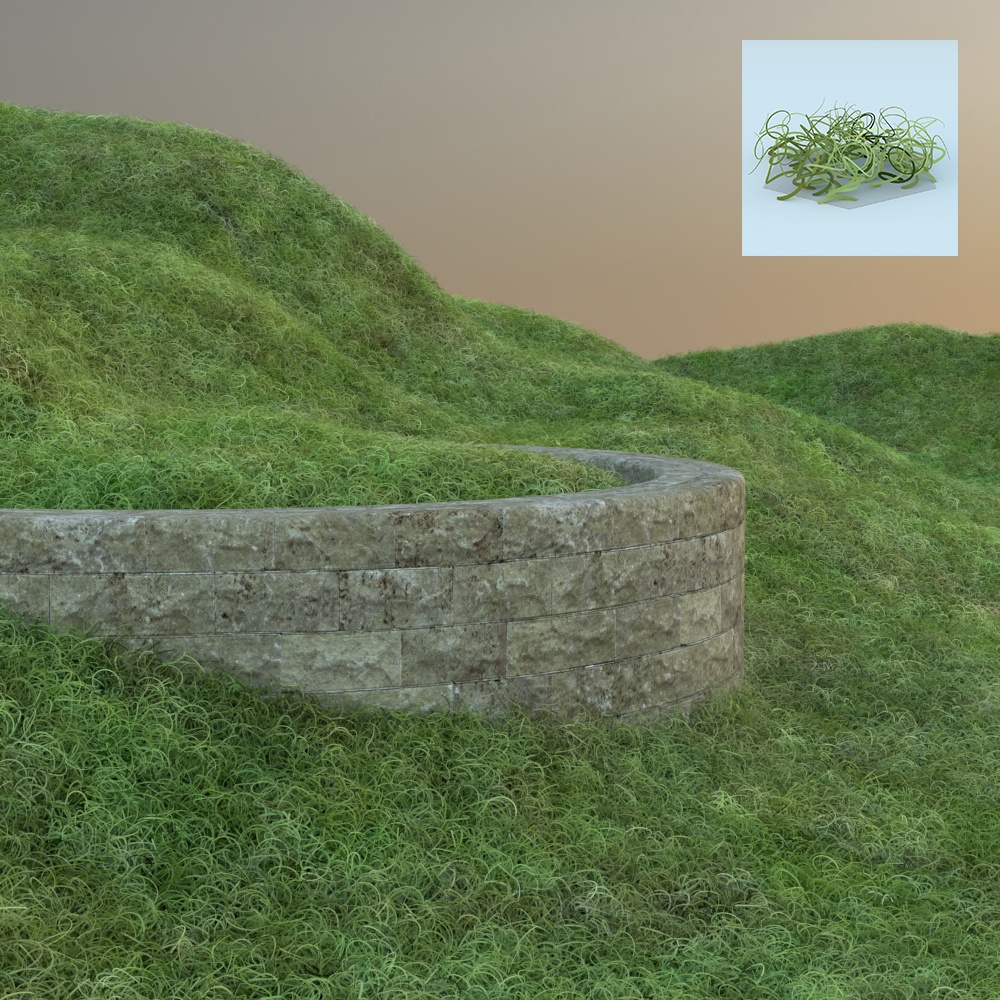
Curl
Curl – When enabled, adds curls to the fur.
Curl Radius – Specifies the radius of an individual curl. See the Curl Radius example below for more information.
Curl Radius Variation – Allows you to add variation to the curl radius of the fur strands. See the Curl Radius Variation example below for more information.
Number of curls – Specifies the number of curls on a strand. See the Number of Curls example below for more information.
Curl Map – This map is a multiplier for the strand Curl. Black portions of the map correspond to no curl, and white represents the set curl, as specified by the Distribution parameters. See the Maps example below.

Example: Curl Radius

Curl Radius = 0

Curl Radius = 0.5
Curl Radius = 1

Curl Radius = 1.5

Curl Radius = 2
Example: Curl Radius Variation

Curl Radius Variation = 0

Curl Radius Variation = 0.25

Curl Radius Variation = 0.50

Curl Radius Variation = 0.75

Curl Radius Variation = 1
Example: Number of Curls

Number of Curls = 0

Number of Curls = 1
Number of Curls = 2

Number of Curls = 3

Number of Curls = 4
Example: Maps

Default parameters
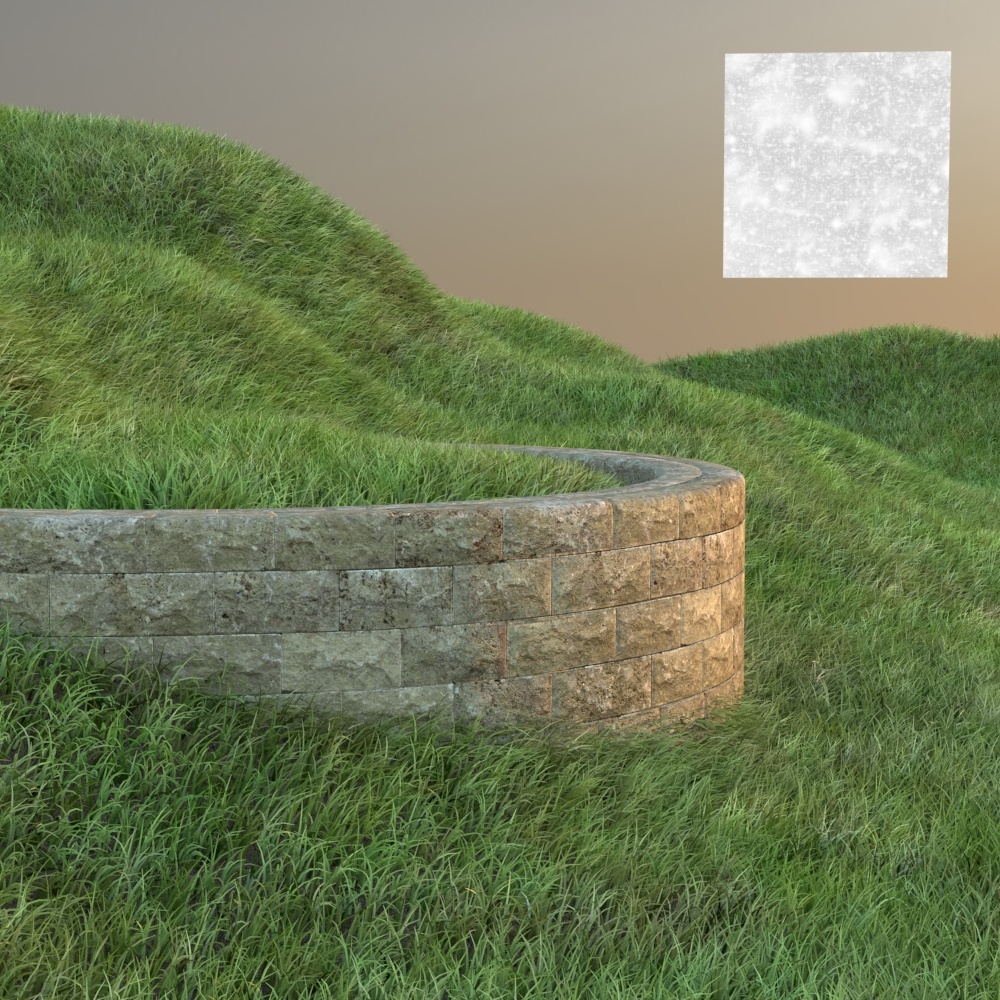
Bend Map

Density Map

Gravity Map

Length Map
Thickness Map
Curl Map

Bend Direction Map

Initial Direction Map
Level of Detail
Level of detail – When enabled, V-Ray generates less fur geometry for parts of the scene that are far away from the camera. This is done by decreasing the density of the fur strands and increasing their thickness. The level of detail function helps for two things. One, it conserves memory by decreasing the detail where it is too far to be visible, and two, it helps to reduce animation flickering of very fine fur strands when they are far from the camera.
Start Distance – Specifies the distance from the camera at which V-Ray starts implementing the Level of detail adjustment. Up to this distance the fur is generated as specified by the user. After that V-Ray decreases the density and increase the thickness of the strand by a factor of two for every n units of space specified by the Rate parameter. See the Start Distance example below.
Rate – The rate at which the the Level of detail adjustment is applied. Starting from the distance specified in the Start distance parameter, V-Ray decreases the density and increase the thickness of the strands by a factor of two for every n units of space specified by the Rate parameter. See the Rate example below.

Example: Start Distance

Start Distance = 50; Rate = 30

Start Distance = 200; Rate = 30

Start Distance = 800; Rate = 30
Example: Rate
Start Distance = 100; Rate = 15

Start Distance = 100; Rate = 60

Start Distance = 100; Rate = 240
Material
Material toggle– When disabled, the V-Ray Fur uses the front-face material of the base mesh for shading. When enabled, it allows you to assign a different material.
Material selector– Specifies a scene material that is applied to the fur geometry. If a texture is used in this material, the texture placement is based on the base mesh UVs/ placement.
The input slot ( ) of the Material has a context menu available, if a material is slotted. Note that materials can also be drag-and-dropped into the slot. When you right-click on it, you can Copy, Cut or Clear the selected material. If you left-click on it, the Asset Editor jumps to the slotted material.
V-Ray Fur produces flat strands if Hair material is applied to it.

Options
Gravity Direction – Manually specifies the gravity vector.

V-Ray Fur in Rhino Properties Panel
In Rhino's Properties panel reside several V-Ray rollout controls, one of which is for V-Ray Fur.
The  button applies new Fur properties to a selection. A selection can receive already existing Fur properties from another object. The
  button opens the geometry property panel of the selected Fur asset in the V-Ray Asset Editor for edition.
Make Unique – Makes unique the selected instance of a fur. It creates a new Fur item in the Asset Editor that is linked only to the selected object.
Select Instances – Selects all objects that have an instance of the same fur in the viewport.
Show in VP – Enable to provide visual representation of the fur geometry in in the viewport.

Notes
- Fur objects can be copied by using the Copy tool. It can be instanced by using the _Array command or Alt+drag the fur object in the Rhino viewport.
- Global viewport display of the selected VRayFur can be toggled from any associated object.
- All fur objects created with versions older than 3.0 will be migrated accordingly upon being opened.
- Starting with V-Ray 5.20.01, V-Ray special objects (Fur/Clipper/Displacement/Mesh Light/Scatter) are not deleted from the Asset Editor, when the last item with the corresponding special object assigned to it, is deleted from the viewport.