This page provides information on the V-Ray Rock Texture.
Overview
The Rock texture map can be used to generate a procedural rock texture. It uses two colors that can have texture maps assigned to them.
Any texture can be replaced via the Replace With New Texture ( ) button, which activates when you select the texture to be replaced. If the texture is an instance, all copies are changed as well.

UI Paths
||V-Ray Asset Editor|| > Textures (right-click) > Rock
||V-Ray Asset Editor|| > Create Asset (left-click) > Textures > Rock
Maps
Color A – Controls the first color used by the Rock procedural. You can assign a texture map to this channel, which overrides the color if the checkbox is enabled.
Color B – Controls the second color used by the Rock procedural. You can assign a texture map to this channel, which overrides the color if the checkbox is enabled.
Grain Size – Controls the size of the fine grain features.
Diffusion – Lower values make the resulting texture sharper, while higher values blur the texture details more.
Mix Ratio – Controls the mix between Source A and Source B.
Color Manipulation
Invert Texture – Inverts the RGB texture values.
Alpha from Intensity – Uses the texture RGB intensity/luminance as alpha channel.
Color Gain – Corrects the color of the texture by multiplying the the RGB color values in the texture with the RGB color values specified here. When a texture is selected, it overrides the color as long as the texture checkbox is enabled.
Color Offset – Corrects the color of the texture by adding the RGB color values specified here to the RGB color values in the texture. When a texture is selected, it overrides the color as long as the texture checkbox is enabled.
Default Color – Specifies a default color used for polygons with no valid UVs. In case the map is not tiled, specifies a default color that is used outside the texture square. When a texture is selected, it overrides the color as long as the texture checkbox is enabled.

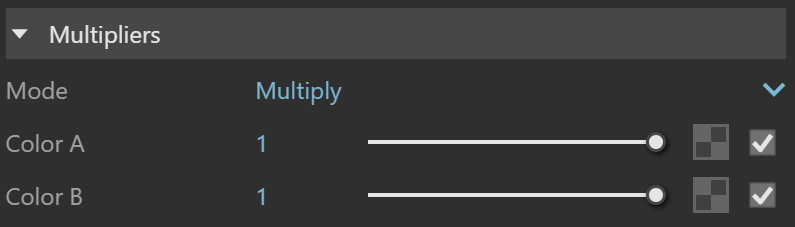
Multipliers
Mode – Specifies the multiplication mode of the colors.
Multiply – The color used for blending is black.
Blend Amount– The color used for blending is the one specified in the color slot.
Color A – Blends between a color and a texture, if specified.
Color B – Blends between a color and a texture, if specified.
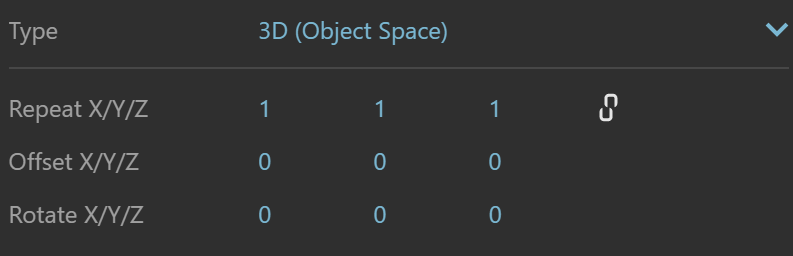
Type – Controls how the texture is positioned on the geometry. 2D (UV Channel) – The texture uses the object UV coordinates. UV Channel/Set – Specifies the index of the mapping channel data to use. A value of 1 takes the first available channel. Repeat U/V – Determines how many times the texture is repeated in the 0 to 1 UV square. Lock U/V Repeat – Locks the U/V repeat. Offset U/V – Controls the texture offset in the U and V direction. Rotate – Rotates the texture (in degrees). Tile U/V – Tiles the texture in the U and V direction. If the option is disabled, the Default texture color is used outside the 0 to 1 UV square. The default color is found in Parameters > Color Manipulation. Mirror U/V – Mirrors the texture in the U and V direction separately. The option cuts the texture in the half flipping one side vertically or horizontally. This can be used to avoid seams in-between non-tileable repeated textures. Repeat X/Y/Z – Determines how many times the texture is repeated along the X/Y/Z axis. Lock U/V Repeat – Locks the X/Y/Z repeat. Offset X/Y/Z – Controls the texture offset in the X/Y/Z direction. Rotate X/Y/Z – Rotates the texture around the X/Y/Z axis. Repeat X/Y/Z – Determines how many times the texture is repeated along the X/Y/Z axis. Lock U/V Repeat – Locks the X/Y/Z repeat. Offset X/Y/Z – Controls the texture offset in the X/Y/Z direction. Rotate X/Y/Z – Rotates the texture around the X/Y/Z axis. Mapping – Specifies the type and shape of the texture. Angular Rotate H – Rotates the environment sphere horizontally. Flip H – Flips the environment sphere horizontally. Rotate V – Rotates the environment sphere vertically. Flip V – Flips the environment sphere vertically. This option is active only in Spherical Mapping. Ground – Enables ground projection of the texture. Position X/Y/Z – Offsets the ground projection along the X/Y/Z axis. Radius – Specifies a projection radius. Can be used to control the scale of the projection. 2d Transformation – see 2D (UV channel) parameters. Mode – Determines whether a single or multiple textures should be used for U and V texture coordinates remapping. UV – The Red input texture channel determines the U sampling coordinate. The Green input texture channel determines the V coordinate. U – The value of this texture determines the U sampling coordinate. V – The value of this texture determines the V sampling coordinate. UV Placement Source – External UV placement source to be used for the texture placement. 2D (UV Channel) 3D (Object Space) 3D (World Space) Environment Texture Remapping Mapping SourceTexture Placement
3D (Object Space) – Places the texture based on the local object coordinates independent of the object UVs.
3D (World Space) – Places the texture based on the world coordinates independent of the object UVs
Environment – This mode is applicable if the map is connected to an Environment slot or a Dome light.
Texture Remapping – Uses UVW values from a color texture or separate grayscale textures.
Mapping Source – The texture uses an external UV placement source.2D (UV Channel)
3D (Object Space)
3D (World Space)
Environment
Cubic
Spherical
Mirror Ball
ScreenTexture Remapping
Mapping Source


Notes
If Rock textures are combined, diffusion can be used to provide a large detail coloring in one instance of a Rock texture and finer details provided with another. Realistic bump maps can be generated if black and white values are used.