This page provides information about the Textures in V-Ray for Rhino.
Overview
Textures are maps that can be applied to Materials to alter their appearance. A number of textures can be procedurally generated to mimic the diffuse colors of various surfaces such as granite and marble. Other procedural textures can provide information like displacement, transparency, and ambient occlusion. V-Ray also offers a number of utility textures for blending and color correction. In V-Ray 6 the texture compression is changed towards better quality. Because of this the embedded texture files may increase the model file more in comparison with previous versions.
With V-Ray 6.20.00, V-Ray procedural textures are displayed in the Rhino viewport by baking the texture into a temporary image file. By default, the baked viewport preview of texture networks containing a bitmap matches the bitmap resolution. The resolution and quality can be changed via the vrayTexturePreviewSettings command. To update all existing baked textures in the scene file close Rhino, delete the TextureCache folder in C:\Users\username\AppData\Local\Temp\McNeel\Rhino\V8 (or V7 or V6 depending on your Rhino version) and reopen the project.
- Ray-Traced textures, textures relying on projection (3D textures, Tri-Planar, Multi-Sub etc.), complex UVW Placements and Randomization options are not supported in Rhino viewport.
- Note that the produced viewport textures only work within UV space 0-1, meaning they will appear tiled and ignore their patterns outside that UV space (e.g. Noise textures will not appear seamless in the viewport).
UI Paths
Creation of textures is available from two places in the Asset Editor: the Create Asset button and the Texture category icon (top). If the Texture category is empty, left-click prompts you to create an asset. Otherwise, it selects the category, in which case right-click opens the creation menu.
The Asset creation dropdown lists remain active when the Ctrl key is held, allowing the creation of multiple assets in quick succession. The Asset creation dropdown lists can be activated via the Create Asset button or the Asset Category icons.
|| V-Ray Asset Editor|| > Create Asset (left-click) > Textures
|| V-Ray Asset Editor|| > Textures (right-click)

Options
There are some context options that V-Ray textures have.
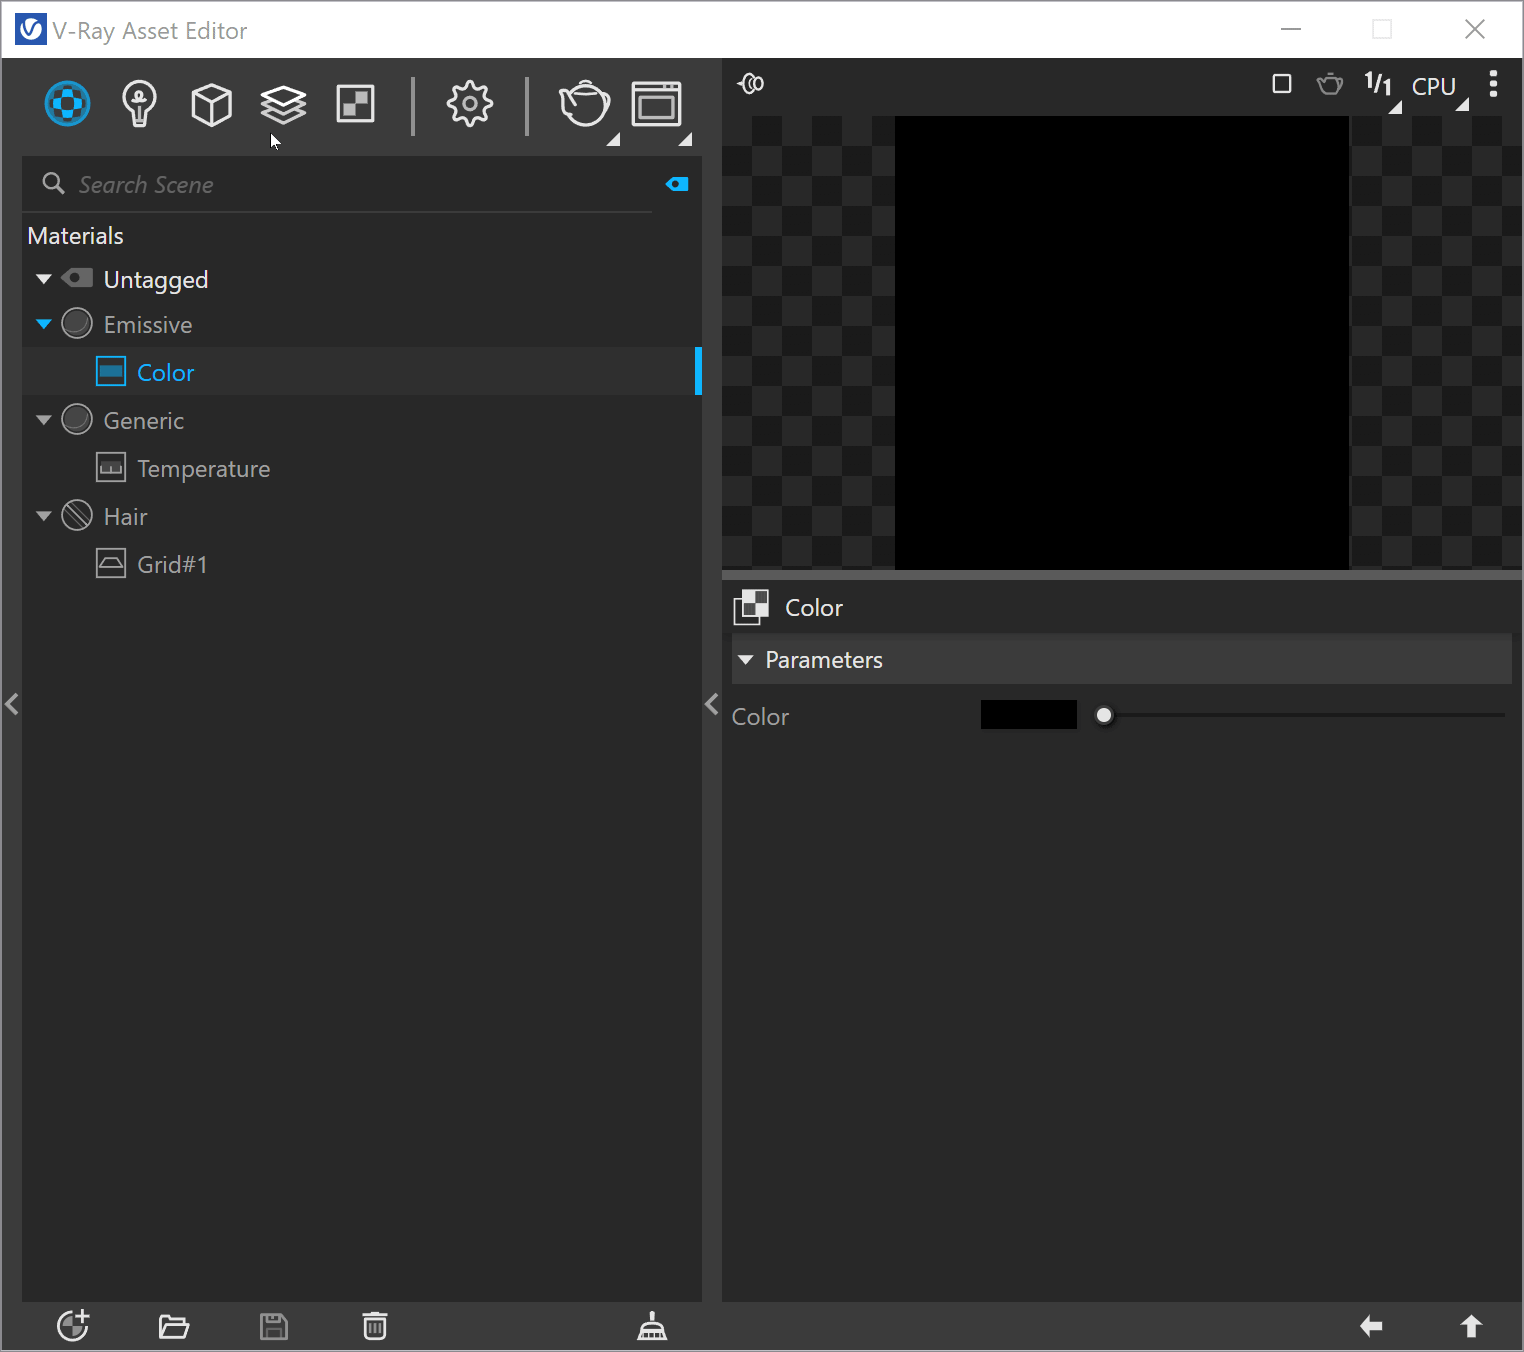
Right-click on any texture in the Textures' List for a context menu to appear.
Select a texture to Use as Replacement for any other texture in the scene. Then, use the Replace All References option over the chosen texture in order for this option to take effect.
Use the Duplicate option to duplicate the texture.
You can select more than one asset at a time with Ctrl or Shift.
All texture input slots ( ) share the following right-click functionalities: Copy, Cut, Clear, Wrap In, Globalize, Paste As Copy and Paste As Instance. Drag-and-dropping textures into any input slot is also available.

The context options of the Color Slot allow to Copy and Paste a color from one color slot to another, as well as to Reset the color selection to a default value.

The Globalize option makes the texture a global instance. The Globalize option is also available when right-clicking on any texture in the Material's List.
The Environment map slot, situated in the Environment rollout in Settings, automatically sets its slotted texture as a global texture in the Textures List. All subsequent textures created in that slot have a prefix "Environment" in their name and are automatically set as global textures as well.
The Wrap In option, available in the texture slot's context menu, places the existing texture within a new one and then plugs the new one in the original slot.

Any texture can be replaced via the Replace With New Texture ( ) button, which activates when you select the texture to be replaced. If the texture is an instance, all copies are changed as well.
You can search for a specific texture within the Search Scene field.
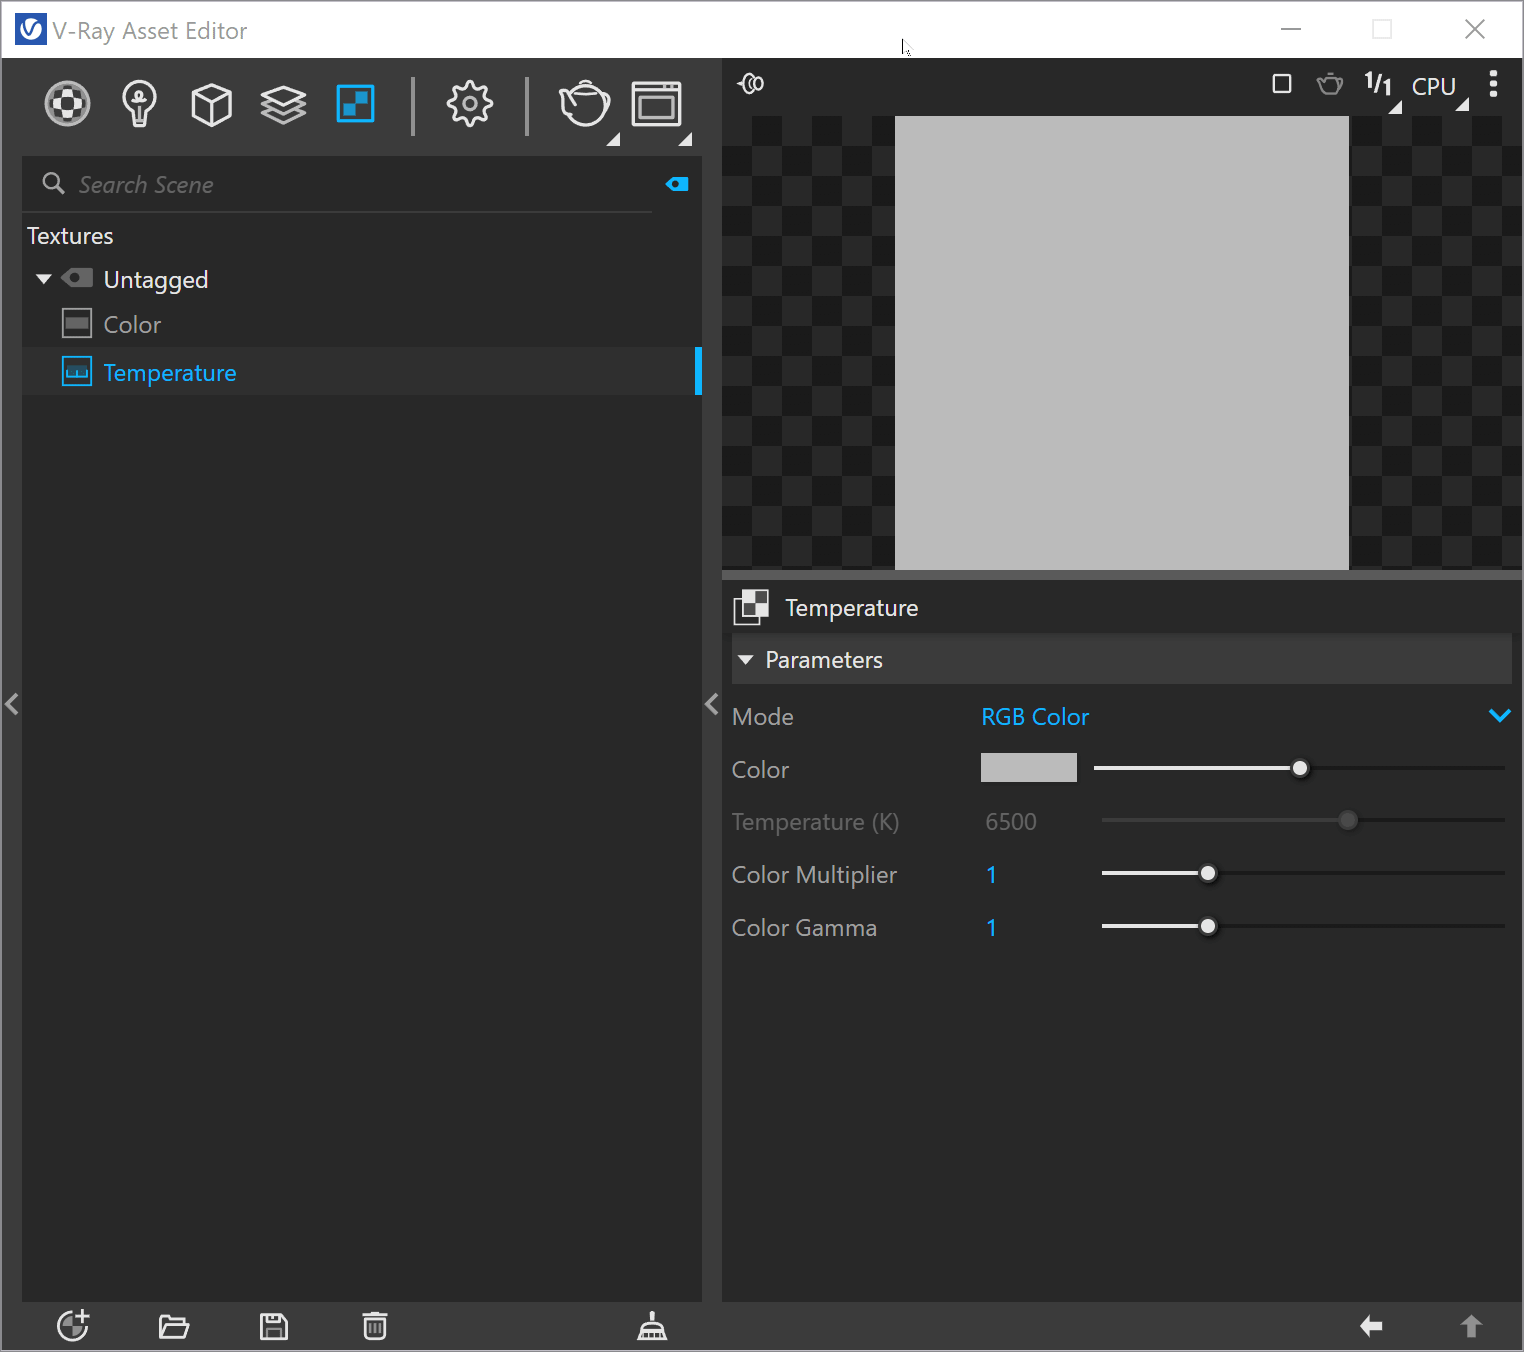
The Bitmap texture settings are organized in Basic and Advanced modes. You can switch the mode from the toggle button ( ) under the Preview Swatch or globally from the Configuration rollout of the Settings tab.

You can reset the Input Number Slider's value to its default value by right-clicking on the slider and selecting the Reset context menu option.

Most numeric V-Ray parameters come with a slider to make fine-tuning easier. Each slider is set to a default range of recommended or commonly used values.
If a value above that range is used the slider adapts by increasing its range accordingly (2x the input value) to maintain usability.
If a value below the current slider range is used, the slider again adjusts its range by shrinking it to twice the amount of the input value.
Note that that the slider range does not indicate the parameter's total minimum and maximum input values.
The absolute minimum and maximum values of each parameter can be found by hovering over its spinbox.
Notes
- There is a difference between how Rhino and V-Ray handle texture transformations. Rhino multiplies first by the offset, and then by the scale. V-Ray multiplies first by the scale, and then by the offset.