![]()
Page History
...
This page covers the basics of using XGen with V-Ray for Maya, including a step-by-step guide to controlling XGen Attributes through texture maps.
Want to follow along but don’t have a license?
| UI Button | ||||||||||
|---|---|---|---|---|---|---|---|---|---|---|
|
Prerequisites
...
| Section | ||||||||||||||||
|---|---|---|---|---|---|---|---|---|---|---|---|---|---|---|---|---|
|

...
| Section | |||||||||||||||||||||
|---|---|---|---|---|---|---|---|---|---|---|---|---|---|---|---|---|---|---|---|---|---|
|

Basics
...
| Section | ||||||||||||||||
|---|---|---|---|---|---|---|---|---|---|---|---|---|---|---|---|---|
|

...
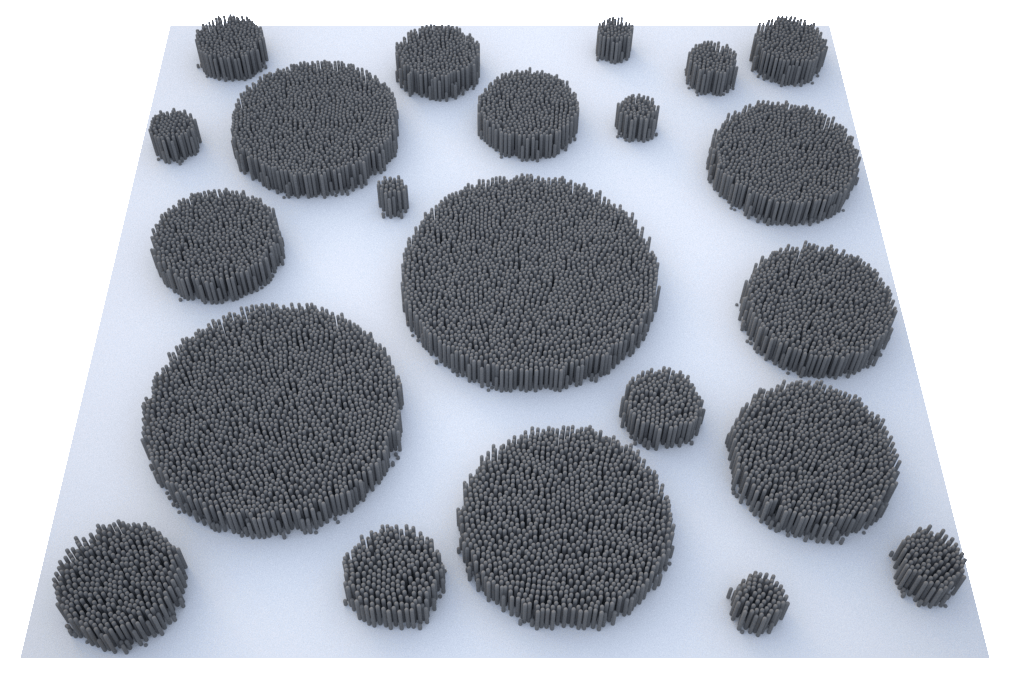
The following images show how instanced primitives look when the base mesh has a low versus a high subdivision. Note how XGen clumps primitives more to the center of each face. This is the same behavior for all kinds of primitives.
| Section | |||||||||||||||||||||
|---|---|---|---|---|---|---|---|---|---|---|---|---|---|---|---|---|---|---|---|---|---|
|


Base meshes onto which XGen populates primitives, should use Maya's subdivision settings, as V-Ray's own subdivision settings will not work with them.
...
Materials and V-Ray Object Properties may be assigned to descriptions and all primitives for that description will share them; they can also be assigned on a per-patches basis for fine-grained control over primitives on different patches. This means two patches in the same description can use different materials and have separate V-Ray Object Properties.
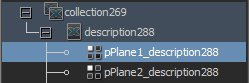
For example, if you have a description with four patches in it, you can assign a master material to the description and give a specific material to one of the patches, such as in the example shown below:

| UI Text Box | ||
|---|---|---|
| ||
Assign the description material to the transform node, not to the shape node. Such assignments are hierarchical, meaning they affect the selected node and all its children: the patches are children of the description transform, not the description shape. |
...
The following section describes two ways of controlling XGen attributes: through expressions or through texture maps.
Part I: Through Expressions
...
| Section | ||||||||||||||||
|---|---|---|---|---|---|---|---|---|---|---|---|---|---|---|---|---|
|

...
| Section | ||||||||||||||||
|---|---|---|---|---|---|---|---|---|---|---|---|---|---|---|---|---|
|

Part II: Through Texture Maps
...
| Section | |||||||||||||||||
|---|---|---|---|---|---|---|---|---|---|---|---|---|---|---|---|---|---|
|

...
...
| Section | |||||||||||||||||
|---|---|---|---|---|---|---|---|---|---|---|---|---|---|---|---|---|---|
|

...
...
| Section | ||||||||||||||||
|---|---|---|---|---|---|---|---|---|---|---|---|---|---|---|---|---|
|

...
| Section | ||||||||||||||||
|---|---|---|---|---|---|---|---|---|---|---|---|---|---|---|---|---|
|

...
...
| Section | ||||||||||||||||
|---|---|---|---|---|---|---|---|---|---|---|---|---|---|---|---|---|
|

...
...
| Section | ||||||||||||||||||||||
|---|---|---|---|---|---|---|---|---|---|---|---|---|---|---|---|---|---|---|---|---|---|---|
|


Editing the Expression
If we edit the expression of the Length attribute through the Sigma button from this:
Code Block language php $a=map('${DESC}/paintmaps/length');#3dpaint,200.0 $ato this, we can invert the result of the map:
Code Block language php $a=map('${DESC}/paintmaps/length');#3dpaint,200.0 $a = 1.0 - $a; $a- Add a dome light with an HDRI dome tex to the scene, apply V-Ray Materials, and render. We should see something like this:
...