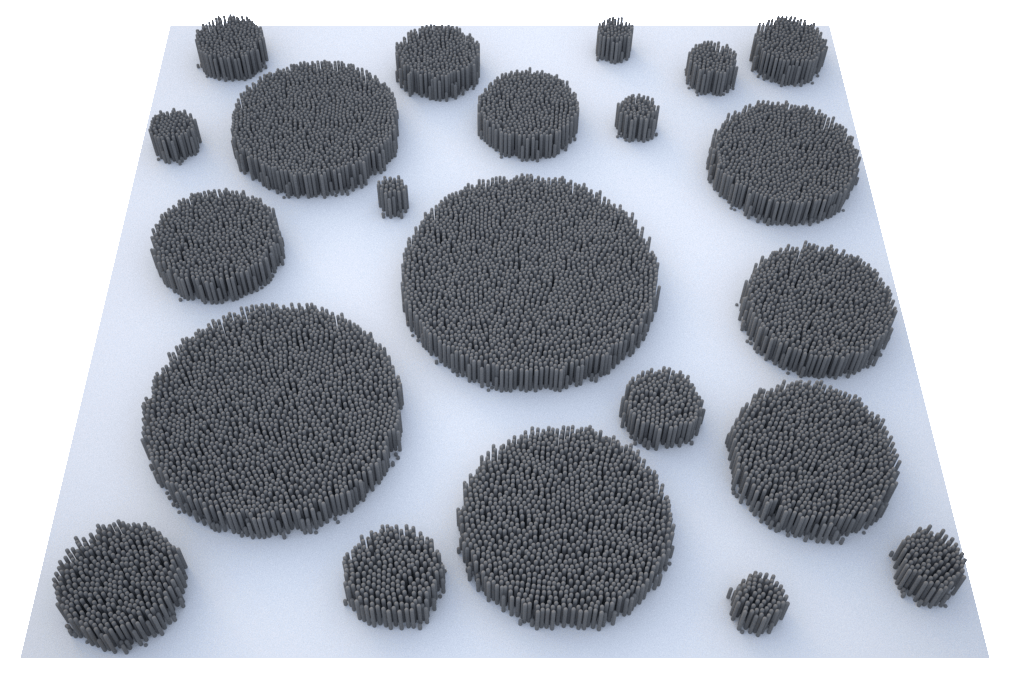
This page provides prerequisites and basic information on using XGen with V-Ray for Maya.
Overview
This page covers the basics of using XGen with V-Ray for Maya, including a step-by-step guide to controlling XGen Attributes through texture maps.
Want to follow along but don’t have a license?
Prerequisites
When rendering XGen descriptions with V-Ray, make sure the Output Settings in the Preview/Output tab of the XGen window are as follows:
Operation is set to Render and Renderer is set to VRay.
If VRay is not in the Output Settings as shown above, try restarting Maya (with xgenVRay.py as "Auto load" in the Plug-in manager).
To ensure that V-Ray is there, always start Maya 2015+ normally, check in the Plug-In Manager that the module xgenVRay.py is loaded, and then load/create XGen scenes. Opening scenes by double-clicking on the file will not ensure that V-Ray is registered in the XGen UI
Basics
The following images show how instanced primitives look when the base mesh has a low versus a high subdivision. Note how XGen clumps primitives more to the center of each face. This is the same behavior for all kinds of primitives.
Low Subdivision
High Subdivision
Base meshes onto which XGen populates primitives, should use Maya's subdivision settings, as V-Ray's own subdivision settings will not work with them.
Working with XGen and a multitude of primitives can be faster by reducing the percentage of drawn primitives in the viewport through the Percent attribute found in the Preview/Output tab of the XGen window.
Patches may be added or removed to or from descriptions.
Normally, shape nodes have visibility attributes in the Render Stats section, but the XGen patch/description placeholder shapes do not have them visible. To control such visibility flags, use V-Ray Object Properties.
Materials and V-Ray Object Properties may be assigned to descriptions and all primitives for that description will share them; they can also be assigned on a per-patches basis for fine-grained control over primitives on different patches. This means two patches in the same description can use different materials and have separate V-Ray Object Properties.
For example, if you have a description with four patches in it, you can assign a master material to the description and give a specific material to one of the patches, such as in the example shown below:
Assign the description material to the transform node, not to the shape node. Such assignments are hierarchical, meaning they affect the selected node and all its children: the patches are children of the description transform, not the description shape.
Controlling XGen Attributes
The following section describes two ways of controlling XGen attributes: through expressions or through texture maps.
Part I: Through Expressions
Here we demonstrate how expressions may be used to control XGen attributes:
- Click on the Sigma button of an attribute. In this example, we control the Length attribute.
Part II: Through Texture Maps
Here we show how to use a texture map to control the Length attribute:
Set Up the XGen Splines
- Create a plane and create an XGen description on it, with splines randomly across the surface.
- Increase the Density from the Primitives tab of the XGen window to 50.
Set Up the Map
A pop-up window appears.
2. Increase the Map Resolution to about 200. This is the resolution of the PTex map in texels per-face. Use larger values for high resolution textures.
Name the map as you wish, and click Create.
Paint or Connect an Image
- After creating the map, you will be in PTex painting mode. You can paint on the surface of the plane with the 3D Paint tool.
- If you wish to use an image file, open the Hypershade and Node Editor and click on the icon circled below next to the Length attribute.
3. You should see a file texture connected to the plane, shown here.
4. Select the file texture and load the texture map that you wish to use to drive the length of the primitives. Texture maps with higher contrast work better for controlling attributes.
Save the Texture
- When you are done painting/selecting a texture, click on the Save icon next to the attribute. Always remember to save after changing a texture map, Otherwise XGen will not refresh, and the changes will not be visible in the viewport or renders.
Using a bitmap like the one shown below left should correspond to a view in the viewport like the shown below right.
Bitmap
Result in viewport
Editing the Expression
If we edit the expression of the Length attribute through the Sigma button from this:
$a=map('${DESC}/paintmaps/length');#3dpaint,200.0
$a
to this, we can invert the result of the map:
$a=map('${DESC}/paintmaps/length');#3dpaint,200.0 $a = 1.0 - $a; $a- Add a dome light with an HDRI dome tex to the scene, apply V-Ray Materials, and render. We should see something like this:


