![]()
Page History
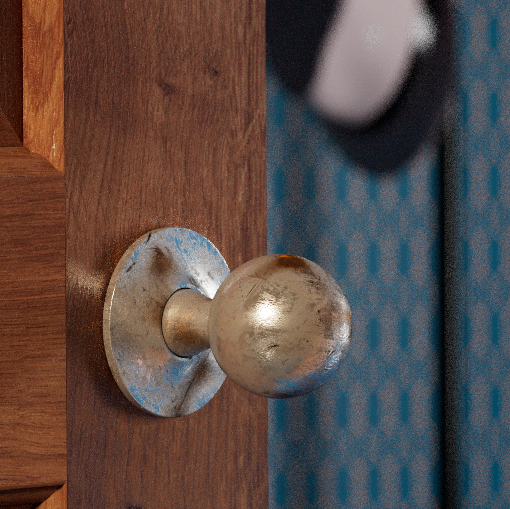
This page offers a guide on how to set procedural textures with MaterialX in Maya.
Setup
...
| Section | ||||||||||||||||||||
|---|---|---|---|---|---|---|---|---|---|---|---|---|---|---|---|---|---|---|---|---|
|
...
| Section | |||||||||||||||
|---|---|---|---|---|---|---|---|---|---|---|---|---|---|---|---|
|

UV Placement (texcoord Node)
...
To set up 2D procedural maps with MaterialX shader in Maya, always make sure to have a texcoord (or texcoordtangents) node. This node ensures the proper UV placement of the texture map. The Node Type is set to vector2.
UV Offset (add Node)
...
To introduce some UV offset to the texture, we place an add node.
...
| Section | |||||||||||||||||||||||||||||||||||||
|---|---|---|---|---|---|---|---|---|---|---|---|---|---|---|---|---|---|---|---|---|---|---|---|---|---|---|---|---|---|---|---|---|---|---|---|---|---|
|


Scale the Texture Pattern (multiply Node)
...
The second node not to be missed is the multiply node. It controls the frequency of the pattern, but the value must be set to a higher number, such as 25 or more, to see the effects of the generated texture.
...
| Section | ||||||||||||||||||||||||||||||||
|---|---|---|---|---|---|---|---|---|---|---|---|---|---|---|---|---|---|---|---|---|---|---|---|---|---|---|---|---|---|---|---|---|
|


Rotation of the Texture Pattern (rotate Node)
...
The rotate node allows you to rotate the texture pattern along any of the three axis.
...
| Section | |||||||||||||||||||||||||||||||||||||
|---|---|---|---|---|---|---|---|---|---|---|---|---|---|---|---|---|---|---|---|---|---|---|---|---|---|---|---|---|---|---|---|---|---|---|---|---|---|
|


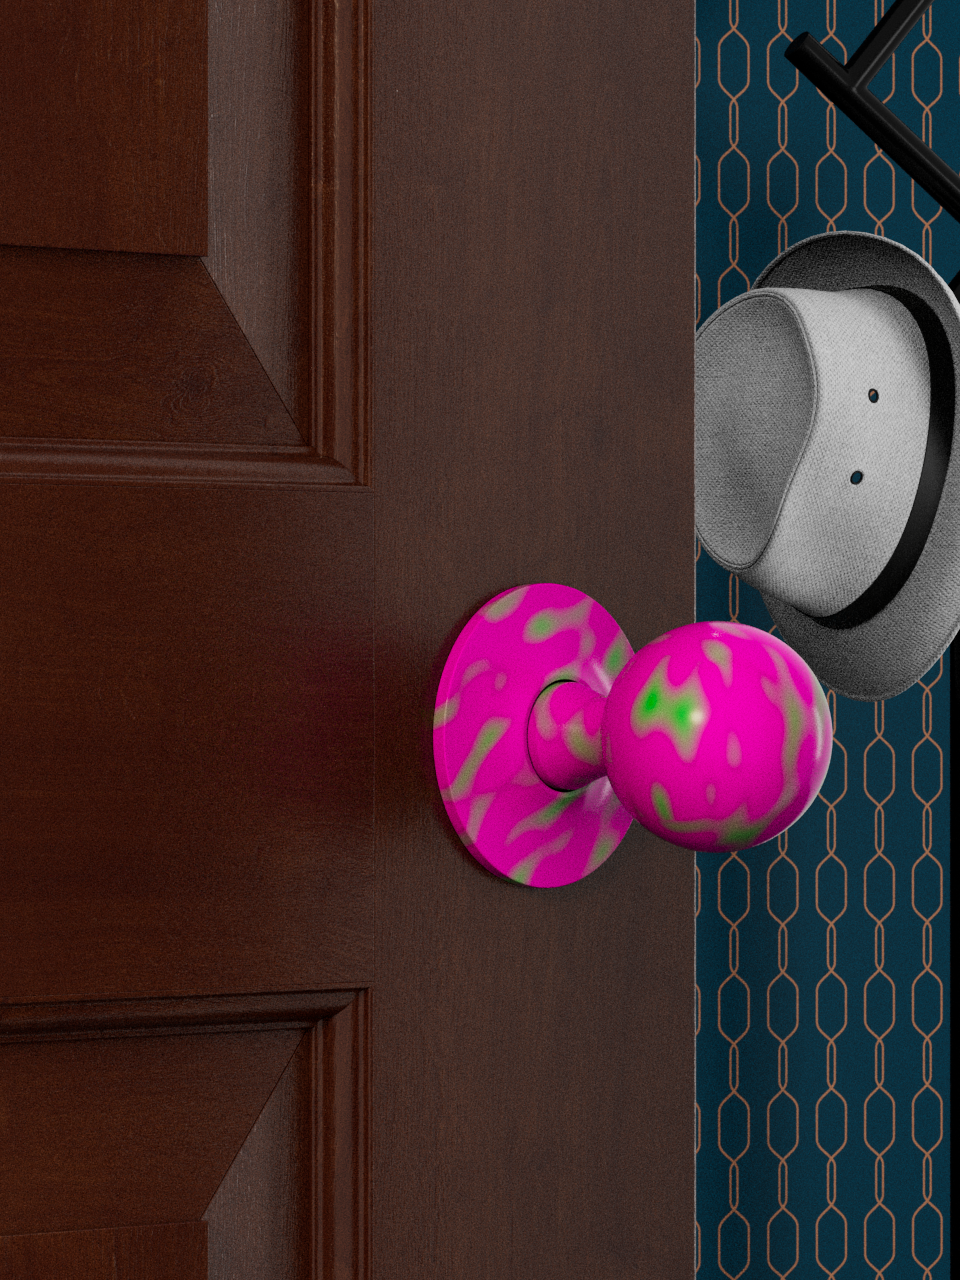
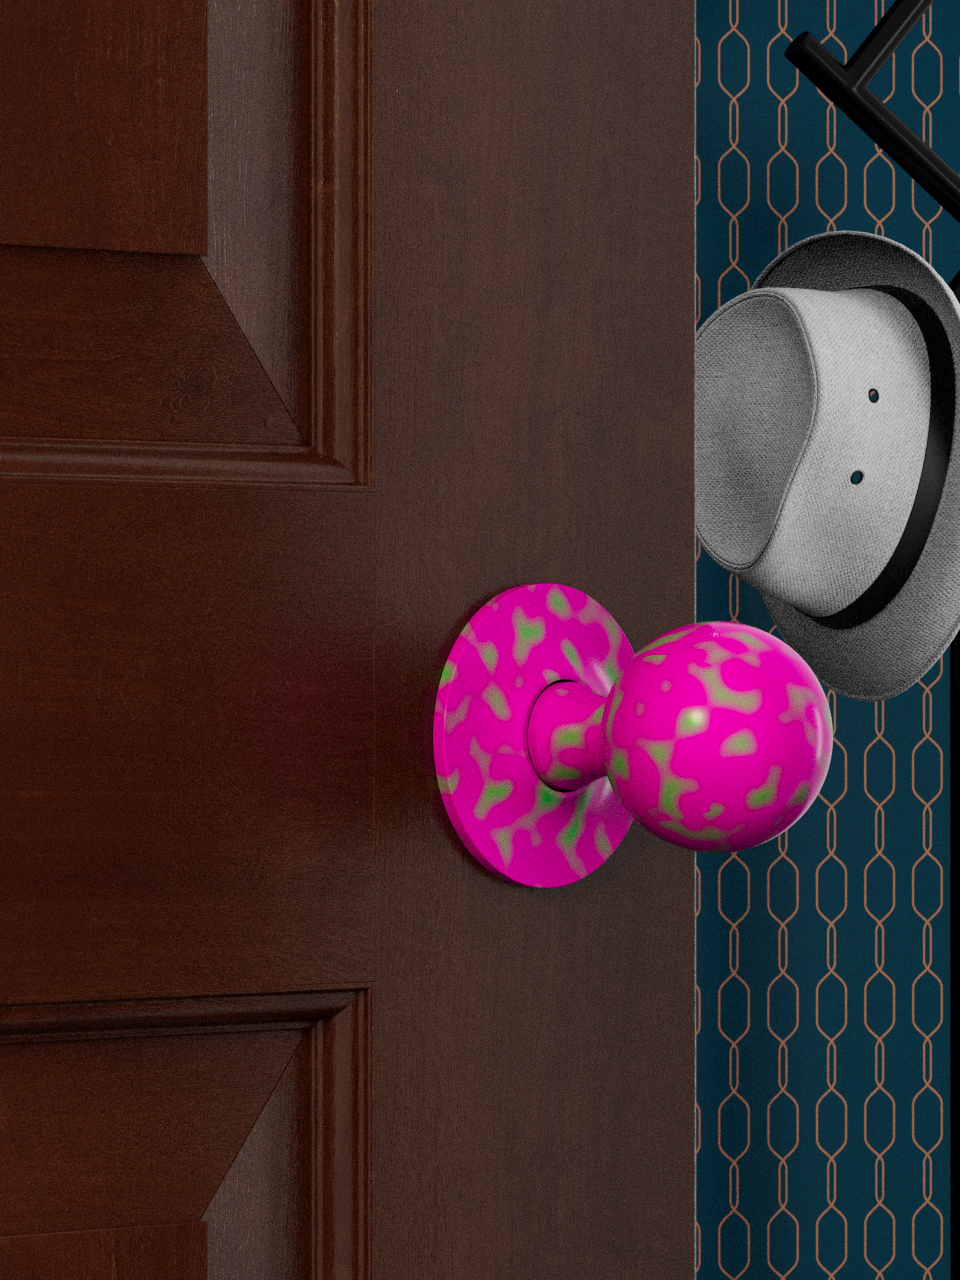
noise Node
...
By manipulating the Amplitude and the Pivot of the noise pattern, various pattern effects can be achieved.
...