This page offers a guide on how to set procedural textures with MaterialX in Maya.
Setup
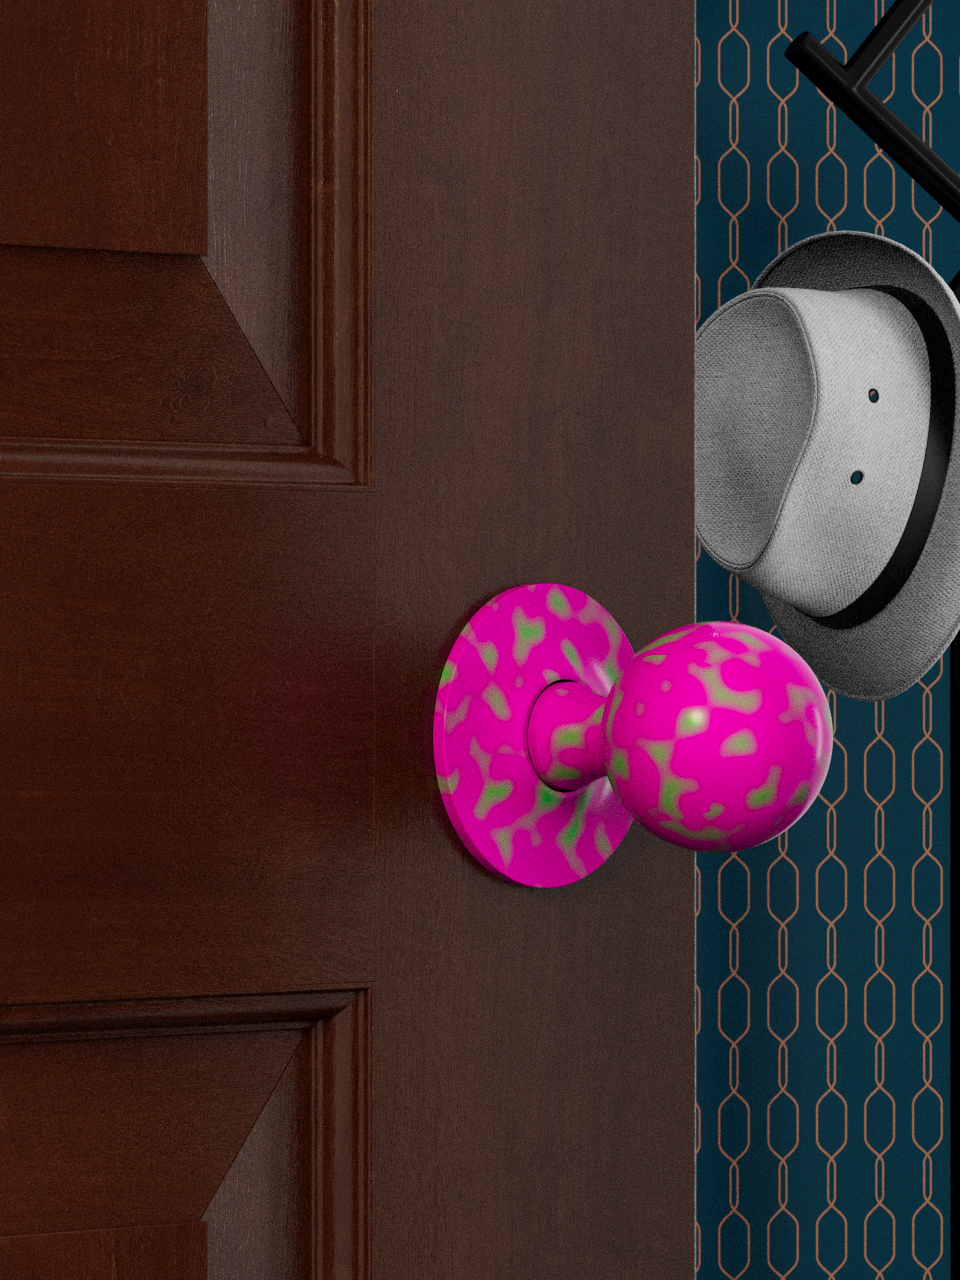
For the purpose of this guide, the example MaterialX shader consists of the following nodes to form a procedural texture:
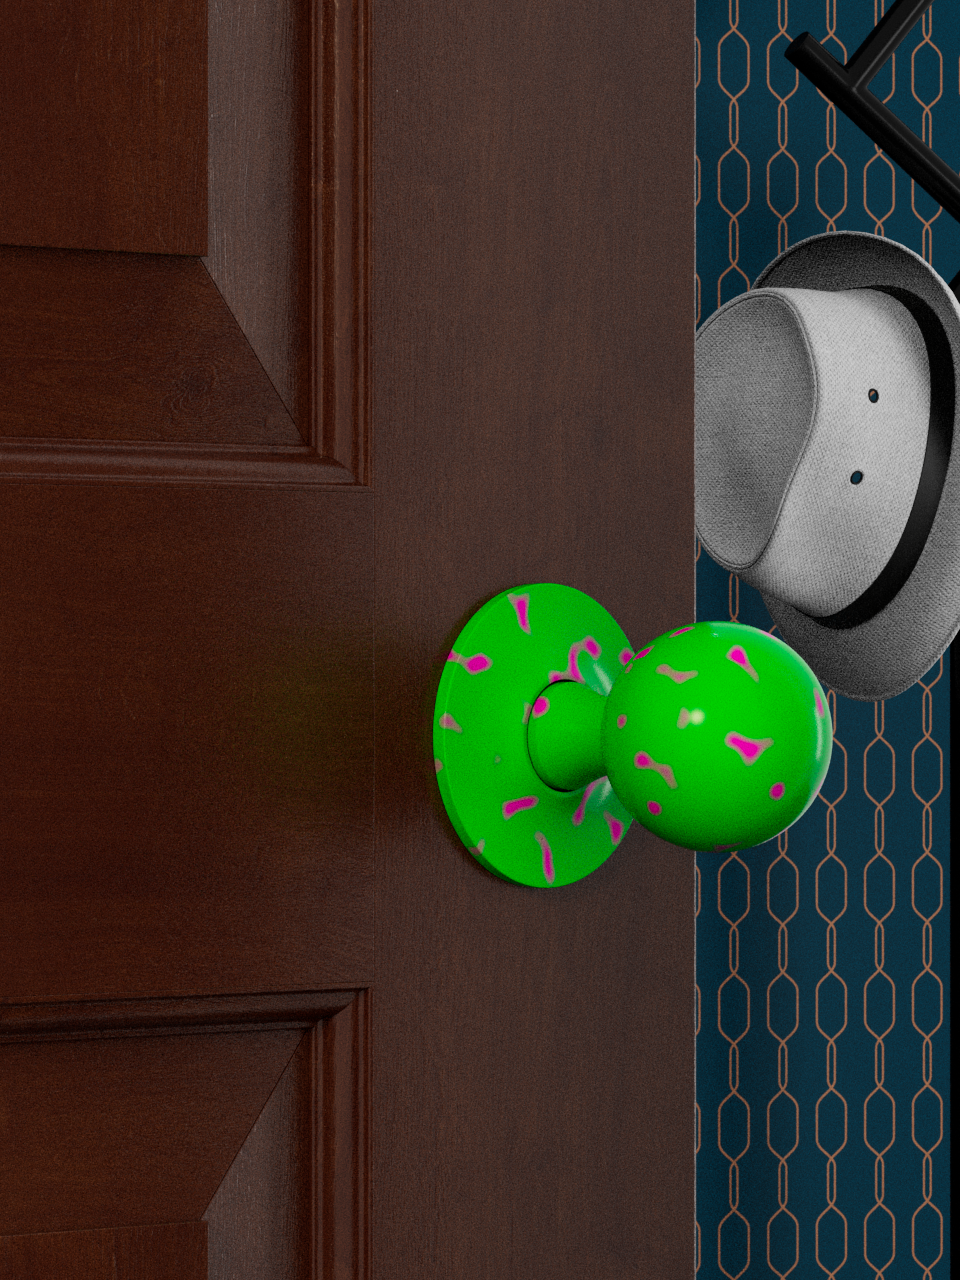
- two standard surface nodes - one with magenta Base color and one with green Base color.
- a mix node, which connects the two standard surface nodes as foreground and background, as well as a noise node which defines the mix. The Node Type is set to float/terminal.
- a noise node, which controls the noise of the texture pattern and is connected to the mix input of the mix node.
- a rotate node that introduces rotation of the pattern according to one or more axis. The rotate node's output is connected to the texcoord input of the noise node.
- a multiply node necessary to scale the pattern by controlling the frequency. The multiply's output is connected to the in input slot of the rotate node.
- an add node which introduces UV offset to the texture. The add's output is connected to the in input slot of the multiply node.
- a texcoord node which ensures the UV placement of the texture. Note that the texcoord is an obligatory node for all textures! It is connected to the in slot of the add node.
- an Output node, which is created by default within the shader network.
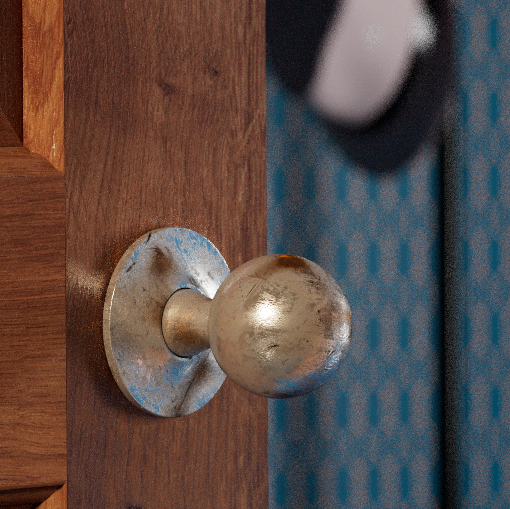
Such setups can be used for the creation of procedural textures such as the metal handle example here.

The Shader Setup in LookDevX standard_shader tab
UV Placement (texcoord Node)
To set up 2D procedural maps with MaterialX shader in Maya, always make sure to have a texcoord (or texcoordtangents) node. This node ensures the proper UV placement of the texture map. The Node Type is set to vector2.
UV Offset (add Node)
To introduce some UV offset to the texture, we place an add node.

Add = -5

Add = 0

Add = 5
Add = 10
Scale the Texture Pattern (multiply Node)
The second node not to be missed is the multiply node. It controls the frequency of the pattern, but the value must be set to a higher number, such as 25 or more, to see the effects of the generated texture.
Multiply = 25

Multiply = 35

Multiply = 50
Rotation of the Texture Pattern (rotate Node)
The rotate node allows you to rotate the texture pattern along any of the three axis.

Rotate = 20 (Z)

Rotate = 60 (Z)

Rotate = 60 (X)
Rotate = 60 (Y)
noise Node
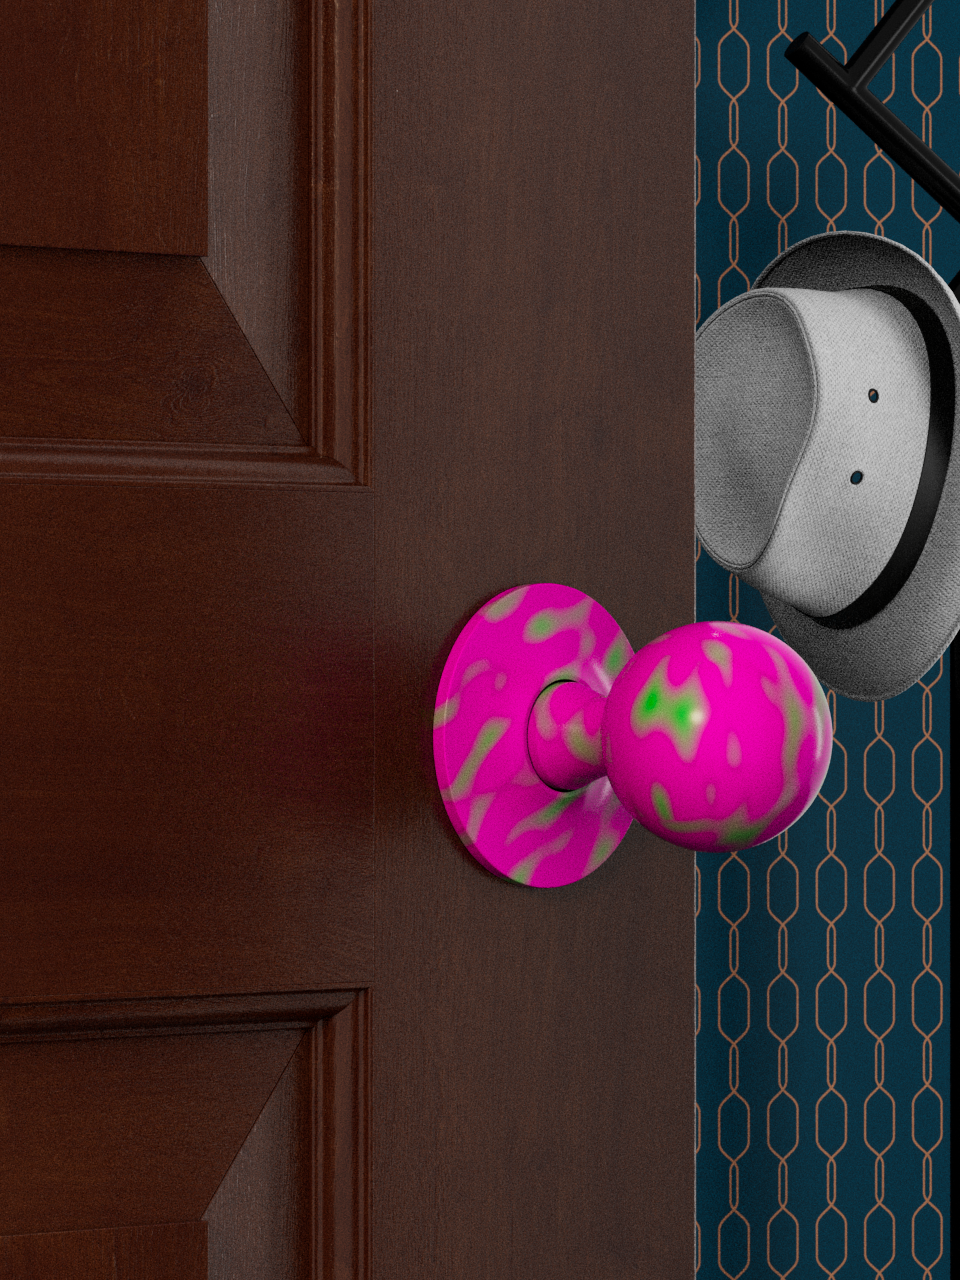
By manipulating the Amplitude and the Pivot of the noise pattern, various pattern effects can be achieved.

Amplitude = 2, Pivot = 0

Amplitude = 2, Pivot = 1
Amplitude = 3, Pivot = 2
Some of the nodes in this example show a red indicator that there is a mismatch between the node's types. This is only indicative that there is no absolute match between the types, but it does not affect the functioning of the nodes.