The Emissive material settings are organized in Basic and Advanced modes. Switch the mode from the toggle button under the Preview Swatch.
Add Layer and Add Layer buttons are provided for some V-Ray materials, including Emissive. You can select an additional layer that can add up to the appearance of the material. For more information, see the Attributes And Layerssection and theAttributes section.
UI Text Box
type
tip
Holding down Ctrl while having the Add Attribute or Add Layer menu open, allows selecting multiple entries without closing the dropdown.
The context menu of the Color slot provides options to Copy and Paste, as well as to Reset the color.
A Resetoption is provided in the context menu of each Number Slider. You can reset the slider value to the default one.
Column
width
5%
Column
width
35%
Emissive
...
Section
Column
width
60%
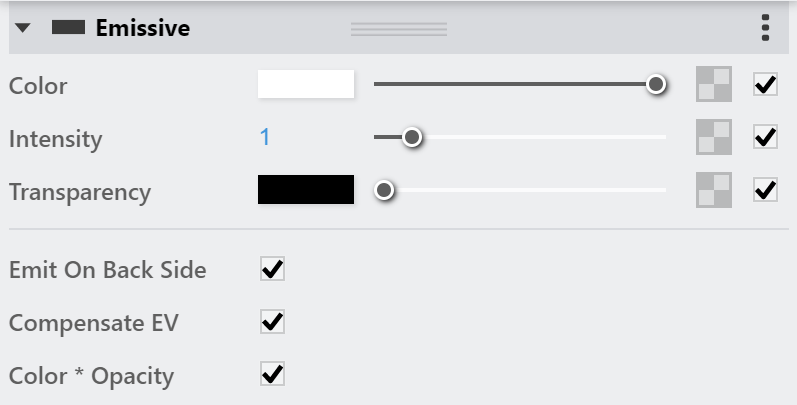
Some options are available only in Advanced mode.
Color – Specifies the color of the light. A texture can be specified as well.See the Color and Texture examples below for more information.
Intensity – Controls the strength of the light.
Transparency – Specifies the color that is transparent. For this parameter black stands for opaque and white for transparent color. A texture can be specified as well. See the Transparency Texture example below for more information.
Emit On Back Side – When enabled, the object emits light from its back side as well. When disabled, only the front side emits light, and the material renders as black on the back sides. See the Emit On Back Side examples below for more information.
Compensate EV – Used when rendering with the V-Ray Physical Camera. When enabled, the intensity of the material is adjusted to compensate for the camera exposure.
Color *Opacity – When enabled, the color of the light material is multiplied by the opacity texture. Otherwise, the color and opacity act independently (so-called additive transparency).