![]()
Page History
This page provides information on the Globals rollout under the Globals tab tab in V-Ray's Render Render Settings.
Overview
...
The Globals rollout allows you to control some of V-Ray's features globally so as to quickly debug your scene.
UI Path
||Properties Editor|| > Render > Globals tab > Globals rollout
Parameters
Camera
...
| Section | |||||||||||||||
|---|---|---|---|---|---|---|---|---|---|---|---|---|---|---|---|
|

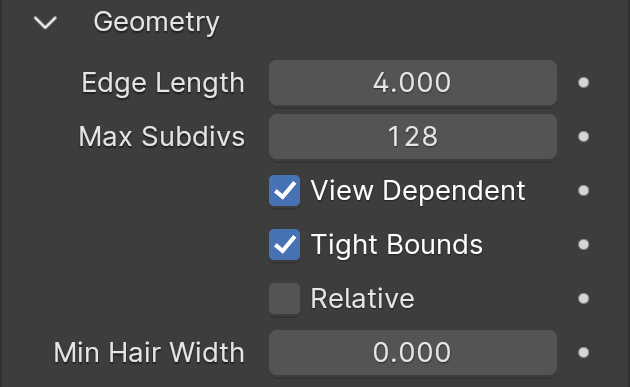
Geometry
...
| Section | |||||||||||||||
|---|---|---|---|---|---|---|---|---|---|---|---|---|---|---|---|
|
Lighting
...

...
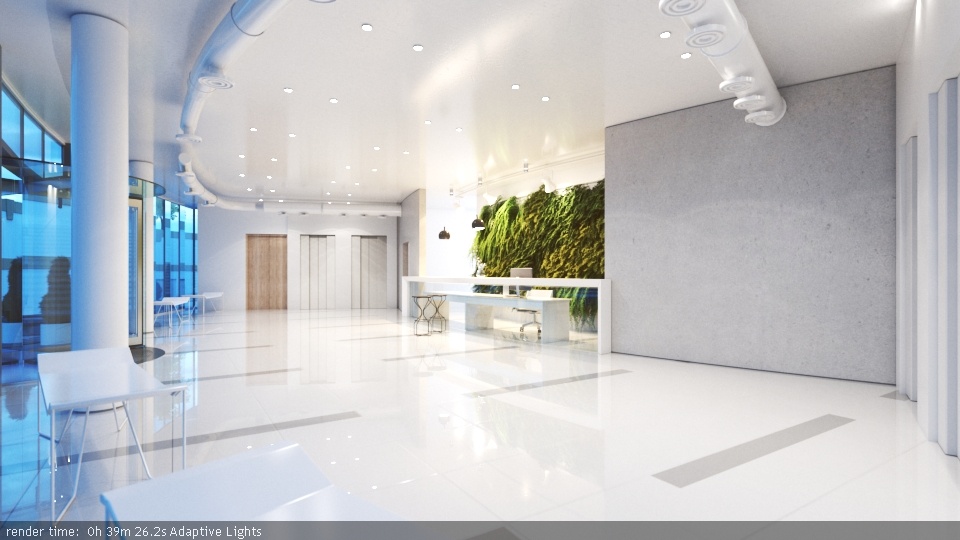
Example: Adaptive Lights
Below is an example rendering of a scene with the default Progressive Image Sampler settings, using Brute Force/Light Cache GI engines. Only the Noise Limit parameter was set to 0.002. Notice how the render time is reduced significantly in favor of the Adaptive Lights in comparison to Full Evaluation.
| Section | ||||||||||||||||||||||||||||||||
|---|---|---|---|---|---|---|---|---|---|---|---|---|---|---|---|---|---|---|---|---|---|---|---|---|---|---|---|---|---|---|---|---|
|


Materials
...
| Section | |||||||||||||||
|---|---|---|---|---|---|---|---|---|---|---|---|---|---|---|---|
|

...
| Anchor | ||||
|---|---|---|---|---|
|
Example: Global Max Depth
The images below show the original beauty render along with Use Global Max Depth enabled and a Global Max Depth of 1. When Max depth has been set to a value of 1, all reflections and refraction will only have a single bounce and therefore we can see that the windshield's refractions are incorrect.
| Section | ||||||||||||||||||||
|---|---|---|---|---|---|---|---|---|---|---|---|---|---|---|---|---|---|---|---|---|
|


...
| Anchor | ||||
|---|---|---|---|---|
|
Example: Max Transparency Levels and Reflection /Refraction
When all refractions and reflections are disabled, the car retains only its black diffuse color because refractions and reflections are no longer present on any of the materials in the scene, and when Max Transparency Levels is reduced to a value of 1 nothing is visible through the windshield.
| Section | ||||||||||||||||||||
|---|---|---|---|---|---|---|---|---|---|---|---|---|---|---|---|---|---|---|---|---|
|

Textures
...
| Section | |||||||||||||||
|---|---|---|---|---|---|---|---|---|---|---|---|---|---|---|---|
|

Rendering
...
| Section | |||||||||||||||||||||
|---|---|---|---|---|---|---|---|---|---|---|---|---|---|---|---|---|---|---|---|---|---|
|

...
| Anchor |
|---|
...
|
...
|
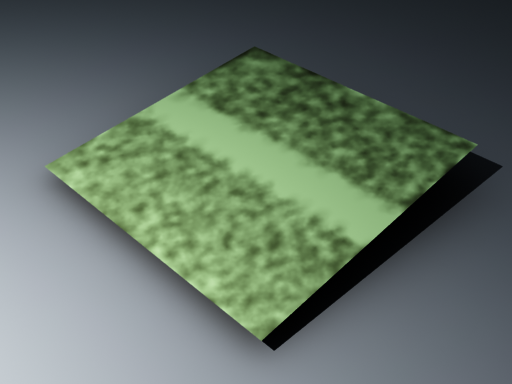
Example: Secondary Rays Bias
...
This example shows the effect of the Secondary rays bias parameter. The scene below has a box object with a height of 0of 0.0, which makes the top and bottom two sides of the box to occupy exactly the same region in space. Due to thisthe overlapping faces, V-Ray cannot resolve intersections of rays with these surfaces unamibguously.
The first image shows what happens when you try to render the scene is rendered with the default settings. You can see the splotches Splotches appear in the GI solution, caused by the fact that rays randomly intersect one or the other surface:
In the second image below, the Secondary rays bias is set to 0to 0.001, which offsets the start of each ray a little bit along its direction. In effect, this makes V-Ray skip the problematic surface overlaps and render the scene correctly:

...
Note that the Secondary rays bias affects only things like GI, reflections, etcsetting affects light ray calculations in the rendering (such as GI and reflections), but it alone cannot correct for materials on overlapping faces. In order to correctly render the scene properlyoverlapping faces, the material assigned to the box has its 2its 2-sided option sided option checked. This is so that the object looks in the same way regardless of whether the camera rays hit the top or the bottom of the box. If the material did not have this option checked, it would appear "noisy" even though the Secondary rays bias is greater than 0.0:
than 0.0:

Volumetrics
...
| Section | |||||||||||||||
|---|---|---|---|---|---|---|---|---|---|---|---|---|---|---|---|
|

...