![]()
Page History
| CSS Stylesheet |
|---|
.wiki-content .confluence-embedded-file-wrapper.confluence-embedded-manual-size {
    vertical-align: text-bottom;
} |
This page provides information about the Camera tab functionalities in Chaos Vantage.
Overview
The Camera tab allows control over the camera. It has five pop-up windows - Resolution, Sensor and Lens, ExposureThe tab has advanced settings for resolution, sensor and lens, exposure, Depth of Field, tilt and Tilt and Shift, shift, and camera clipping that offer finer control.
| UI Text Box | ||
|---|---|---|
| ||
There is limit of 1000 cameras - regardless whether they are imported or created inside Chaos Vantage. |
| UI Text Box | ||
|---|---|---|
| ||
You can use the right mouse button click to reset the parameters numeric values to defaults. |
Parameters
| Section | ||||||||||||||||||||||||||||||||
|---|---|---|---|---|---|---|---|---|---|---|---|---|---|---|---|---|---|---|---|---|---|---|---|---|---|---|---|---|---|---|---|---|
|

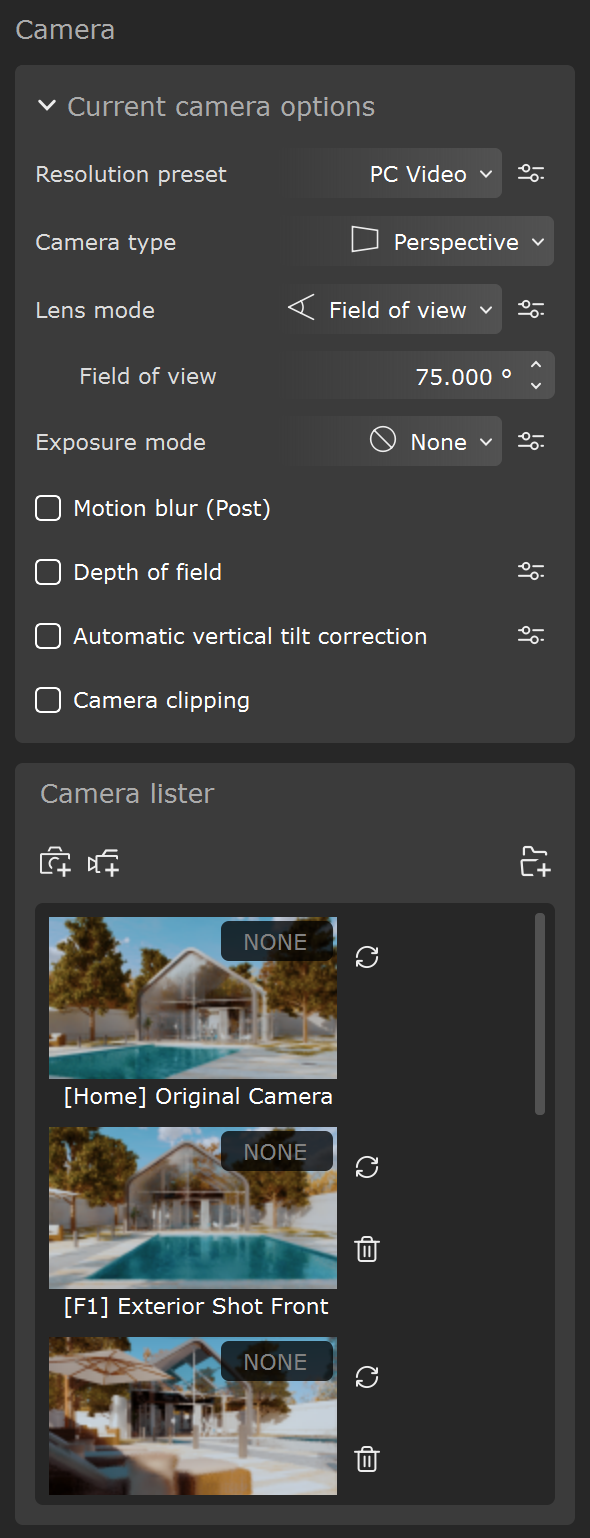
Advance parameters
Resolution
| Section | ||||||||||||||||||||||
|---|---|---|---|---|---|---|---|---|---|---|---|---|---|---|---|---|---|---|---|---|---|---|
|

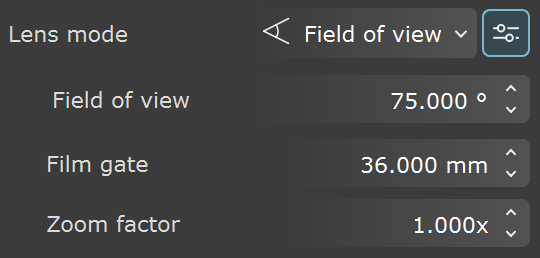
Sensor & Lens
| Section | |||||||||||||||||
|---|---|---|---|---|---|---|---|---|---|---|---|---|---|---|---|---|---|
|
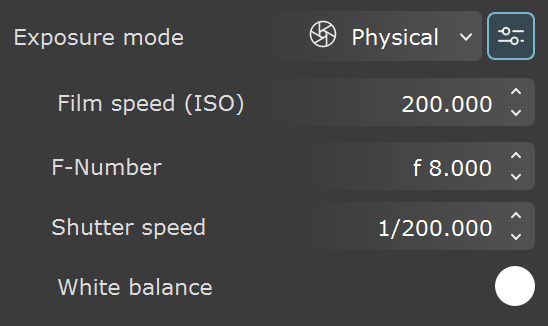
Exposure
| Section | |||||||||||||||||
|---|---|---|---|---|---|---|---|---|---|---|---|---|---|---|---|---|---|
|
Motion Blur
| Section | |||||||||||||||
|---|---|---|---|---|---|---|---|---|---|---|---|---|---|---|---|
|

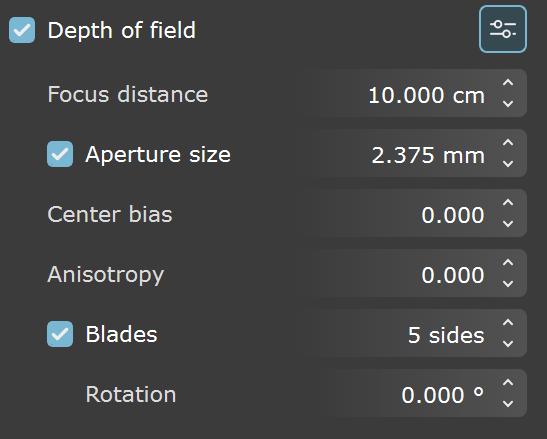
Depth of Field
| Section | |||||||||||||||||
|---|---|---|---|---|---|---|---|---|---|---|---|---|---|---|---|---|---|
|
Tilt & Shift
| Section | |||||||||||||||||
|---|---|---|---|---|---|---|---|---|---|---|---|---|---|---|---|---|---|
|

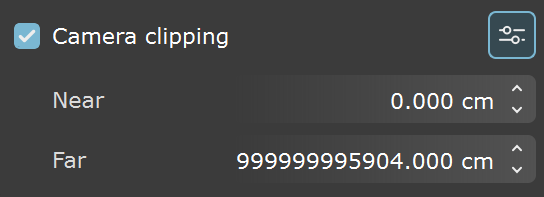
Clipping
| Section | |||||||||||||||||
|---|---|---|---|---|---|---|---|---|---|---|---|---|---|---|---|---|---|
|