![]()
Page History
| CSS Stylesheet |
|---|
eе.confluenceTable .confluenceTh, .confluenceTable .confluenceTd {
    vertical-align: middle;
} |
This page offers information about the toolbars of Chaos Vantage.
Overview
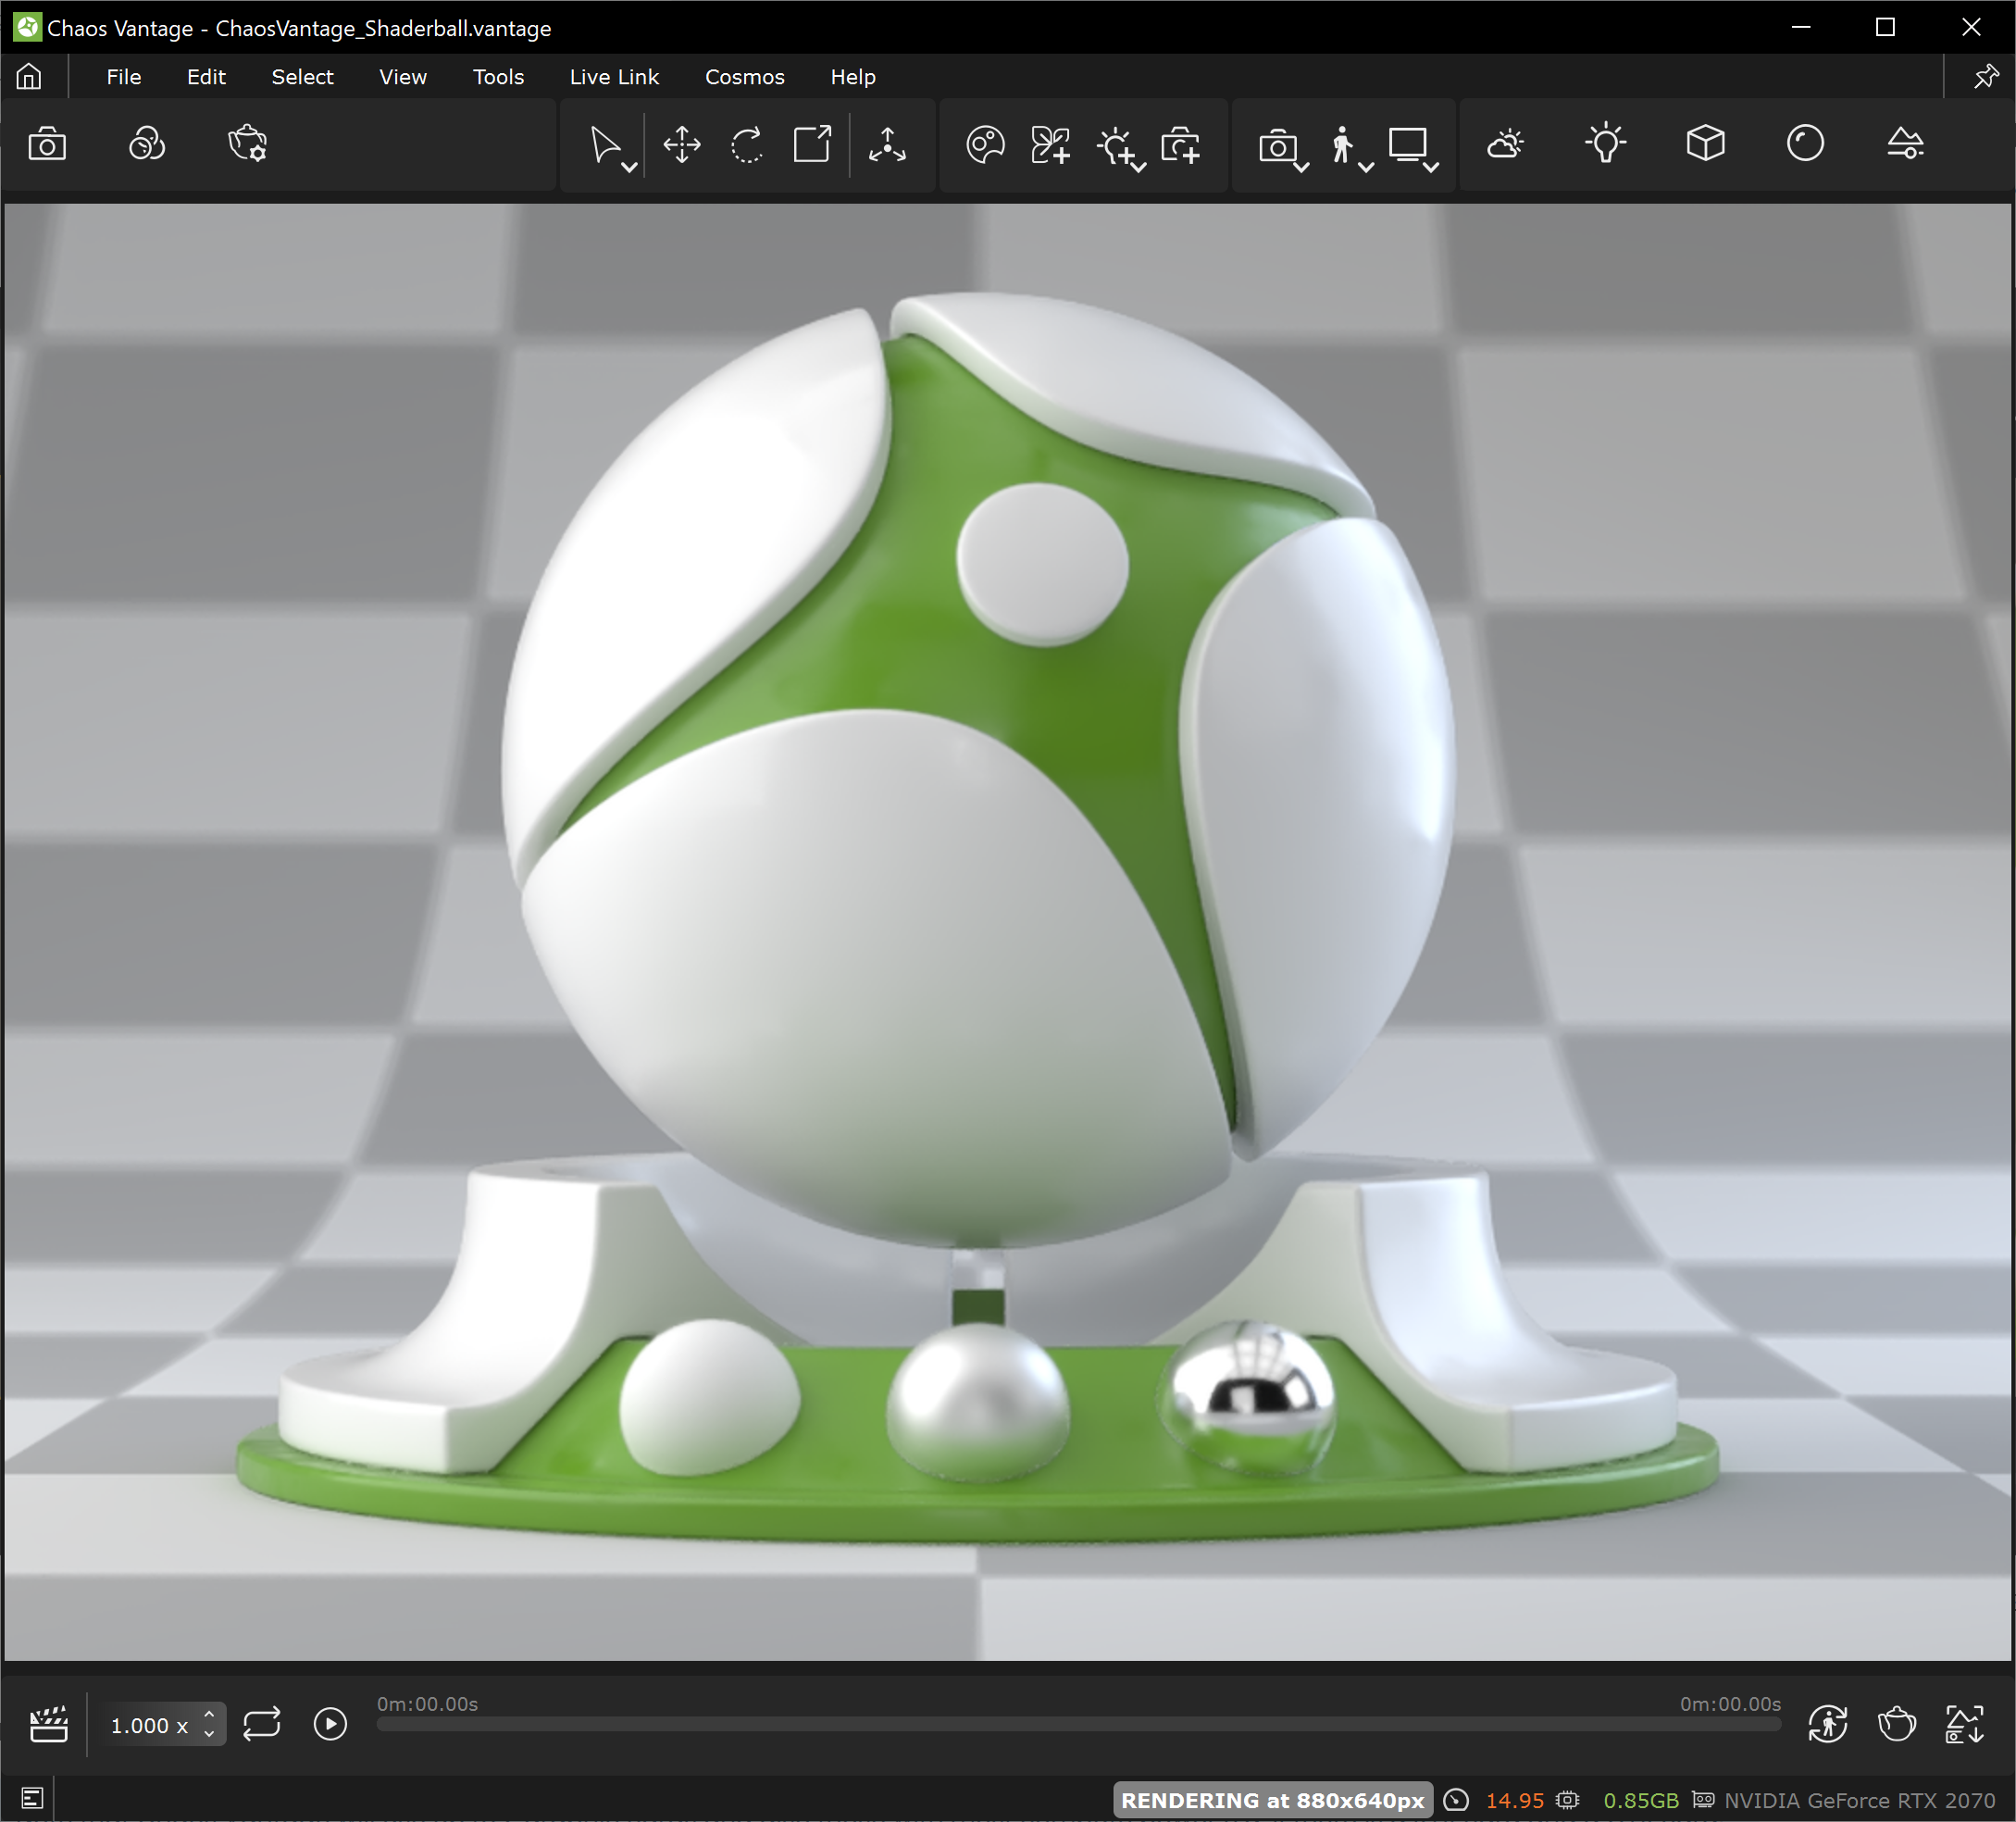
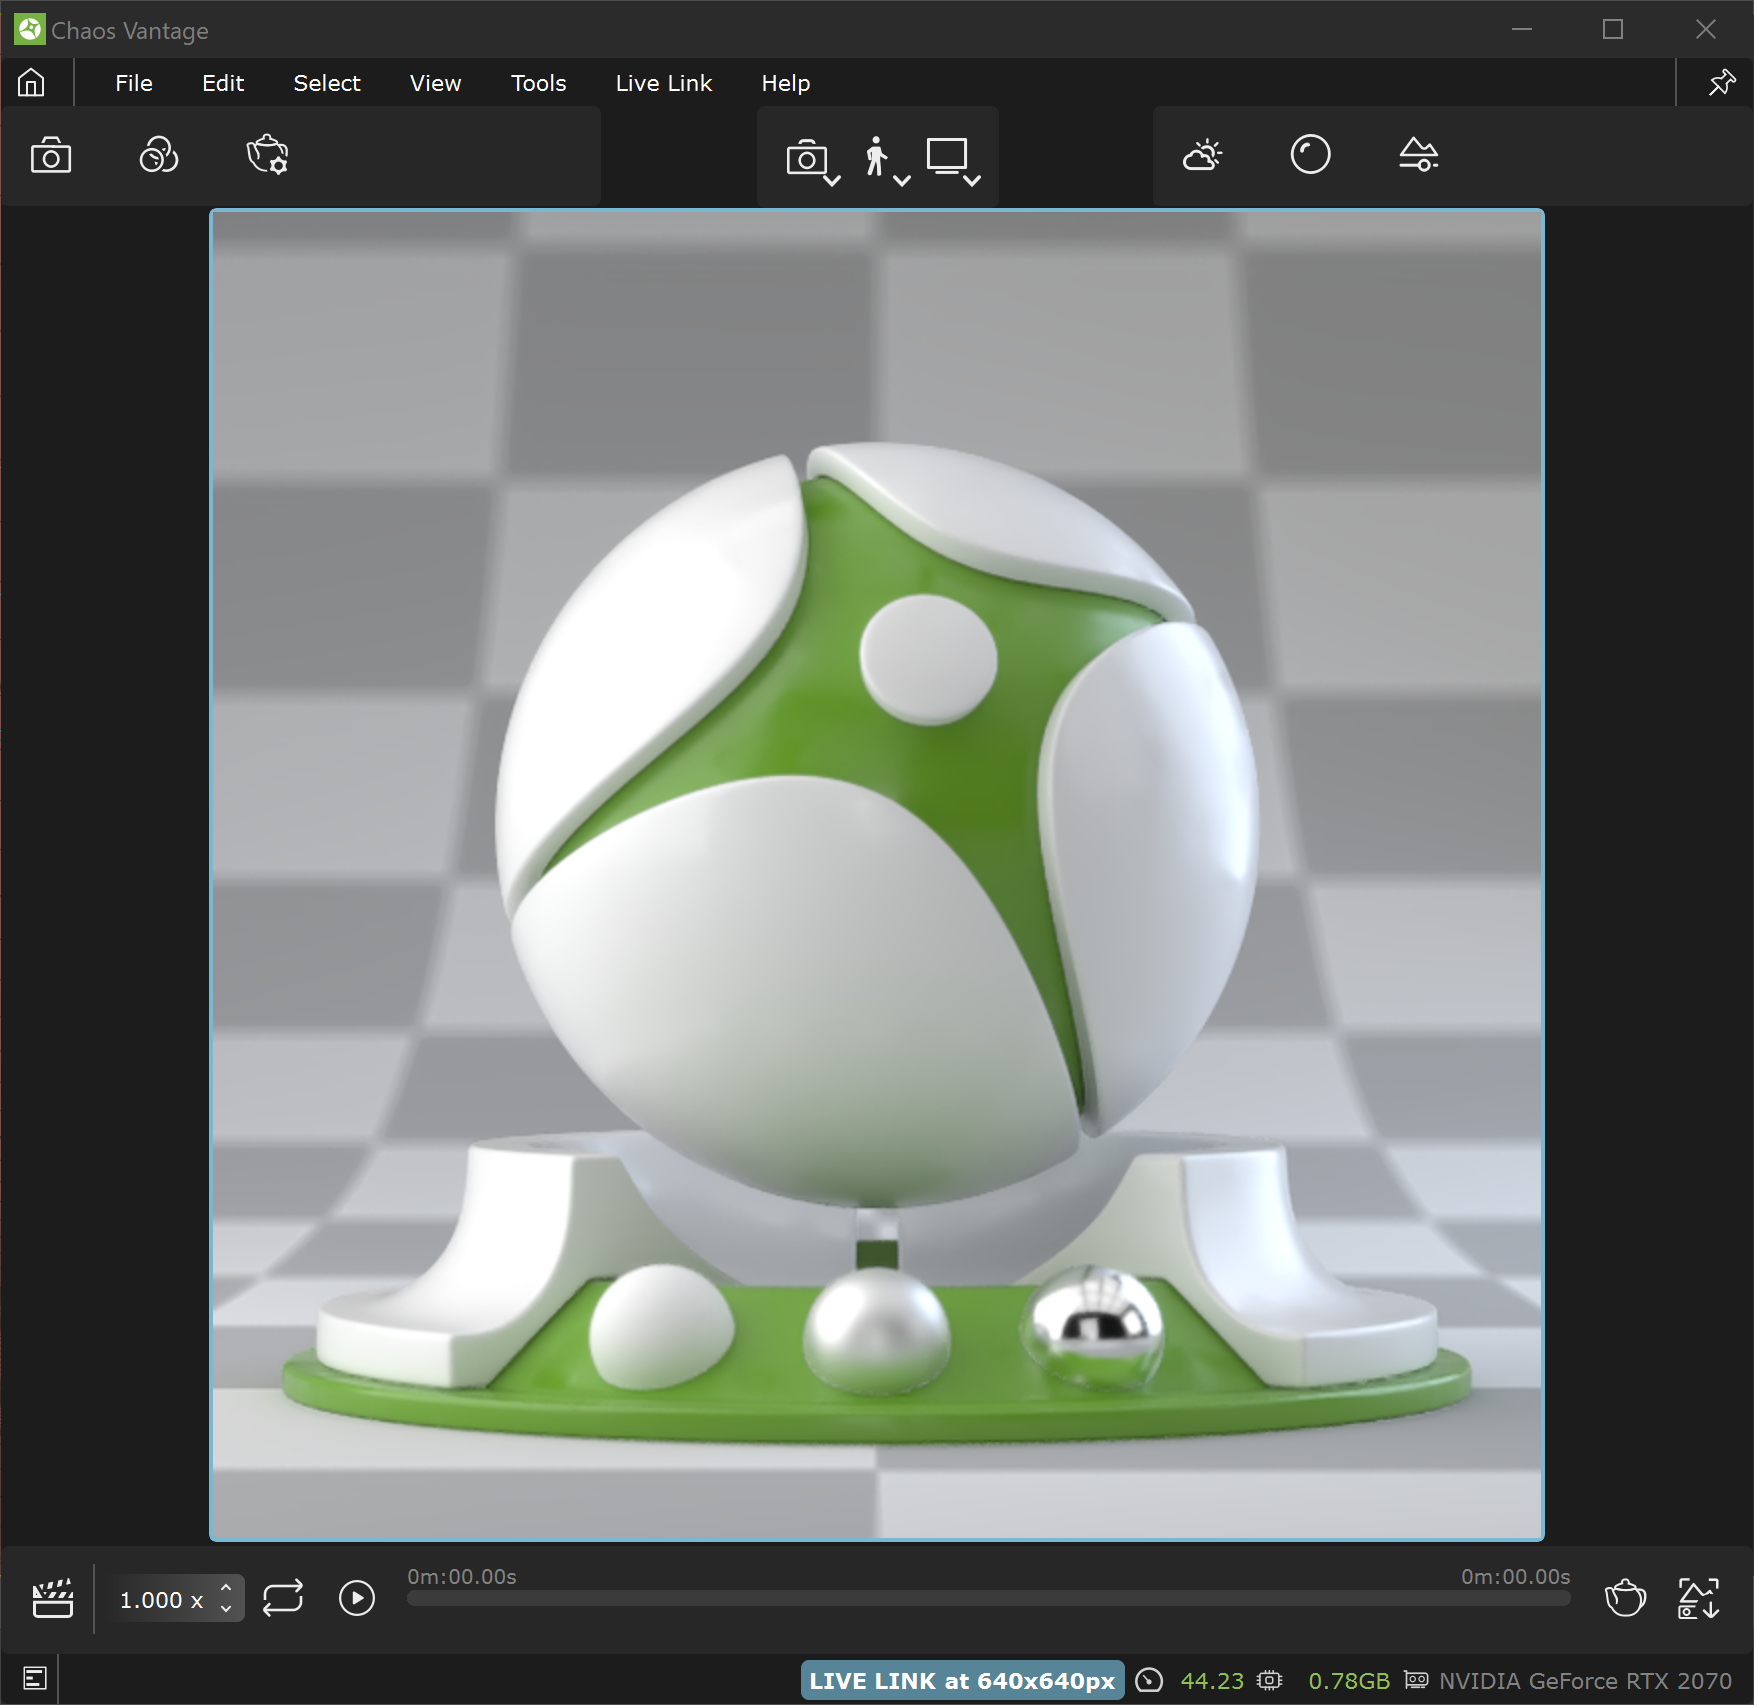
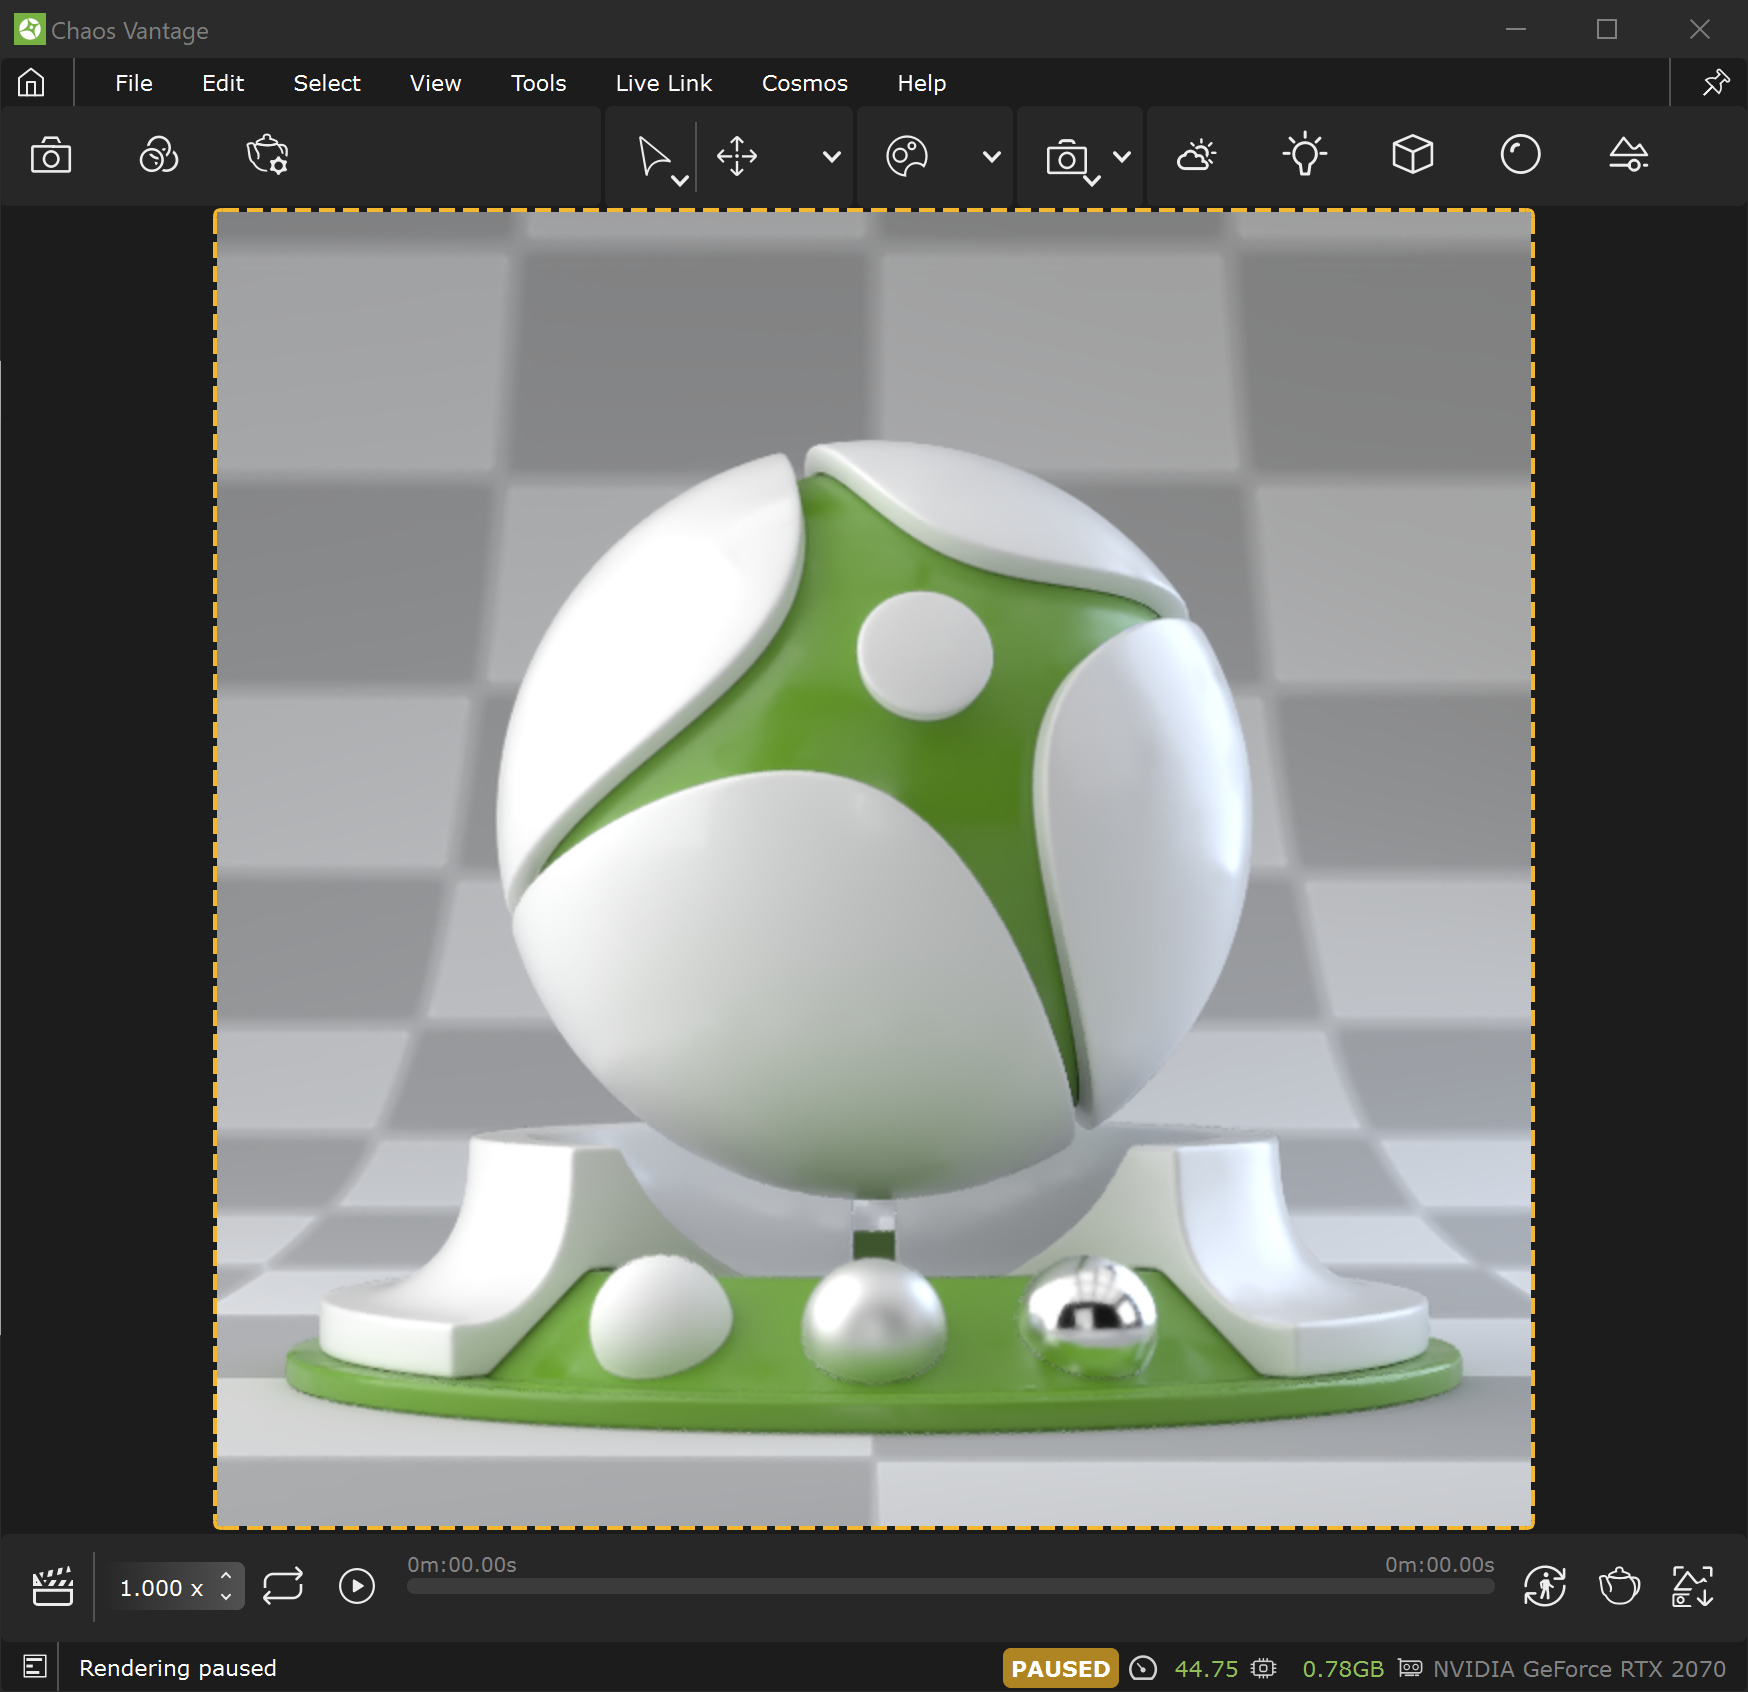
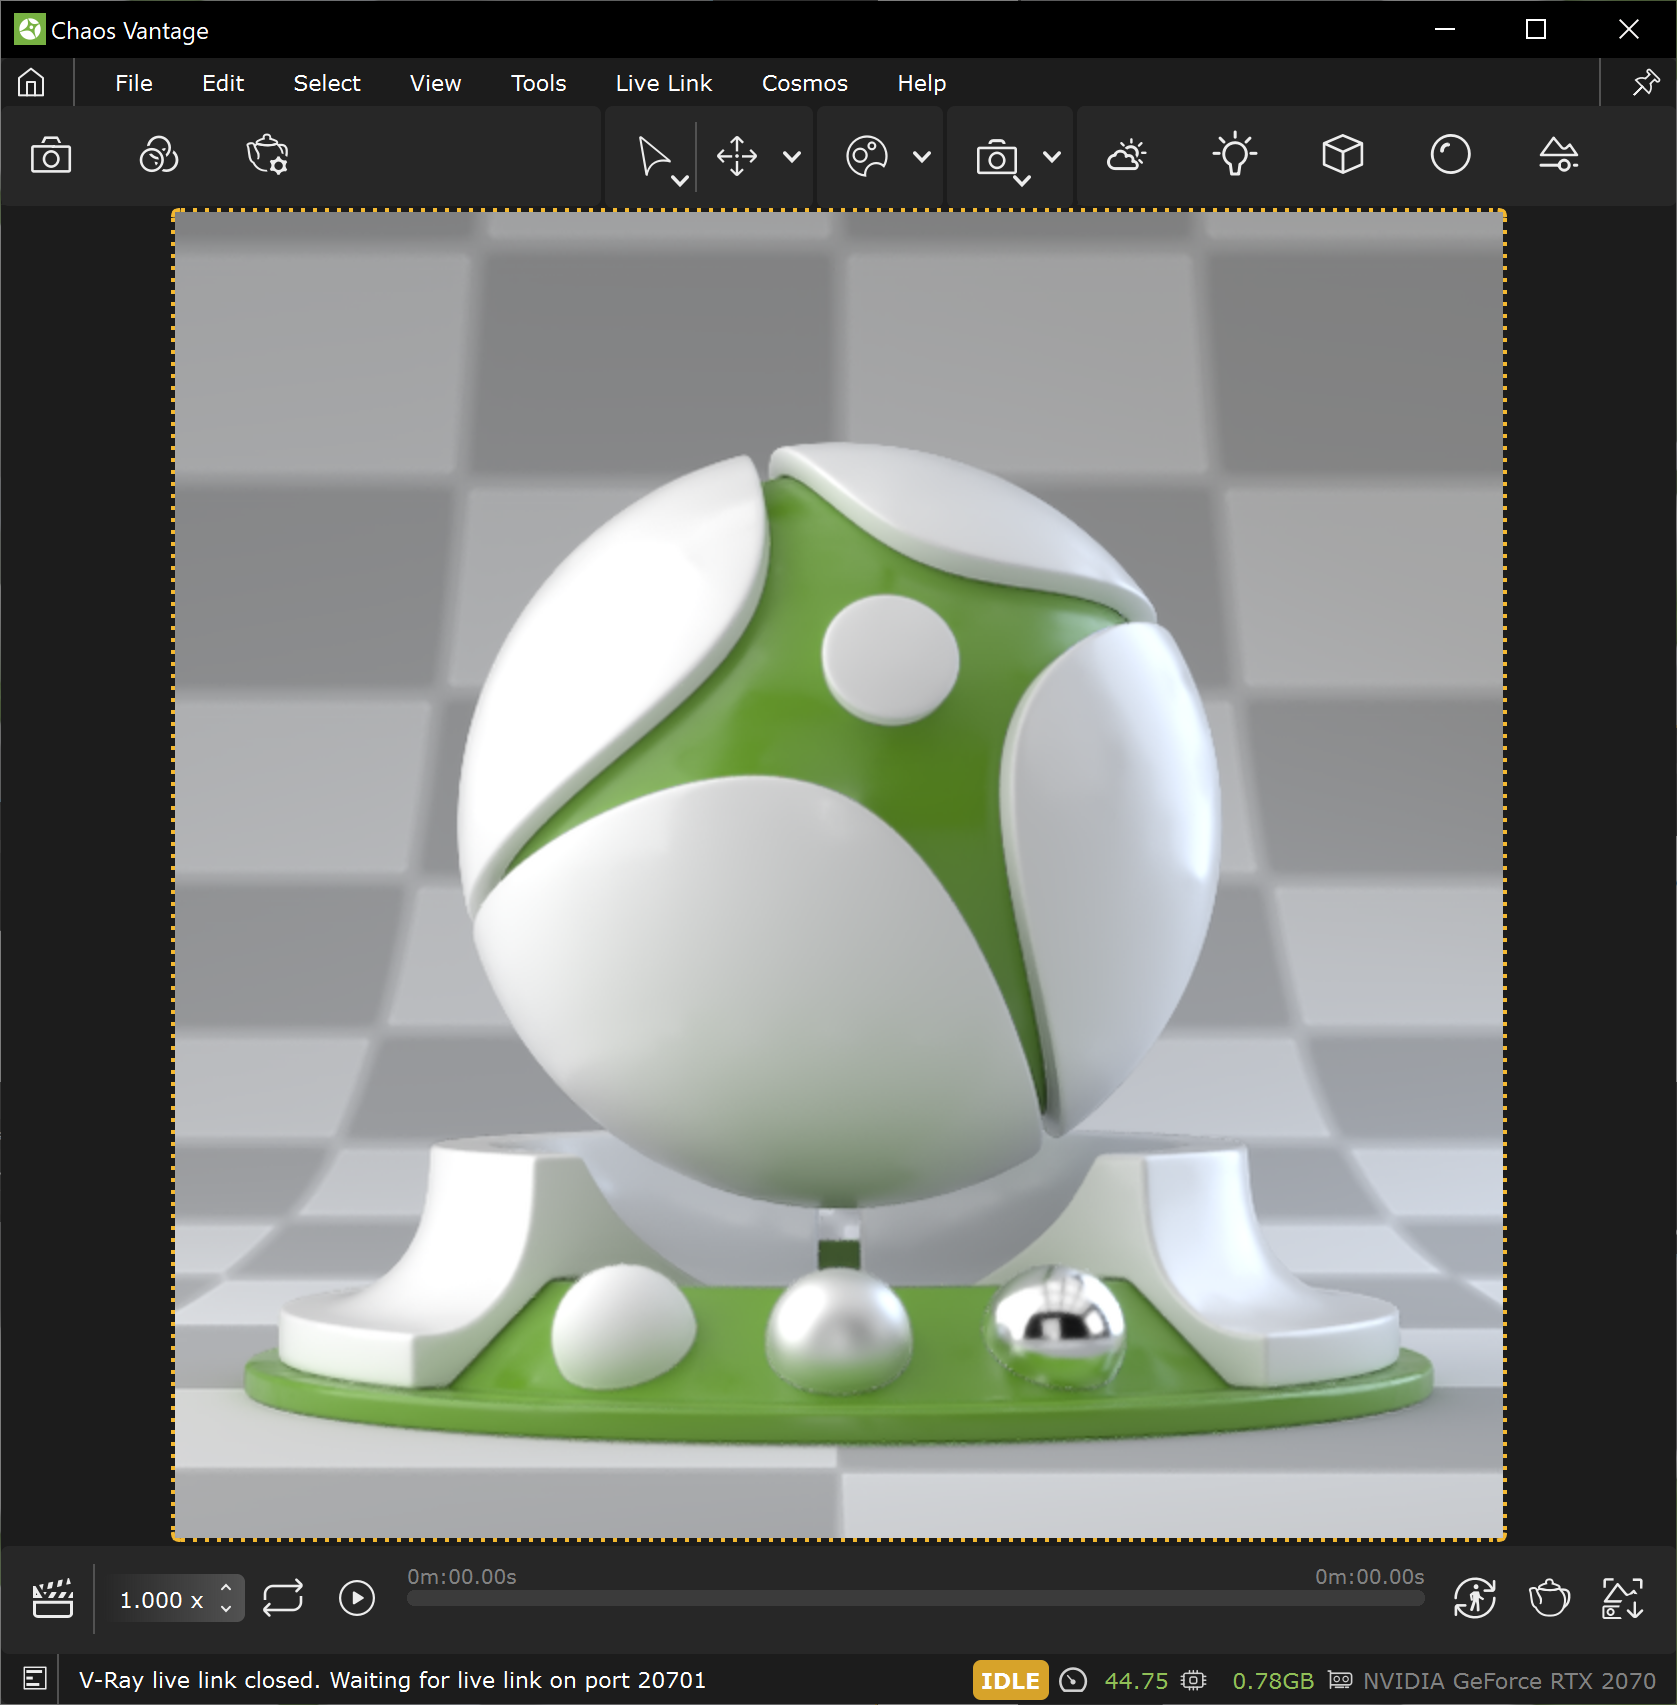
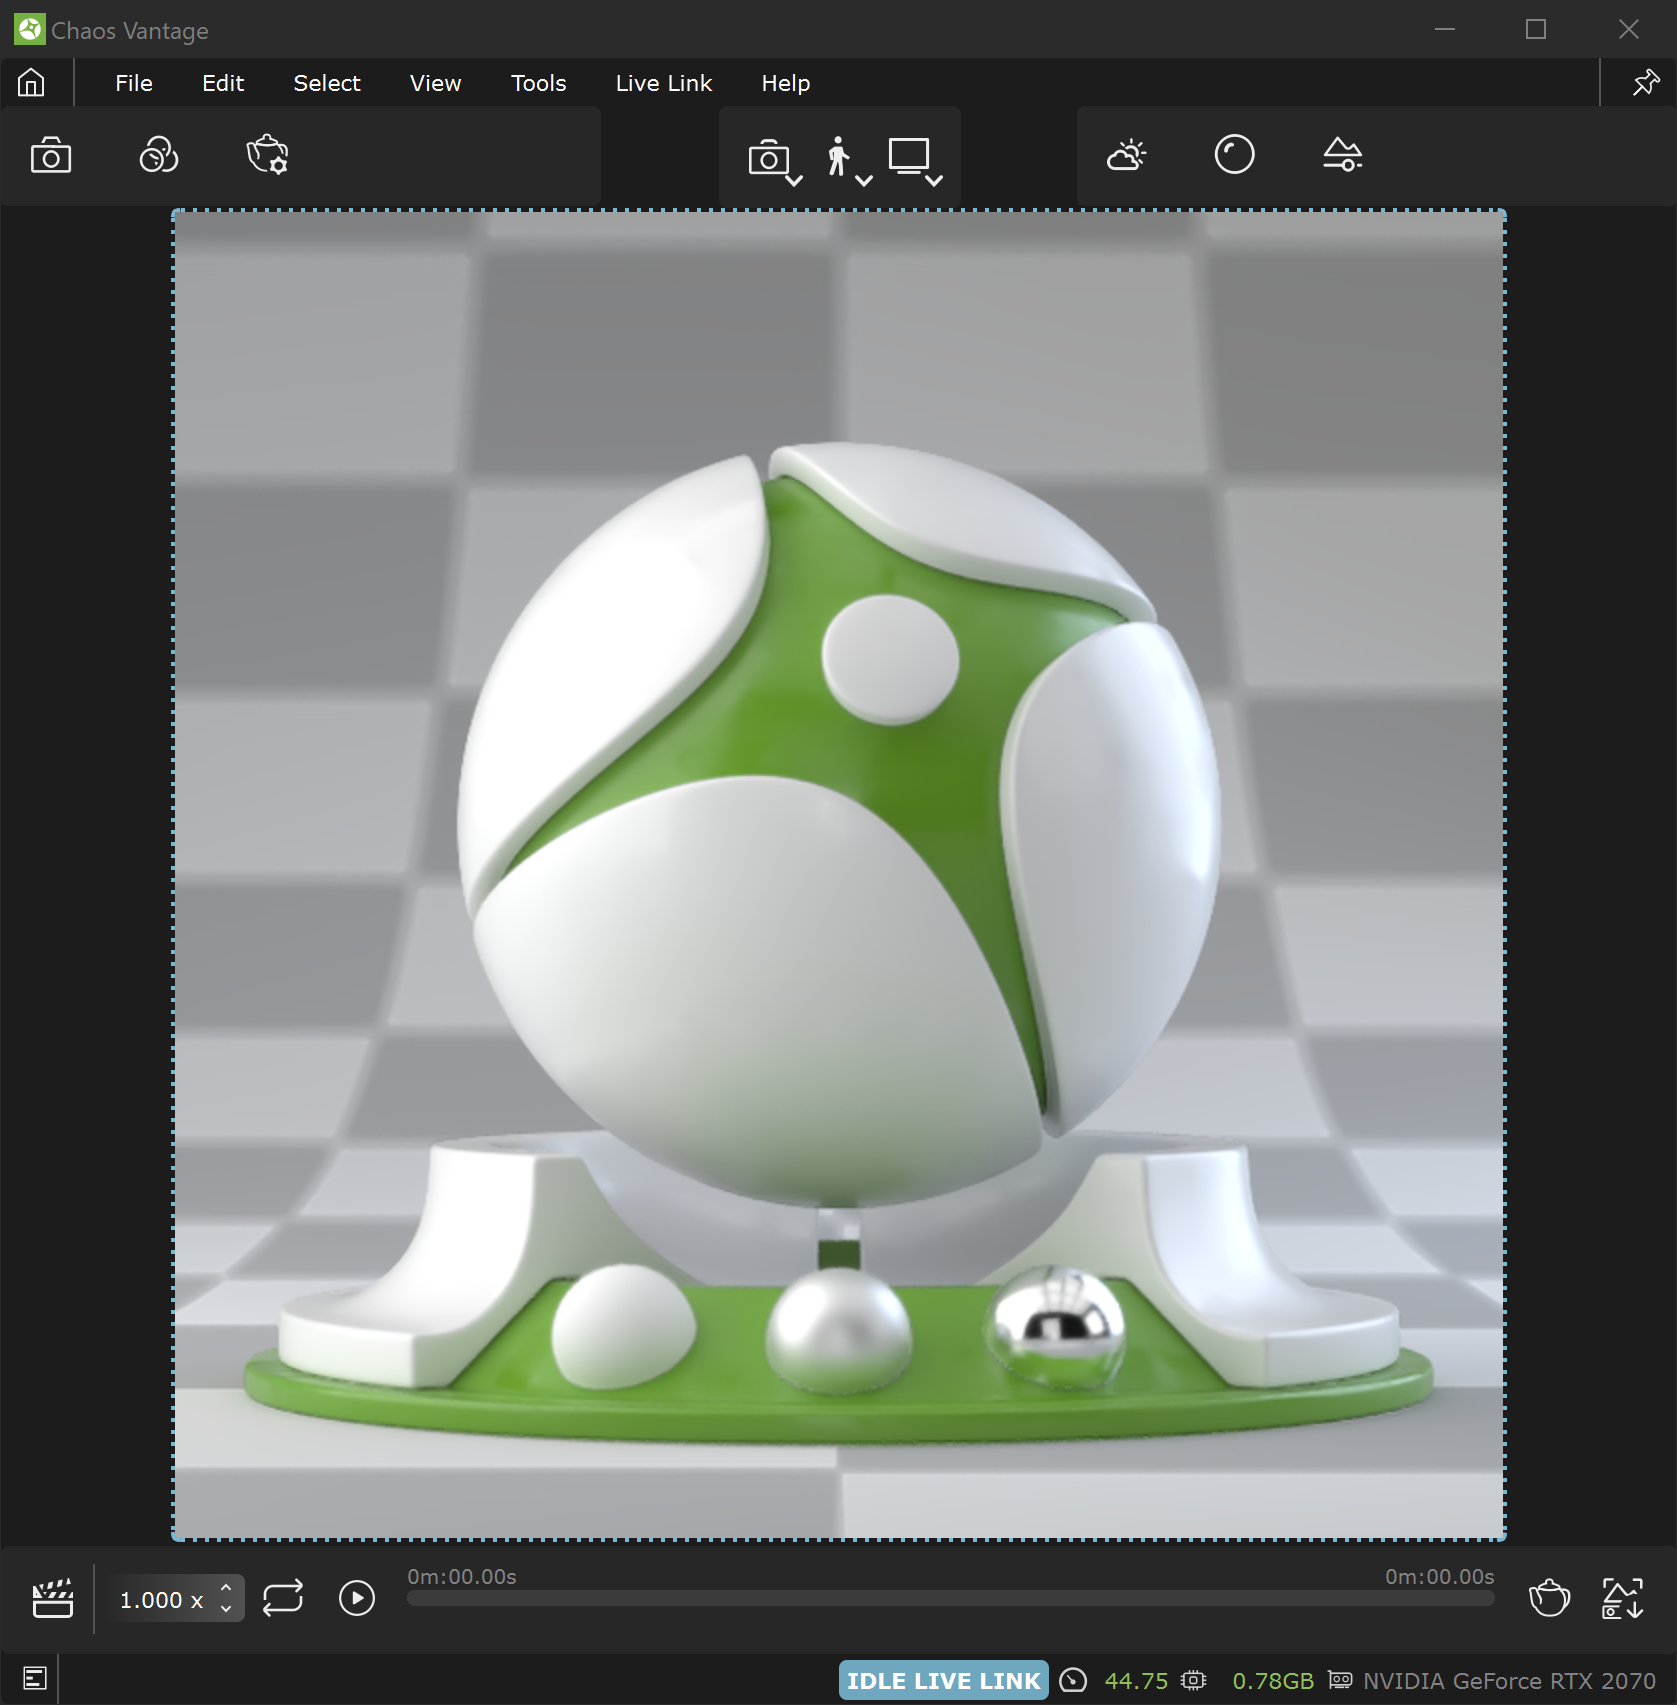
Chaos Vantage has three sets of toolbar buttons that reside in Top, Bottom and Status toolbars.
| UI Text Box | ||
|---|---|---|
| ||
Use the right mouse button click to reset the parameters numeric values to defaults. |
Top toolbar
| Section | |||||||||||||||
|---|---|---|---|---|---|---|---|---|---|---|---|---|---|---|---|
|

| Button | Description | ||||||
|---|---|---|---|---|---|---|---|
| Select. (Shortcut: Q)Not available when in Live Link.
Select group. (Shortcut: Shift+Q). Found by clicking and holding the Select button. Not available when in Live Link.
|

![]()
| |||||||||||
| Enters Move mode. (Shortcut: W). Use move gizmo's center cube to place objects on surface normal. Use Shift + move gizmo's center cube to place objects on surface without changing object orientation. Right-click opens the Move Transform dialogue.
|

![]()
| |||||||||||
| Enters Rotate mode. (Shortcut: E). Right-click opens the Rotate Transform dialogue.
|

Link.
| |||||||||||
| Enters Scale mode. (Shortcut: R). Right-click opens the Scale Transform dialogue.
|


|


| |||||||||||
| Translates an object's pivot point. Right-click opens the Translate Pivot dialogue. | ||||||||||
| Enables Transforms snapping (Shortcut: S). Right-click opens the Snapping options dialogue.
|
Visible only when Move, Rotate, |
Scale, or Translate pivot is selected.
| |||||
| Specifies the coordinate space for transformations. The default is World. Click the arrow to choose between World and Local space. Visible only when Move, Rotate, Scale, |

or Translate pivot is selected.
| |||||||||||
| Opens the Chaos Cosmos Browser window.
| ||||||||||
| Creates a new Chaos Scatter object. Not available when in Live Link. See the How to Work with Chaos Scatter tutorial. | ||||||||||
| Opens a dropdown menu with different lights types. Click on a light to create it. Available lights are: Point, Spot, Directional, Rectangle, Disc, Sphere, and IES. Not available when in Live Link. (Shortcut: L)
| ||||||||||
| Creates a new camera from current view. Not available when in Live Link. (Shortcut: Ctrl + K)
| ||||||||||
| Creates a new scene state with all necessary scene sub-states. Not available when in Live Link.
|


| |||||||
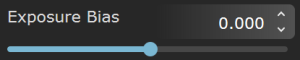
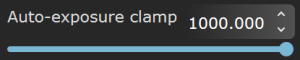
| Opens camera settings:
|

Auto exposure time.
|


|
| |||||||
| Opens navigation settings:
|

around cursor ray hit. See the Center of rotation section of the Navigation video.
Move speed – Specifies the speed at which the camera moves. The value is in meters per second. See the Move Speed section of the Navigation video. Eye height – Sets the eye height for the camera in meters when in Free look mode and Collision mode is enabled. Visible only when Collision mode is enabled. See the Eye Height section of the Navigation video.
Step height ratio – Adjusts sensitivity when climbing steps or obstacles. Higher values allow stepping on higher surfaces. Height tolerance – Specifies the height up to which no collision is detected. For example, if you have small rocks or grass below that value, they are ignored and the camera does not bounce up and down. Gravity – Specifies the acceleration applied on the camera when collision is enabled. | |
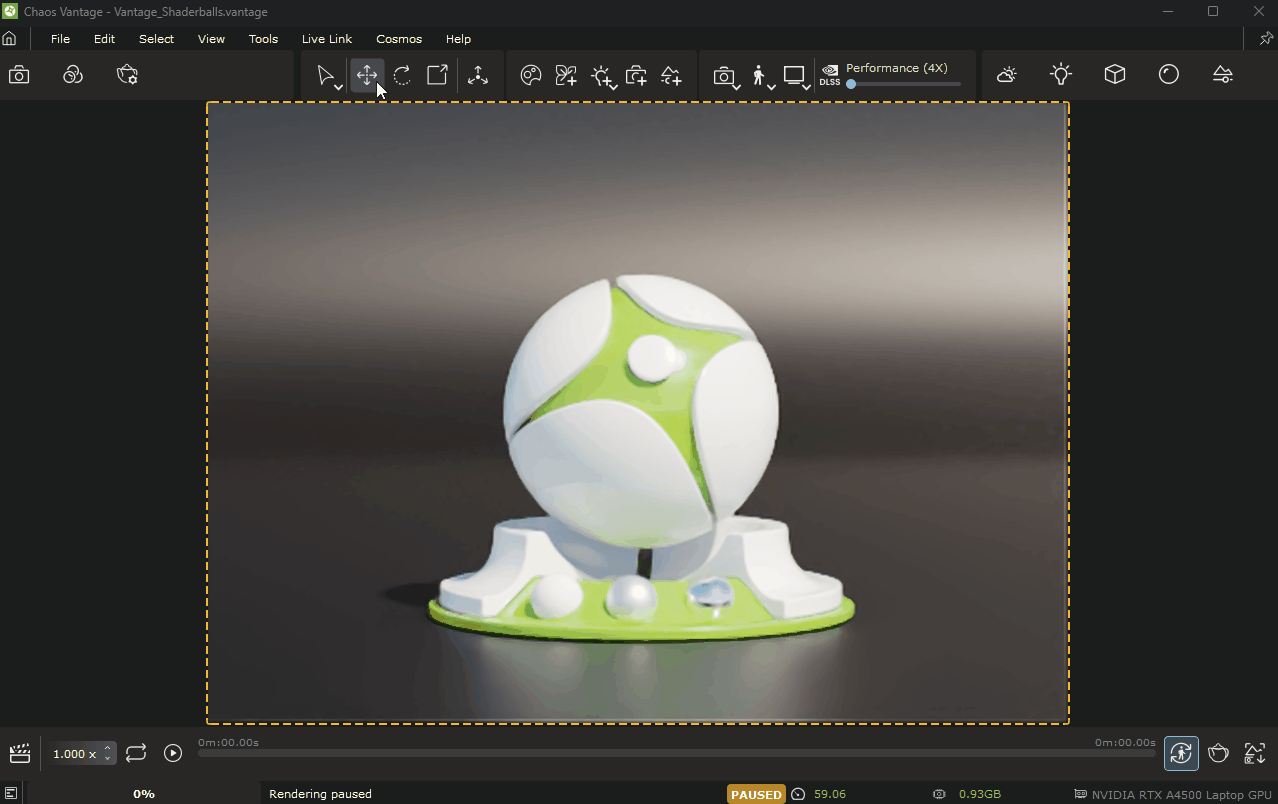
| Opens render settings:
|
Resumes rendering.
|


fully opaque.
|

|
viewport resolution keeping current camera aspect ratio.
|


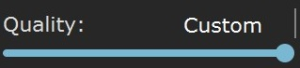
mode. Available view modes are:
Beauty – Previews the complete render.
Low – Sets the rendering quality using the following values: GI – Off; Medium – Sets the rendering quality using the following settings: GI - On; High – Sets the rendering quality using the following settings: GI – On; Ultra – Sets the rendering quality using the following settings: GI – On; Custom – Sets the rendering quality using the settings from the Render settings tab.
| |||||||||||||||
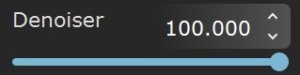
| Enables NVIDIA upscaling denoiser. Switches the render core to render at half the resolution and upscales the result to match the required resolution. Available only when Primary denoiser in Edit>Preferences>Render defaults is set to NVIDIA OptiX AI and driver version is 530 or newer. | ||||||||||||||
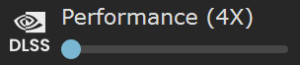
| Sets the quality of NVIDIA DLSS denoiser and upscaler. Available only when Primary denoiser in Edit>Preferences>Render defaults is set to DLSS Ray Reconstruction and driver version is 537.13 or newer. Performance (4X) – Switches the render core to render at half the resolution and upscales the result to match the required resolution and performs spatial and temporal anti-aliasing. |


Bottom Toolbar
| Section | |||||||||||||||
|---|---|---|---|---|---|---|---|---|---|---|---|---|---|---|---|
|

| Button | Description | ||||||||||
|---|---|---|---|---|---|---|---|---|---|---|---|
| Expands the Animation Editor. | ||||||||||
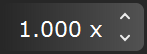
| Sets the playback speed. | ||||||||||
| When enabled, loops the animation. | ||||||||||
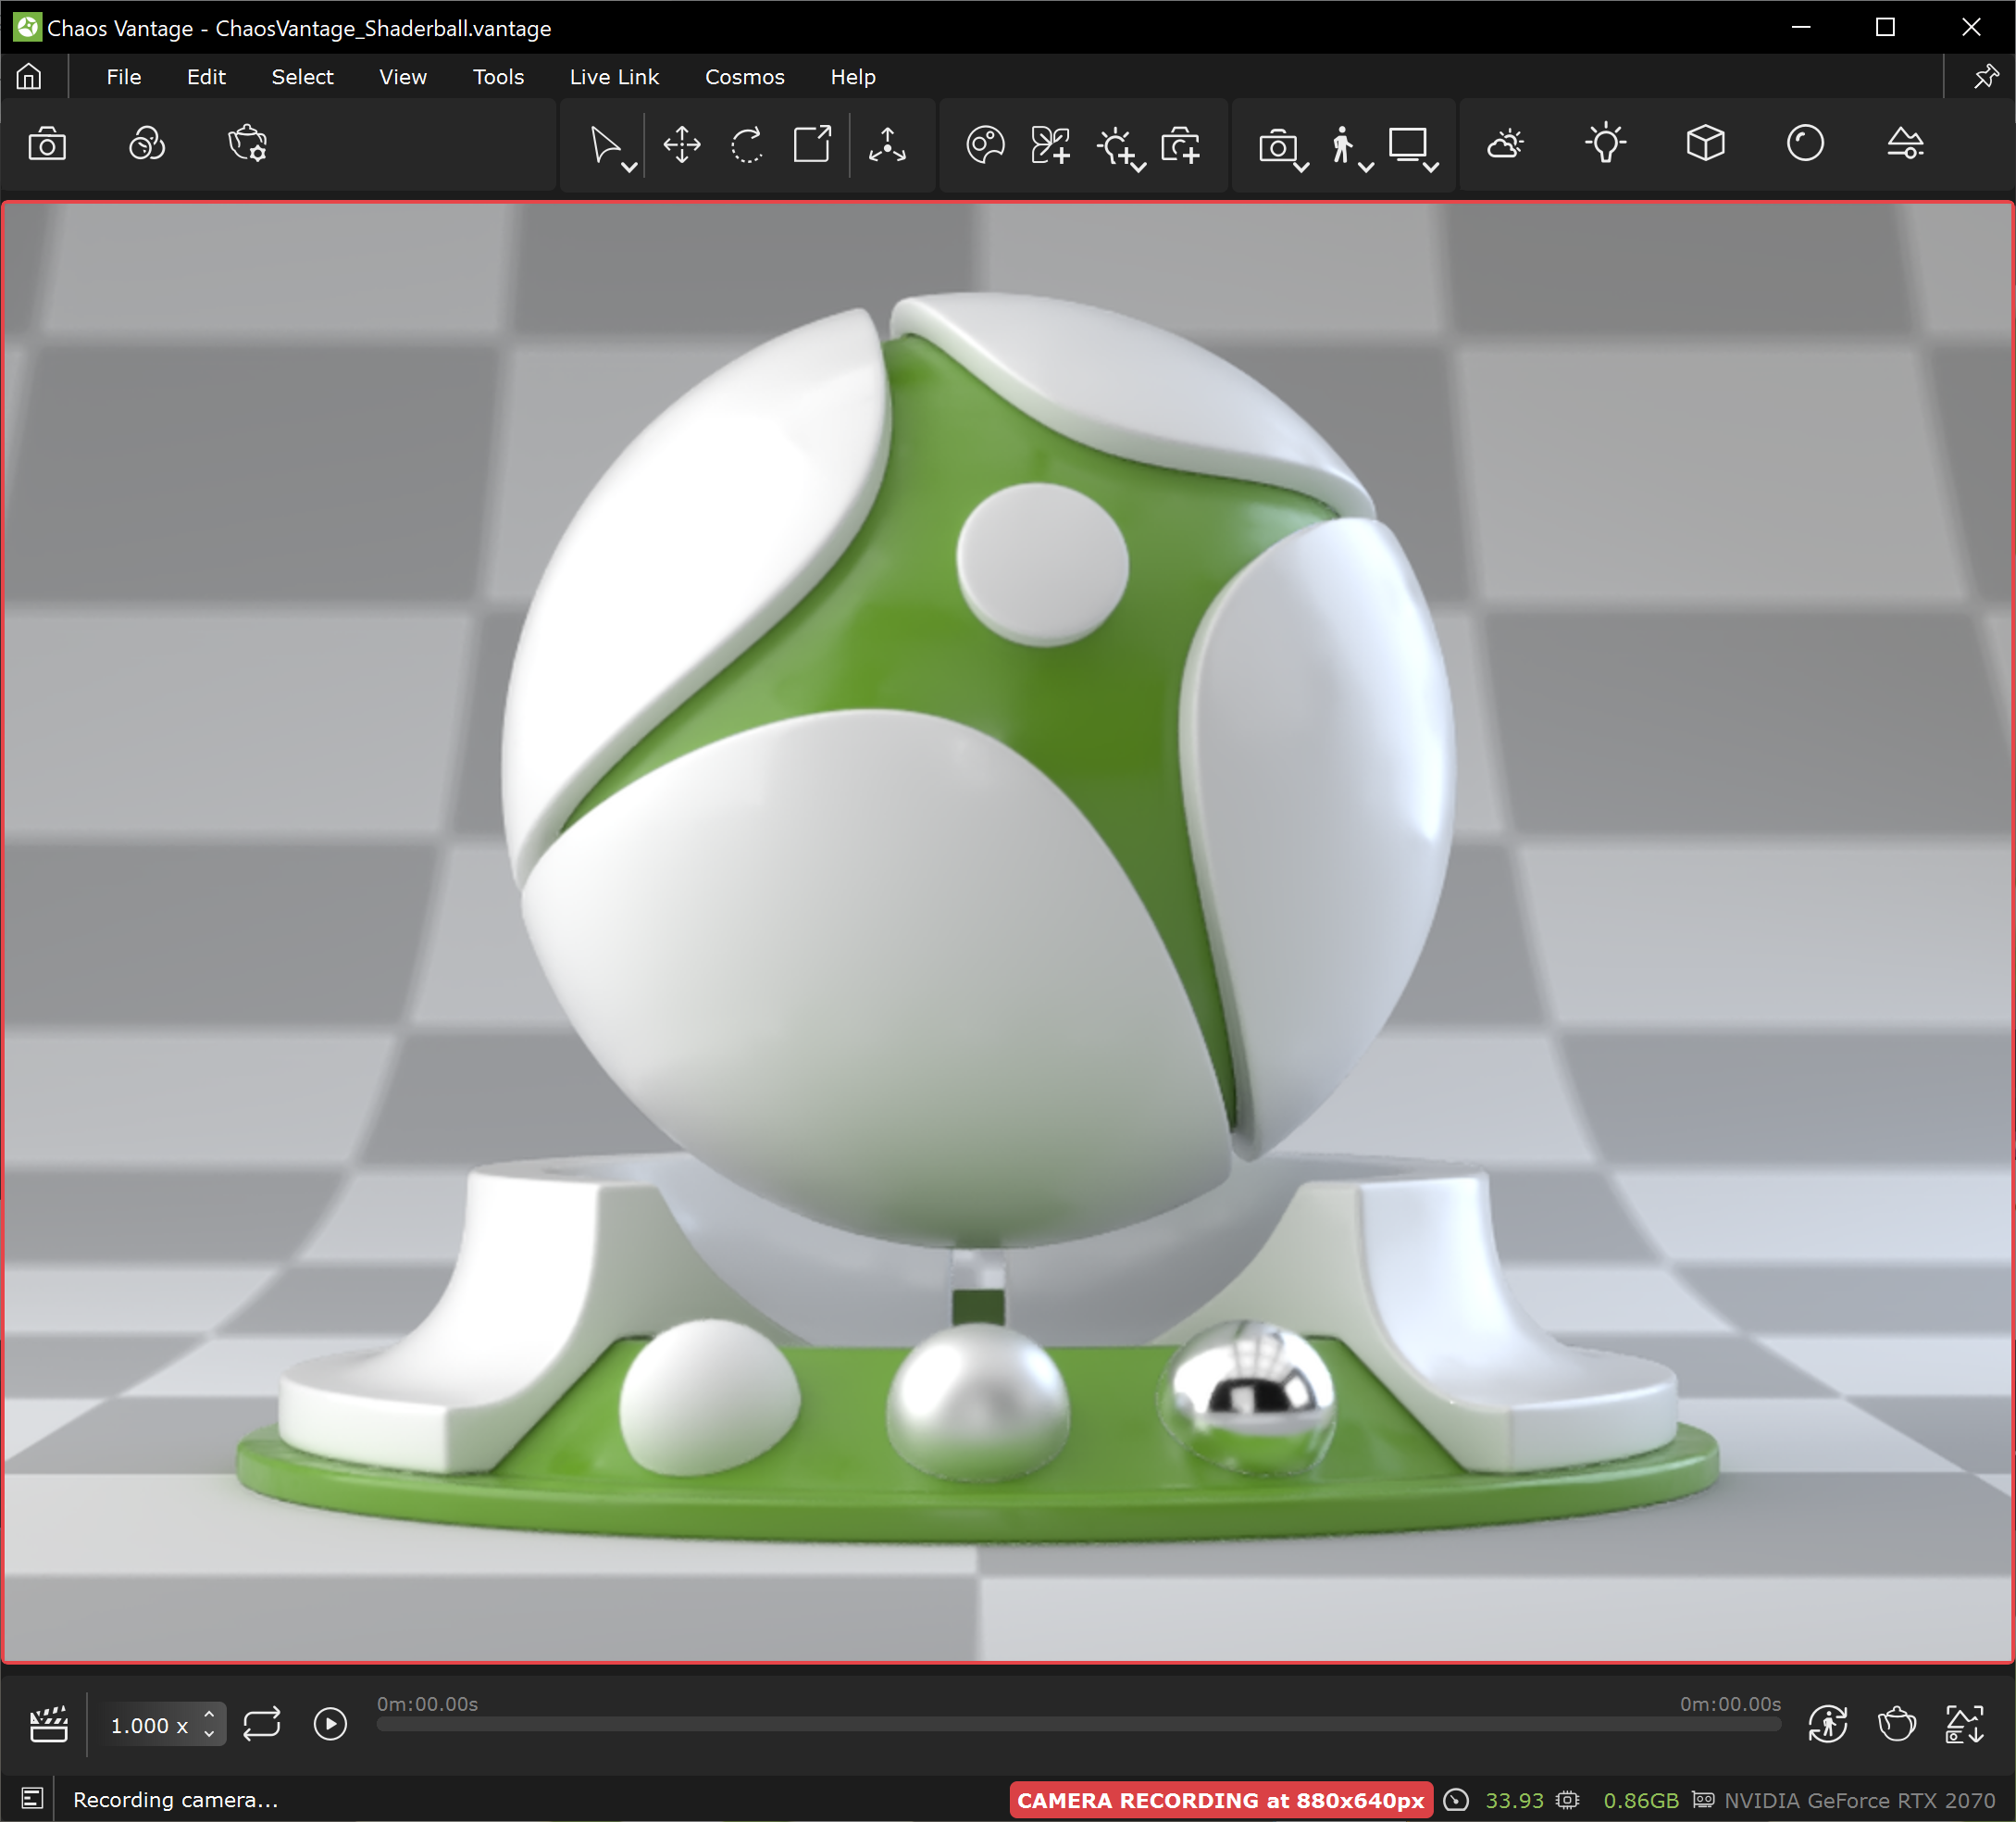
| Plays the animation. (Shortcut: Space ) | ||||||||||
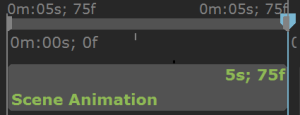
| Sets start of animation sequence | ||||||||||
| Sets end of animation sequence | ||||||||||
| When enabled, automatically updates image sequences and animated meshes for the current frame of the timeline or when scrubbing the timeline. Does not update when playing the animation from the Play button. Not available in Live Link. (Shortcut: U) | ||||||||||
| Opens Render setup dialog.
| ||||||||||
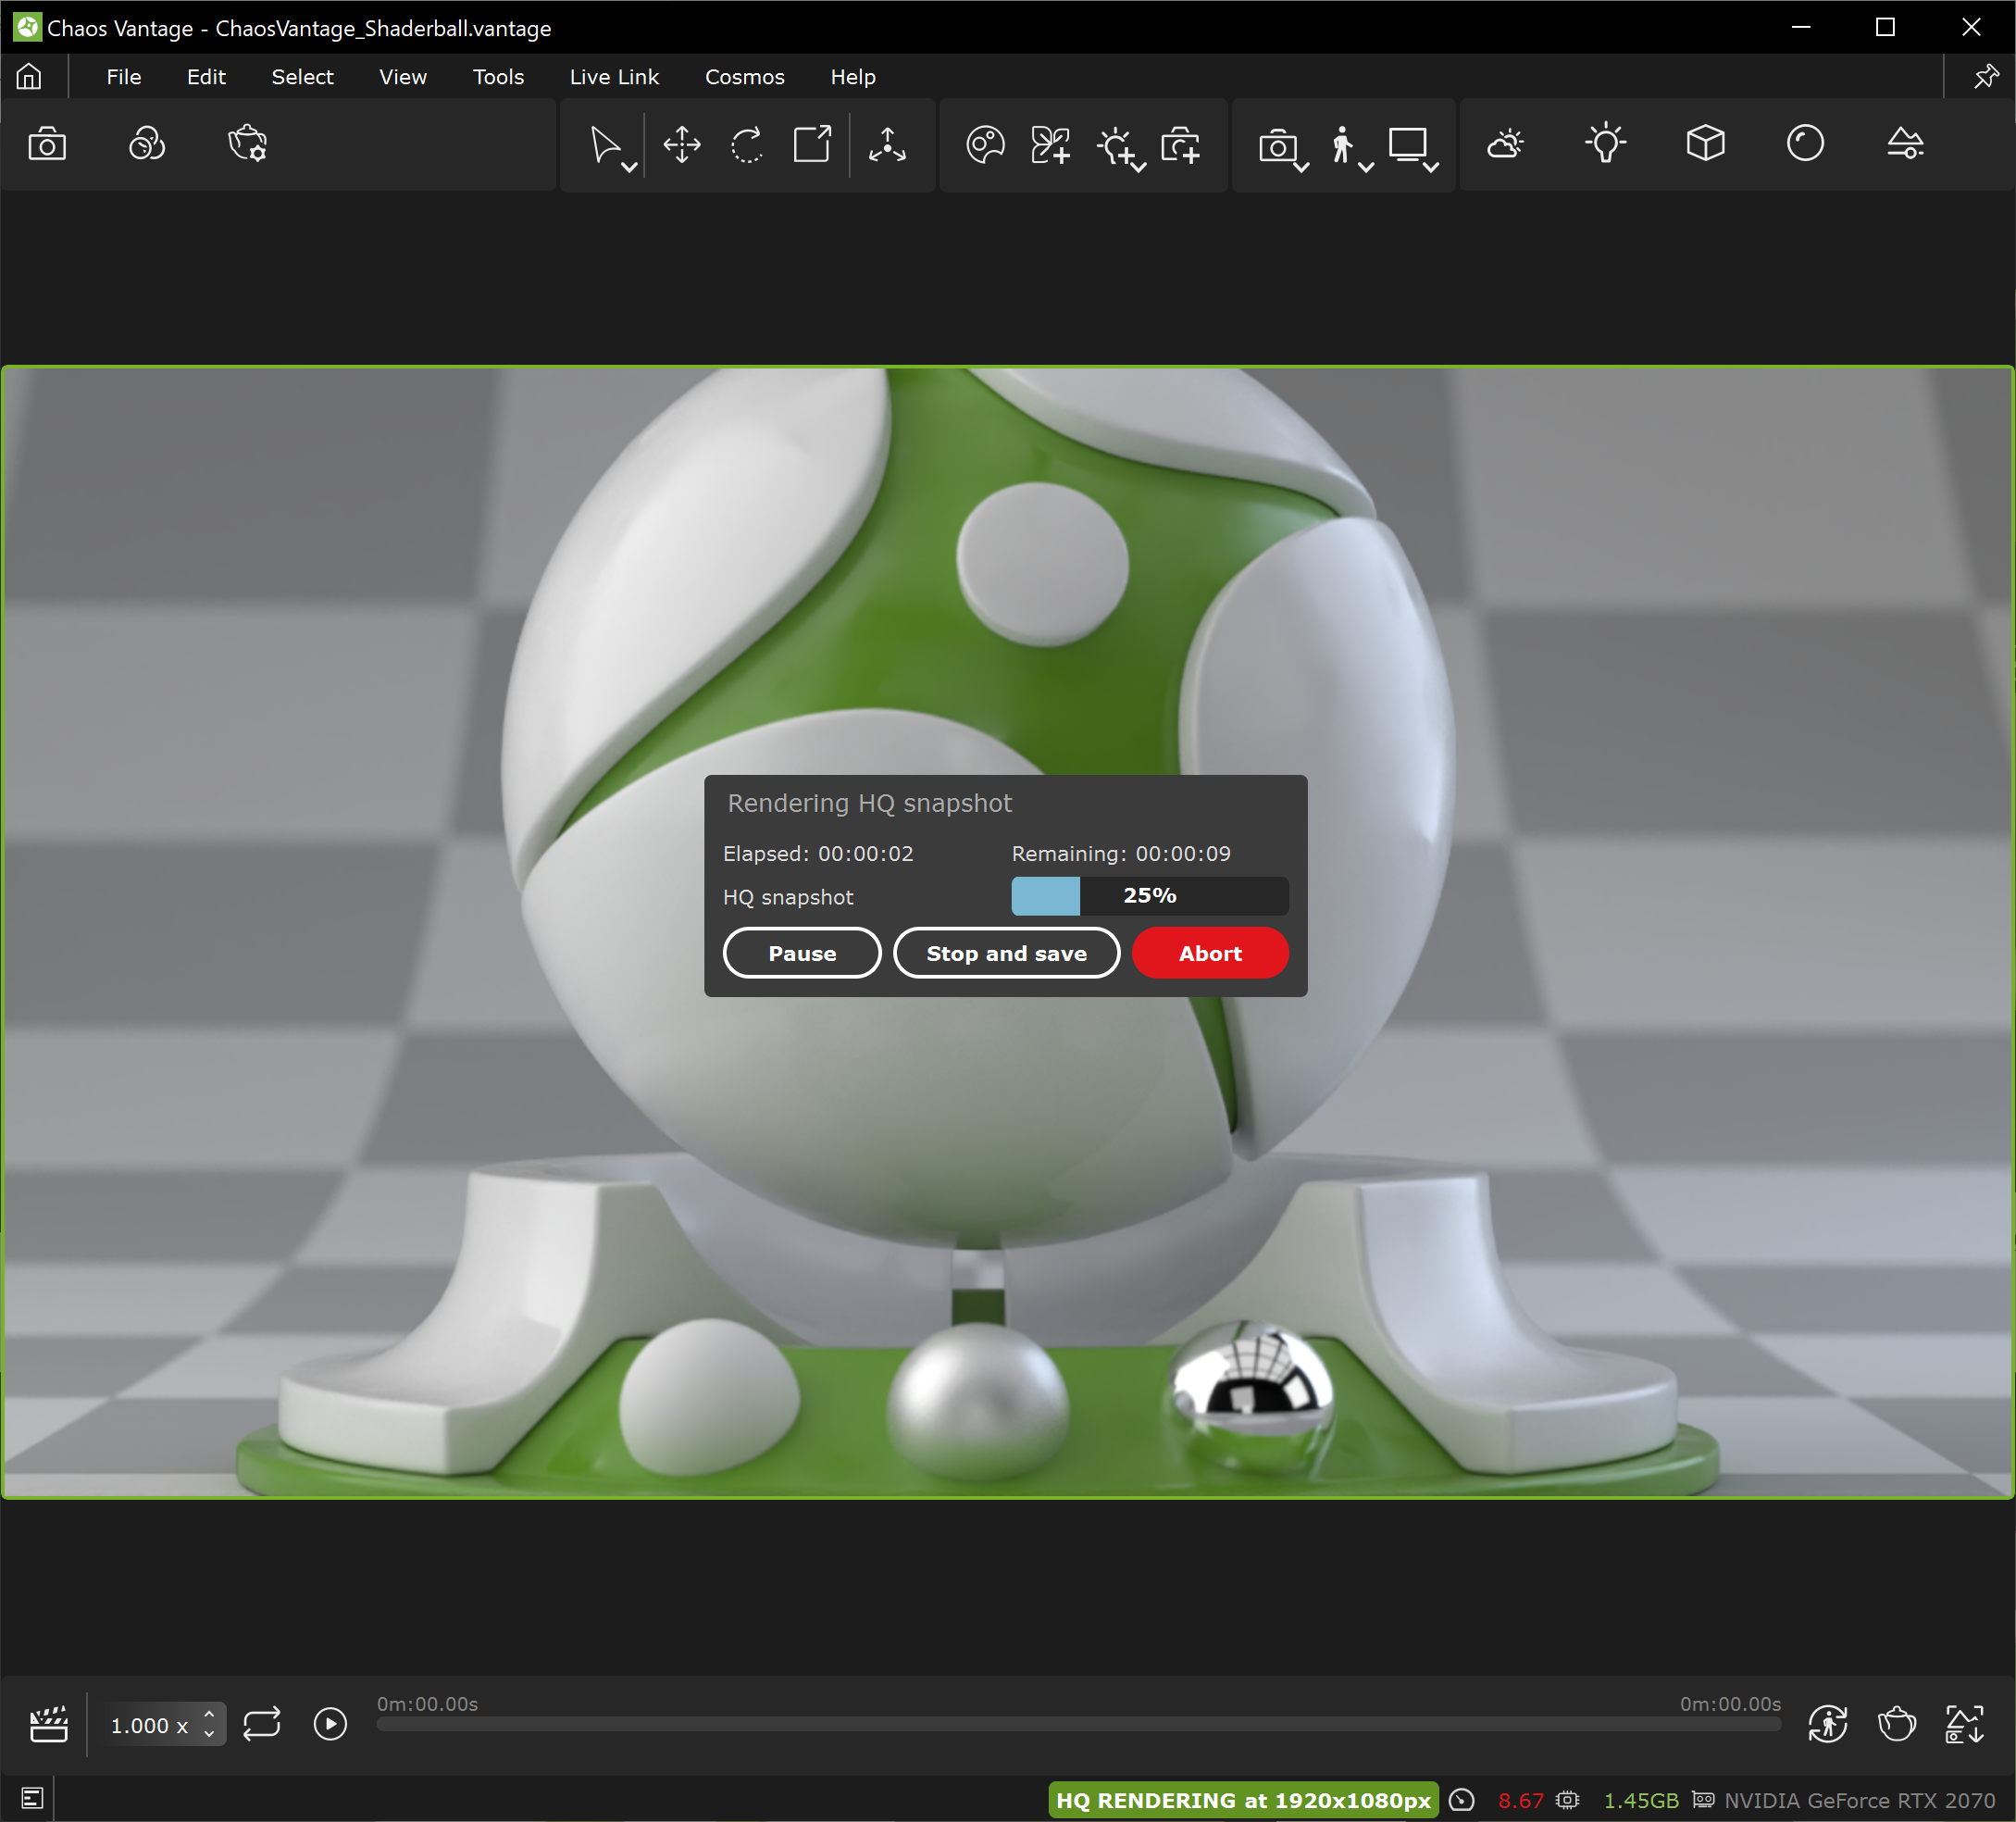
| Saves a high quality snapshot of the current view in the project folder from where the scene file has been imported. |
| UI Text Box | ||
|---|---|---|
| ||
You can crop your animation sequence using the Set Start and Set End markers |
For more information on how to use the bottom toolbar buttons, check the Create Camera Animations in Animation Editor tutorial.
Status Bar
The status bar resides in the bottom of Chaos Vantage. Here you can find information about:
Left-hand side
| Section | ||||||||||||||||||||
|---|---|---|---|---|---|---|---|---|---|---|---|---|---|---|---|---|---|---|---|---|
|

Right-hand side
| Section | ||||||||||||||||||||
|---|---|---|---|---|---|---|---|---|---|---|---|---|---|---|---|---|---|---|---|---|
|

| Expand | |||||||||||||||||||||||||||||||||||||||
|---|---|---|---|---|---|---|---|---|---|---|---|---|---|---|---|---|---|---|---|---|---|---|---|---|---|---|---|---|---|---|---|---|---|---|---|---|---|---|---|
| |||||||||||||||||||||||||||||||||||||||
|

| Section | |||||||||||||||||||||||||
|---|---|---|---|---|---|---|---|---|---|---|---|---|---|---|---|---|---|---|---|---|---|---|---|---|---|
|