This page offers information about the toolbars of Chaos Vantage.
Overview
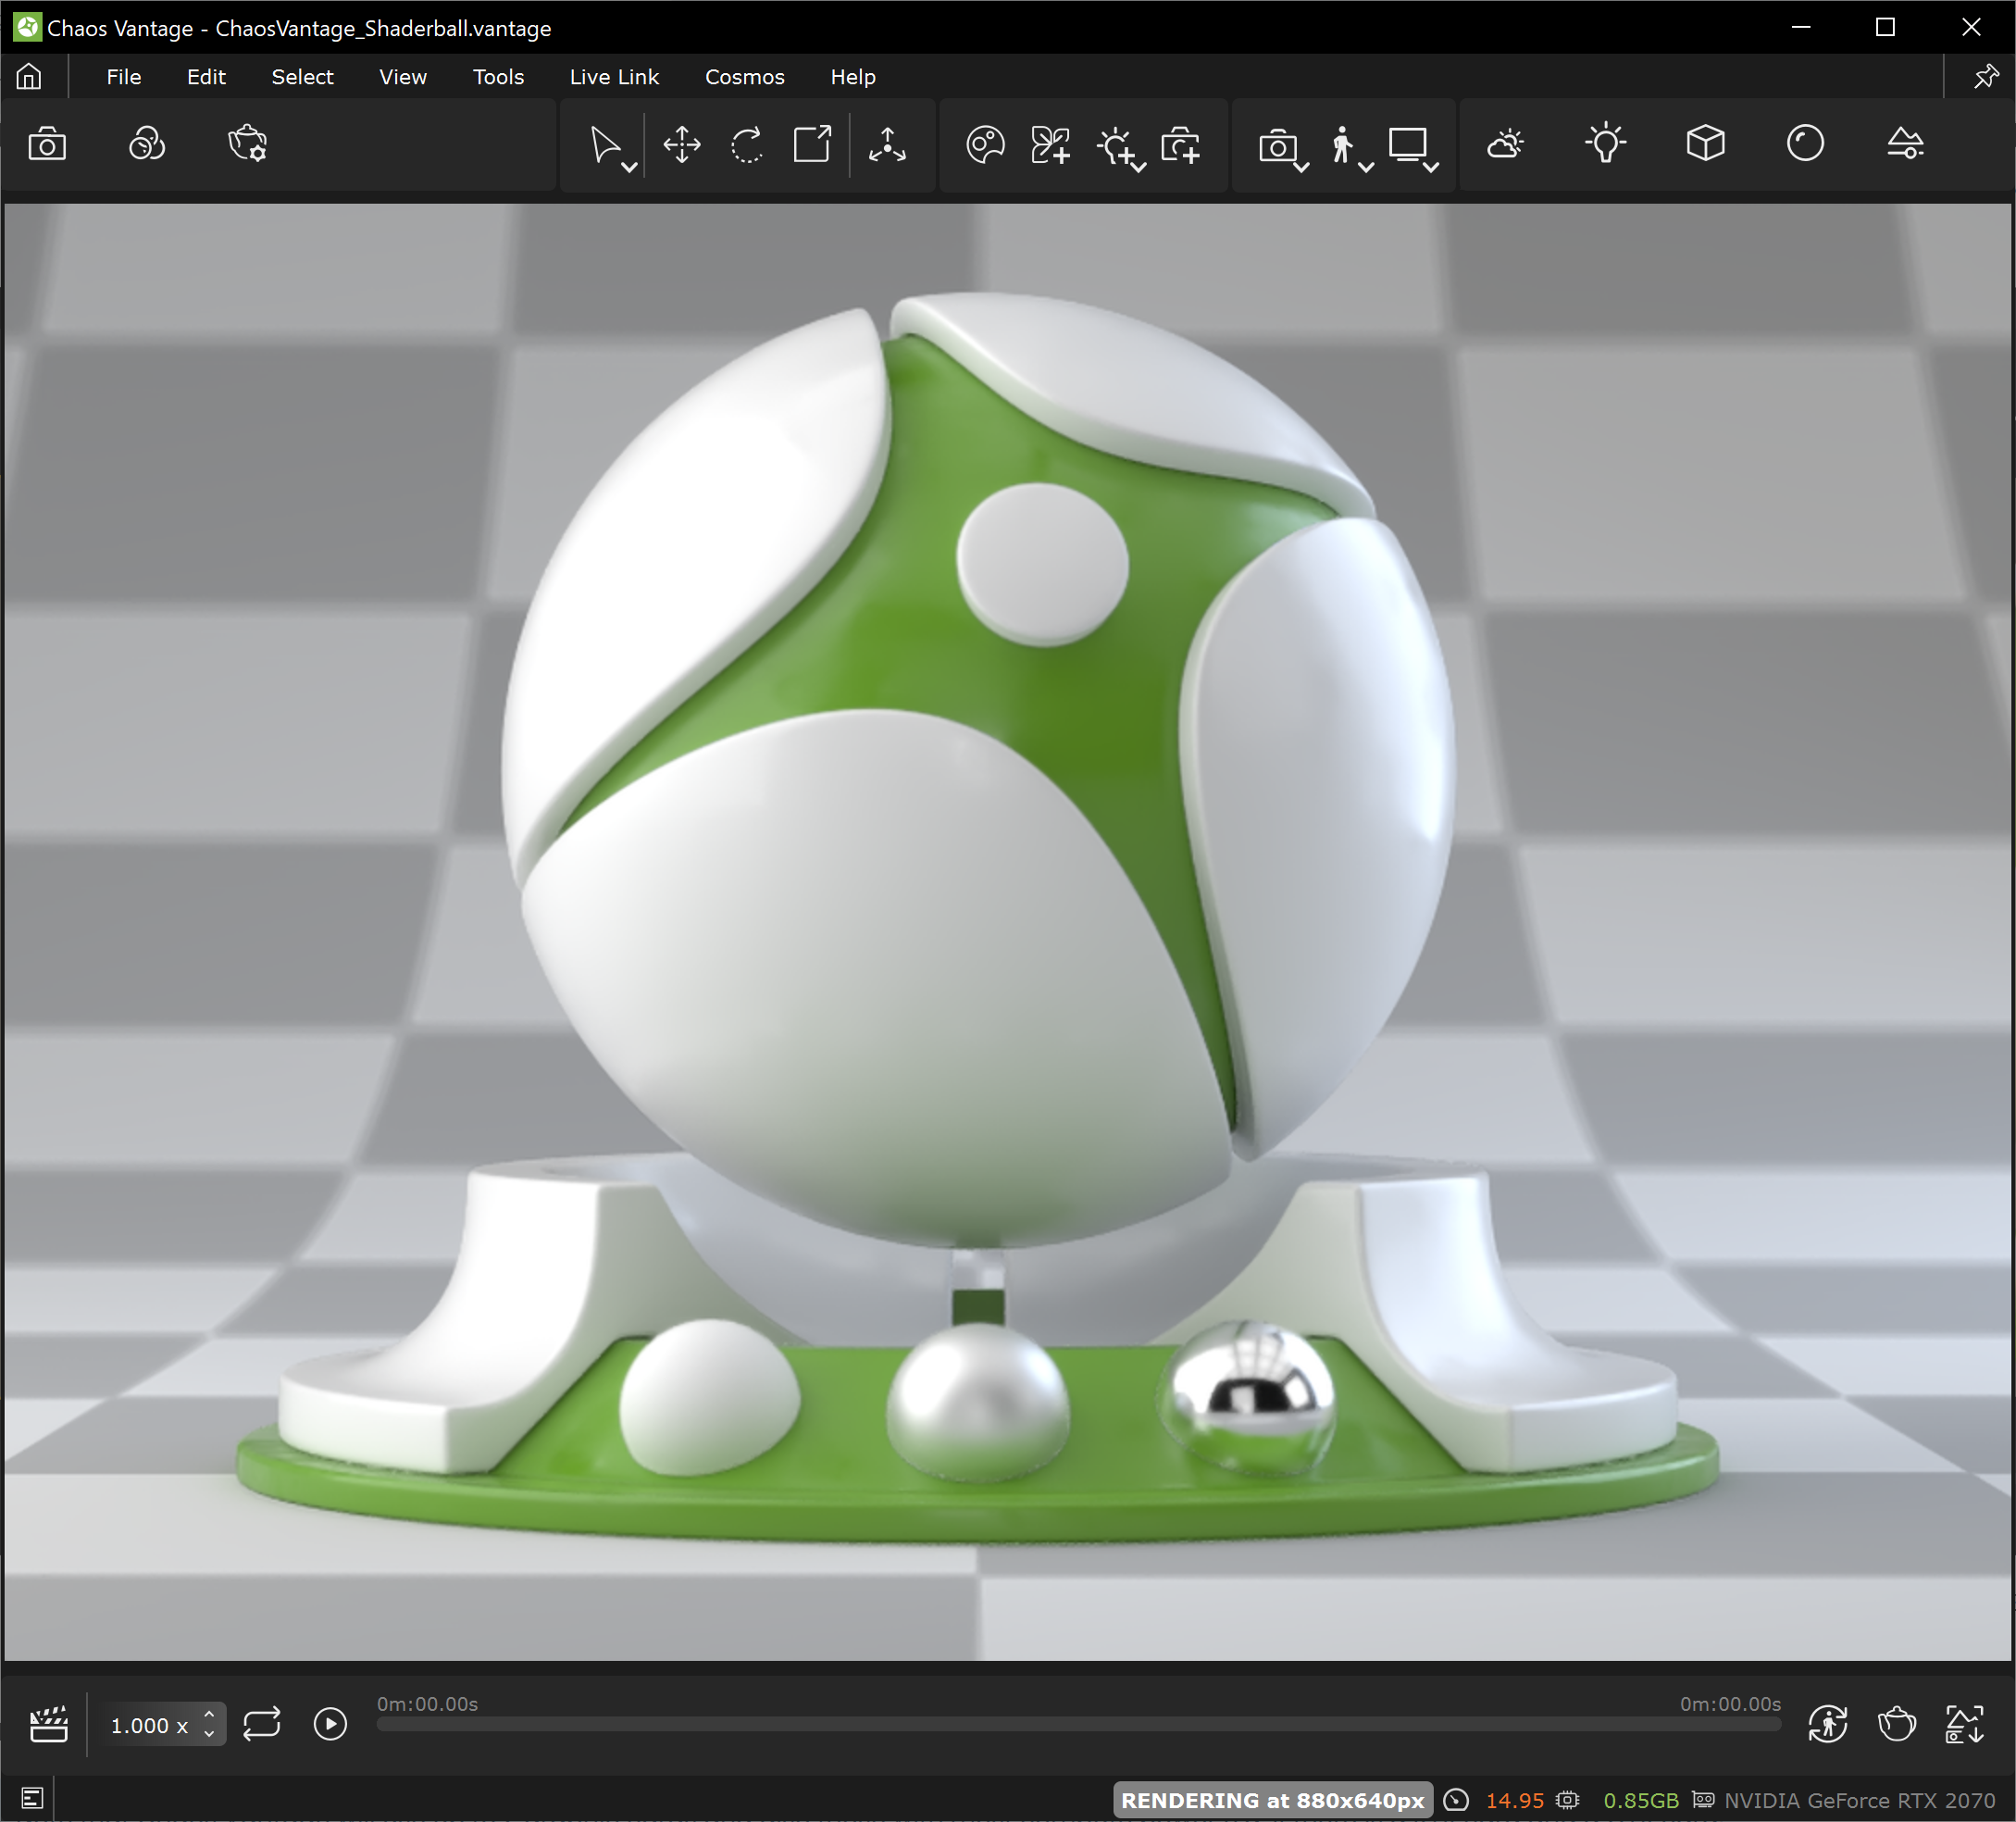
Chaos Vantage has three sets of toolbar buttons that reside in Top, Bottom and Status toolbars.
Use the right mouse button click to reset the parameters numeric values to defaults.
Top toolbar
| Button | Description |
|---|---|
Selection and transformation toolbar | |
Select. (Shortcut: Q) Not available when in Live Link. Select group. (Shortcut: Shift+Q). Found by clicking and holding the Select button. Not available when in Live Link. | |
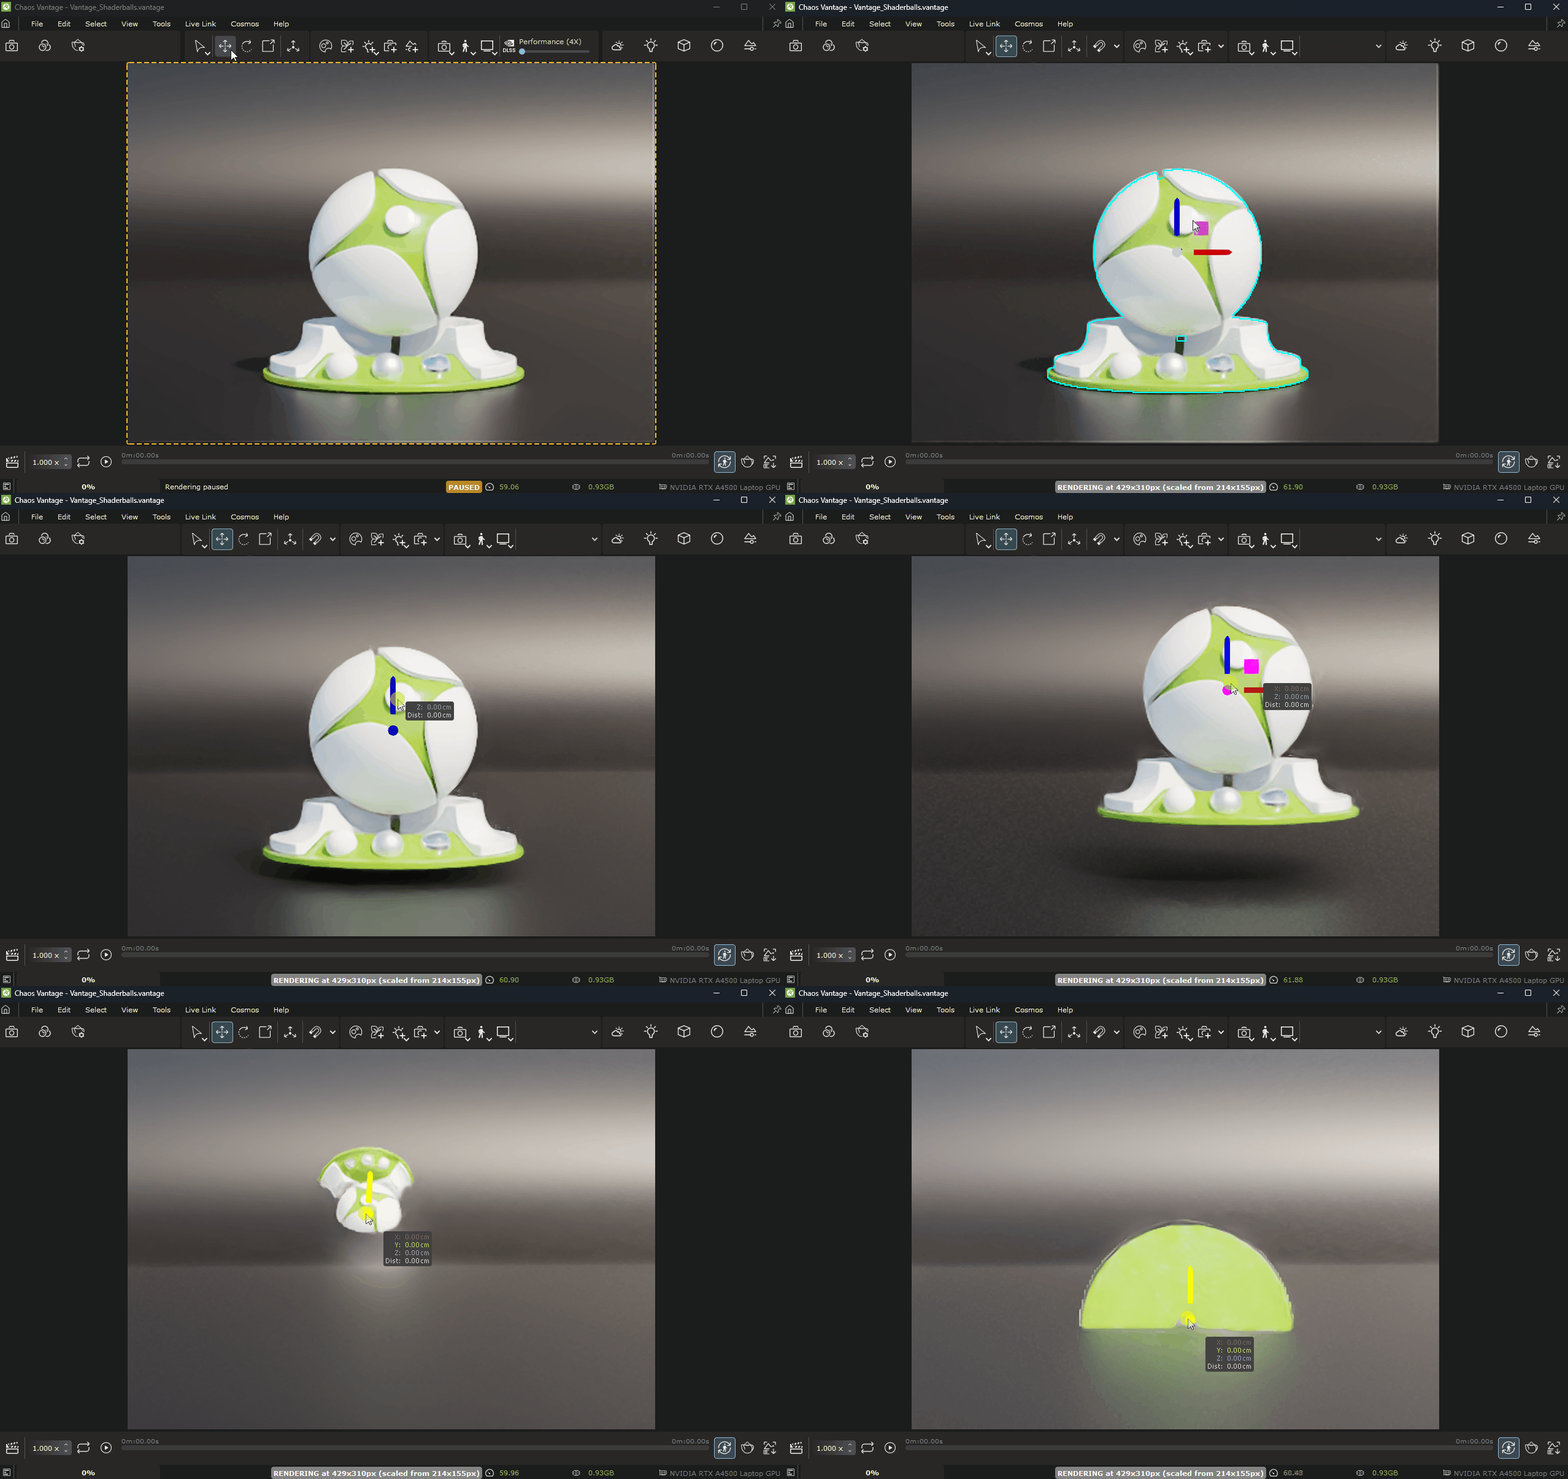
Enters Move mode. (Shortcut: W). Use the move gizmo's center cube to place objects on surface normal. Use Shift + move gizmo's center cube to place objects on surface without changing object orientation. Right-click opens the Move Transform dialogue. DetailsNot available when in Live Link. | |
Enters Rotate mode. (Shortcut: E). Right-click opens the Rotate Transform dialogue. DetailsNot available when in Live Link. | |
Enters Scale mode. (Shortcut: R). Right-click opens the Scale Transform dialogue. DetailsNot available when in Live Link. | |
Translates an object's pivot point. Right-click opens the Translate Pivot dialogue. DetailsNot available when in Live Link. See the How to move and adjust pivot points in Chaos Vantage video. | |
Enables Transforms snapping (Shortcut: S). Right-click opens the Snapping options dialogue. DetailsVisible only when Move, Rotate, Scale, or Translate pivot is selected. | |
Specifies the coordinate space for transformations. The default is World. Click the arrow to choose between World and Local space. Visible only when Move, Rotate, Scale, or Translate pivot is selected. | |
Creation toolbar | |
Opens the Chaos Cosmos Browser window. DetailsNot available when in Live Link. See the Shading Scenes with Chaos Cosmos Materials tutorial. | |
| Creates a new Chaos Scatter object. Not available when in Live Link. See the Working with Chaos Scatter tutorial. | |
| Creates a new Fur object. Not available when in Live Link. | |
| Creates a new Decal object. Not available when in Live Link. | |
| Creates a new Clipper object. Not available when in Live Link. | |
| Creates a new Water Surface object. Not available when in Live Link. | |
Opens a dropdown menu with different lights types. Click on a light to create it. Available lights are: Point, Spot, Directional, Rectangle, Disc, Sphere, and IES. Not available when in Live Link. (Shortcut: L) | |
Creates a new camera from current view. Not available when in Live Link. (Shortcut: Ctrl + K) | |
Creates a new scene state with all necessary scene sub-states. Not available when in Live Link. Details | |
Settings toolbar | |
Opens camera settings: – Enables/disables automatic calculation of exposure. When enabled, ignores set camera exposure. Transition time between exposure can be set in Edit > Preferences > Interaction > Auto exposure time. – Picks focus point.(Shortcut: T) – Enables composition guides overlay. Right-click opens the Composition guides settings dialogue.Details – Adjusts the Exposure bias value. – Sets the auto-exposure max range value. | |
Opens navigation settings: – Enters Free look mode. (Shortcut: `) See the Freelook section of the Navigation video. – Enters Collision mode. It allows the camera to collide into objects instead of going through them. Works only in Free look mode. (Shortcut: C) See the Collision section of the Navigation video. – Navigates around cursor ray hit. See the Center of rotation section of the Navigation video. – Navigates around target. – Navigates around selection. – Increases the mouse precision for navigation. This option is useful for fine camera adjustments. Move speed – Specifies the speed at which the camera moves. The value is in meters per second. See the Move Speed section of the Navigation video. Eye height – Sets the eye height for the camera in meters when in Free look mode and Collision mode is enabled. Visible only when Collision mode is enabled. See the Eye Height section of the Navigation video. – Opens advanced collision settings. Visible only when Collision mode is enabled. Step height ratio – Adjusts sensitivity when climbing steps or obstacles. Higher values allow stepping on higher surfaces. Height tolerance – Specifies the height up to which no collision is detected. For example, if you have small rocks or grass below that value, they are ignored and the camera does not bounce up and down. Gravity – Specifies the acceleration applied on the camera when collision is enabled. | |
Opens render settings: – Resumes rendering. (Shortcut: Pause) – Pauses rendering. (Shortcut: Pause) – Enables color correction post processes. HDR – Enables HDR display on and off. Available only for monitors that support HDR. – Sets the resolution of the render. Available options are: 25% of the current camera resolution, 50% of the current camera resolution, current camera resolution, 25% of the viewport resolution keeping current camera aspect ratio, 50% of the viewport resolution keeping current camera aspect ratio, viewport resolution keeping current camera aspect ratio. – Specifies the viewport render mode. Available view modes are: Beauty – Previews the complete render. View modes except for Beauty render with a disabled Denoiser regardless of setting. – Sets the quality of the render. Available options are: Low, Medium, High, Ultra, Custom. The presets can be modified by changing the render_quality_presets.json file located in "%AppData%\Chaos\Vantage". Note that for versions prior to Vantage 2.5, the location is "%AppData%\Chaos Group\Vantage". Low – Sets the rendering quality using the following values: GI – Off; Medium – Sets the rendering quality using the following settings: GI - On; High – Sets the rendering quality using the following settings: GI – On; Ultra – Sets the rendering quality using the following settings: GI – On; Custom – Sets the rendering quality using the settings from the Render settings tab. – Adjusts the Denoiser: 0 disables the denoiser, while 100 shows the denoised image. A mid-value shows the denoised image until it reaches enough number of samples, then it starts to blend with the raw image. Note: images with denoiser > 0 and denoiser = 0 will be different in reflections and refractions. Visible only when denoiser type is set to Vantage in Edit > Preferences > Render Defaults. Display correction – Specifies the display correction to use: Auto – Uses an automatic correction, depending on the current display output (sRGB or HDR10). Input color space – Specifies the input color space for the display correction from the OCIO configuration. It should match the current scene's rendering color space (linear-sRGB or ACEScg). Available when OpenColorIO display correction is selected. Display – Specifies the display to use from the OCIO configuration. Available when OpenColorIO display correction is selected. View – Specifies the display view to use from the OCIO configuration. Available when OpenColorIO display correction is selected. Look – Specifies an optional look override from the OCIO configuration. Available when OpenColorIO display correction is selected. | |
Opens (WIP)Virtual Reality settings. Start VR Session – Starts the virtual reality session from the current camera position. Eye Mode – Specifies the rendering mode: Mono – Monoscopic rendering uses a single camera from both eyes in order to boost the FPS. Joystick Rotation Snap – Changes how the Right Thumbstick behaves. When enabled, left and right rotations snap on 45 degrees. When disabled, rotation happens smoothly. Resolution multiplier – Lowers the headset rendering resolution directly in Vantage. Depth reprojection – Uses the depth of the scene to reproject objects in the Runtime compositor. Good for low FPS but may cause artifacts. Note that the Depth reprojection works only with DLSS Denoiser. If the VR Settings button is not visible in the toolbar, enable it from Tools menu > (WIP) VR Settings. | |
Opens View filters. Available when the Select, Move, Rotate, Scale, or Move Pivot tools are enabled. Light Gizmos – When enabled, draws a gizmo for lights in the scene. (Shortcut: G) Camera Gizmos – When enabled, draws a gizmo for cameras in the scene. Camera Path – When enabled, draws the path that the camera will take in animation. | |
Enables NVIDIA upscaling denoiser. Switches the render core to render at half the resolution and upscales the result to match the required resolution. Available only when Primary denoiser in Edit>Preferences>Render defaults is set to NVIDIA OptiX AI and driver version is 535 or newer. | |
Sets the quality of NVIDIA DLSS denoiser and upscaler. Available only when Primary denoiser in Edit>Preferences>Render defaults is set to DLSS Ray Reconstruction and driver version is 537.13 or newer. Performance (4X) – Switches the render core to render at a quarter of the resolution and upscales the result to match the required resolution and performs spatial and temporal anti-aliasing. | |
Bottom Toolbar
| Button | Description |
|---|---|
Expands the Animation Editor. Details | |
| Sets the playback speed. | |
| When enabled, loops the animation. | |
| Plays the animation. (Shortcut: Space ) | |
| Sets start of animation sequence | |
| Sets end of animation sequence | |
| When enabled, automatically updates image sequences and animated meshes for the current frame of the timeline or when scrubbing the timeline. Does not update when playing the animation from the Play button. Not available in Live Link. (Shortcut: U) | |
Opens Render setup dialog. Details(Shortcut: Ctr+R) | |
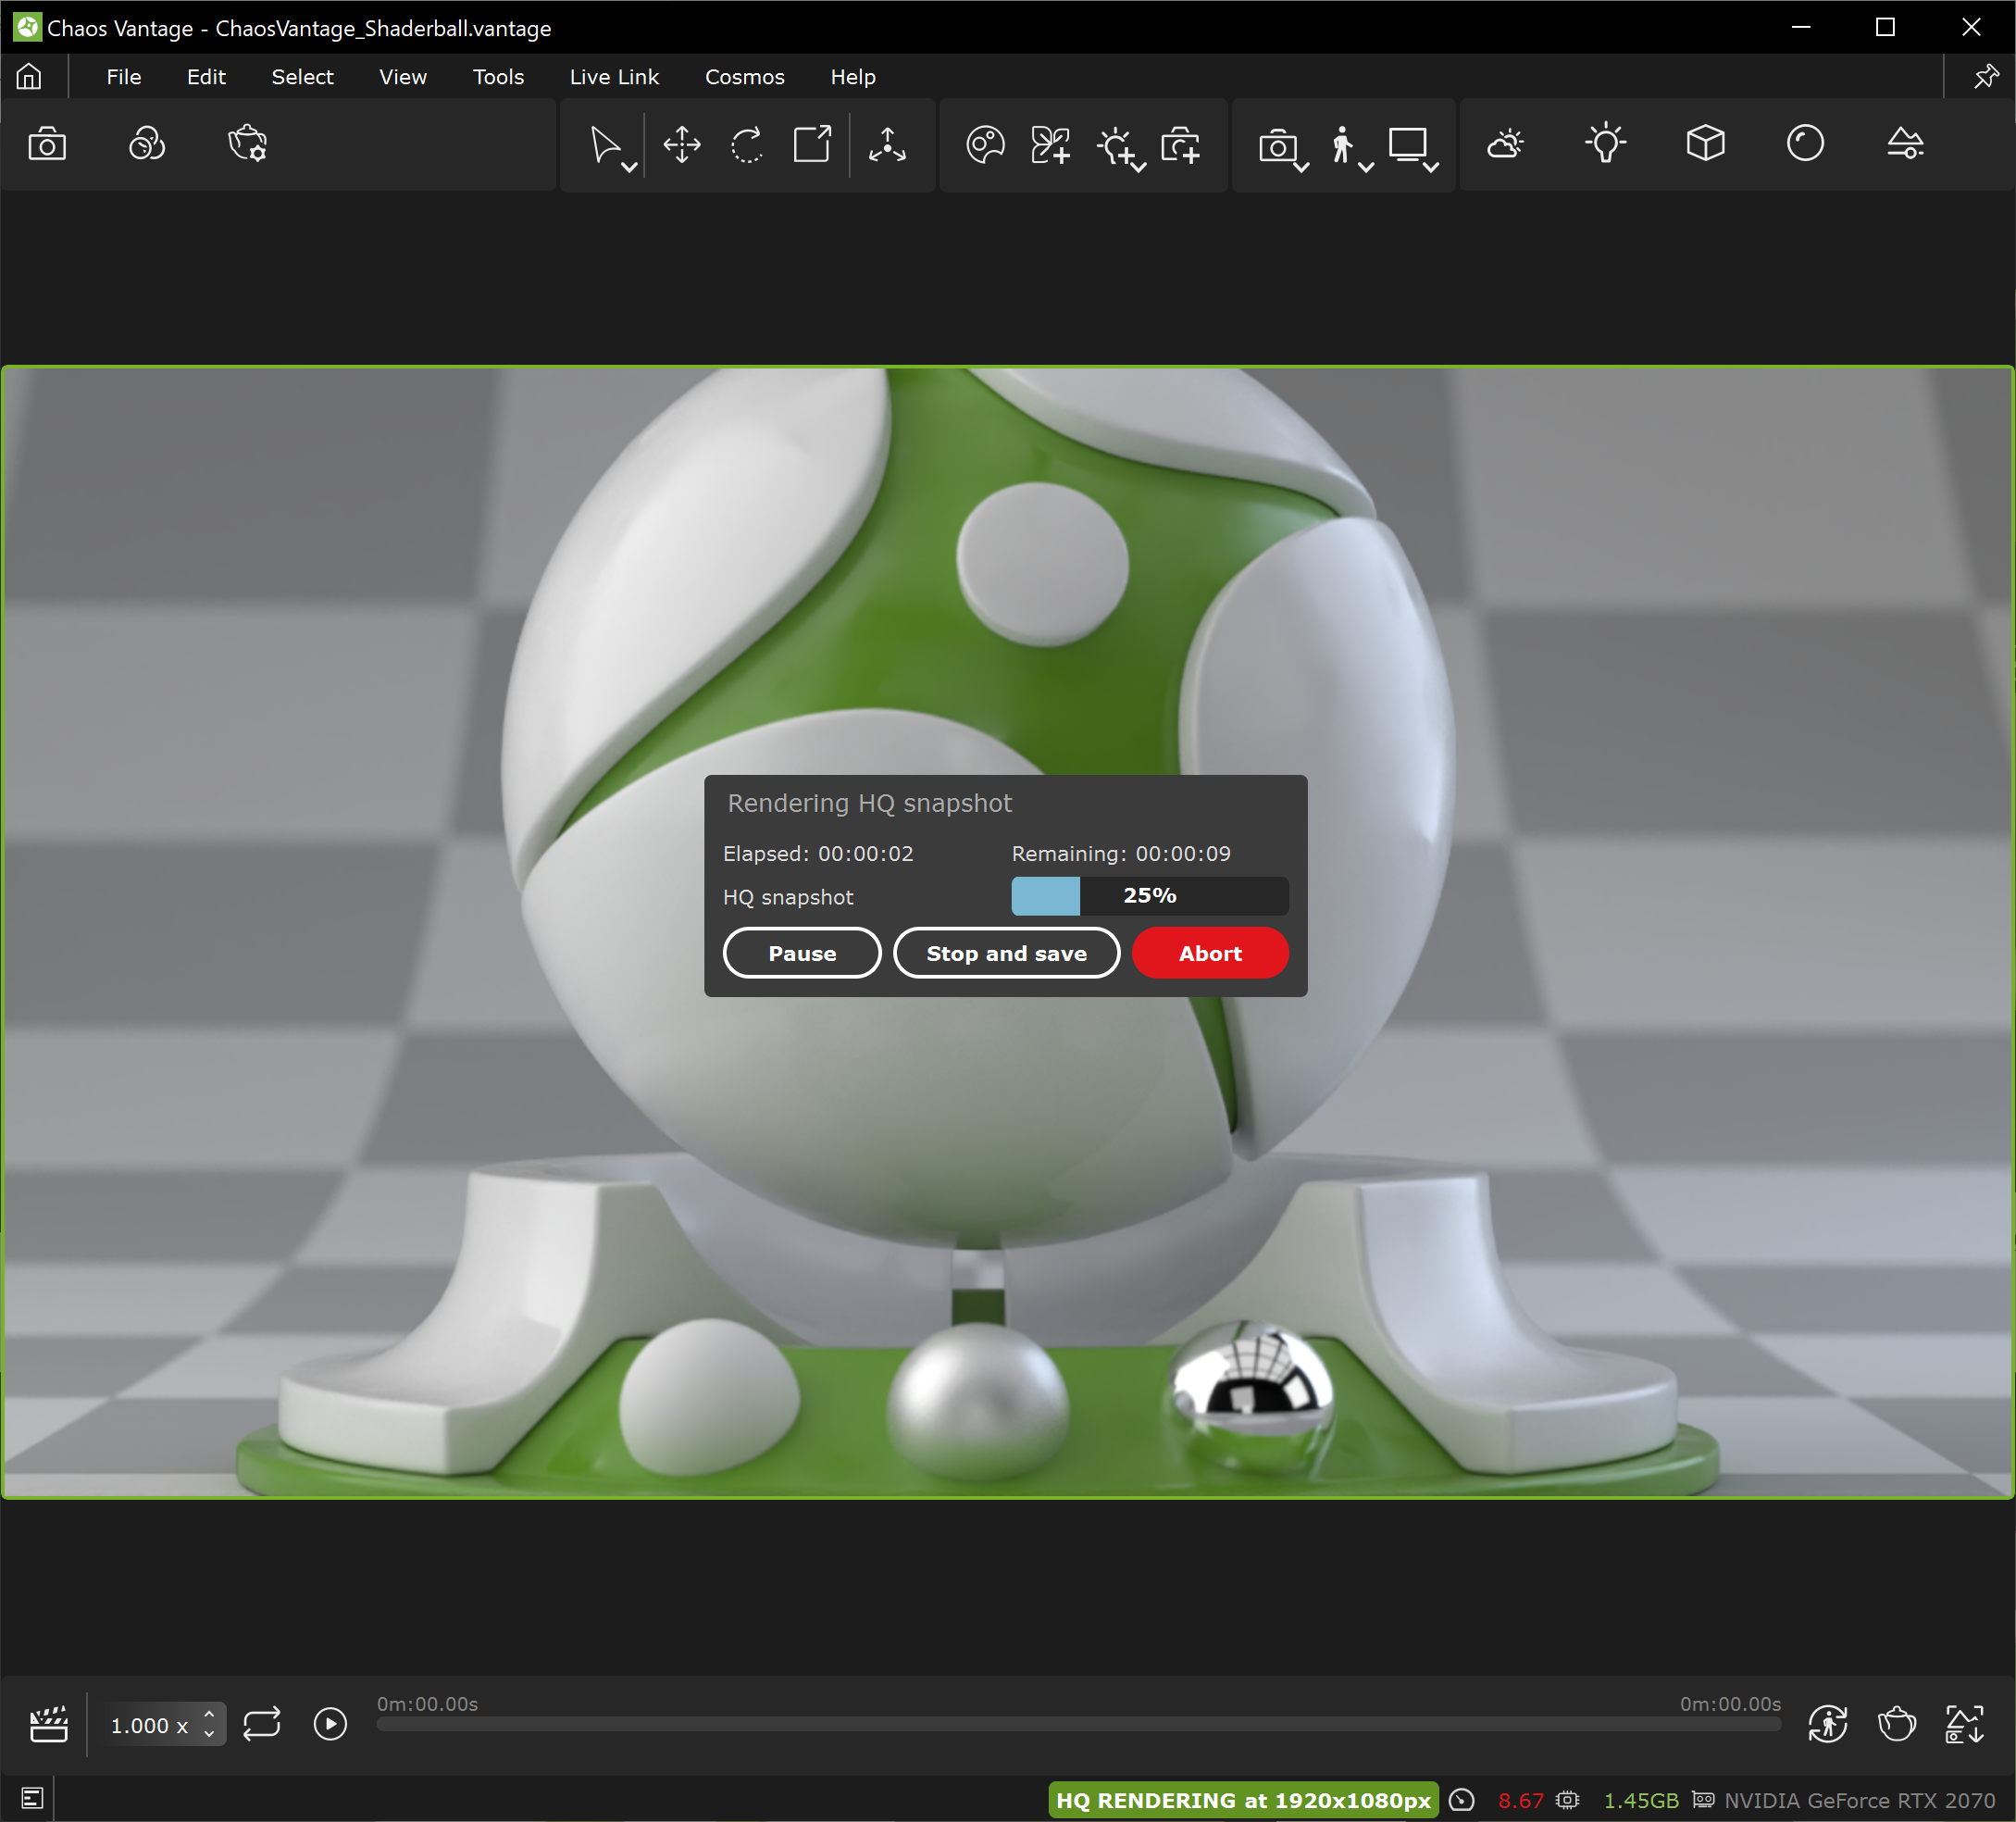
| Saves a high quality snapshot of the current view in the project folder from where the scene file has been imported. |
You can crop your animation sequence using the Set Start and Set End markers
For more information on how to use the bottom toolbar buttons, check the Create Camera Animations in Animation Editor tutorial.
Status Bar
The status bar resides in the bottom of Chaos Vantage. Here you can find information about:
Left-hand side
- Open Debug Log button ()
- Important messages such as:
- last frame render time
- loading progress
- quick tips
- etc.
Right-hand side
- Render status – Displays the current Chaos Vantage status. Status can be:
- [RENDERING] – Interactively rendering the scene.
- [HQ RENDER] – Rendering offline image or a sequence.
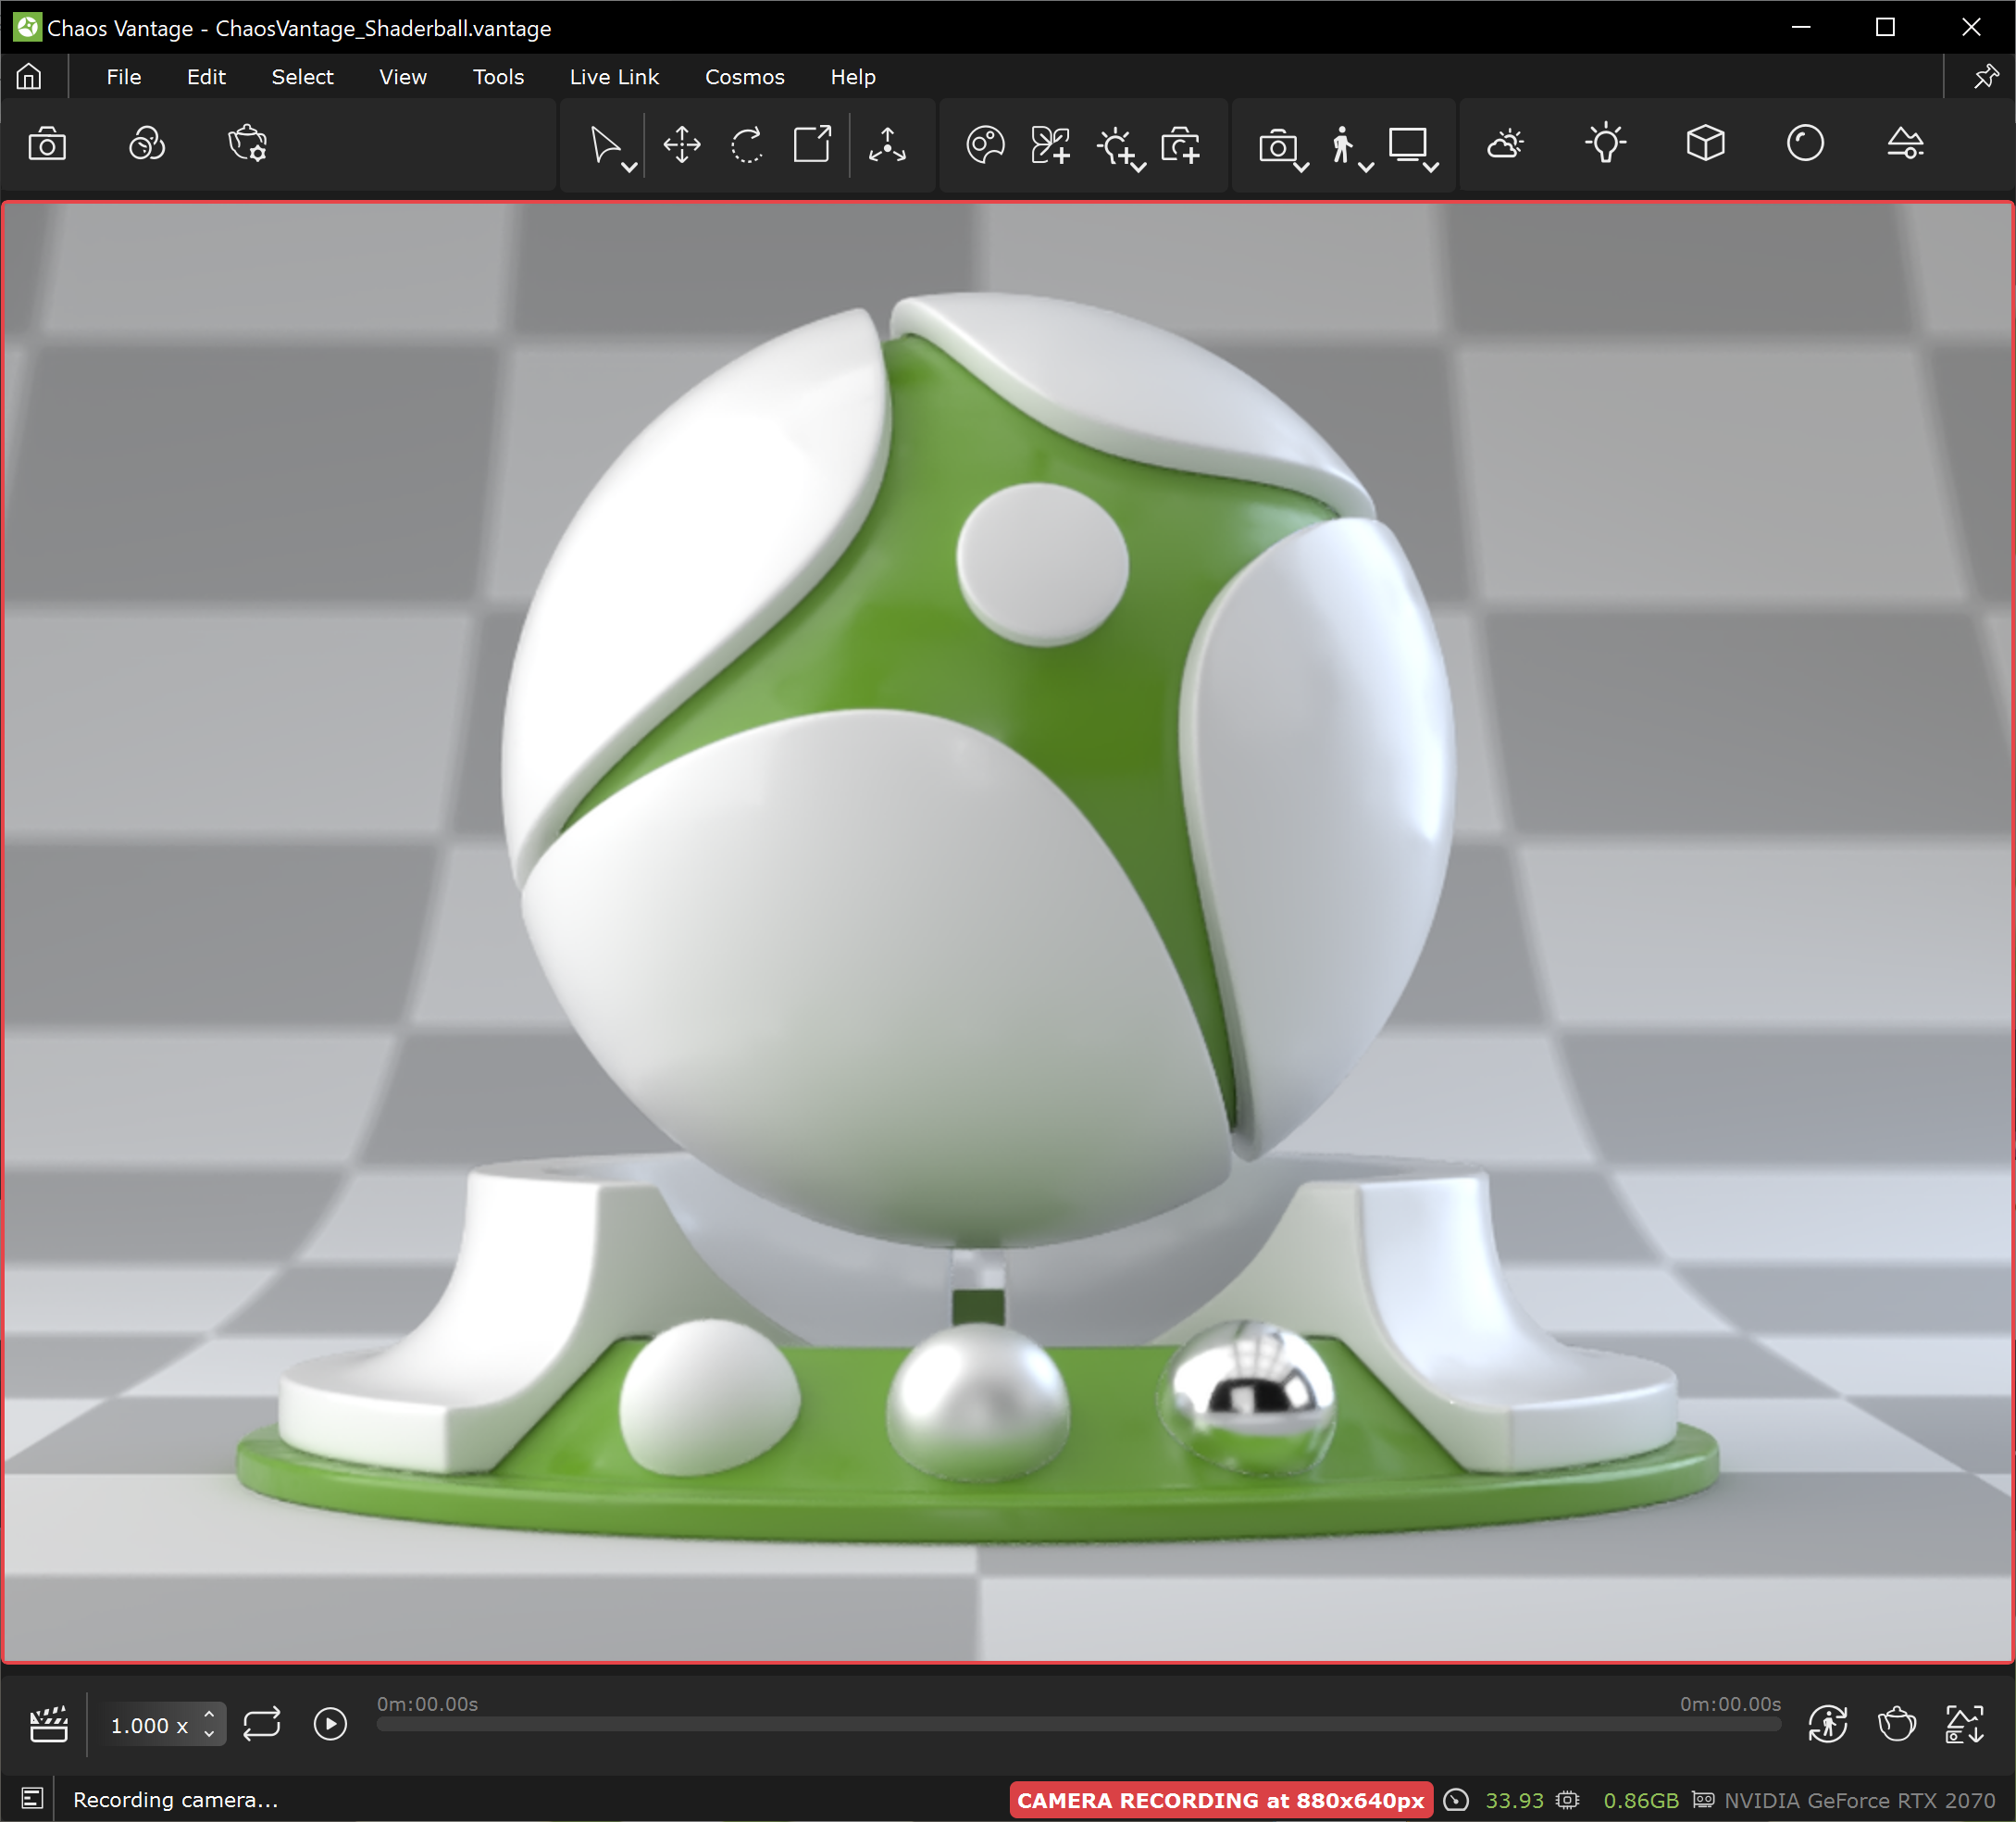
- [CAM REC.] – Recording camera movement.
- [ENCODING] – Capturing and encoding viewport to an .mp4 file.
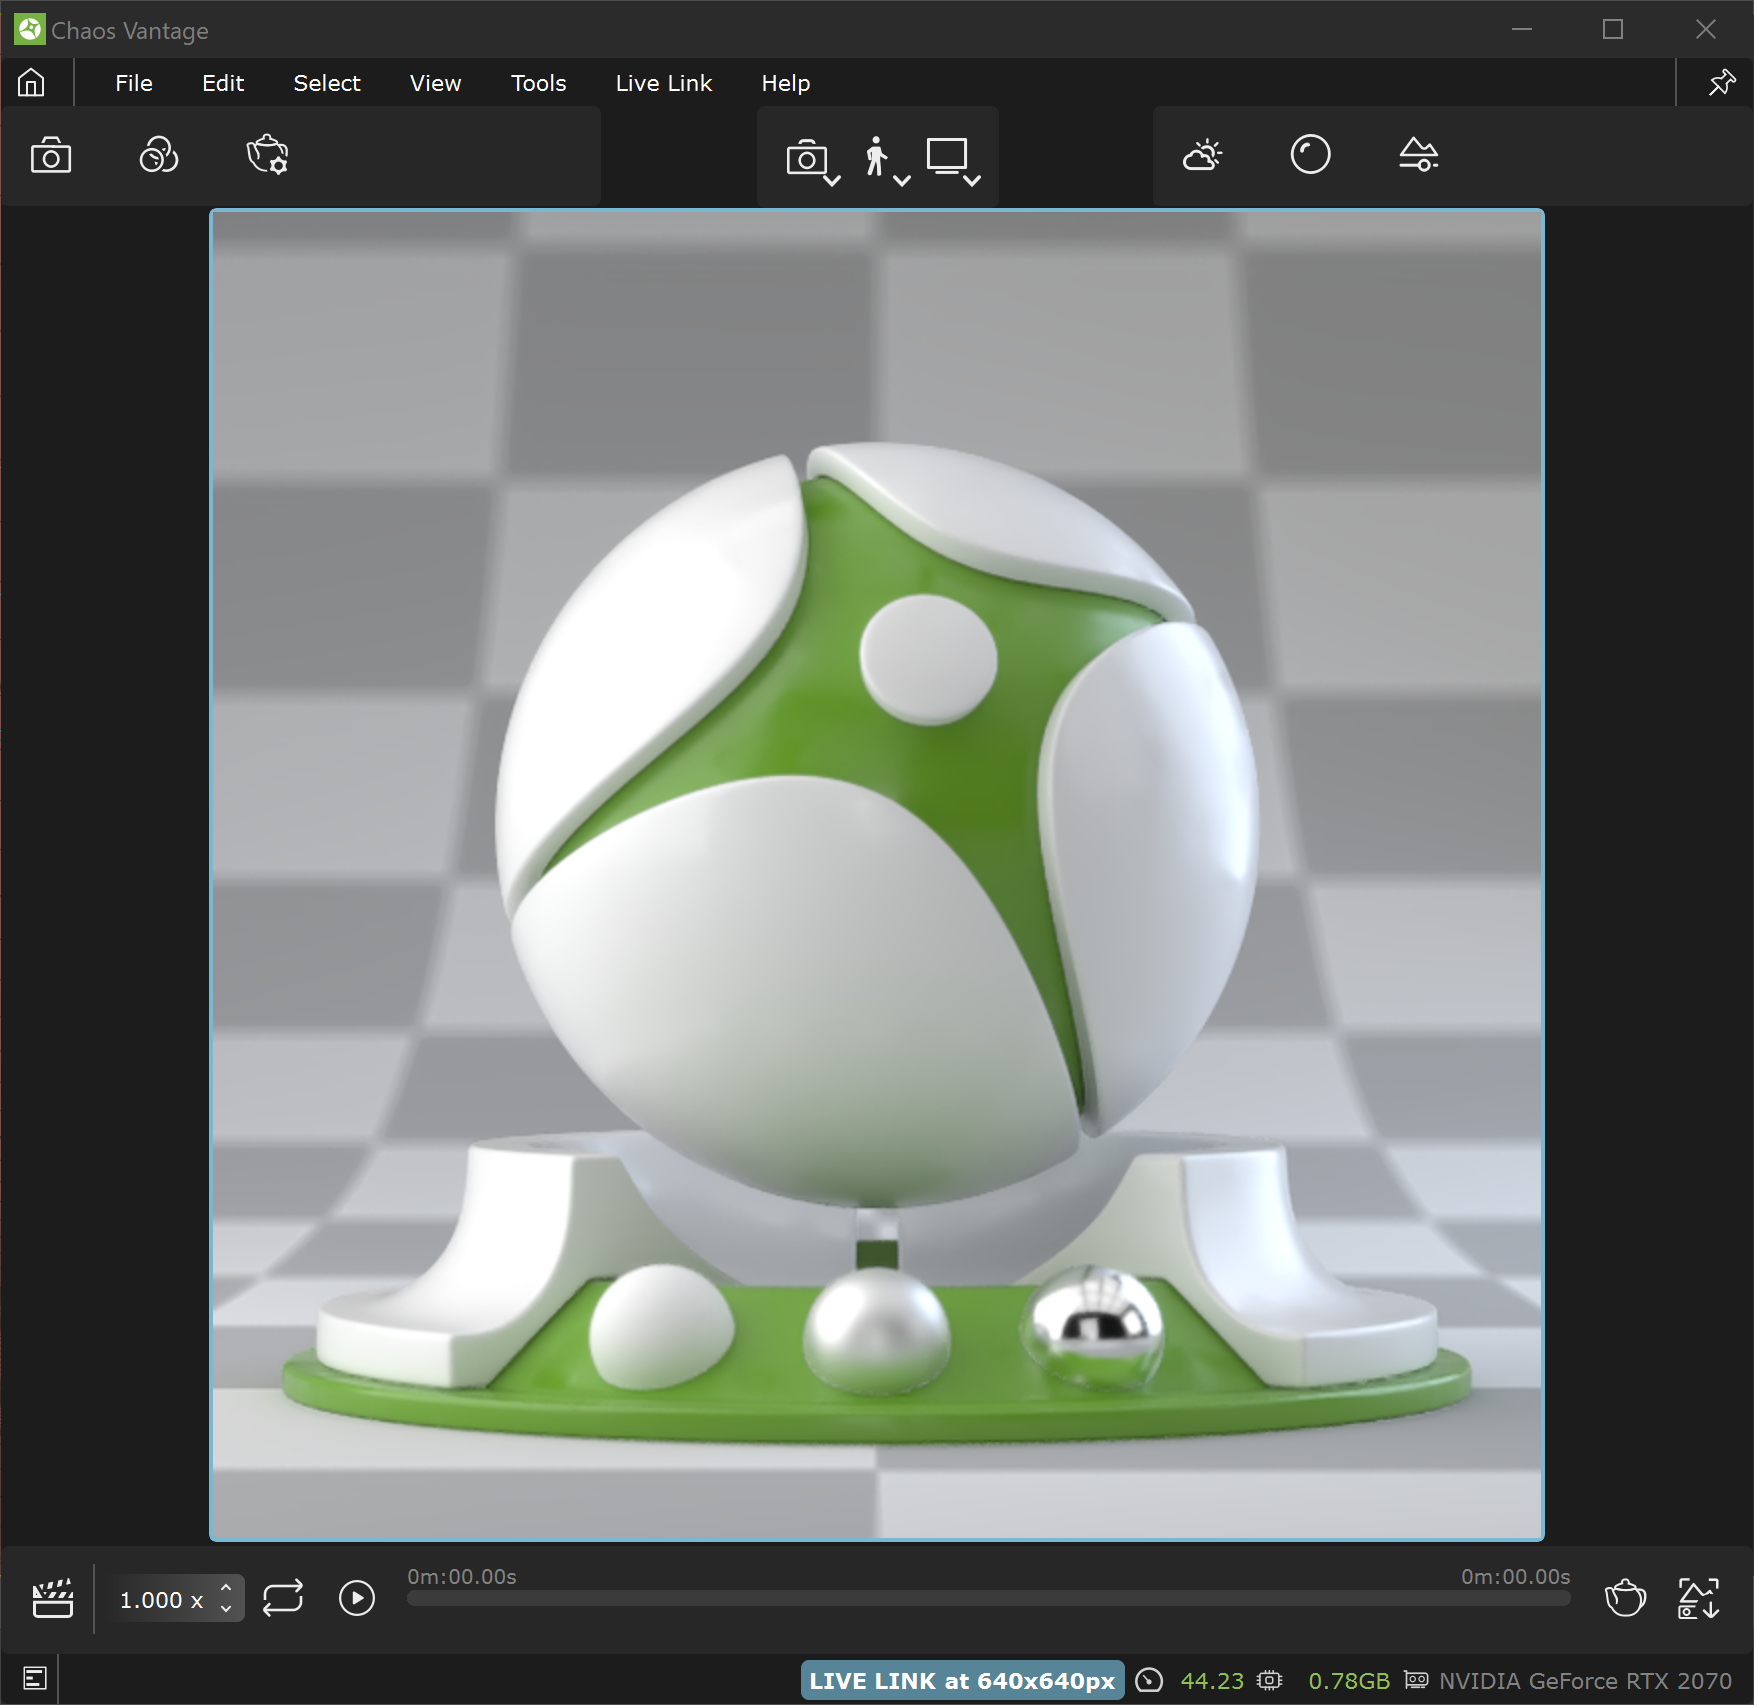
- [LIVE LINK] – Live Link session is initiated between Chaos Vantage and a V-Ray compatible DCC.
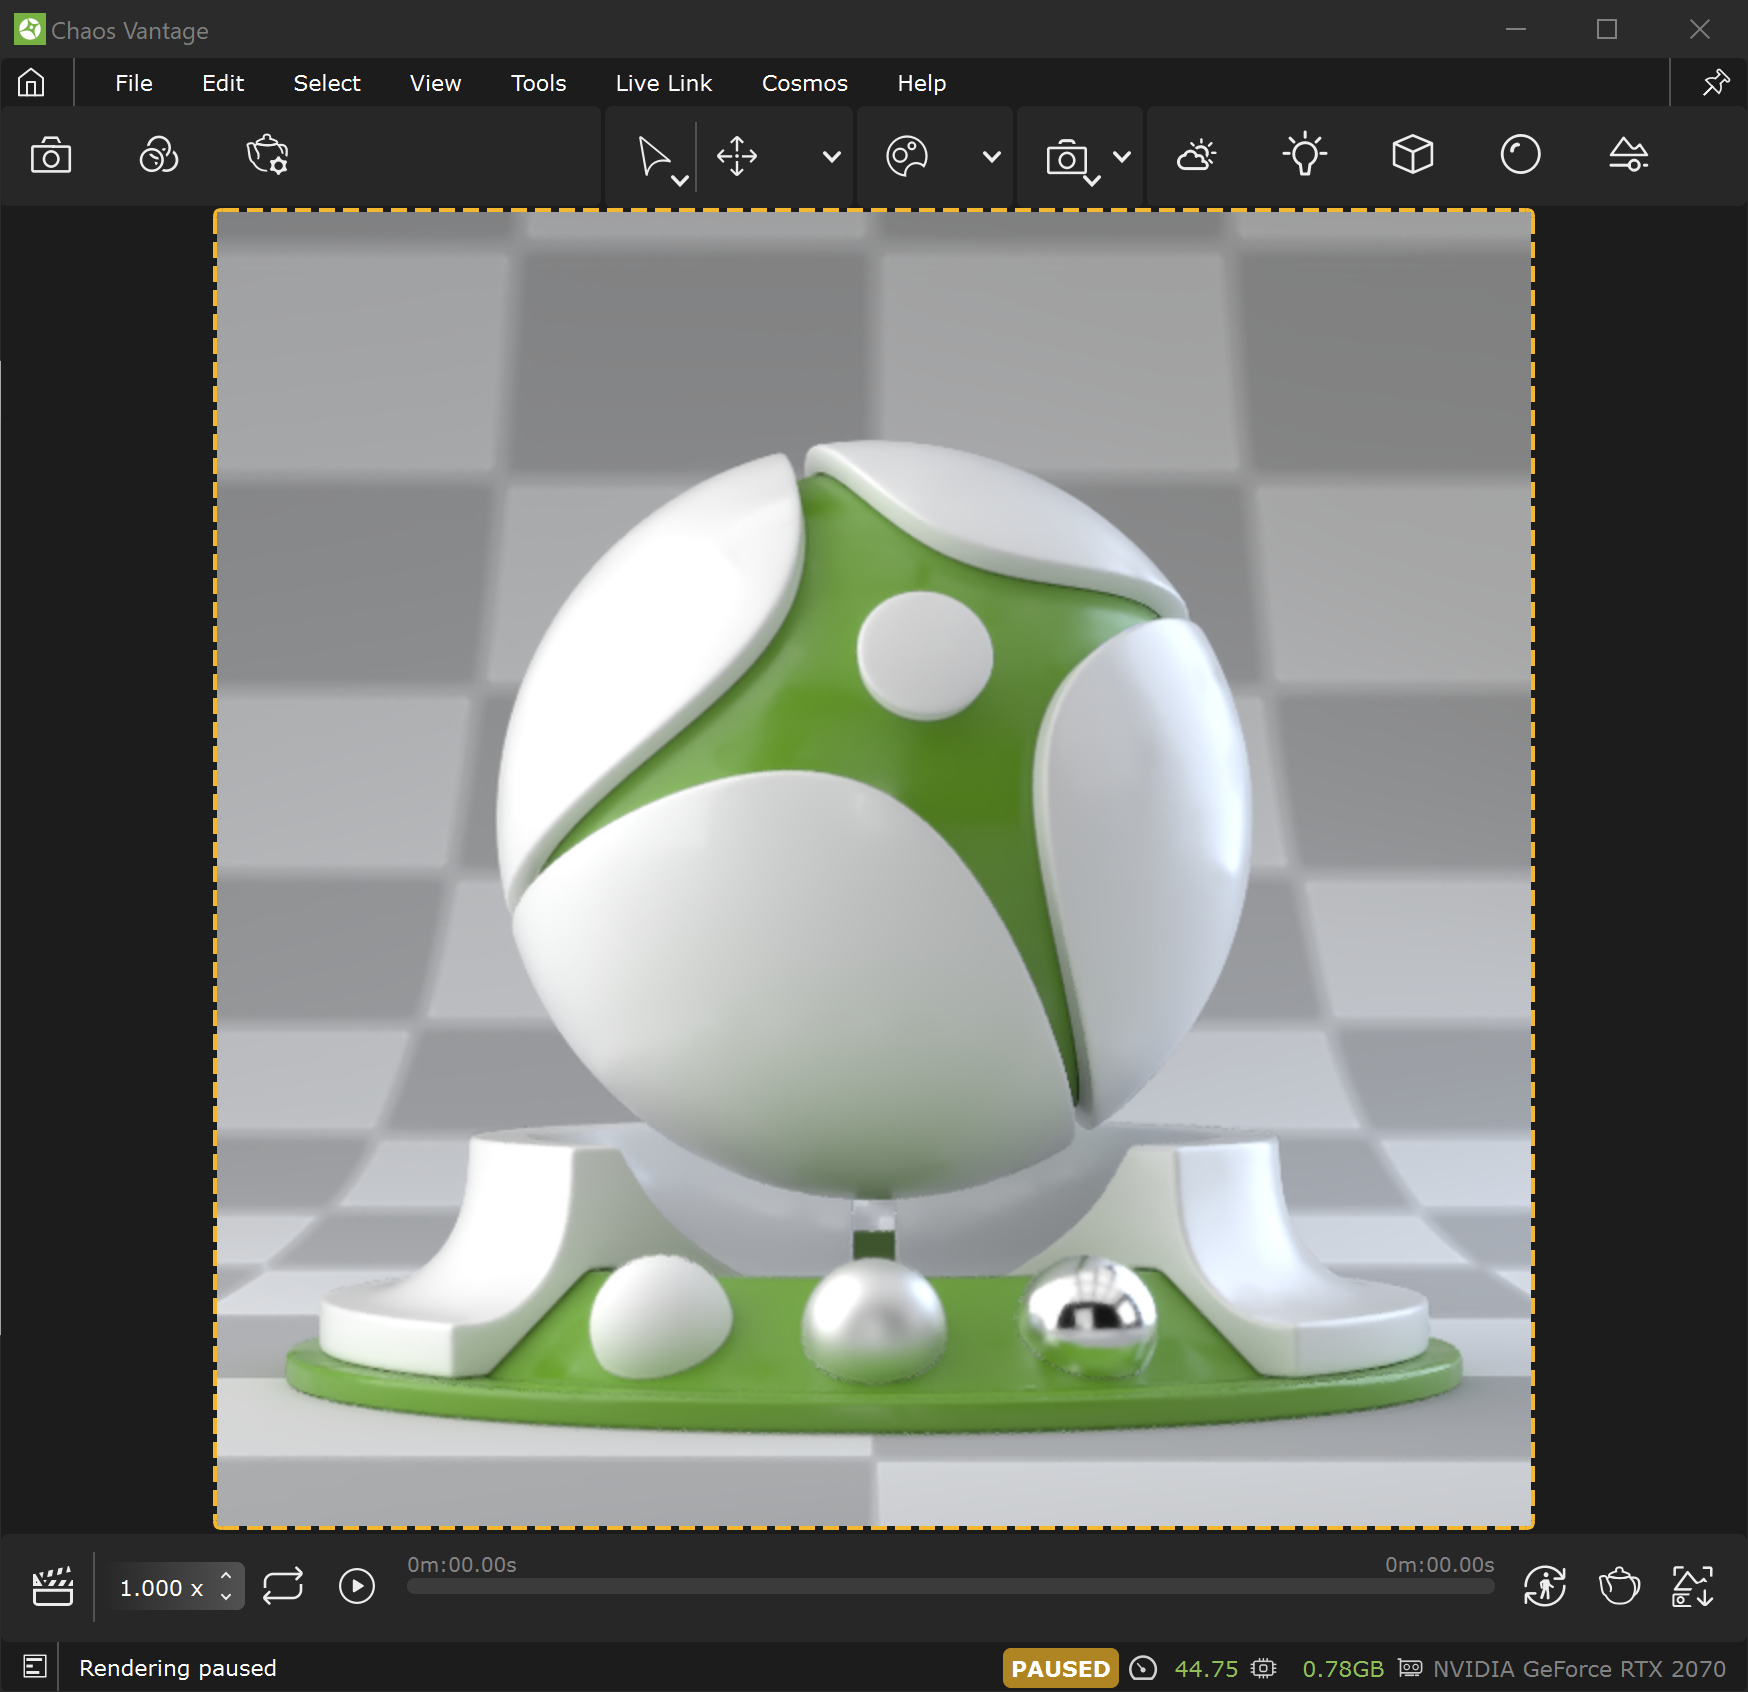
- [PAUSED] – Rendering is paused.
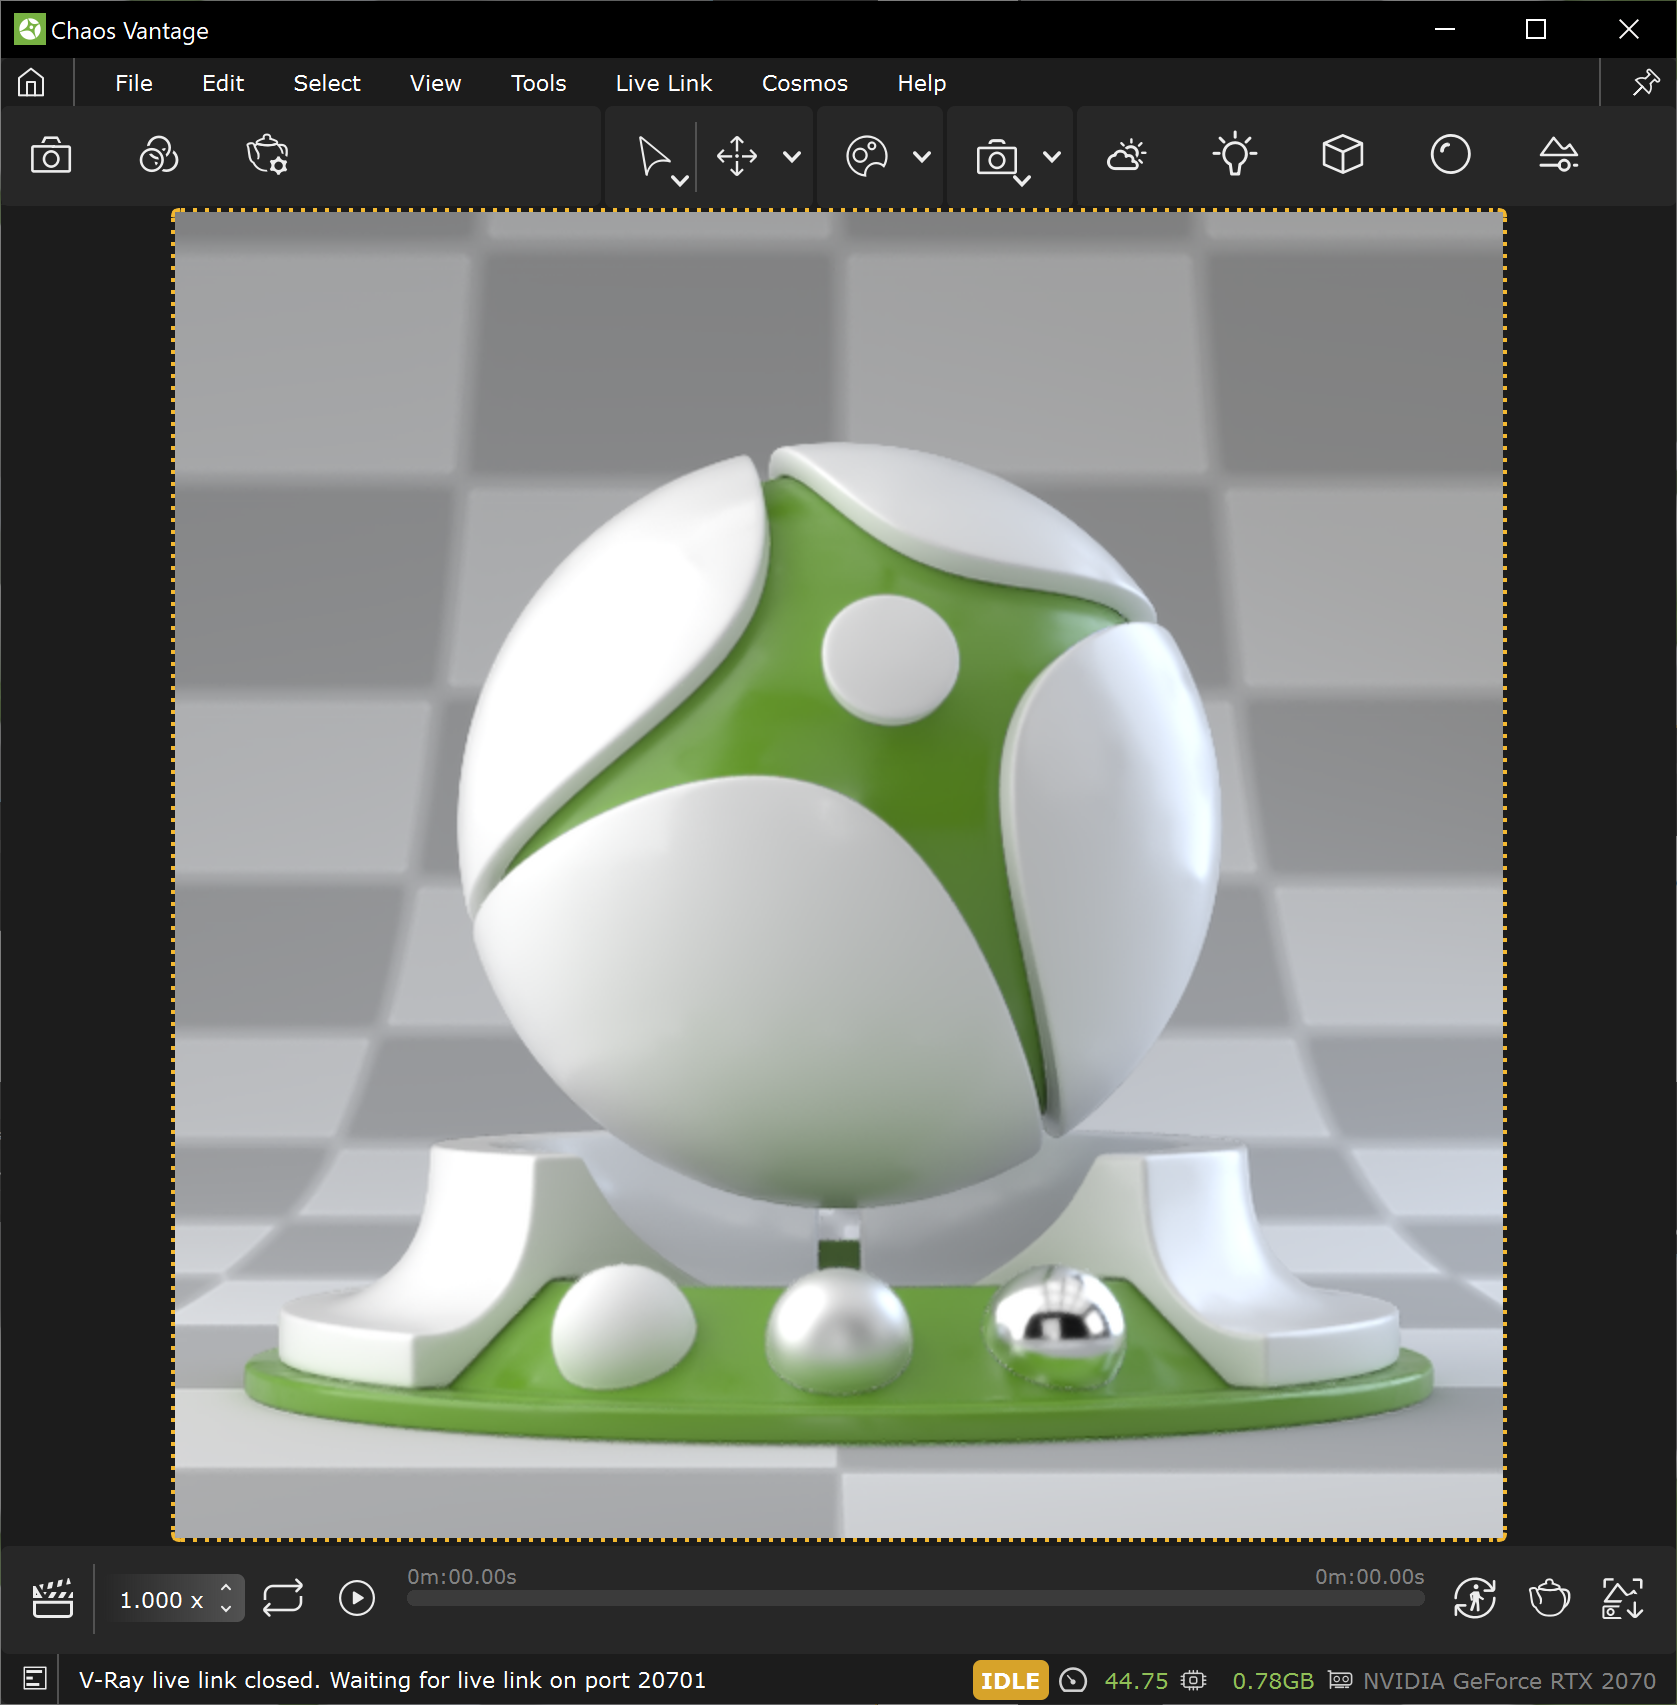
- [IDLE] – Rendering is idling after the specified samples (in Edit > Preferences > Stop interactive sapling after) are reached.
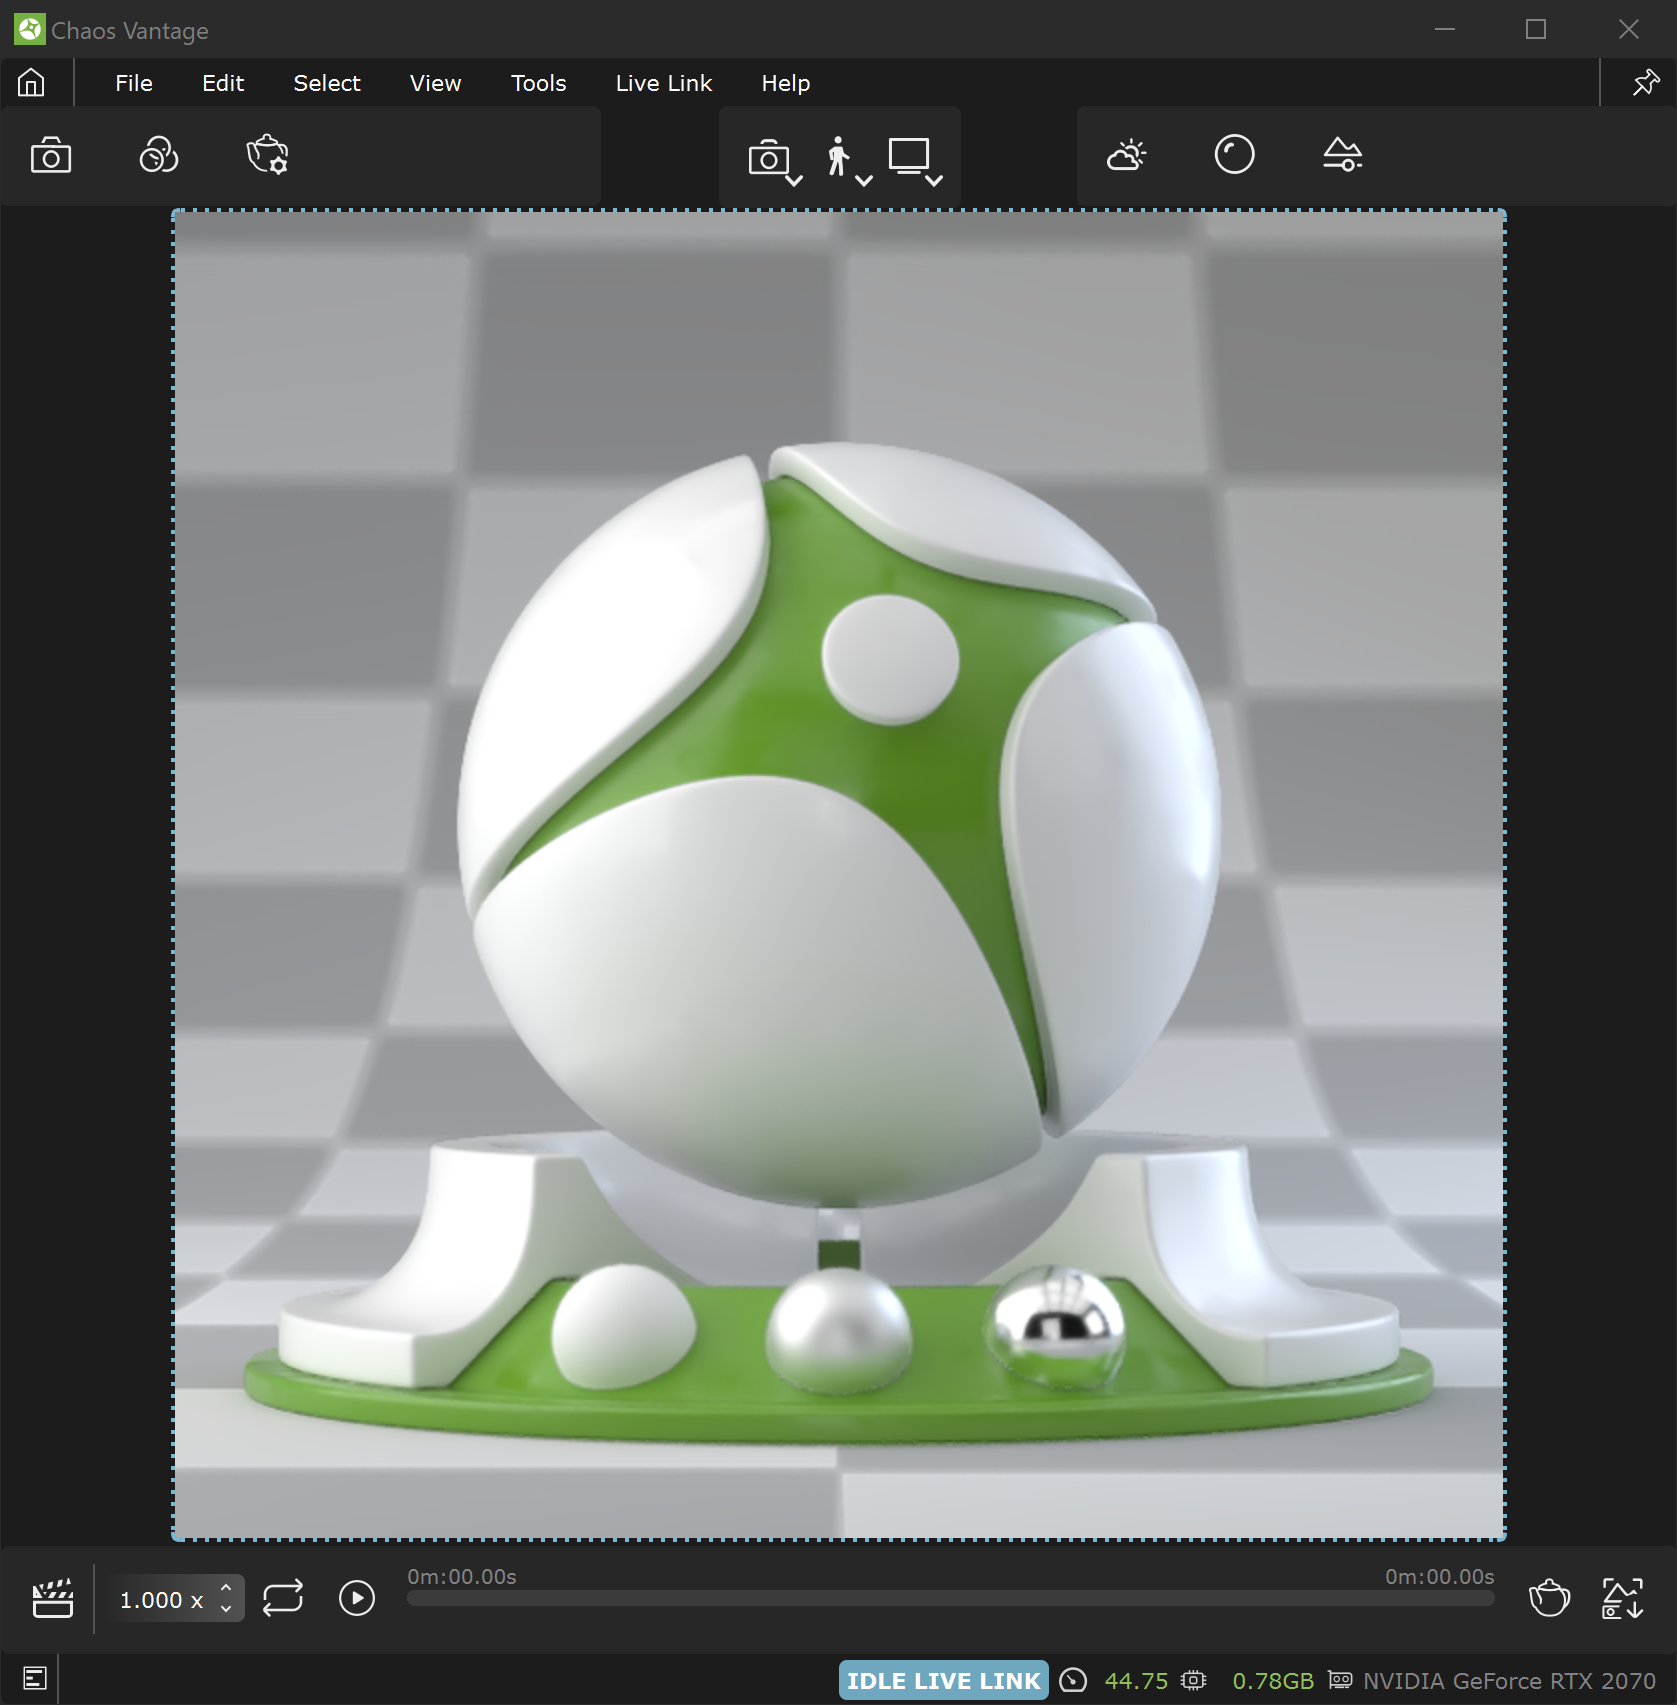
- [IDLE][LIVE LINK] – Rendering is idling after the specified samples (in Edit > Preferences > Stop interactive sapling after) are reached while in Live Link session.
Rendering device(s) – List of graphic cards used for rendering.
Note that Chaos Vantage uses up to 2 graphic cards and also those with most compute power e.g. if there is a RTX card and a GTX card, Chaos Vantage will use the RTX card but if you have 2 RTX cards, it will use both.
- FPS – Speed of the rendered frames per second. Hovering over displays information about:
- Render time – Time spent in seconds rendering the last frame.
- Samples accumulated – Amount of samples currently accumulated in the last frame.
- Last post-process – Time spent for post-processing effects in the last frame.
- VRAM — Current amount of VRAM used for the scene. Hovering over displays information about:
- Primary device total memory – Memory of the primary graphic card used for rendering.
- Primary device available memory – Currently available memory of the graphic card used for rendering.
- Number of BLASes – Number of Bottom Level Acceleration Structure (BLAS) currently loaded on the GPU.


