![]()
Page History
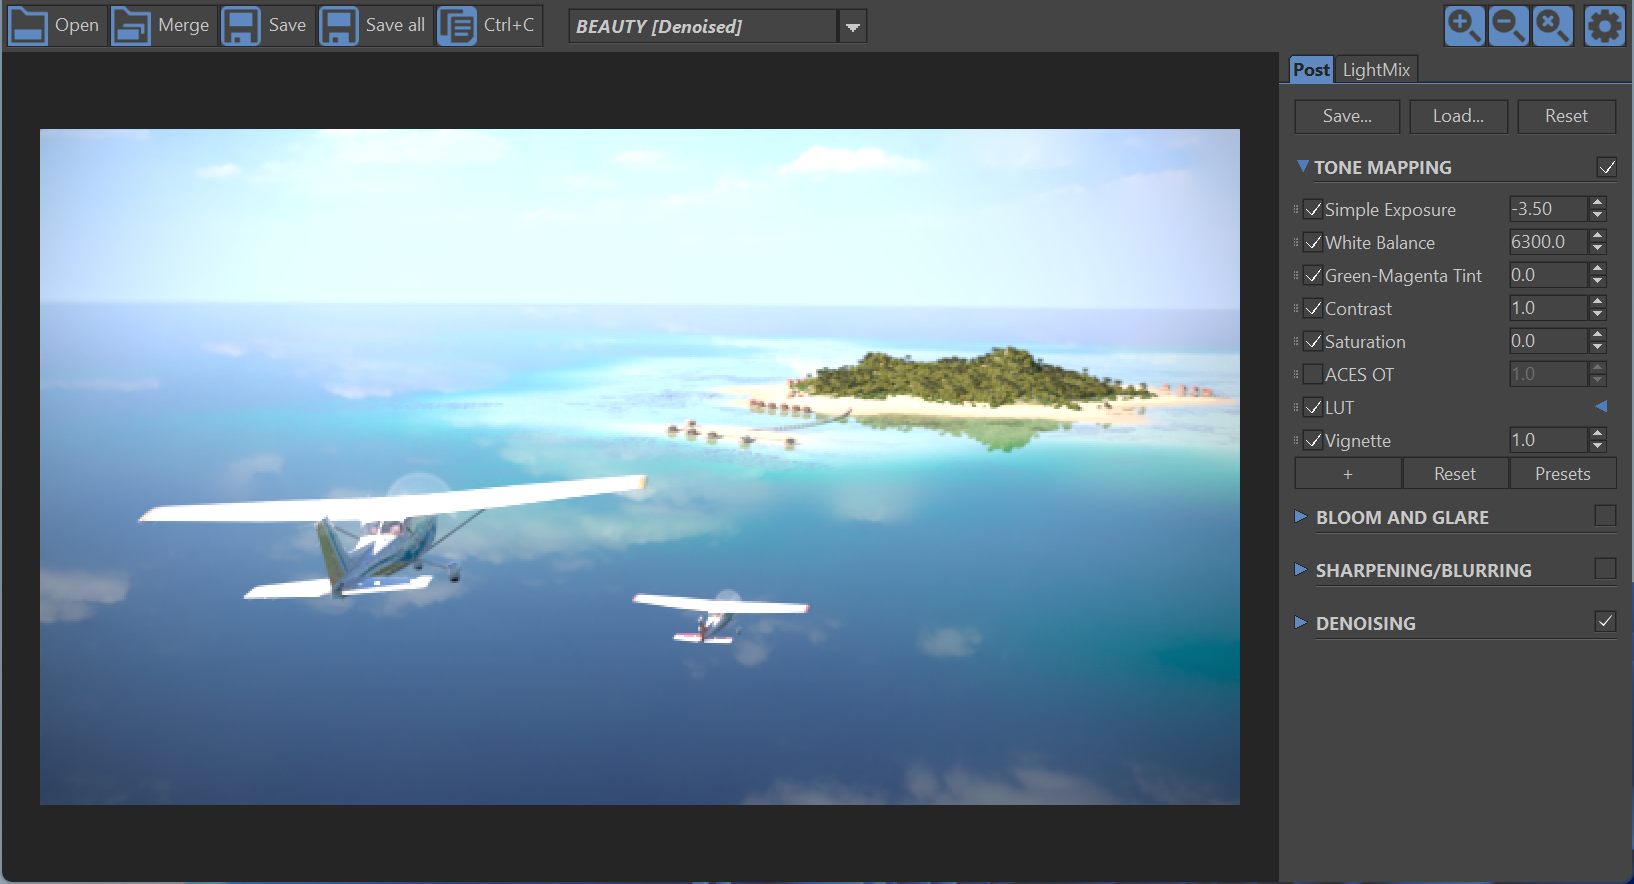
This page provides information on using the Corona Image Editor for 3ds Max.
| Section | |||||||||||||||||
|---|---|---|---|---|---|---|---|---|---|---|---|---|---|---|---|---|---|
|
Overview
...
| Section | |||||||||||||||||||
|---|---|---|---|---|---|---|---|---|---|---|---|---|---|---|---|---|---|---|---|
|
|
Corona Image Editor Shortcuts
...
| Button | Description |
|---|---|
| Opens a single image. |
| Merges multiple images produced by Distributed Rendering (DR) render nodes. |
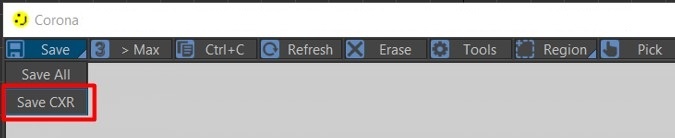
| Saves the currently displayed element. In the case of the Corona EXR format, saves the whole image and all its settings. |
| Saves all displayable elements into separate files. |
| Copies the currently displayed element to the clipboard. |
| Selects the element to be displayed. |
| Zooms in. |
| Zooms out. |
| Resets zoom. |
| Toggles visibility of the side panel. |


...
Post Tab
...
For more information about Post Tab – please check Corona VFB (legacy).
LightMix
...
For more information about Light Mix – please check LightMix.
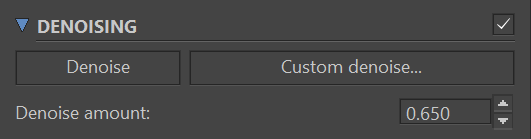
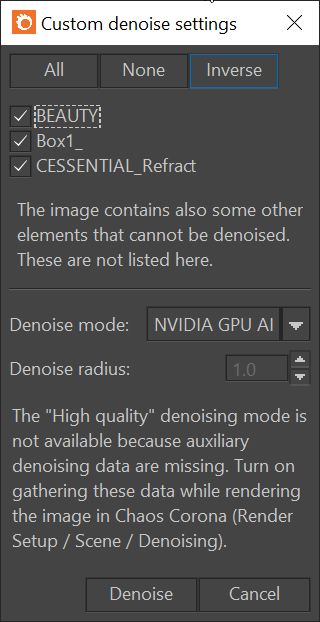
Denoising
...
| Section | |||||||||||||||||||||||||||
|---|---|---|---|---|---|---|---|---|---|---|---|---|---|---|---|---|---|---|---|---|---|---|---|---|---|---|---|
|
...
Benefits of using Corona Image Editor
...
| Section | ||||||||||||||||||||||
|---|---|---|---|---|---|---|---|---|---|---|---|---|---|---|---|---|---|---|---|---|---|---|
|
...
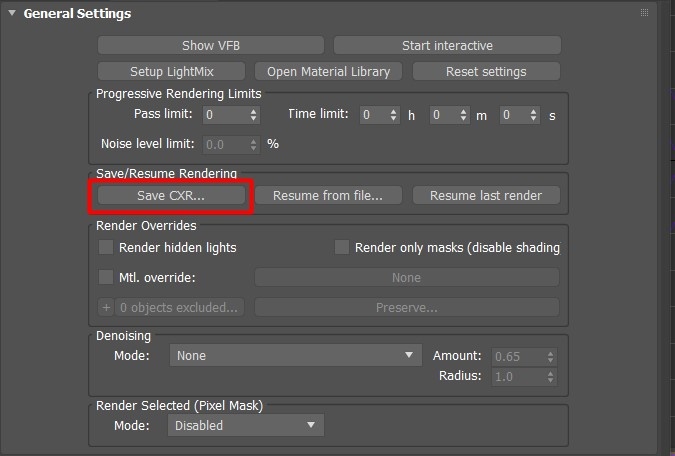
CXR Image Format
...
| Section | |||||||||||||||||||||||||||||||||||||||
|---|---|---|---|---|---|---|---|---|---|---|---|---|---|---|---|---|---|---|---|---|---|---|---|---|---|---|---|---|---|---|---|---|---|---|---|---|---|---|---|
|
...
Batch Editing CXR Images
...
| Section | |||||||||||||||||||||||||||||||||||
|---|---|---|---|---|---|---|---|---|---|---|---|---|---|---|---|---|---|---|---|---|---|---|---|---|---|---|---|---|---|---|---|---|---|---|---|
|