![]()
Page History
This page provides a tutorial on using V-Ray's Resumable Rendering feature.
Overview
| Section | |||||||||||||||
|---|---|---|---|---|---|---|---|---|---|---|---|---|---|---|---|
|
How it works
Resumable renders are possible with both Bucket and Progressive Image Sampler Types.
With Bucket rendering, an additional .vrimg is written to temporarily store the data from the completed buckets. When you resume rendering, V-Ray will read the .vrimg file to determine which buckets still need to be rendered and continue to calculate what is left to complete the image.Another great ability of this feature is that the light cache is saved within the partial image file so it doesn't need to be recalculated when the render resumes.
When rendering with the Progressive image sampler, the state of the render is saved to an additional resumable .vrprog file in a similar way to the .vrimg for Bucket rendering. Enabling Autosave Interval (min) in the Frame buffer rollout (by setting it higher than 0) is highly recommended for Progressive renders so V-Ray can write out the .vrprog files during rendering in case the process is unintentionally stopped. Setting the Autosave Interval (min) value too low (below a couple of minutes for example) can slow down the render process.
If V-Ray finds a .vrprog file or partially completed .vrimg file for the current frame, the rendering will resume from where it left off. If not, V-Ray will start a new render and a resumable file is saved.
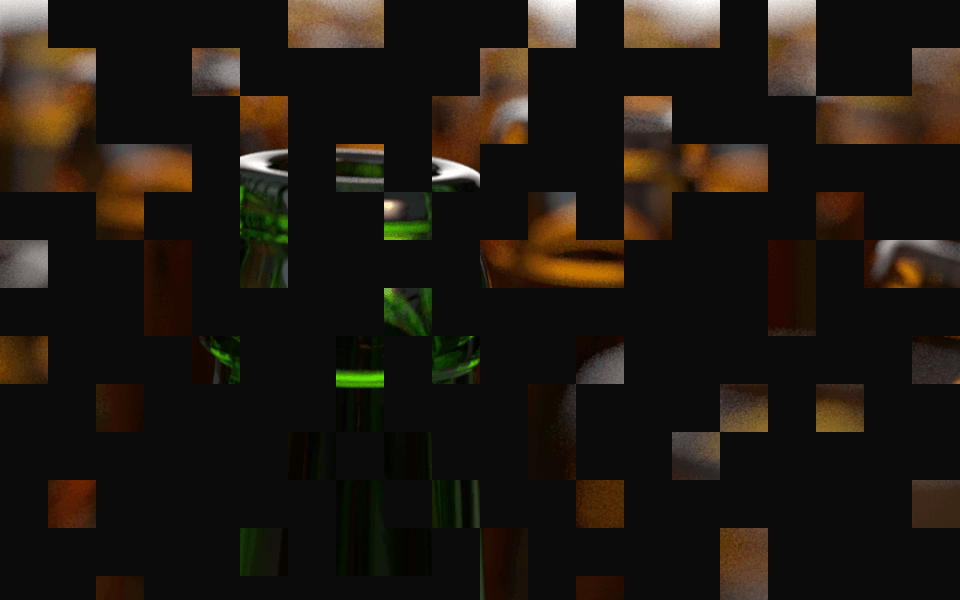
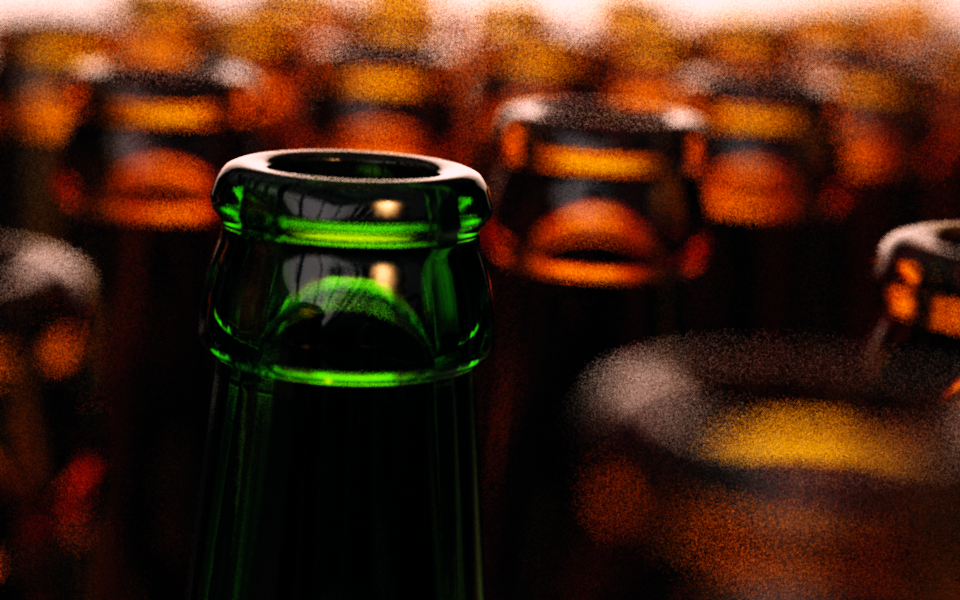
Example: Progressive Render
The images below were taken during a resumable Progressive render was stopped and restarted to complete the final image. This type of rendering can help when you need to get something reviewed, and then can continue to render for a cleaner end result.
| Section | |||||||||||||||||||||||||
|---|---|---|---|---|---|---|---|---|---|---|---|---|---|---|---|---|---|---|---|---|---|---|---|---|---|
|


Workflow
Enable Save File from the Render Output section of the Common Parameters under the Common tab in the Render Setup window. Any of the three possible image outputs can be used (raw image file, separate render channels, Save File) for this step.
Note: Any of the acceptable file types can be used, except Bucket rendering does not support deep outputs or tiled EXRs at this time.
If you forget to set your file output, you will receive an error if you start a resumable render.
Error message if Render Output is not set
Before starting to render, enable Resumable rendering in the Frame buffer rollout under the V-Ray tab in the Render Setup window. If using the Progressive sampler, it is highly recommended to enable the Autosave Interval (min) by setting it higher than 0. This will save partial files that can be used and help prevent losing the render progress if Max crashes and a .vrprog file was not created/updated.
Start rendering your image. The passes will calculate for a Progressive render or the buckets will begin to drop for a Bucket render. The render can be stopped at any point in time and V-Ray will be able to use the .vrimg or .vrprog files to resume the render later.
If you stop the render and want to resume it on another computer or location, make sure to copy the .vrimg or .vrprog file with the rest of your project so V-Ray can pick up where the render left off. Render Settings should not be changed between stopping and resuming renders. The only settings that are acceptable to change in between stopping and resuming a render are Progressive sampling parameters (Min. subdivs, Max. subdivs, Render time, Noise threshold). Changing settings like the output resolution and render elements will cause an error and the render will not resume.
Notes
| Fancy Bullets | ||
|---|---|---|
| ||
|